
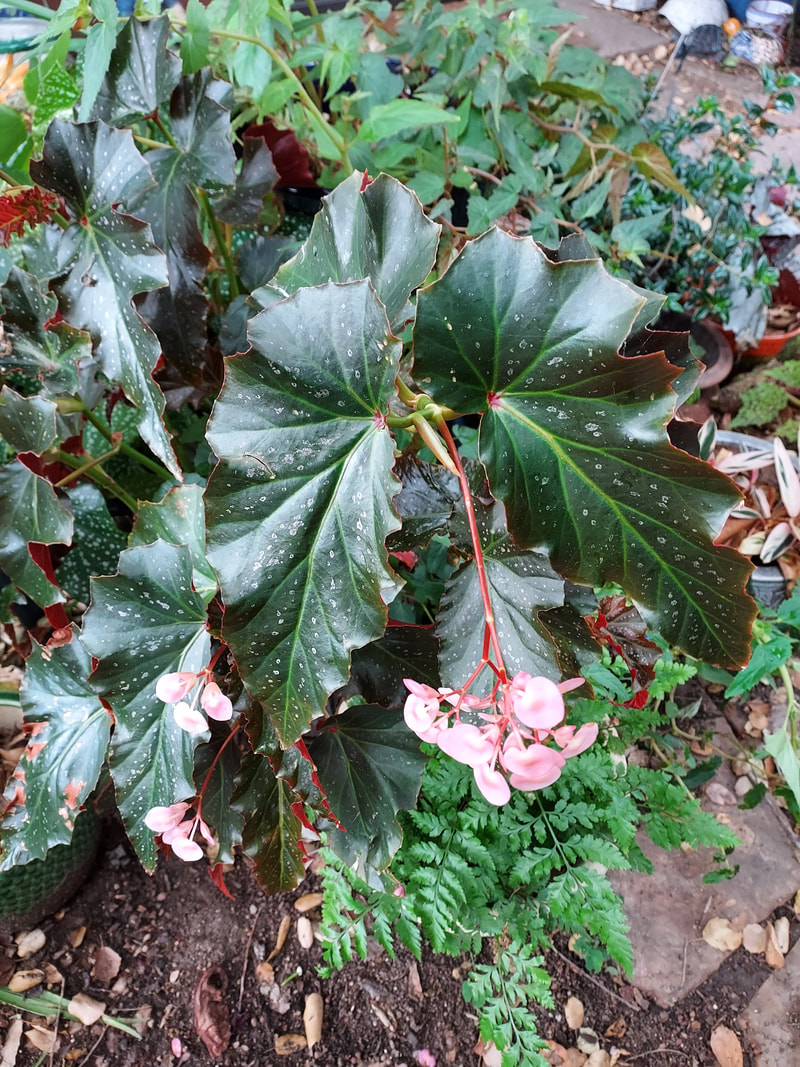
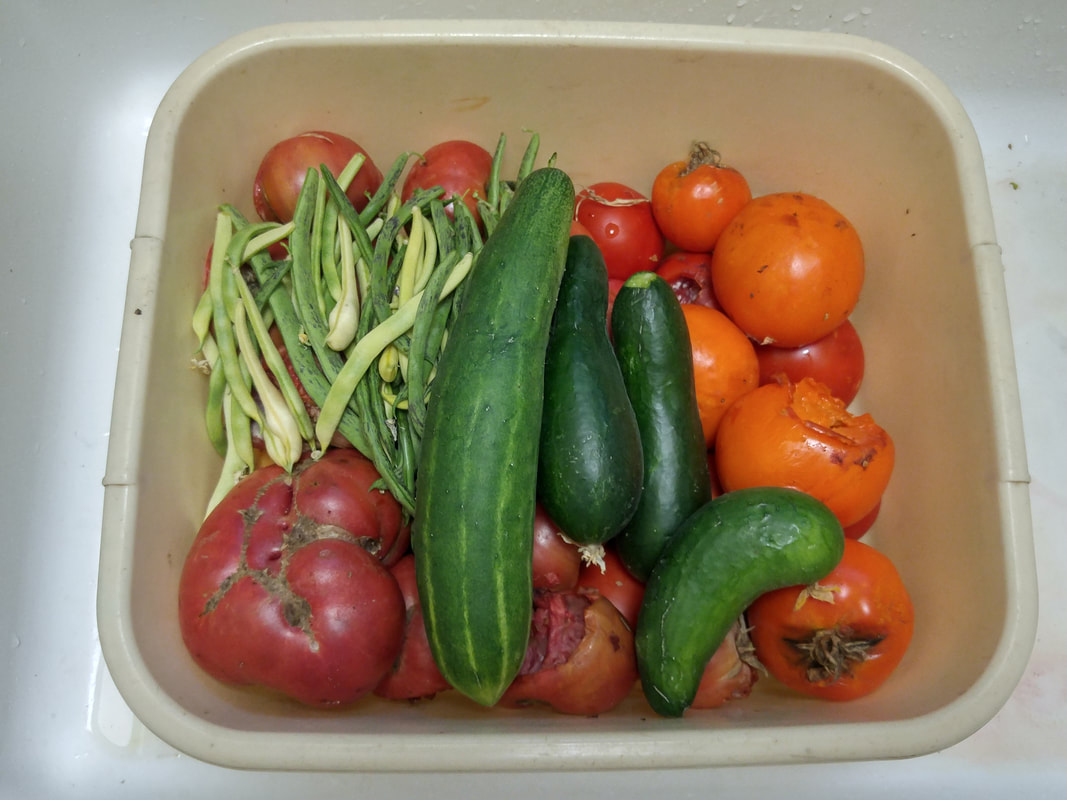
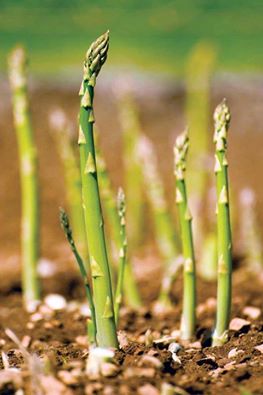
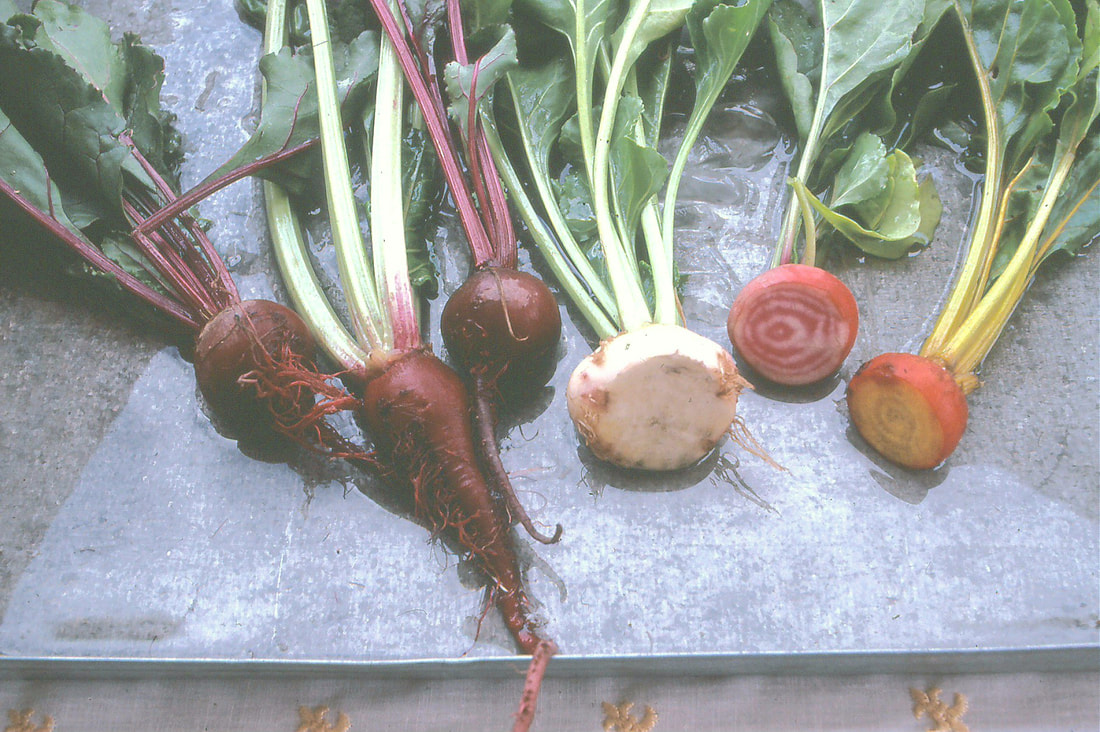
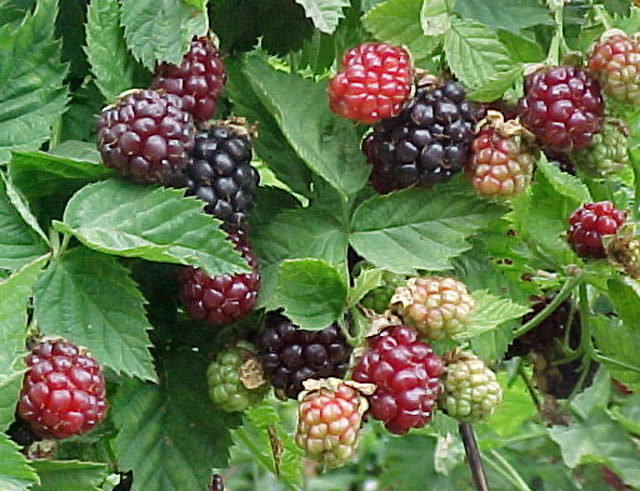
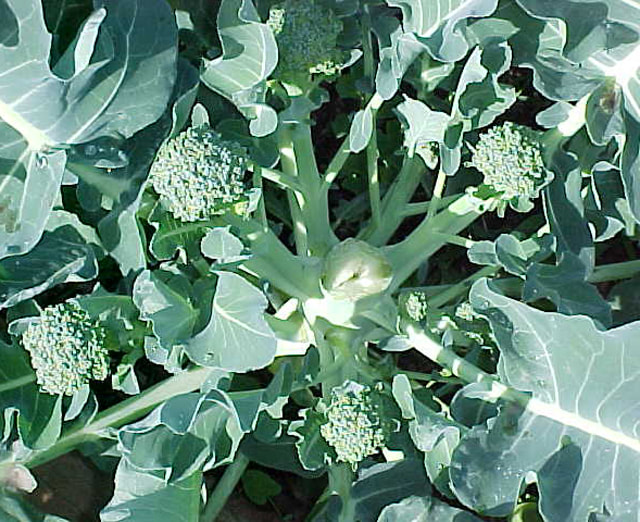
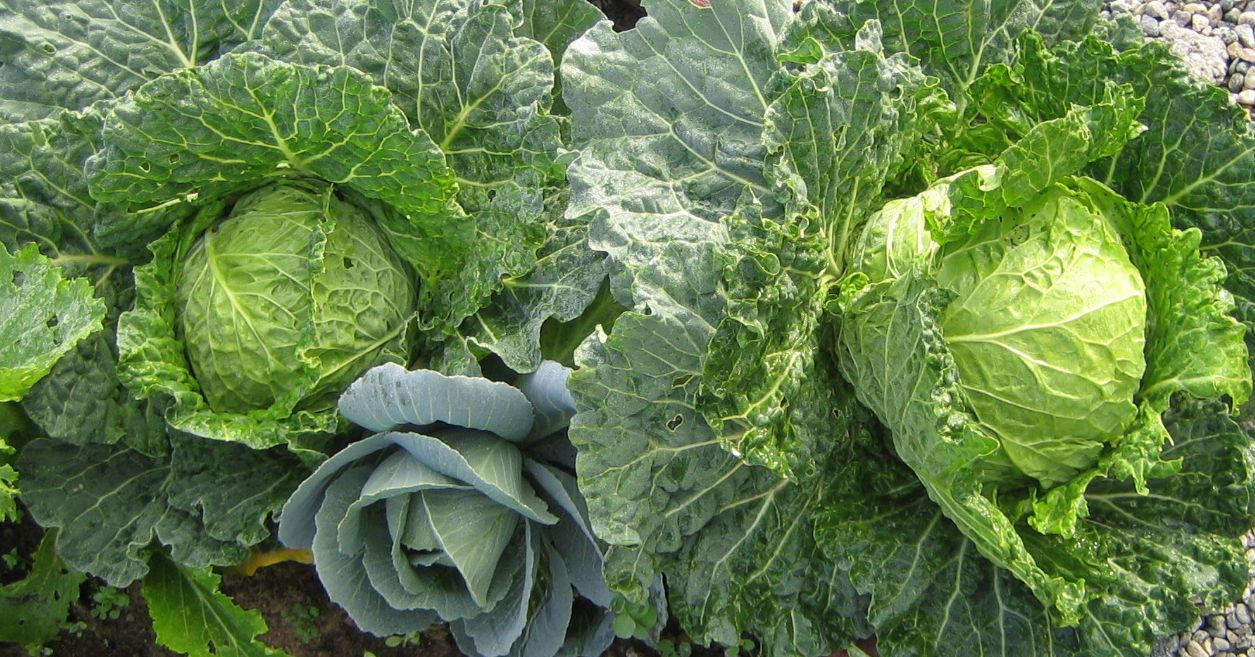
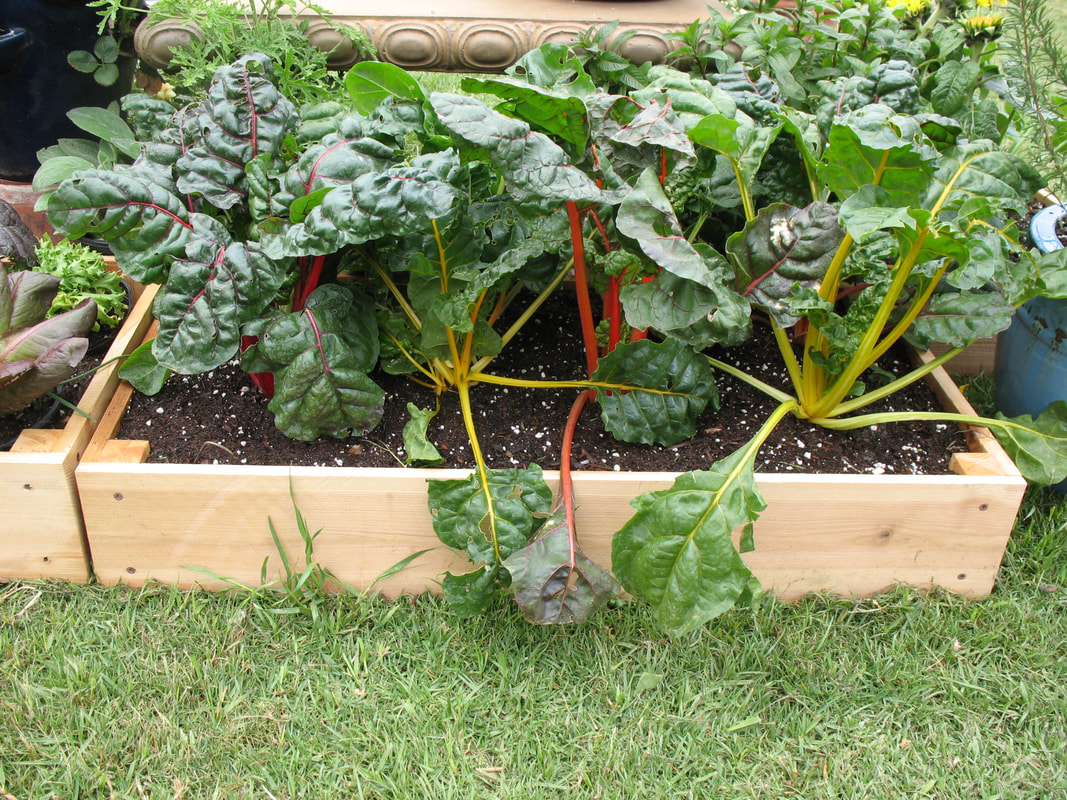
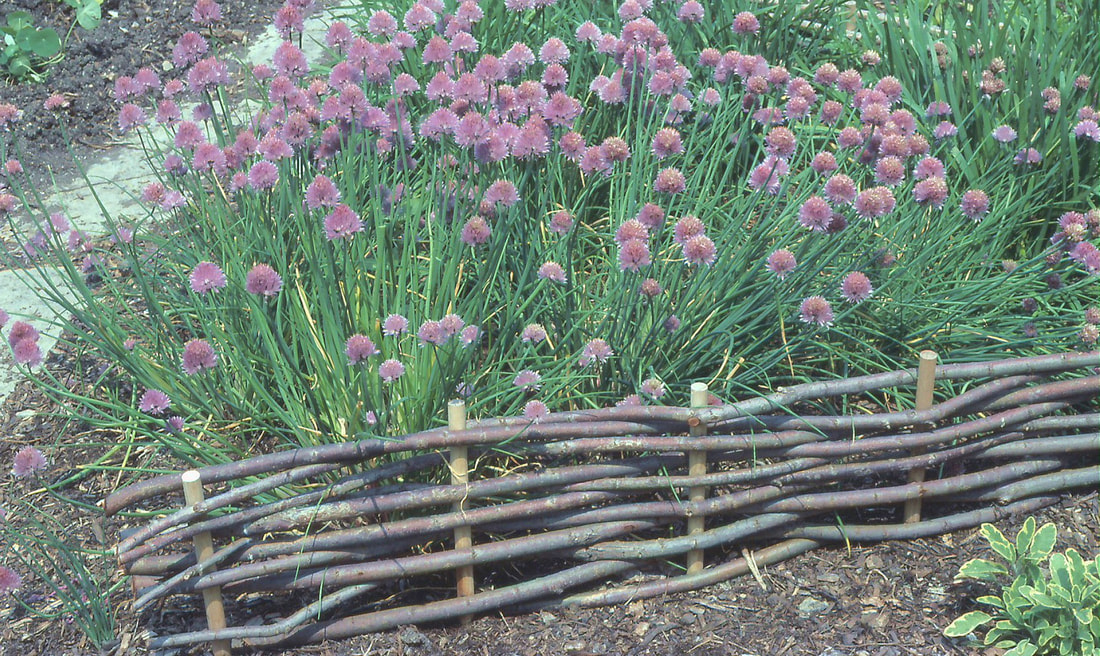
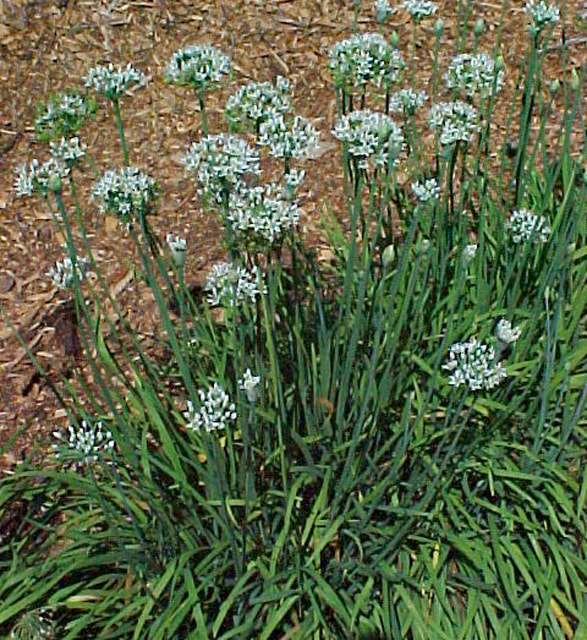
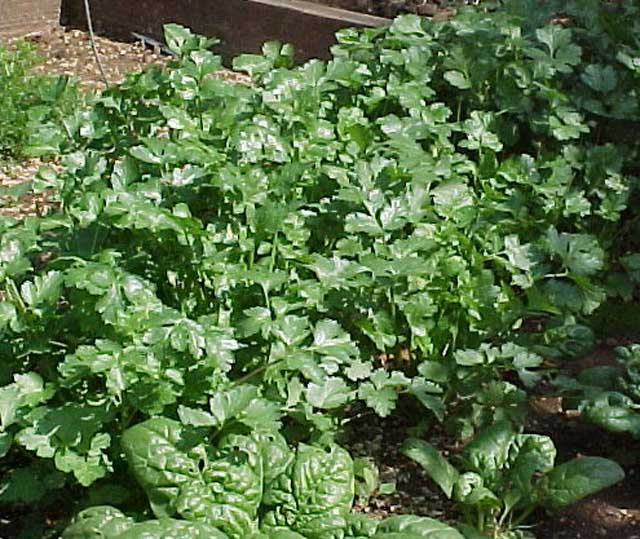
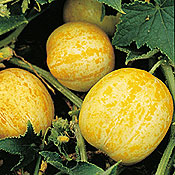
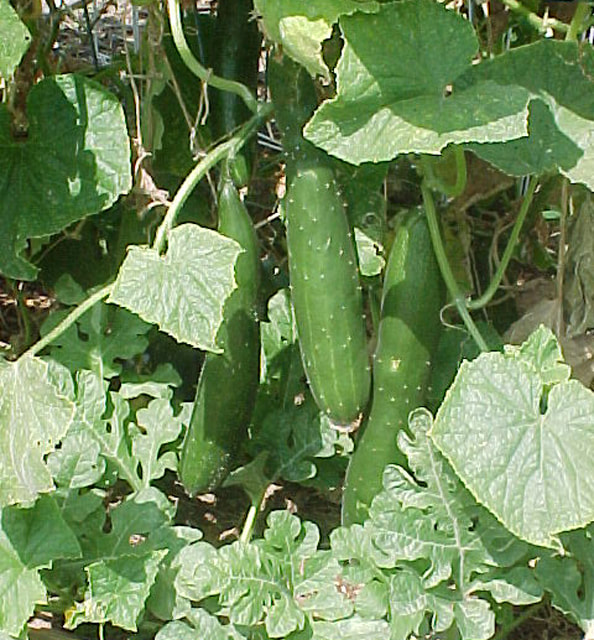
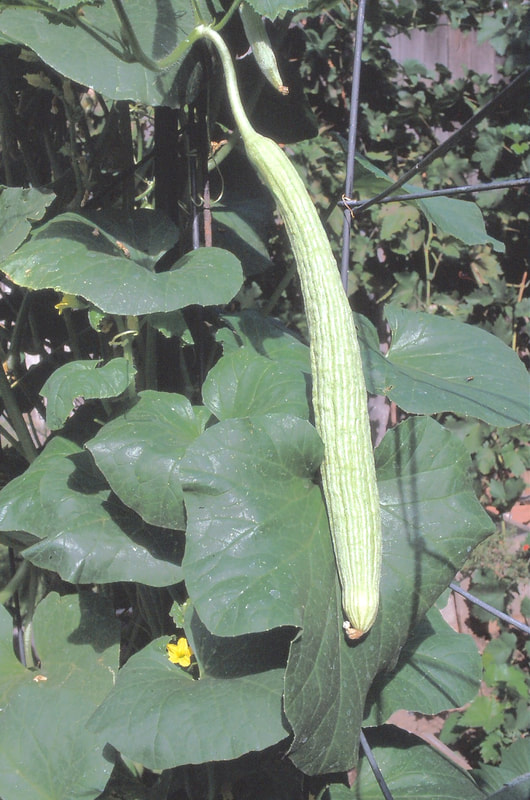
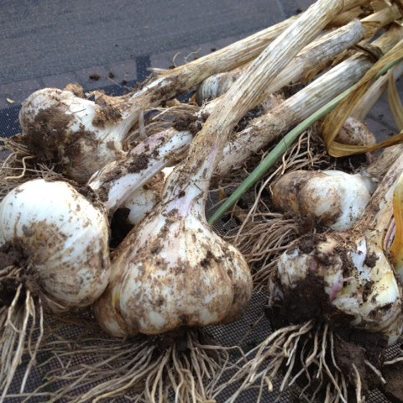
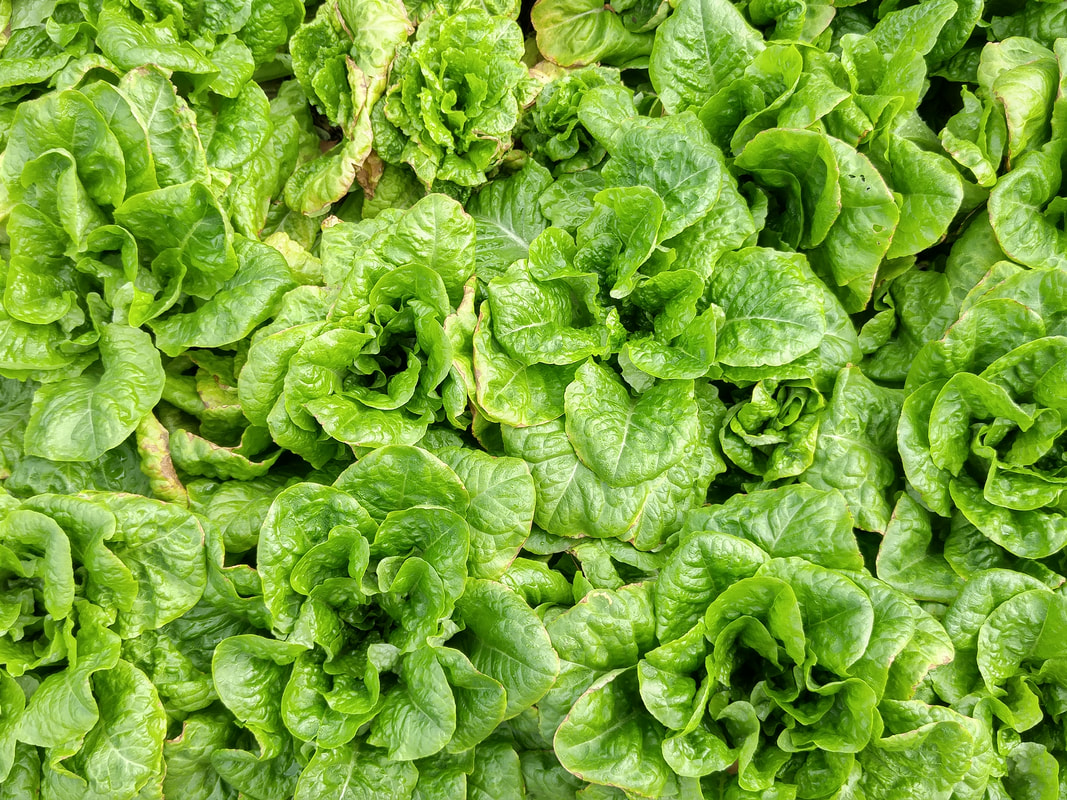
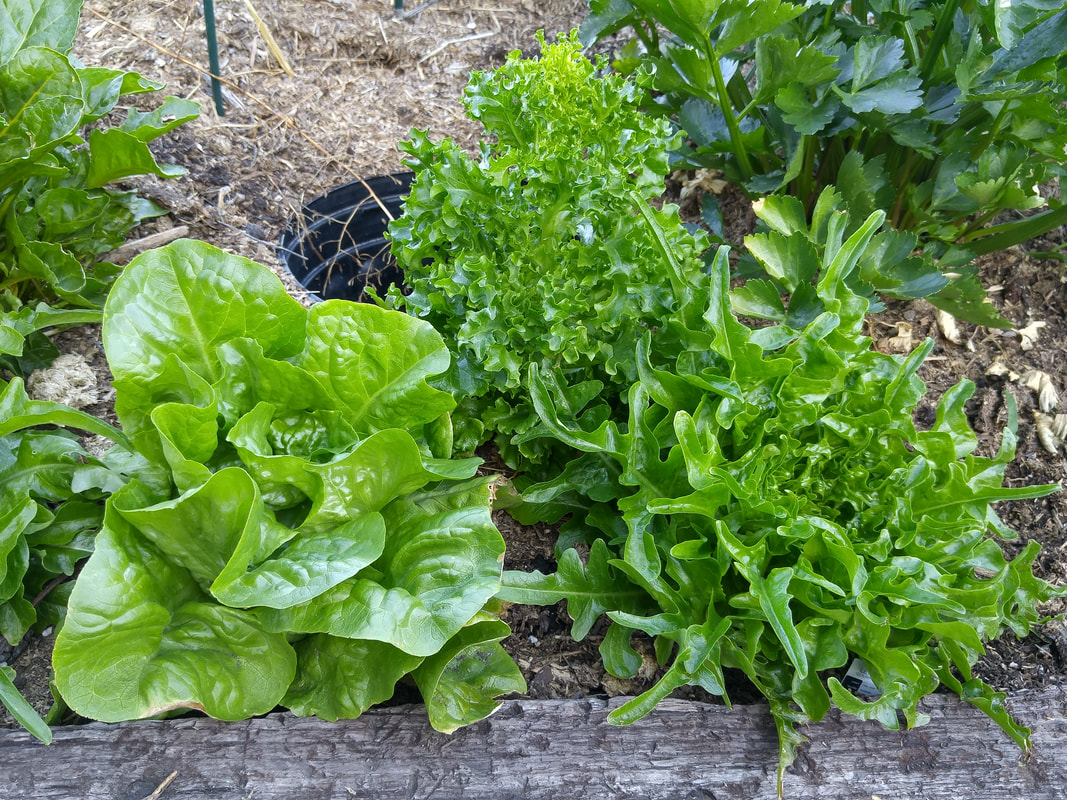
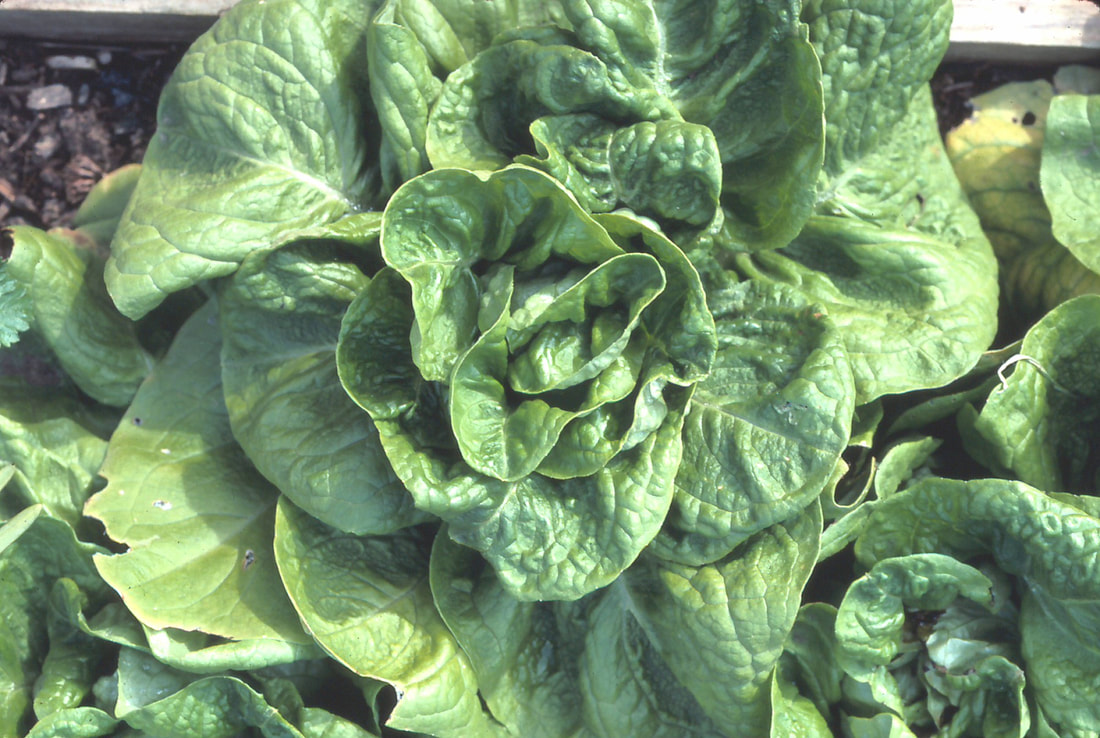
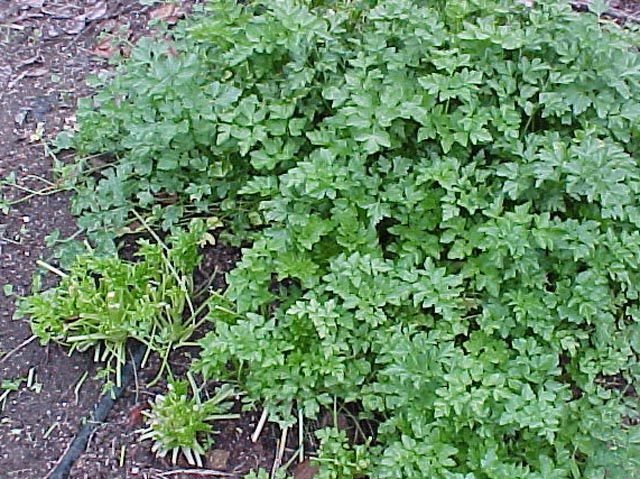
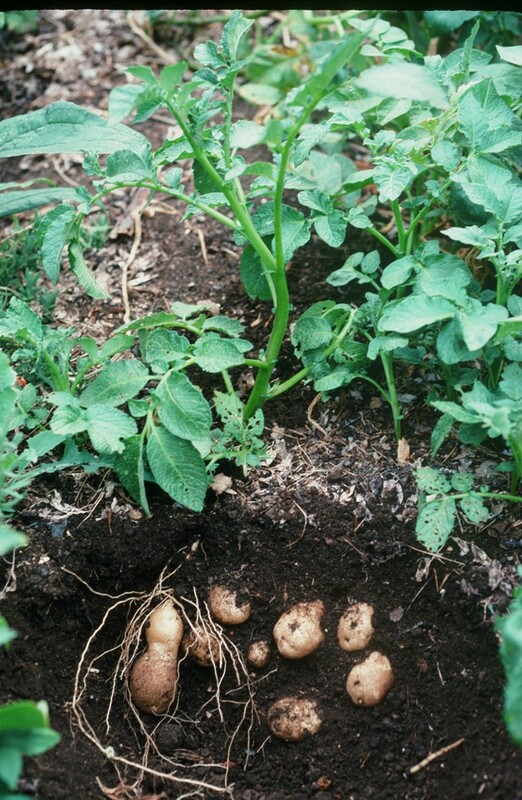
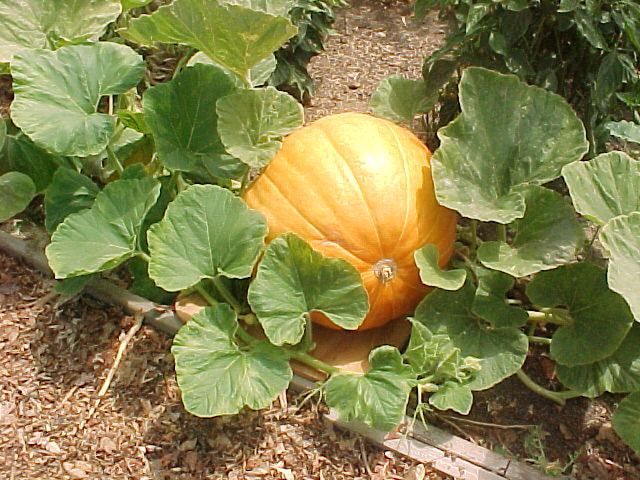
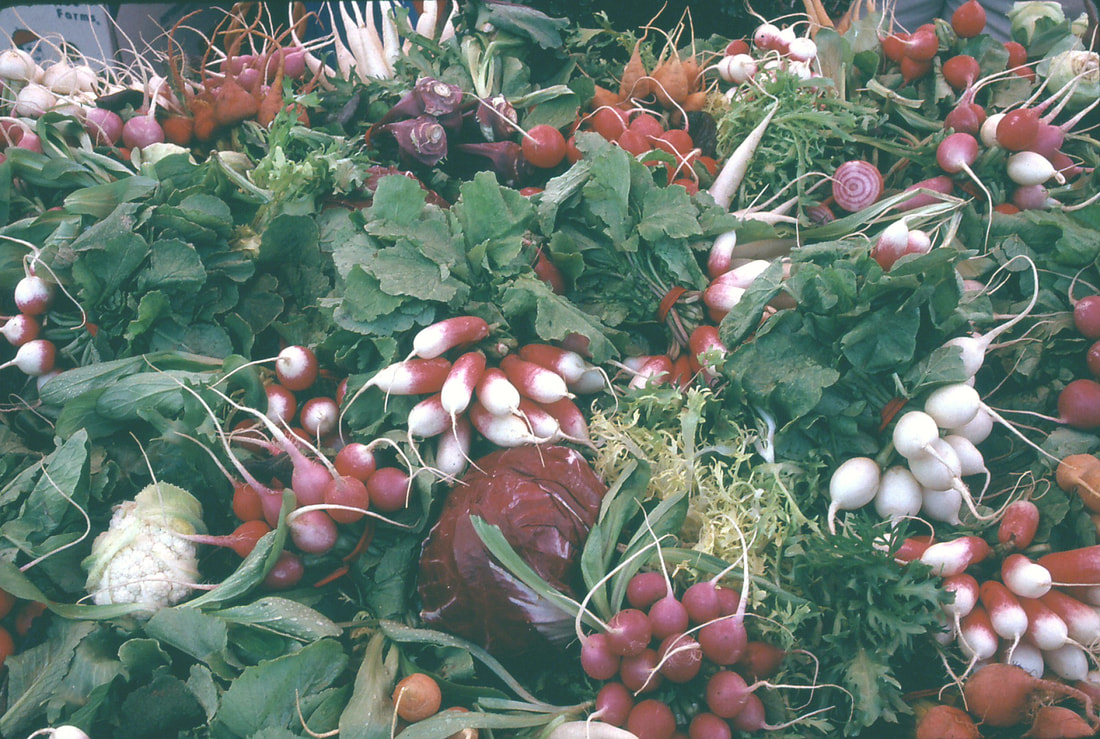
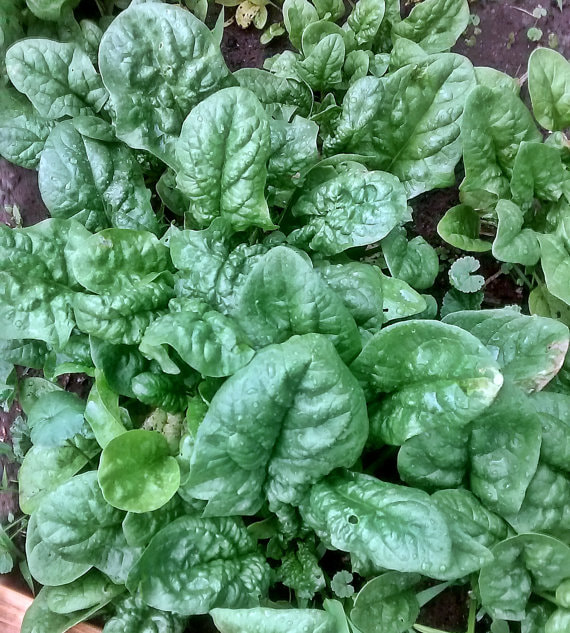
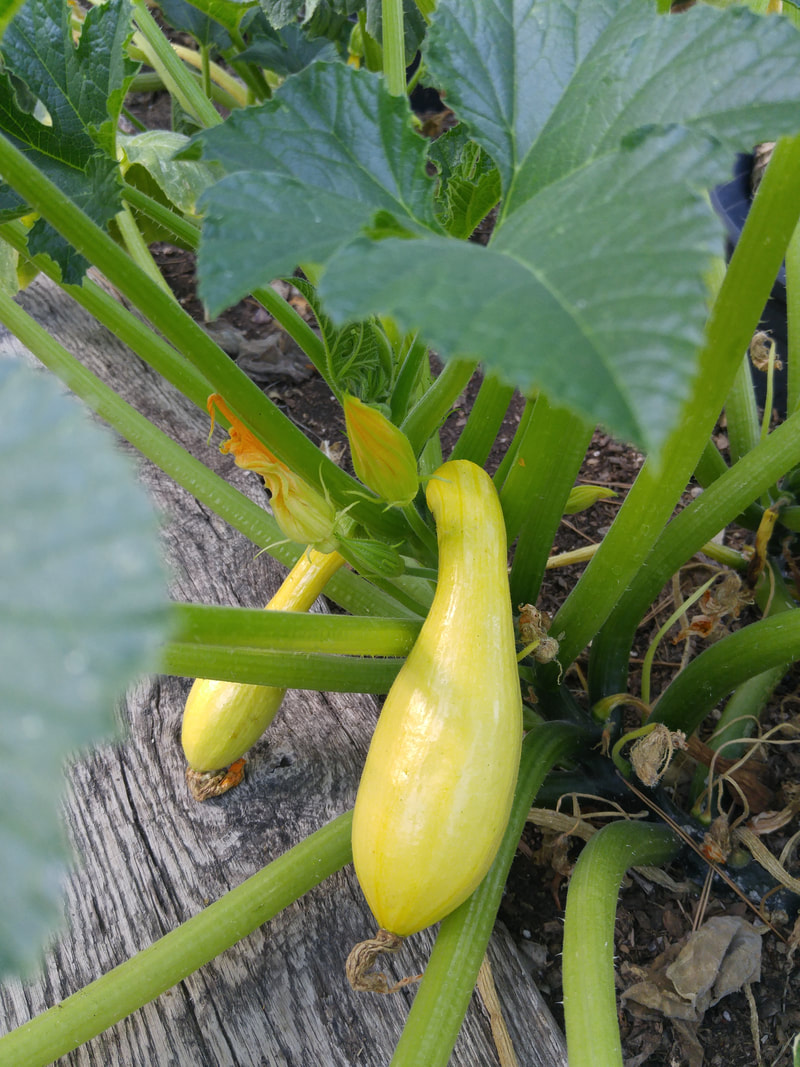
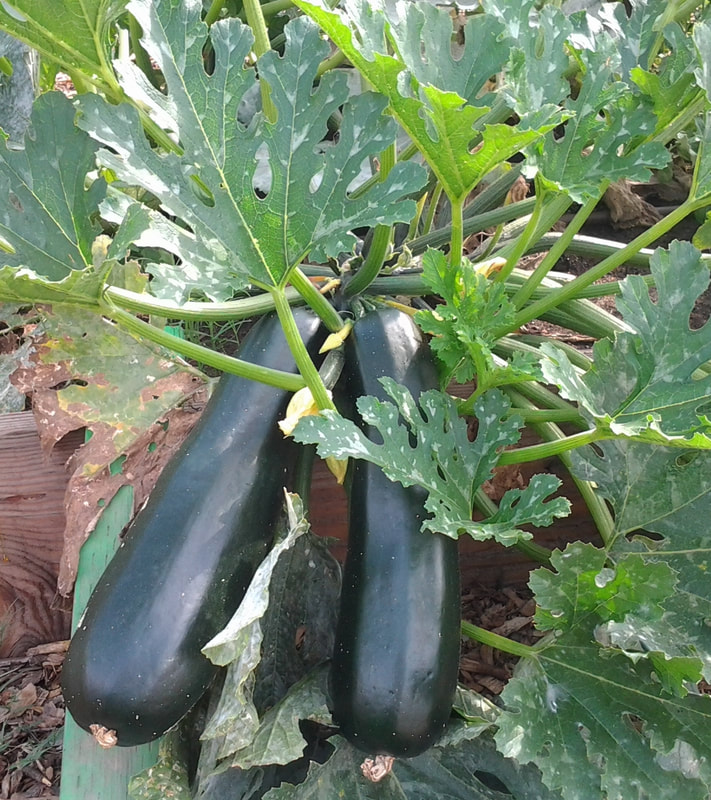
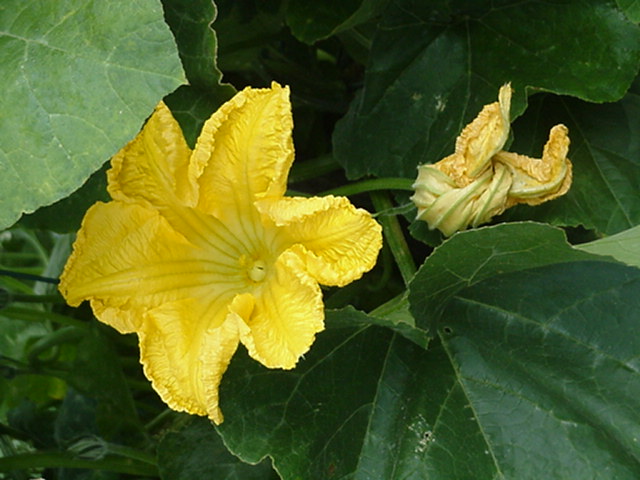
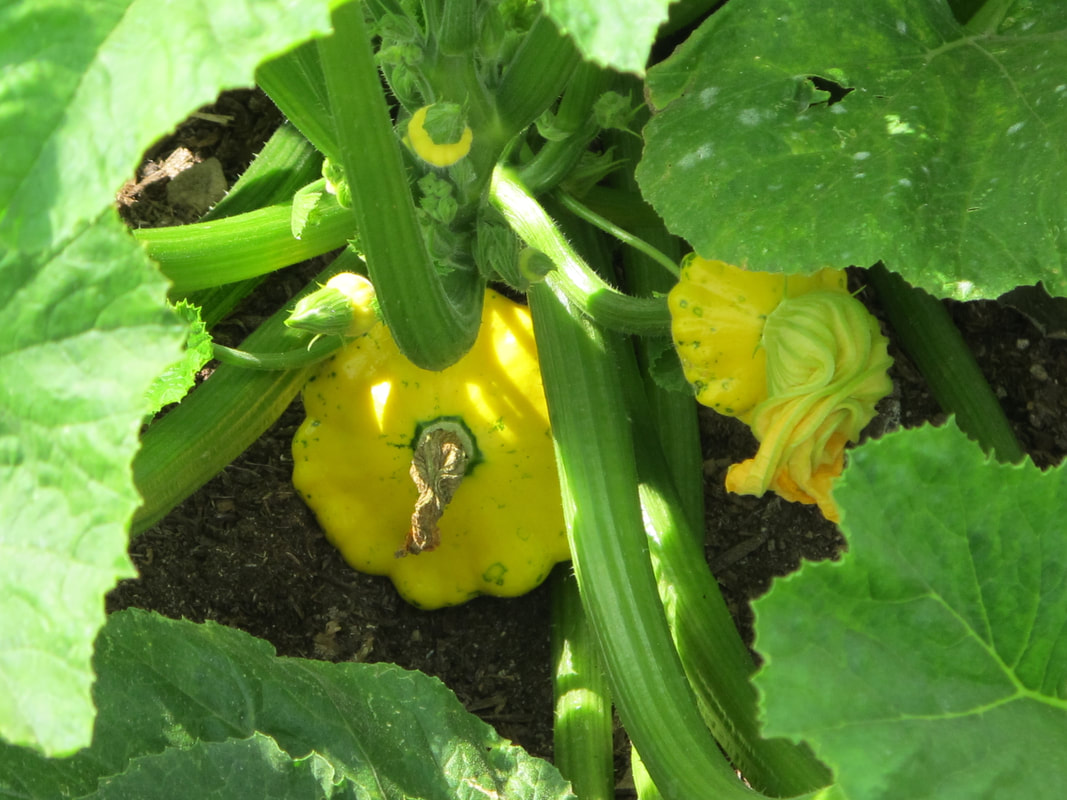
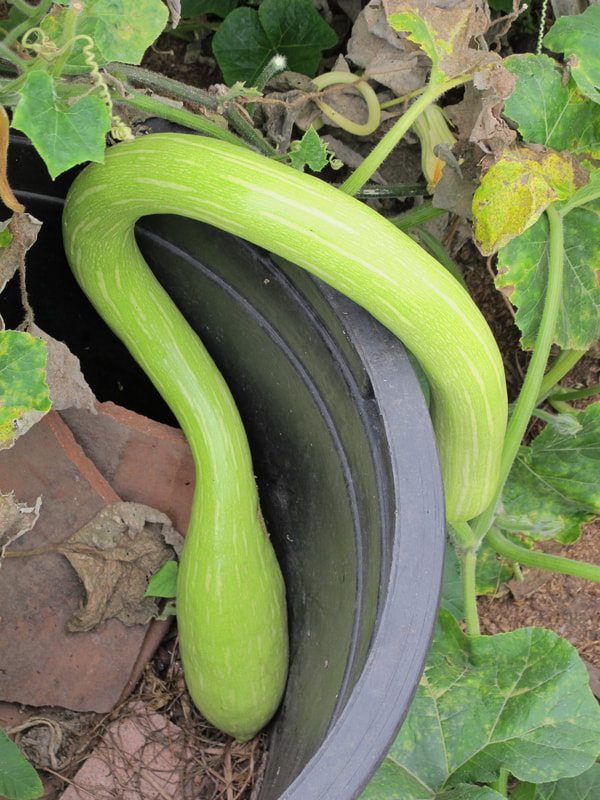
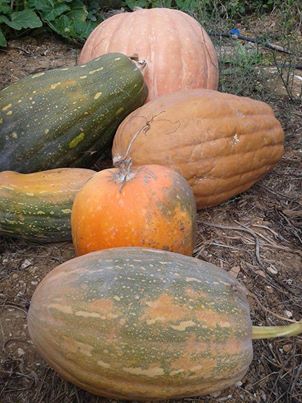
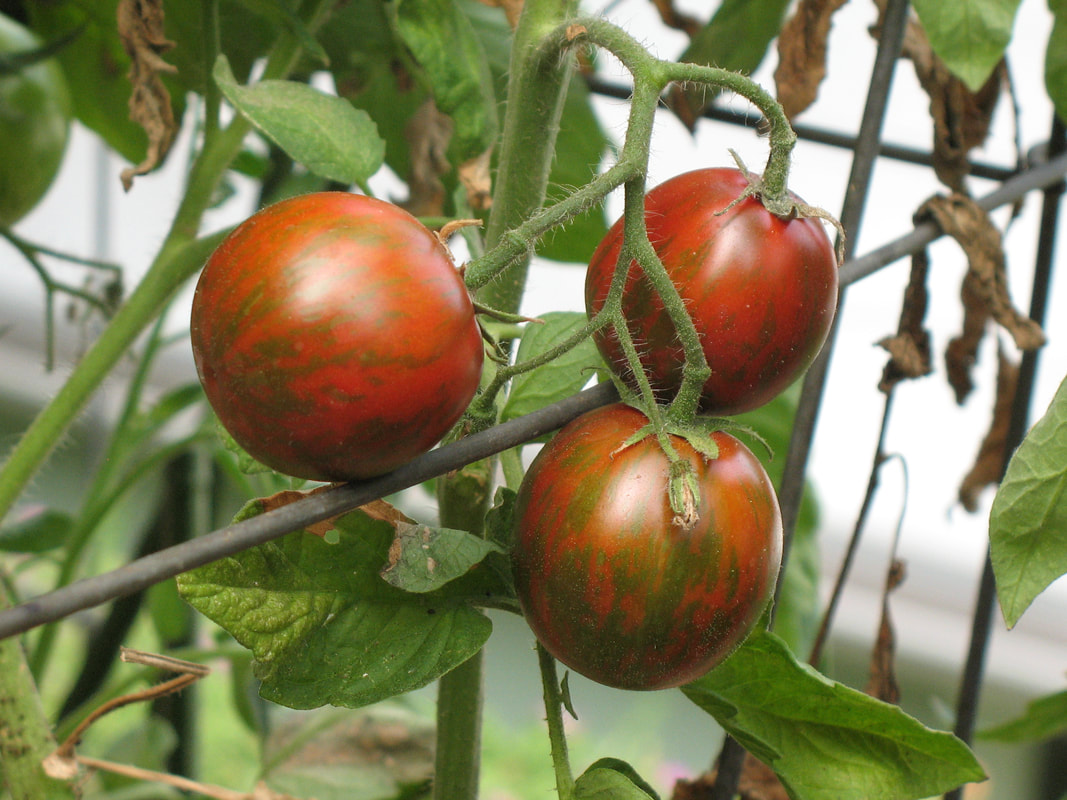
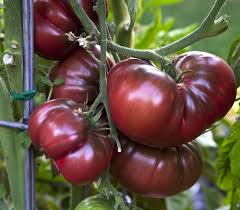
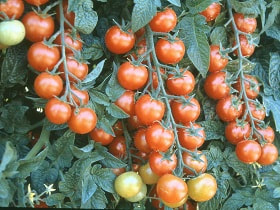
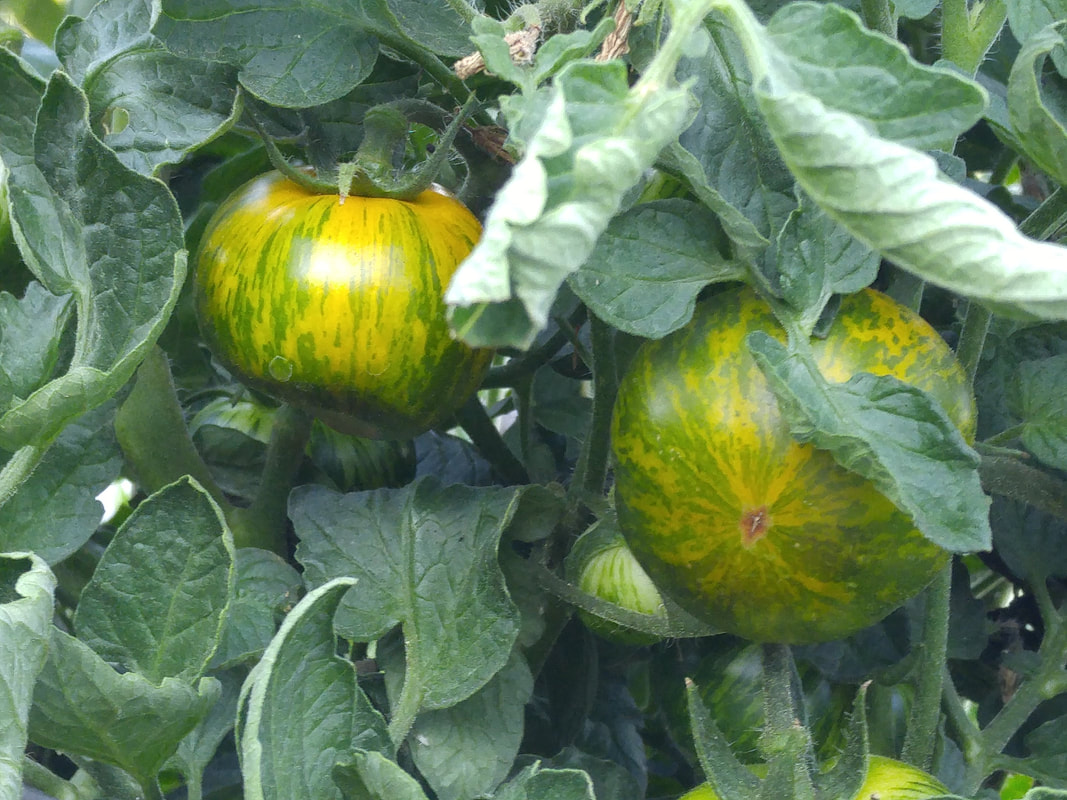
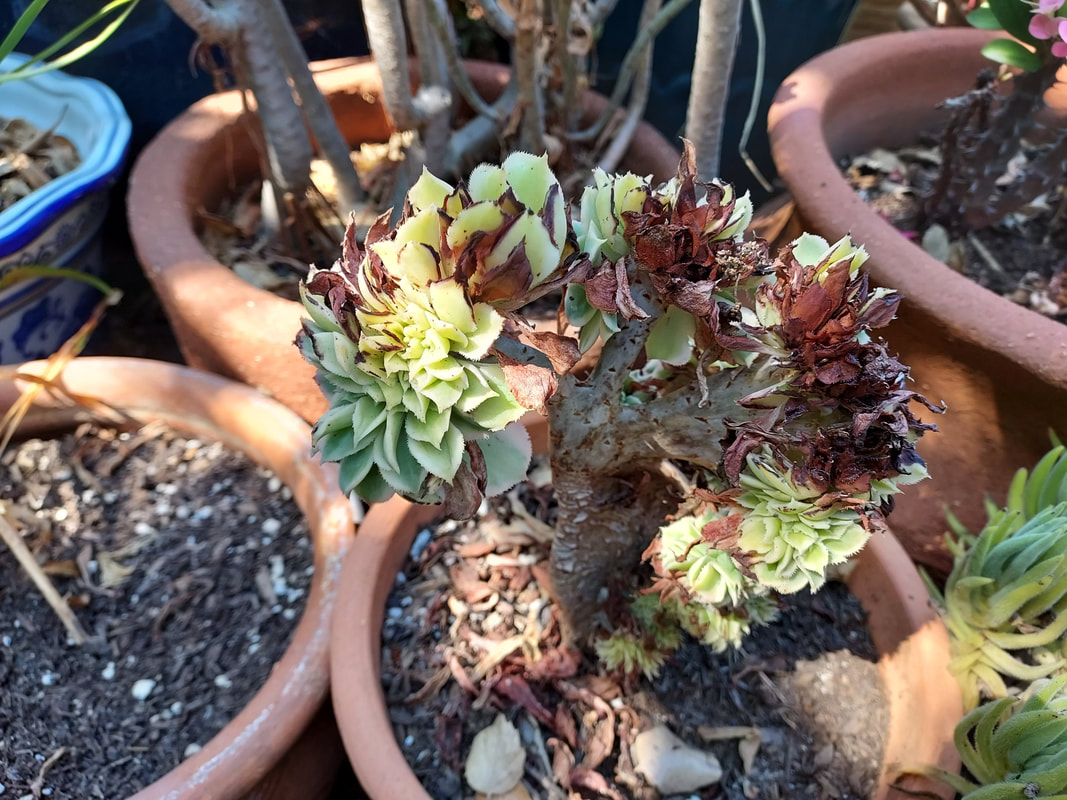
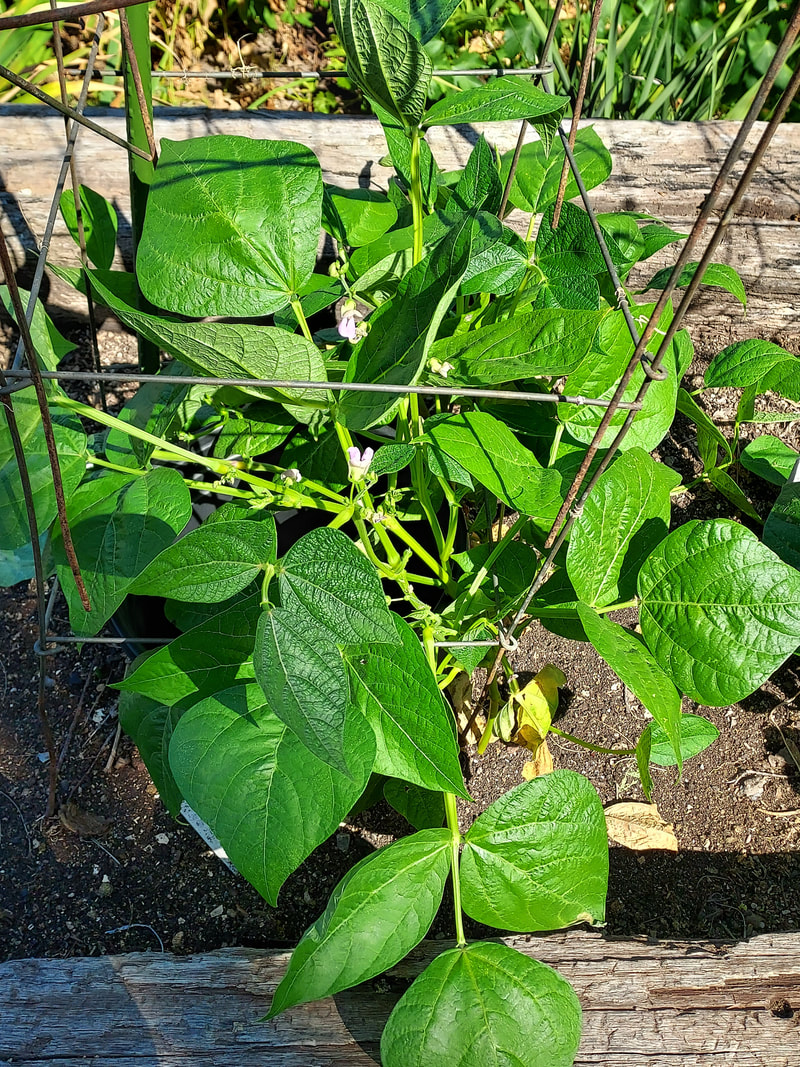
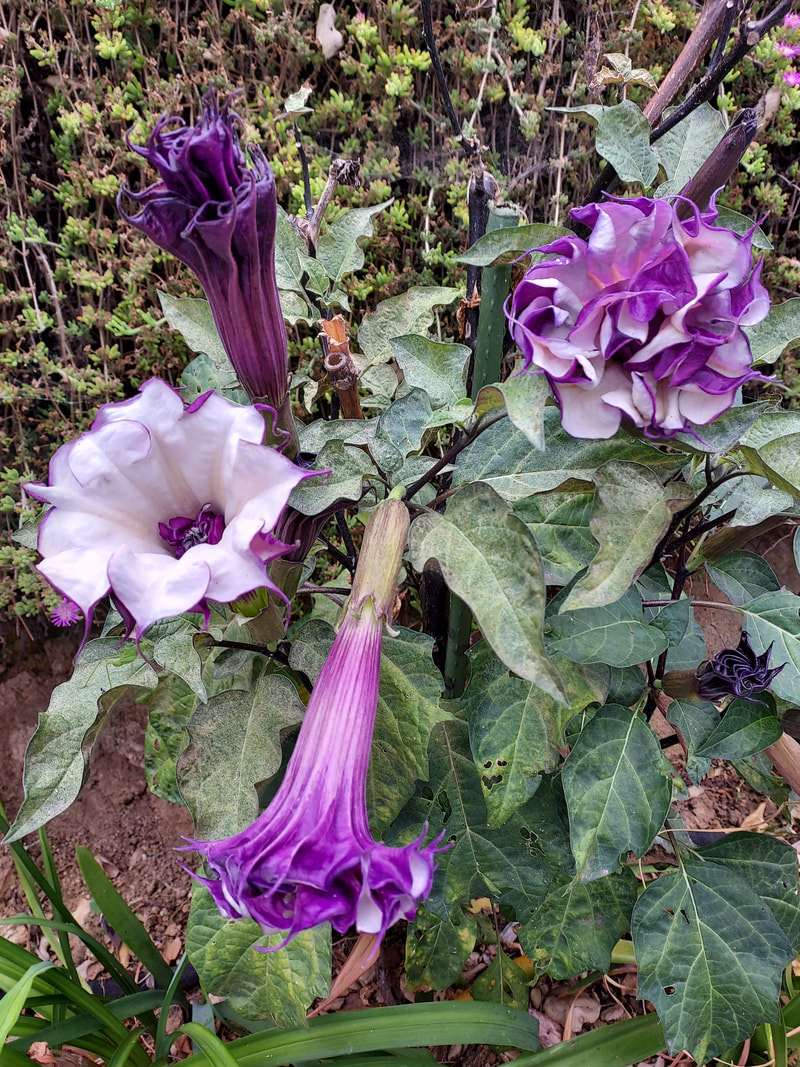
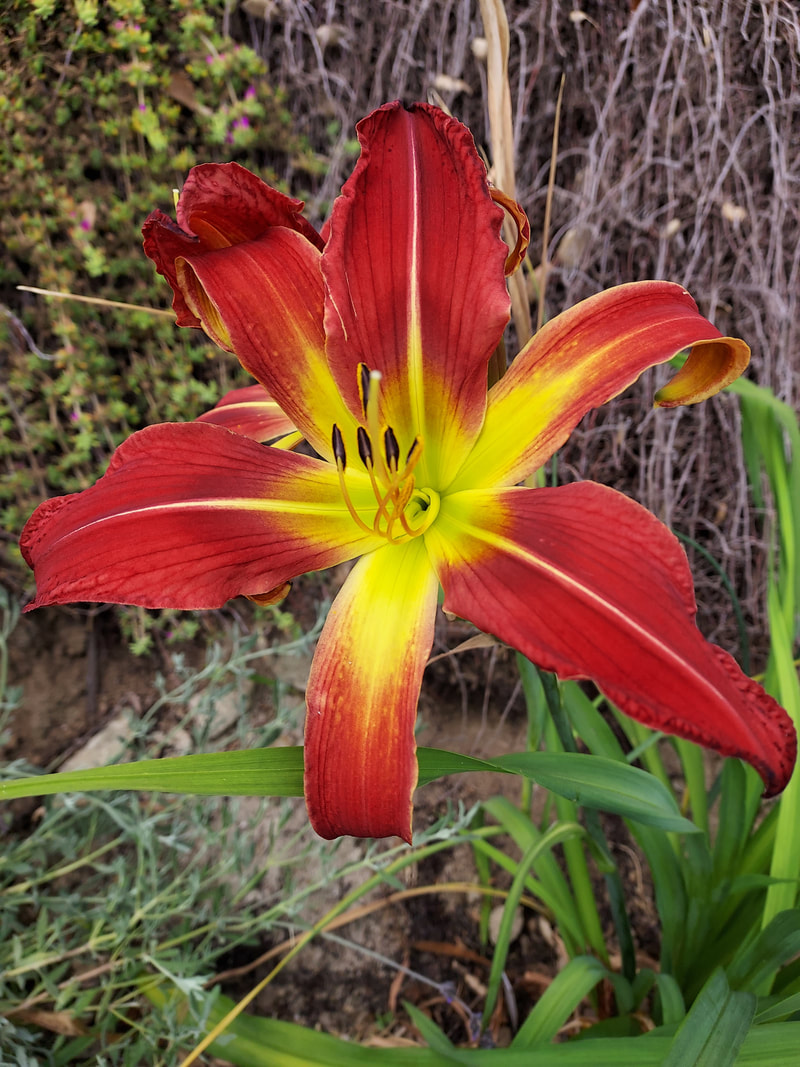
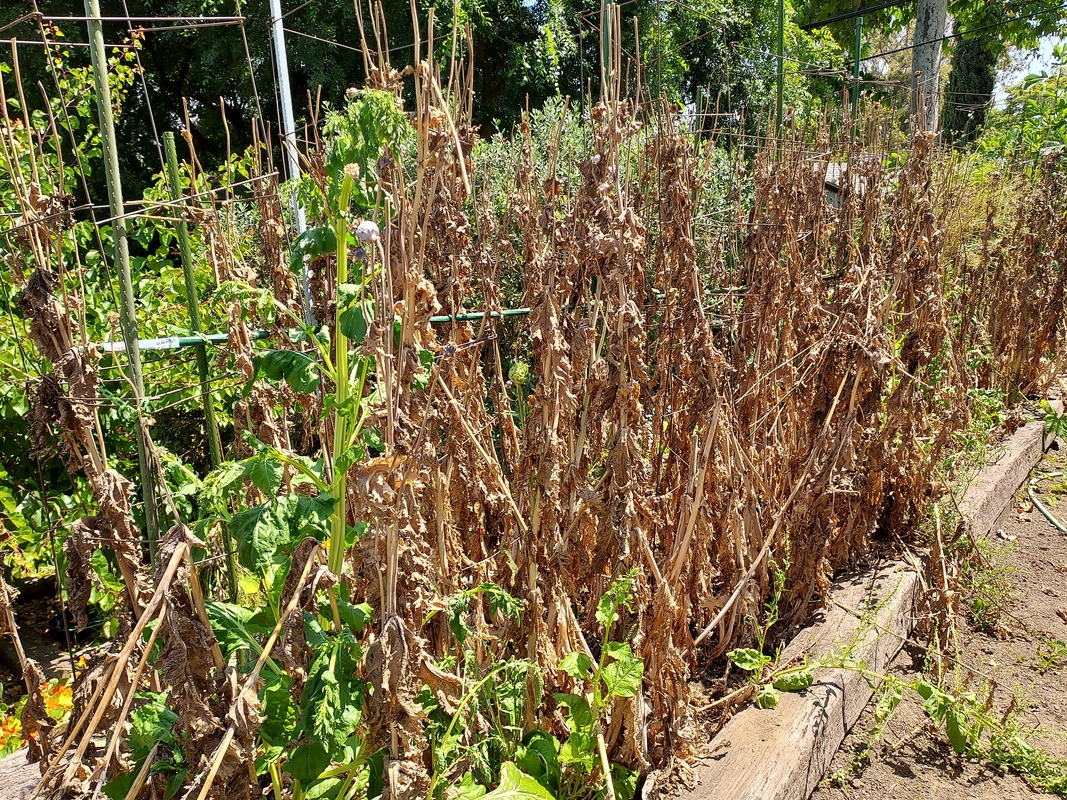
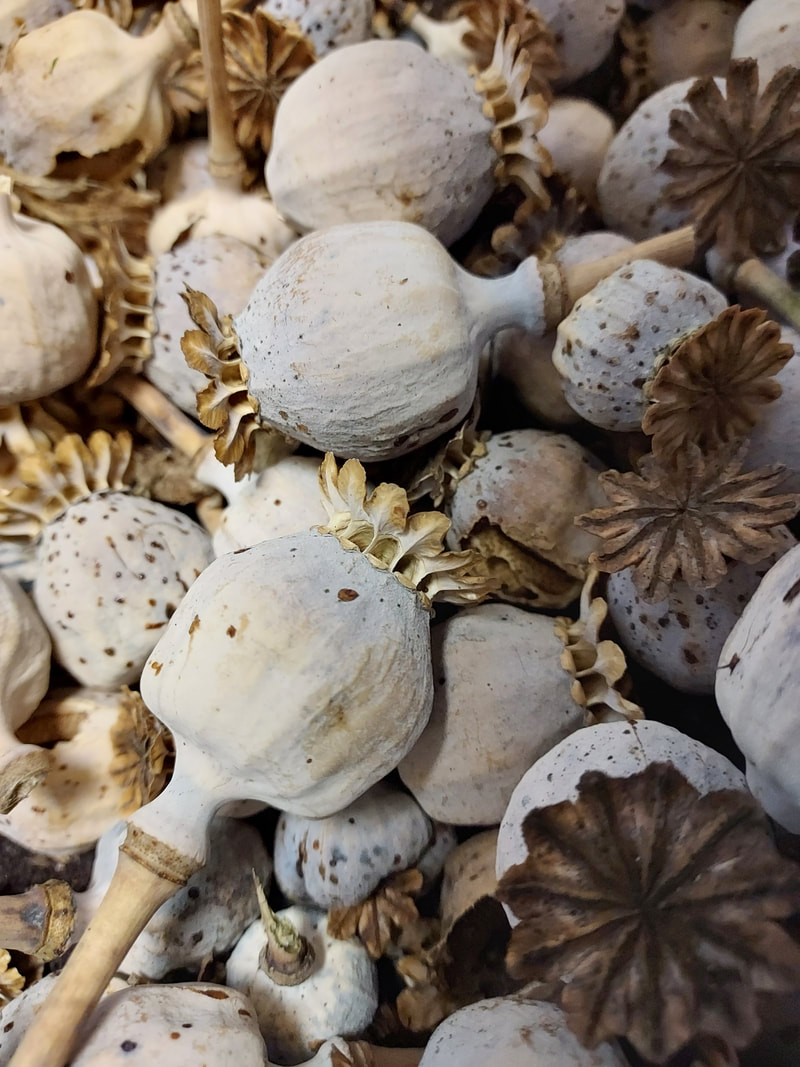
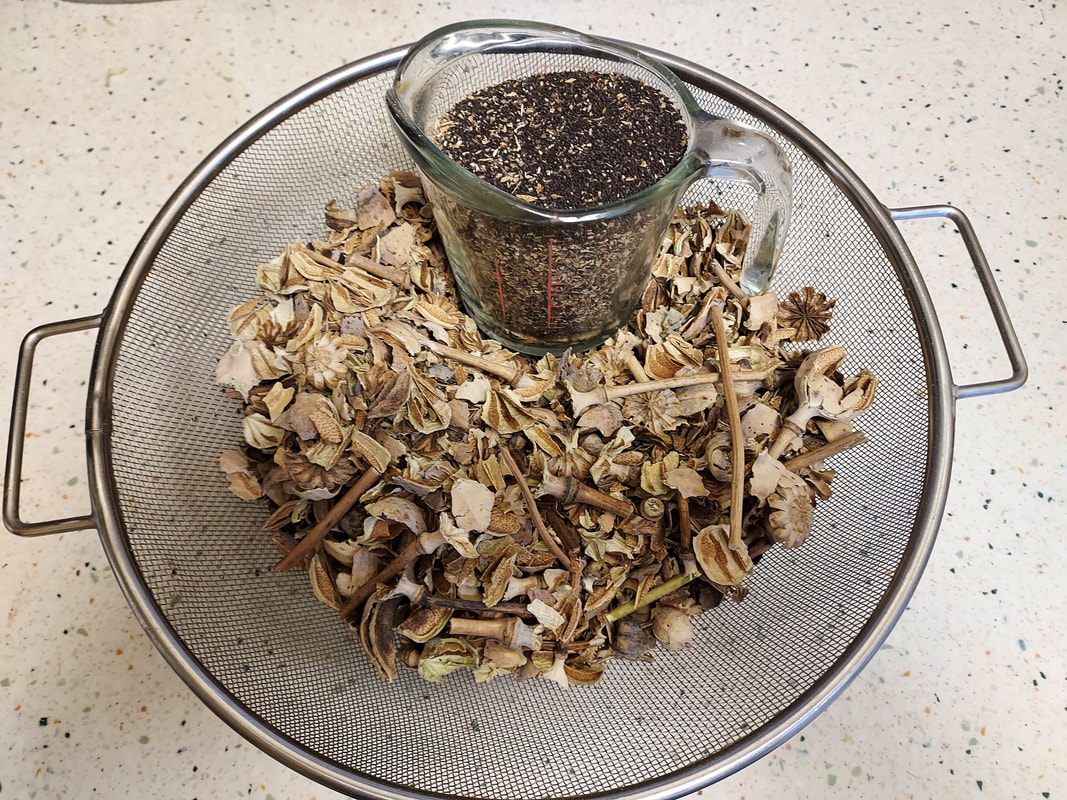
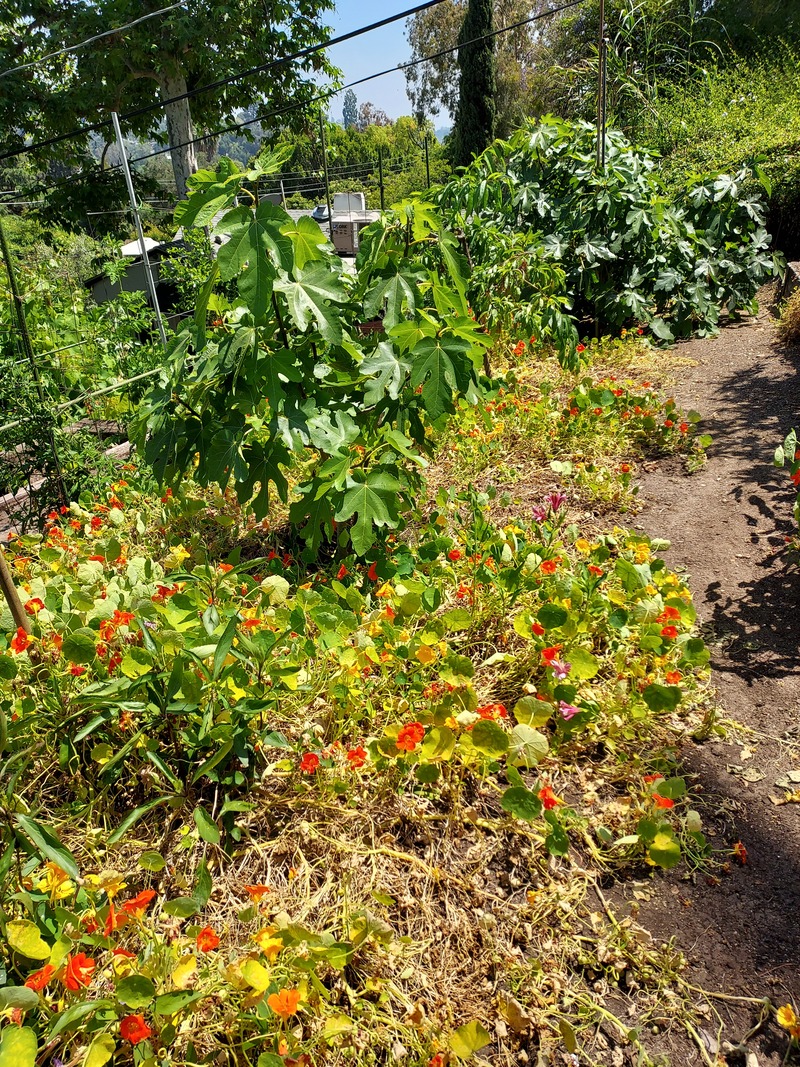
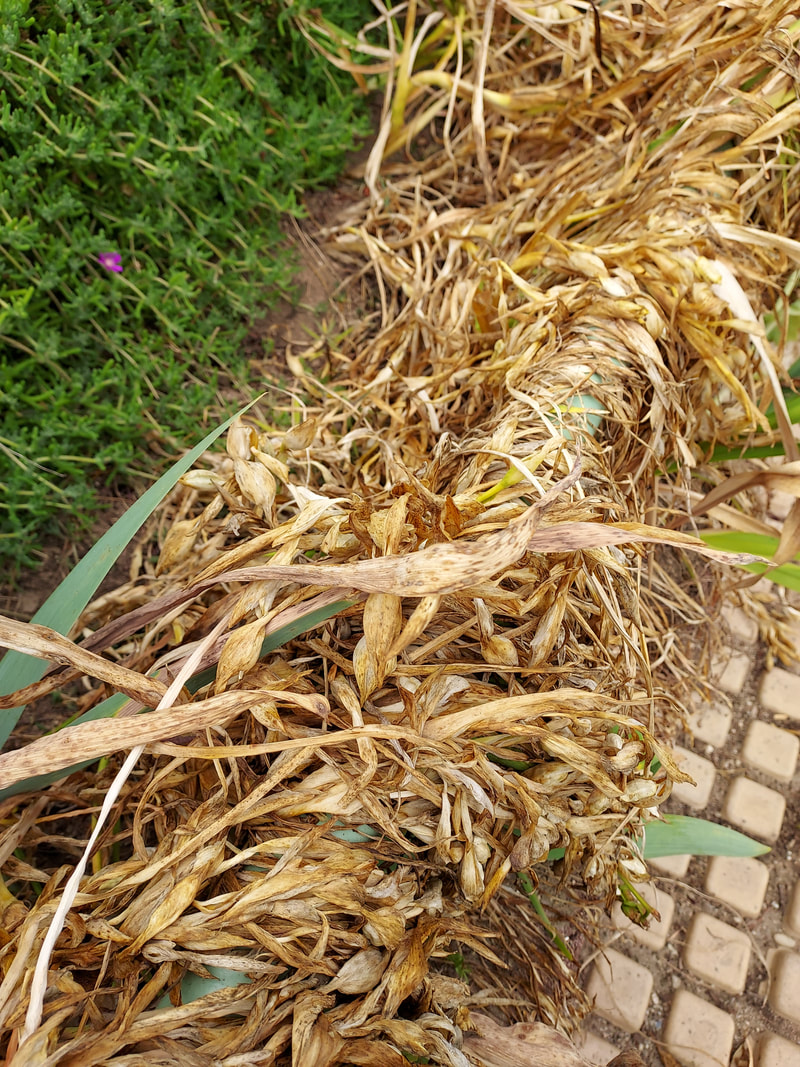
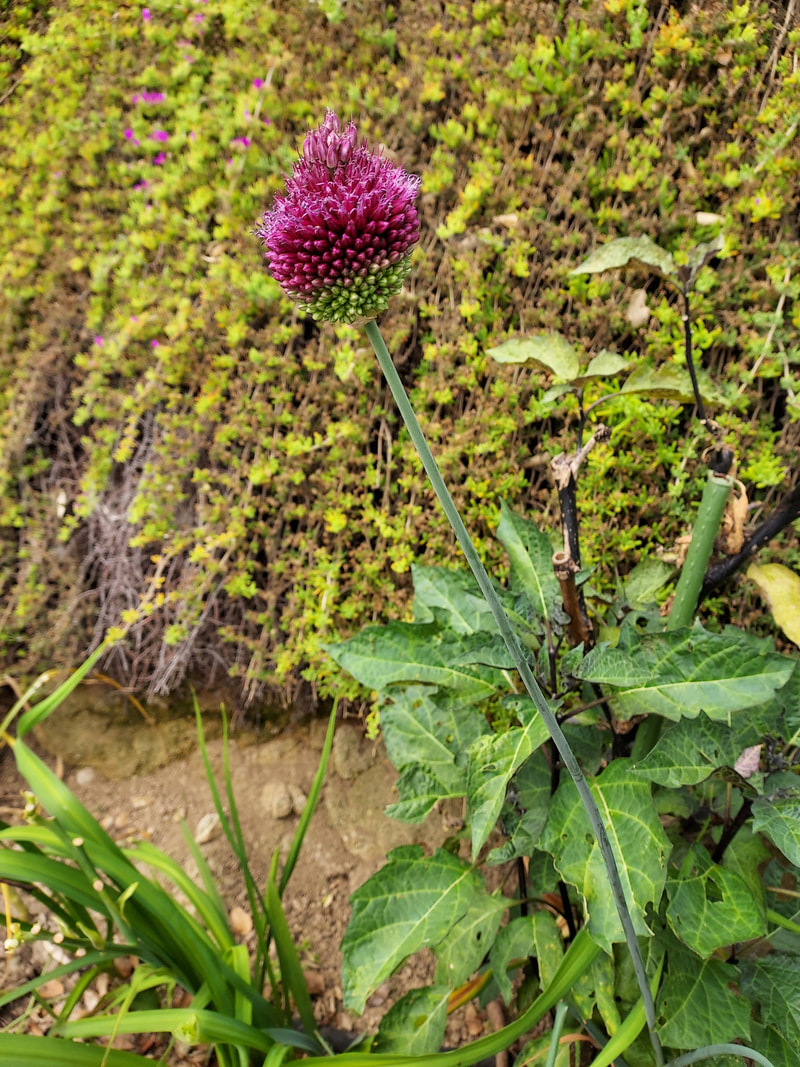
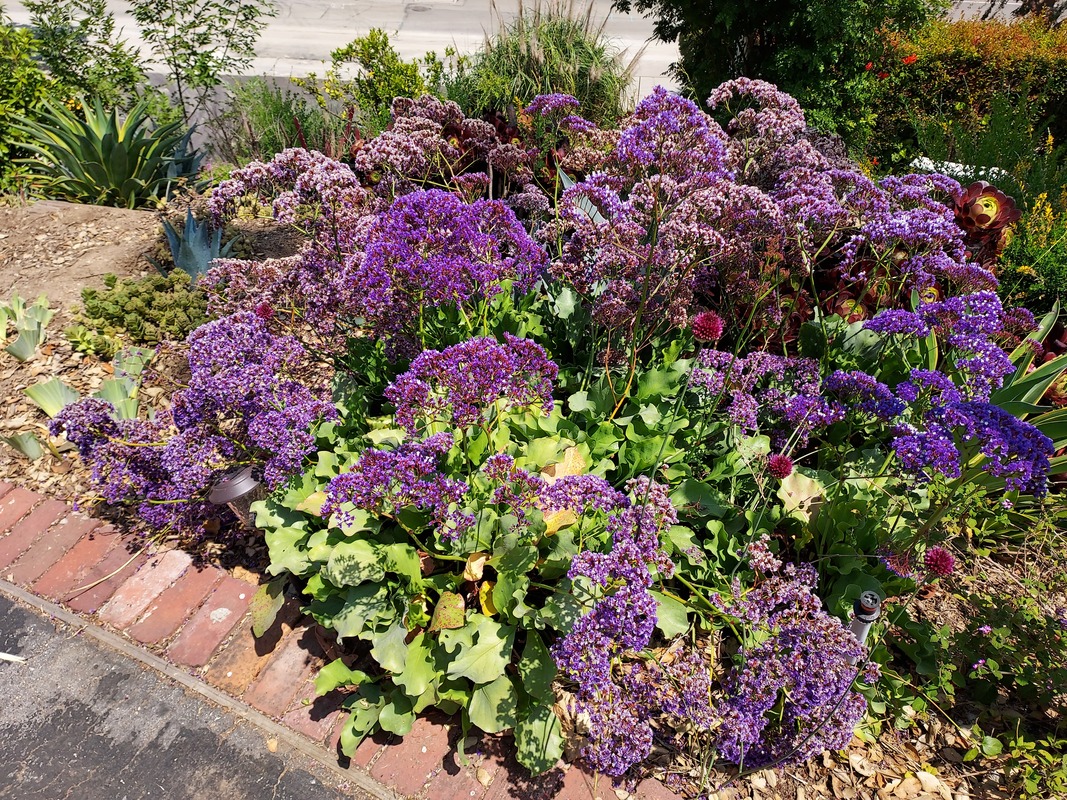
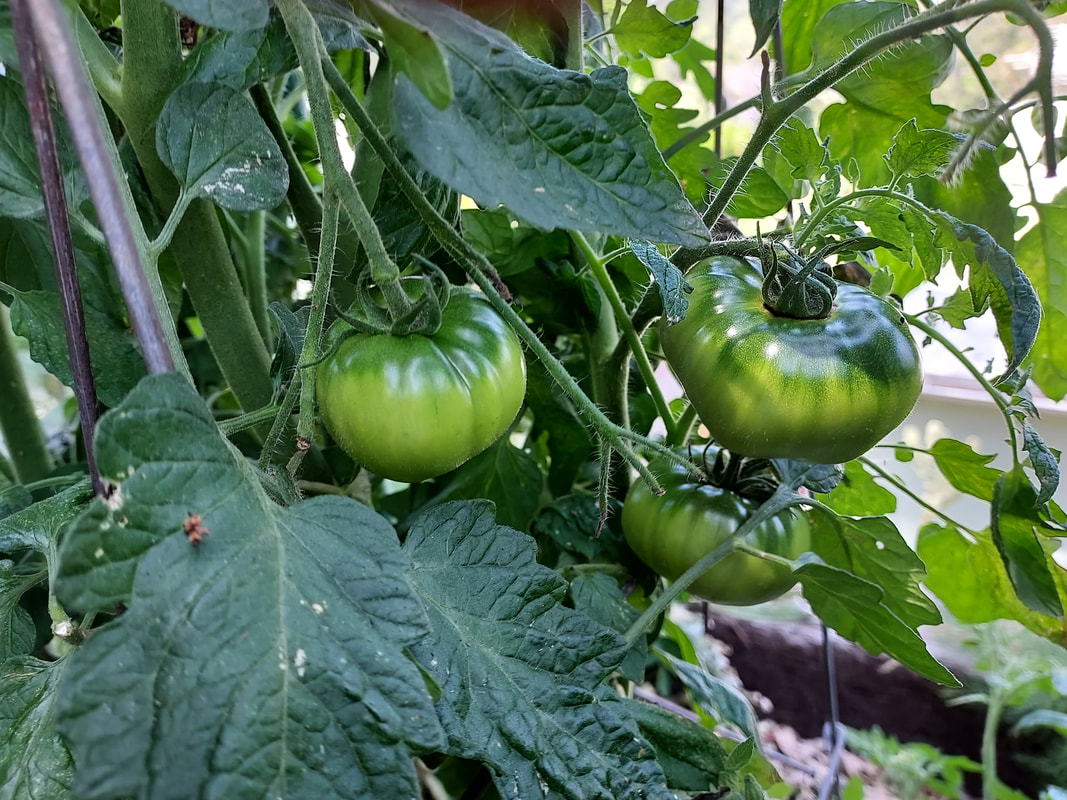
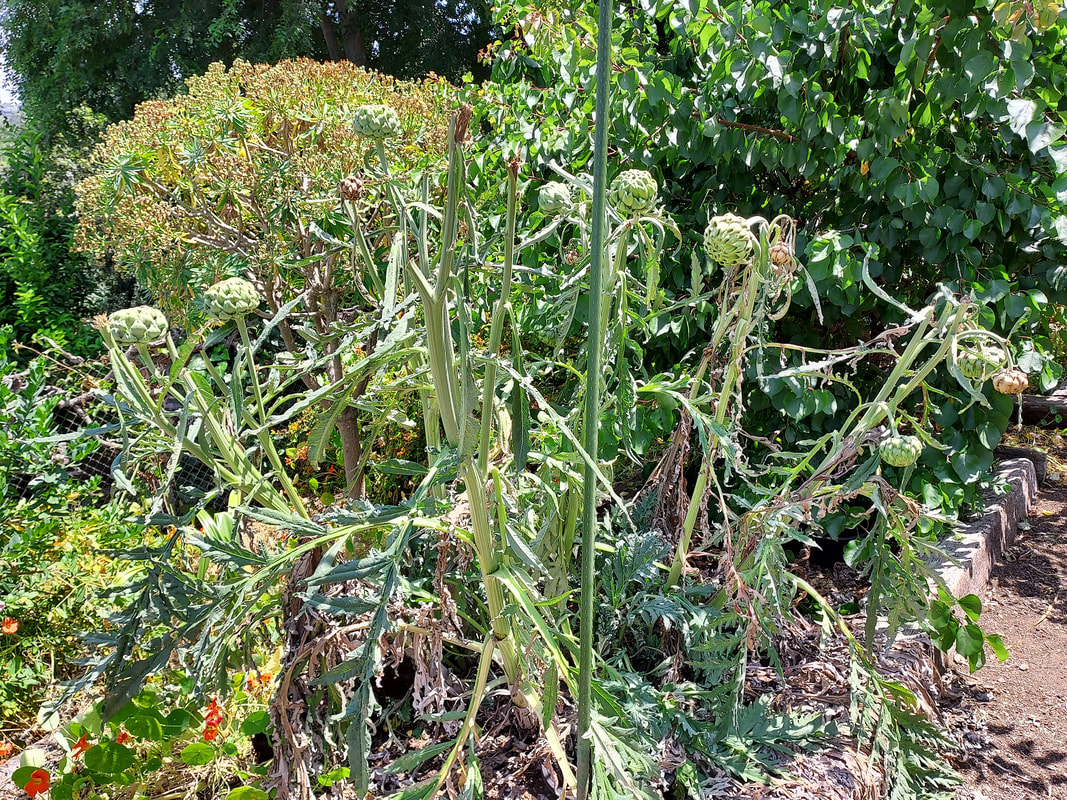
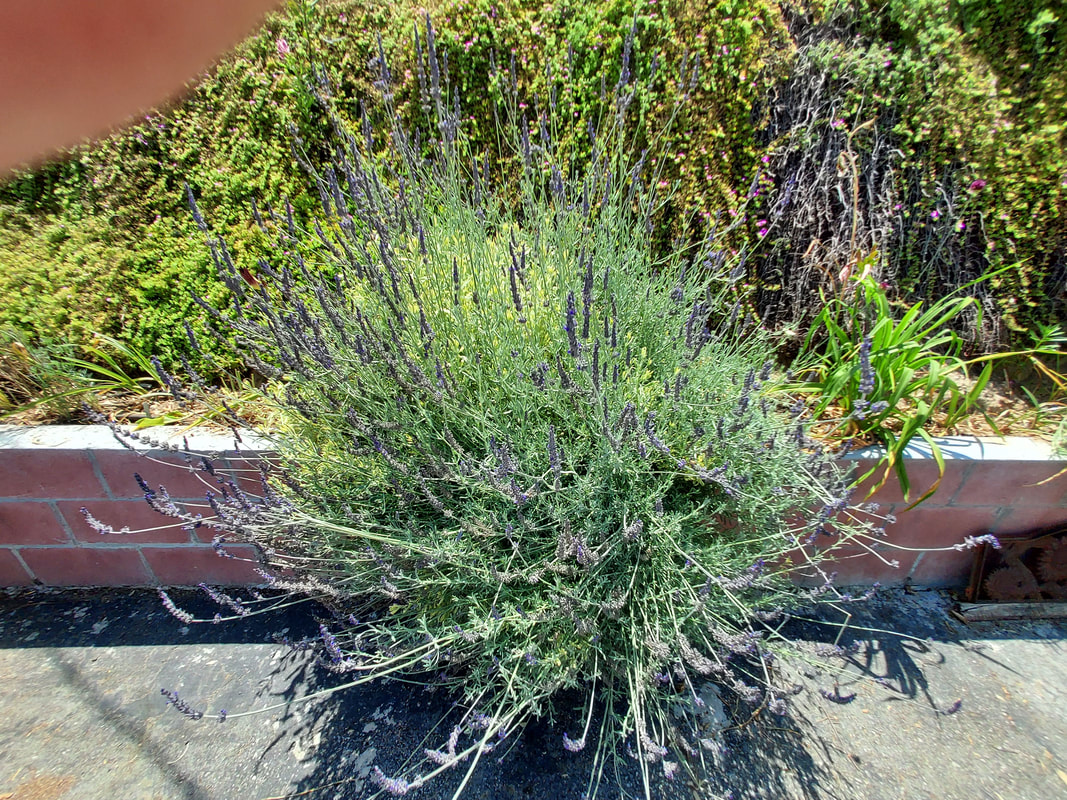
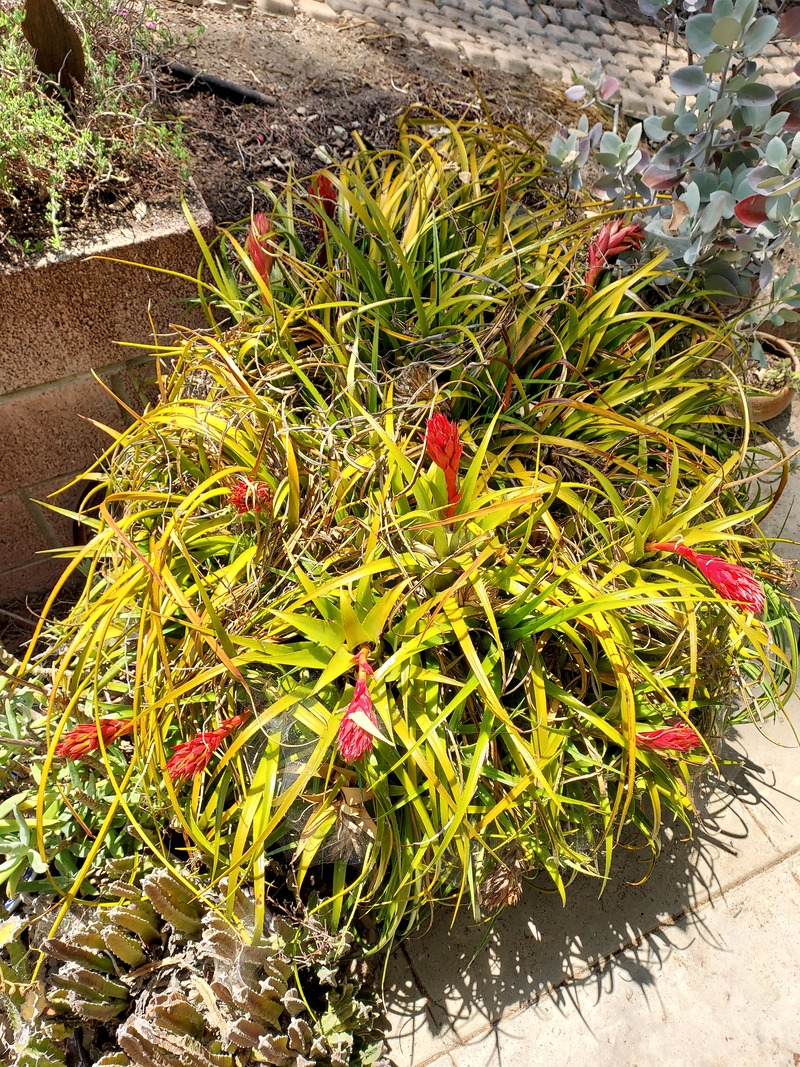
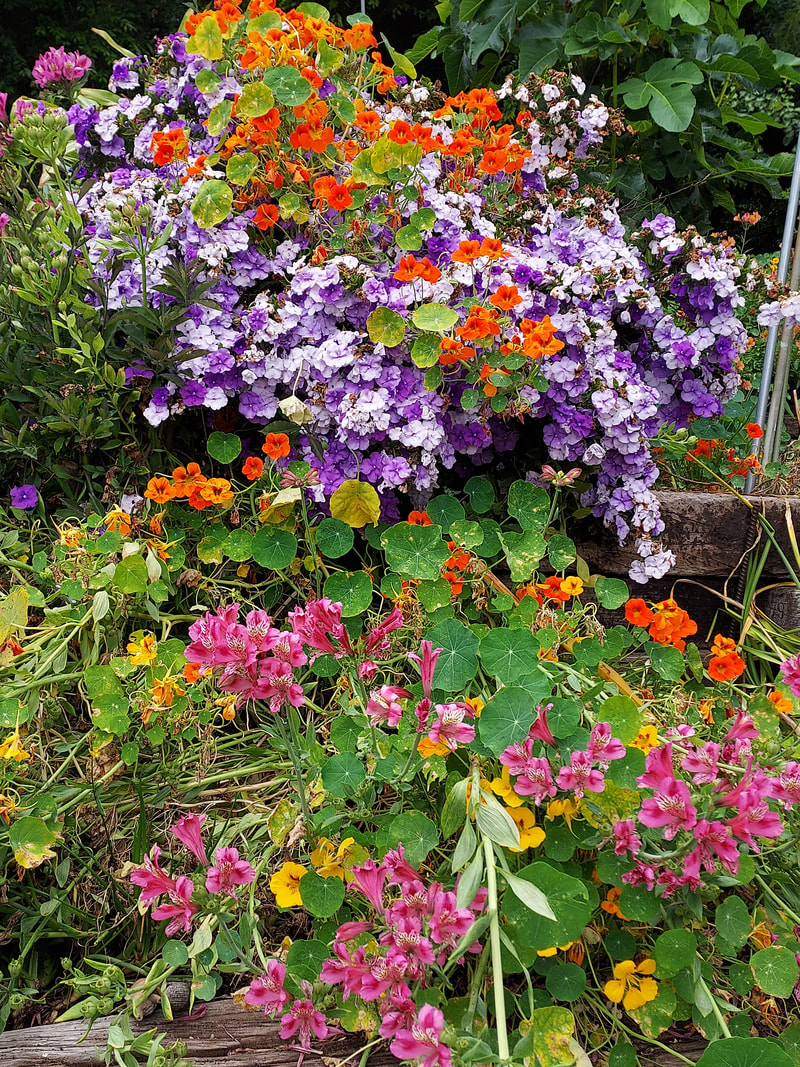
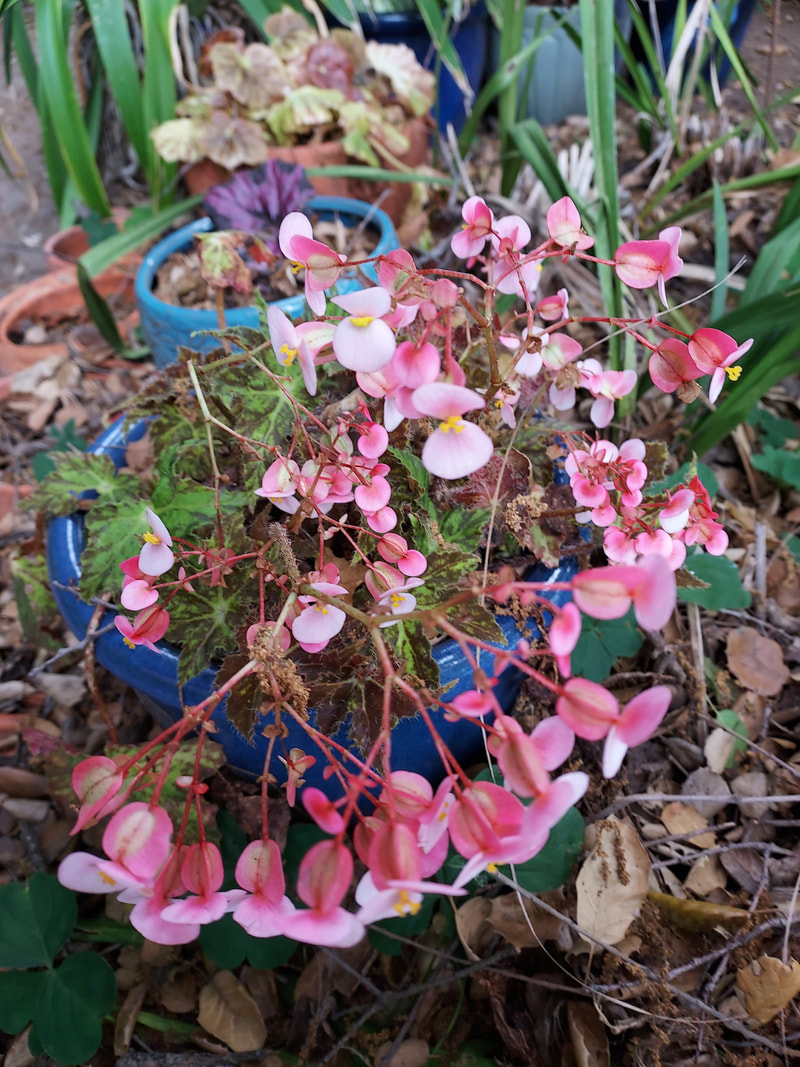
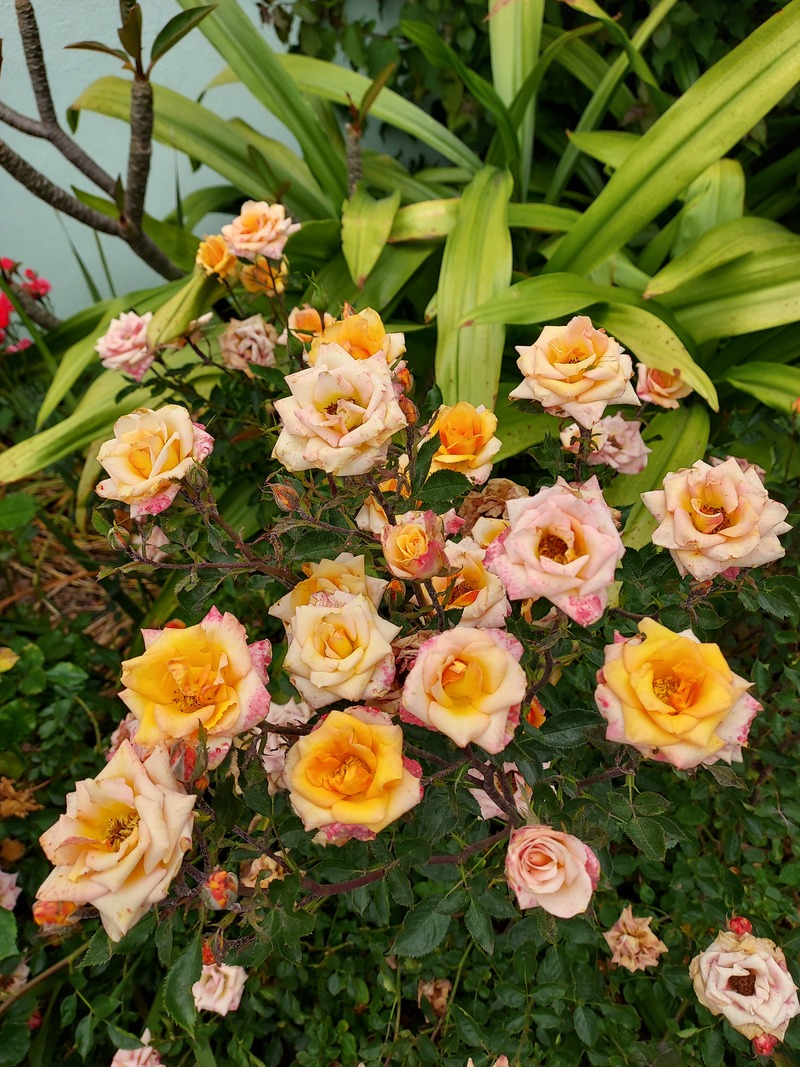
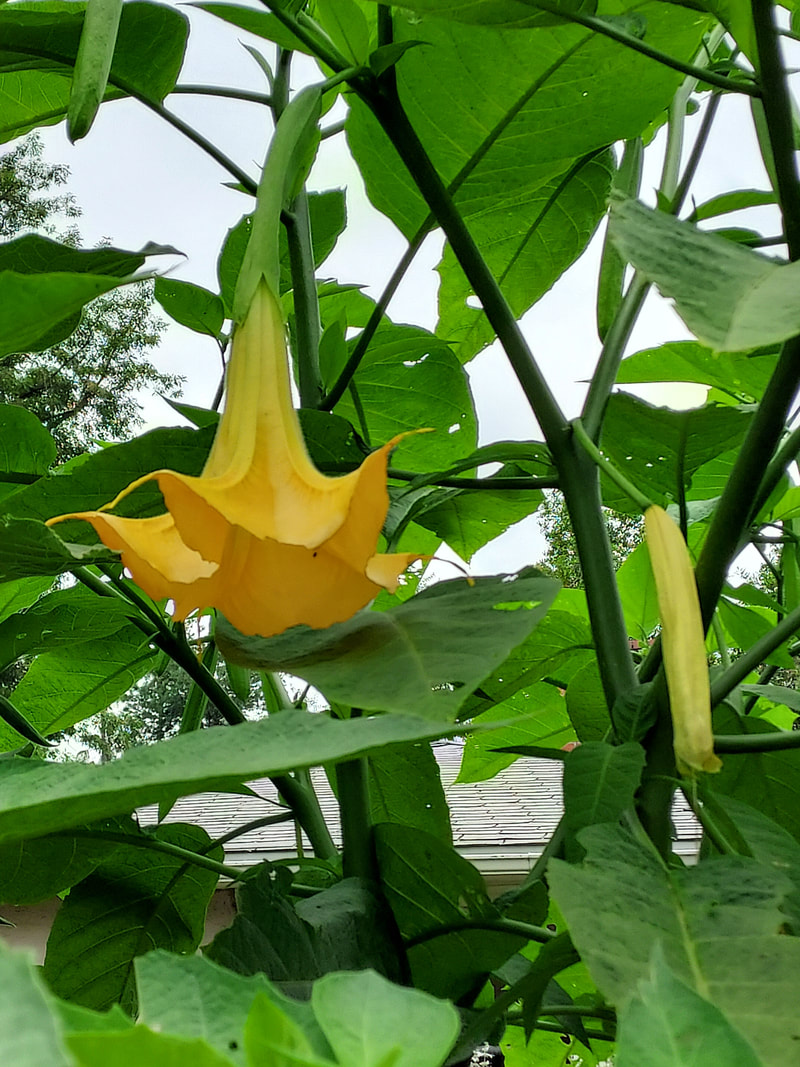
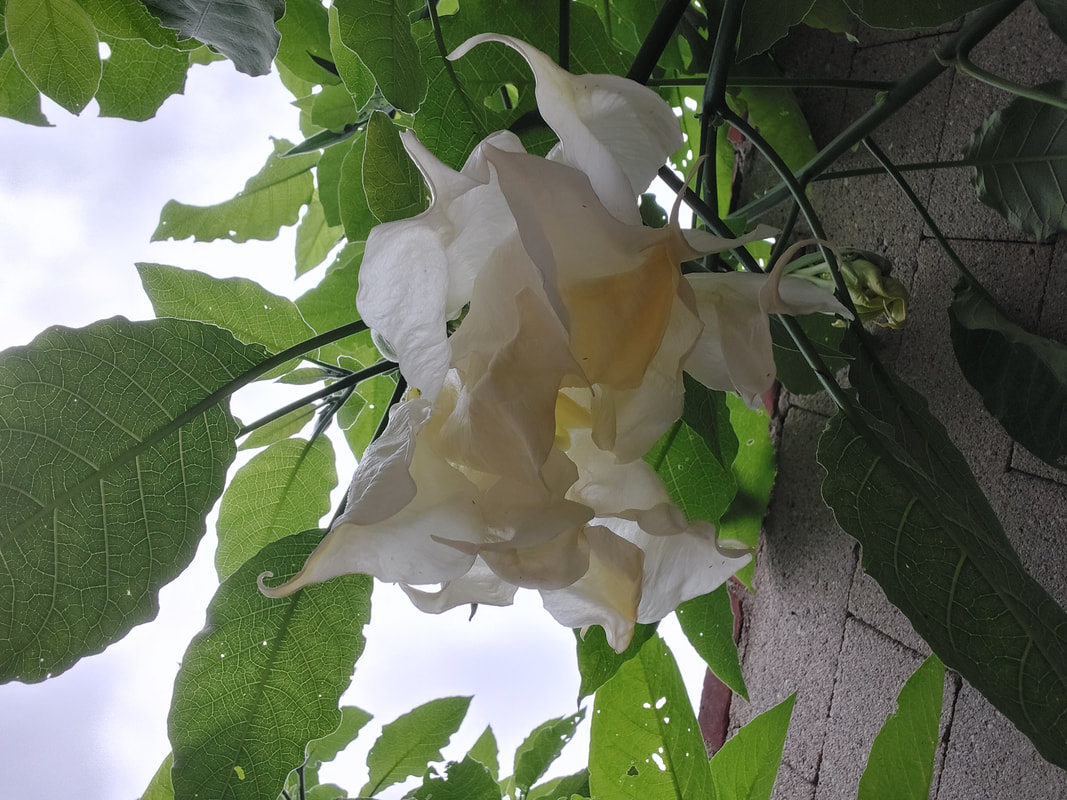
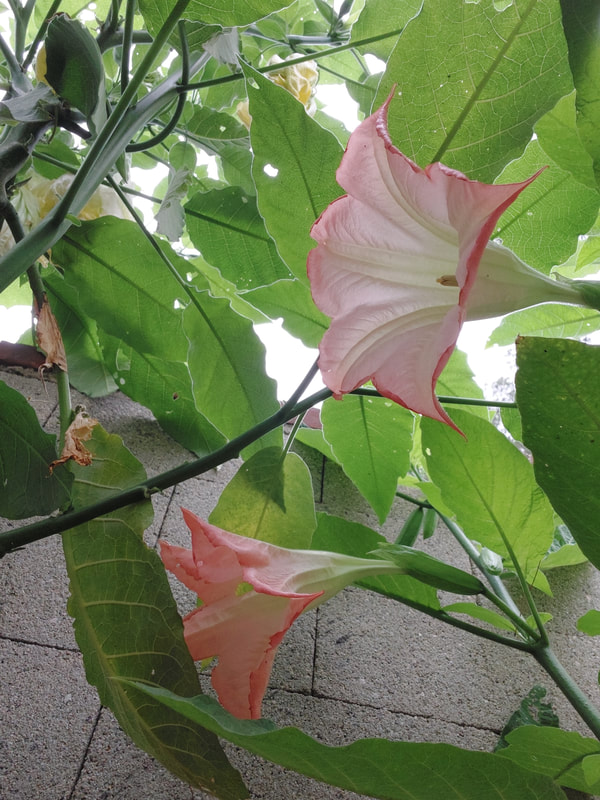
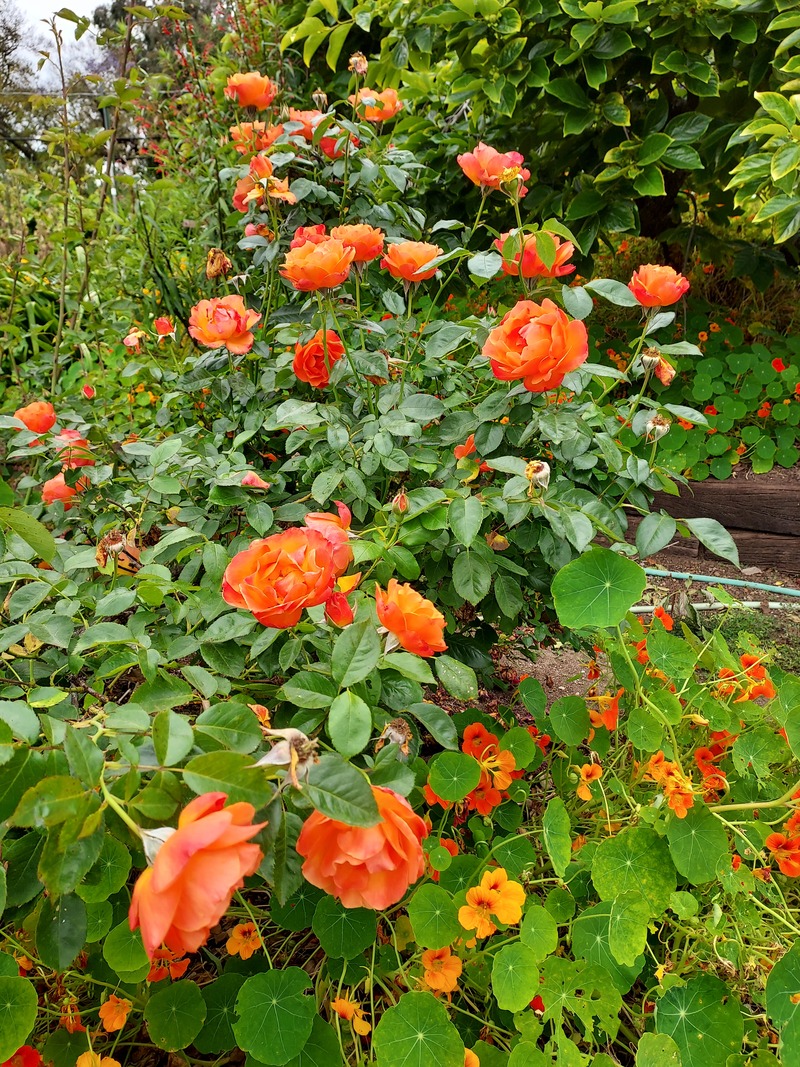
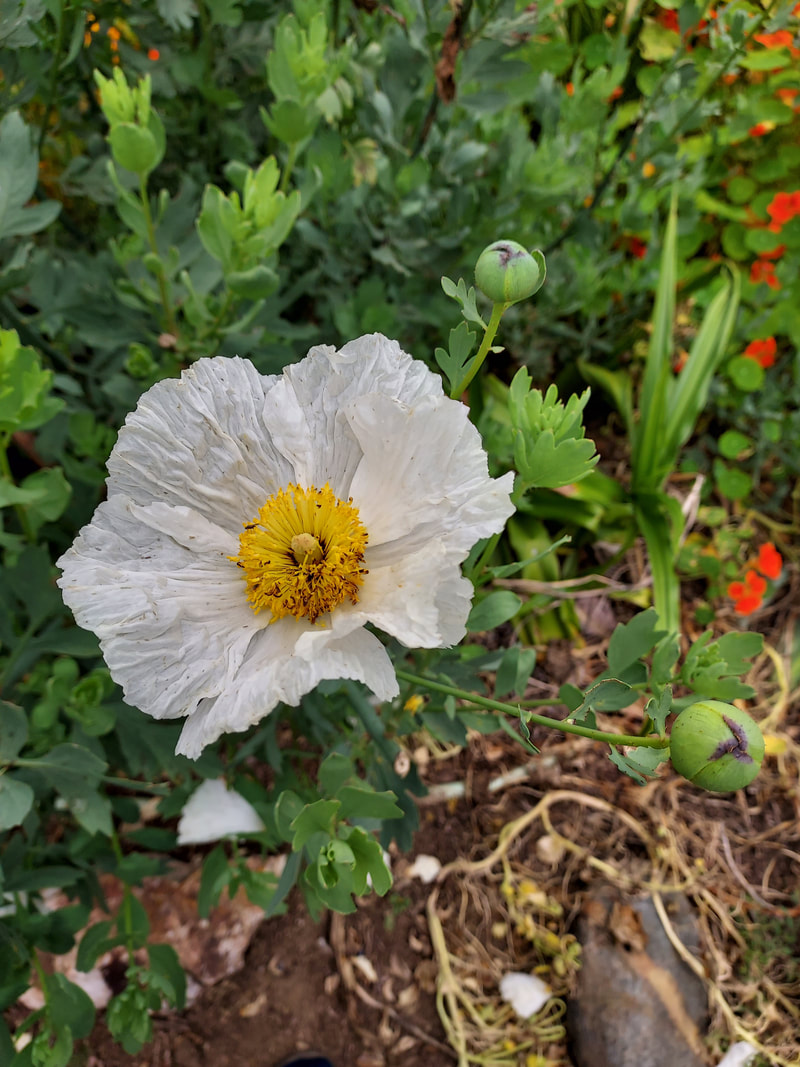
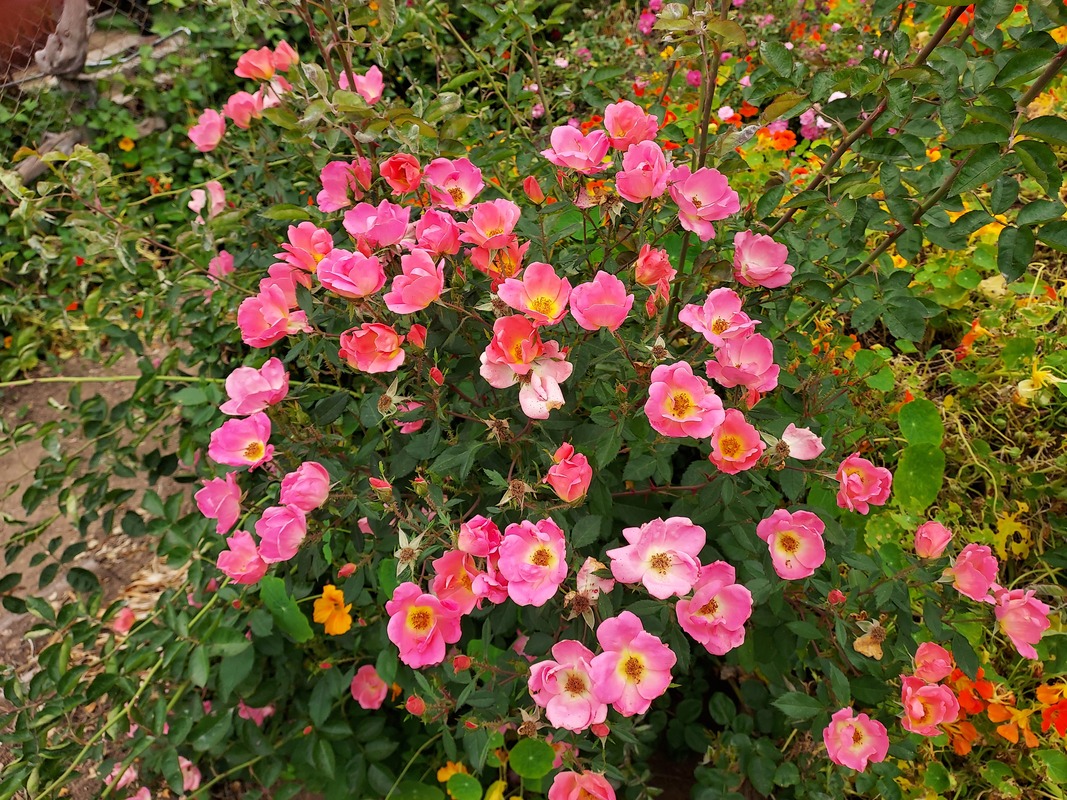
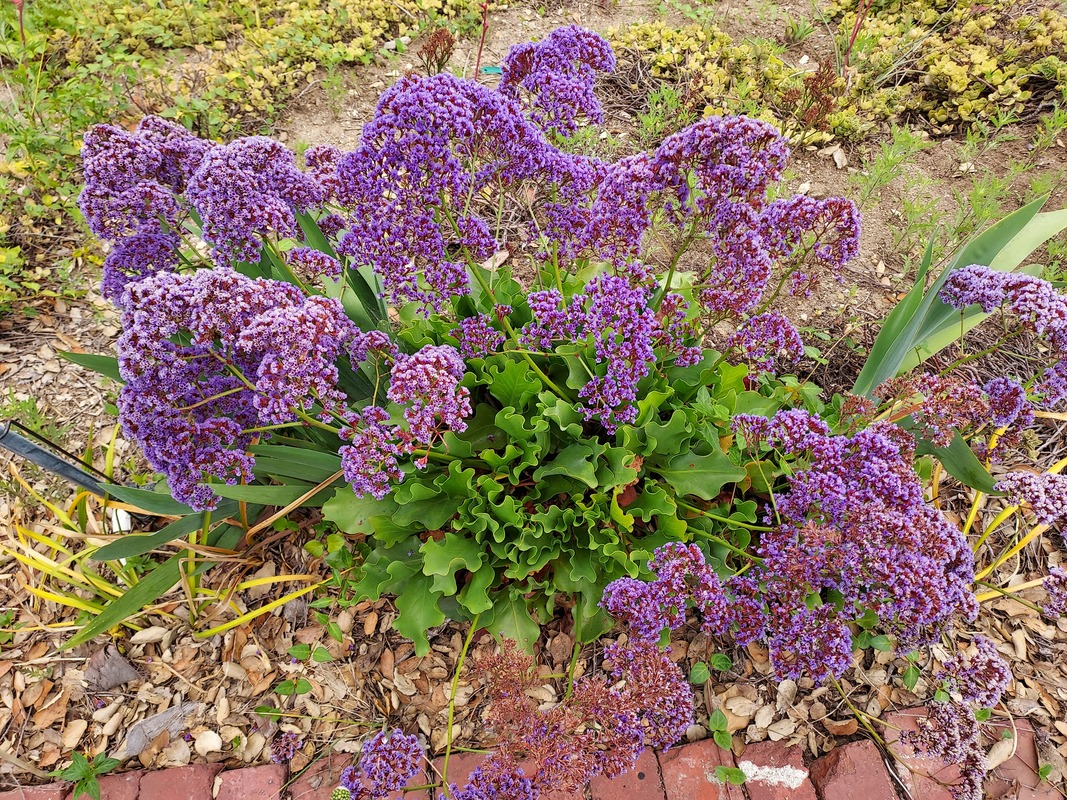
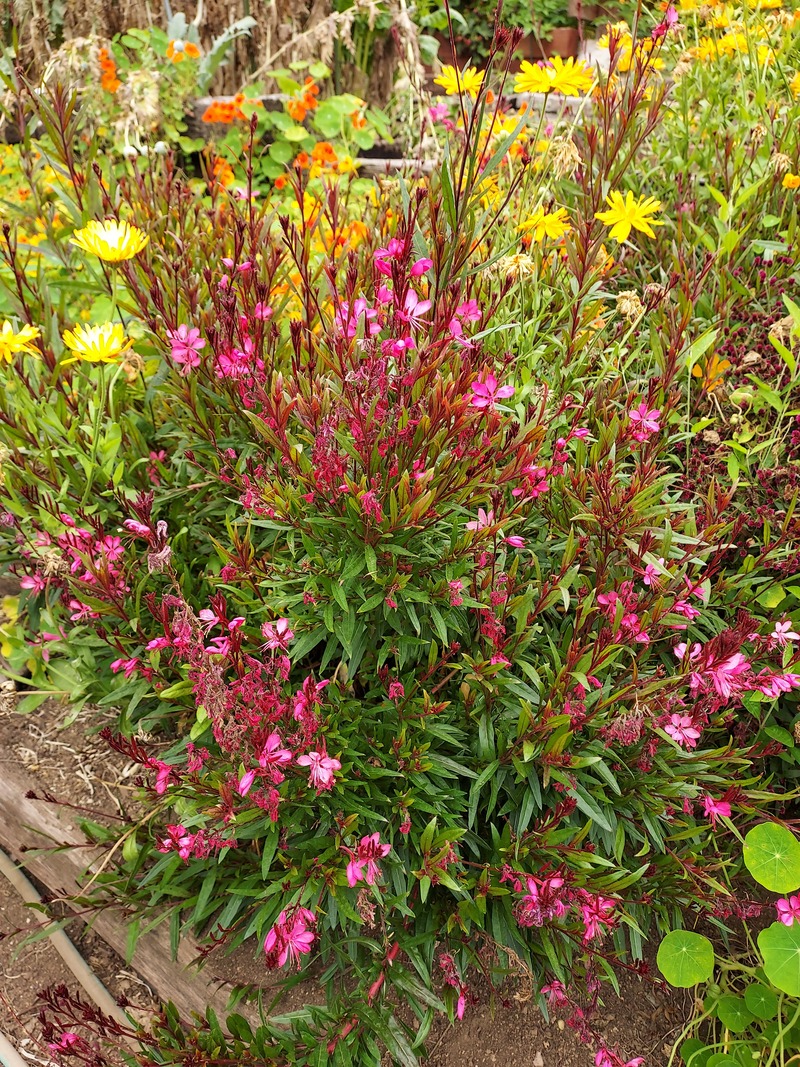
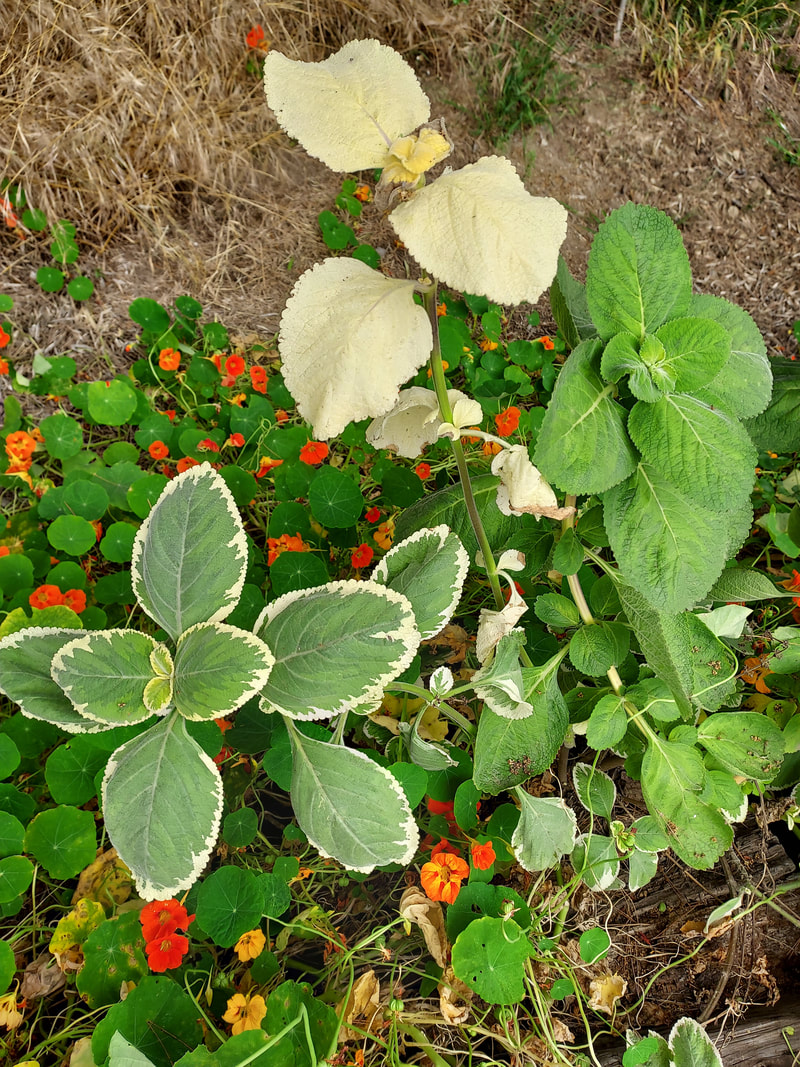
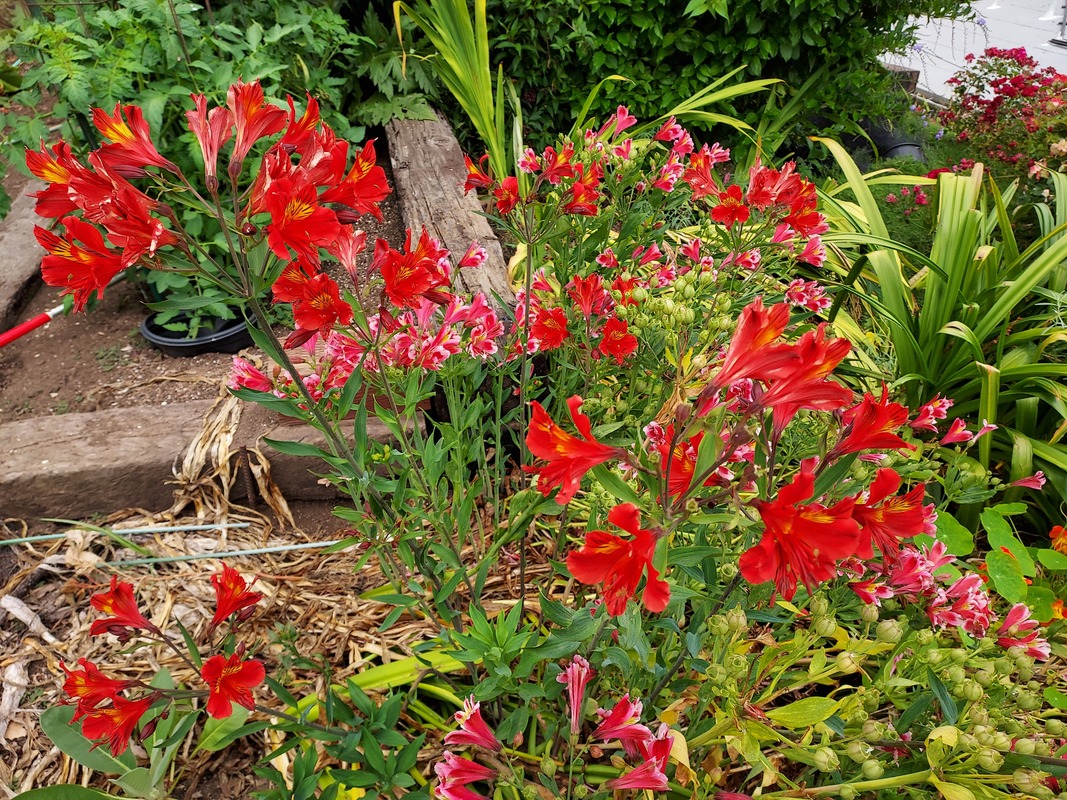
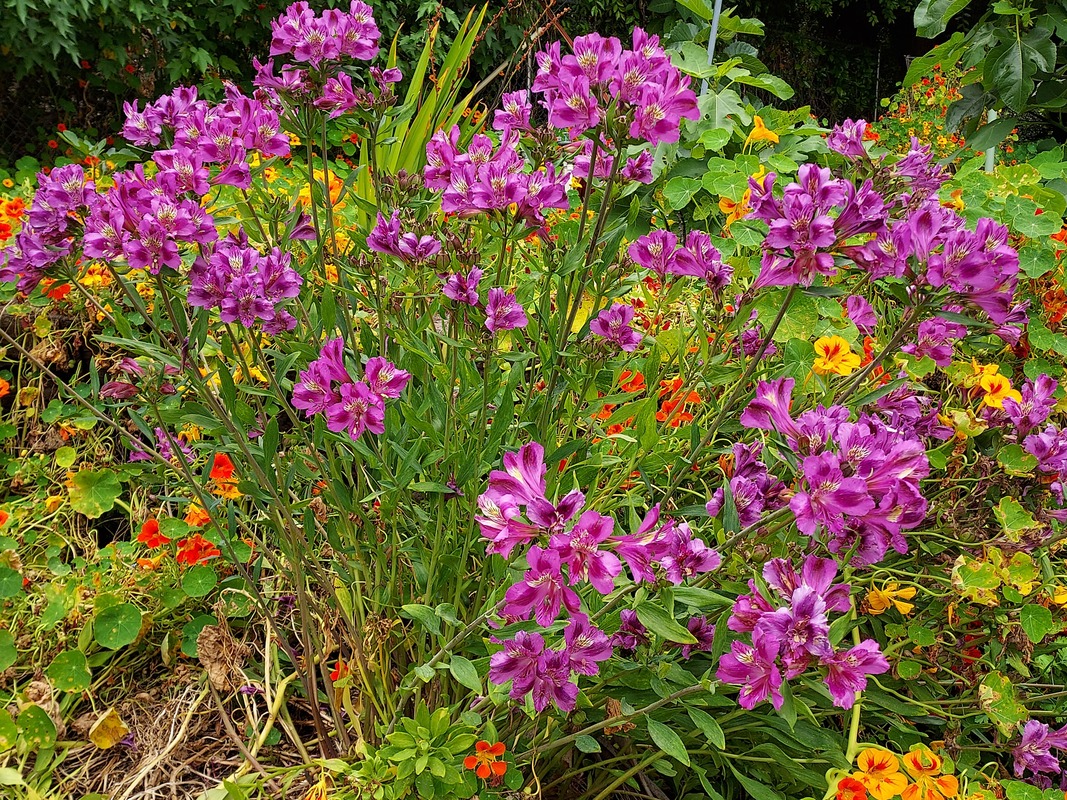
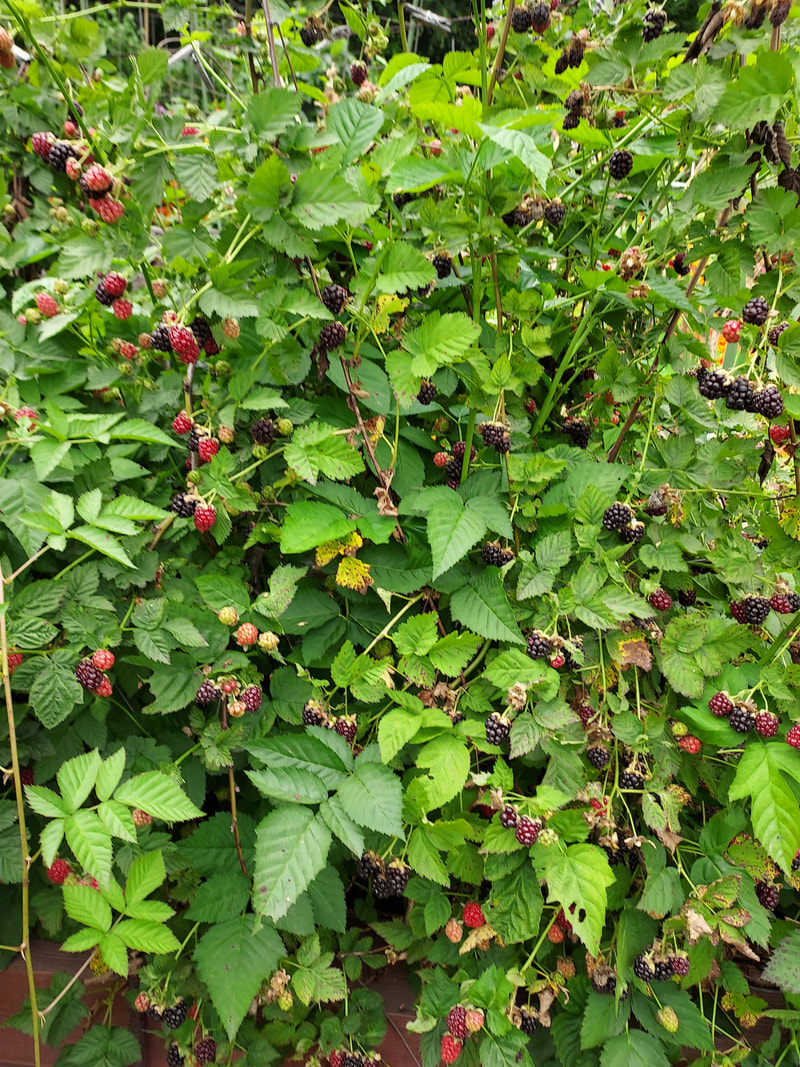
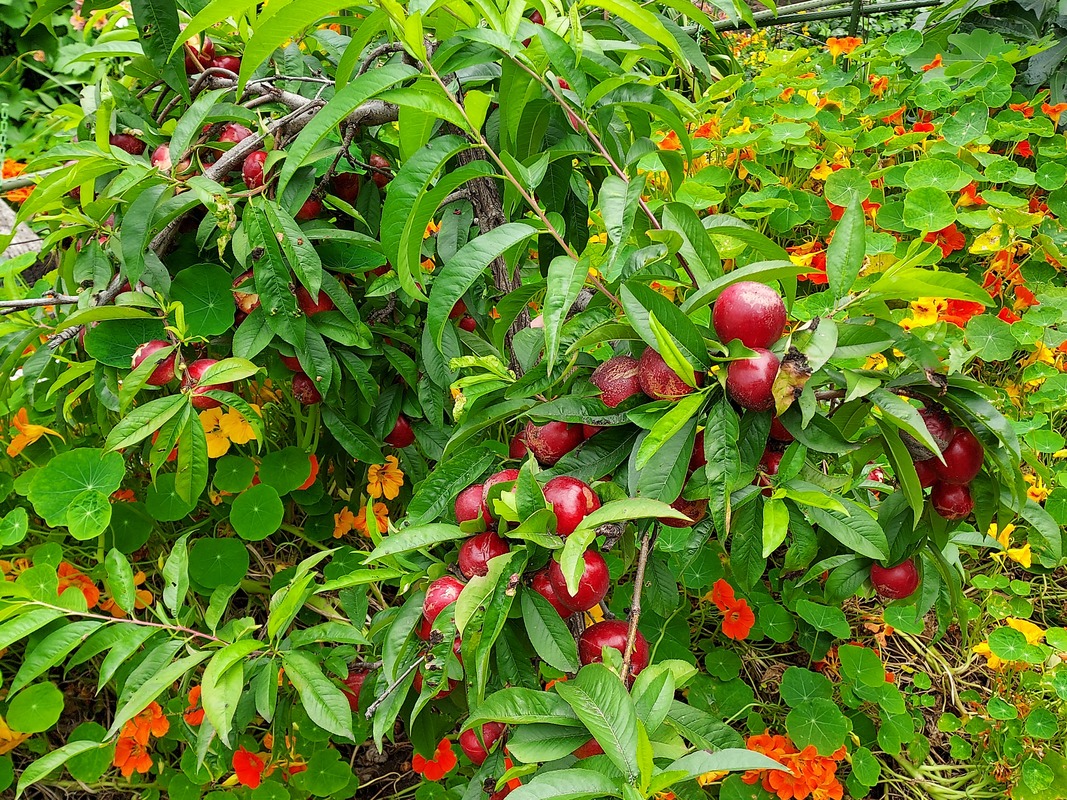
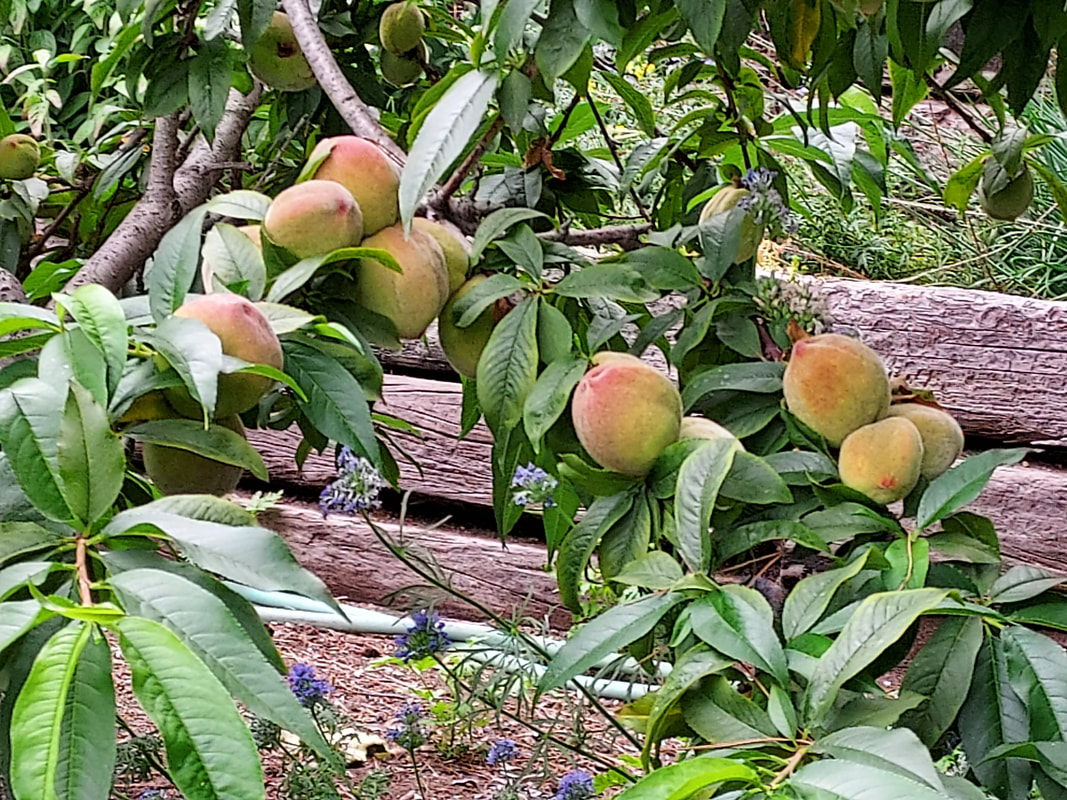
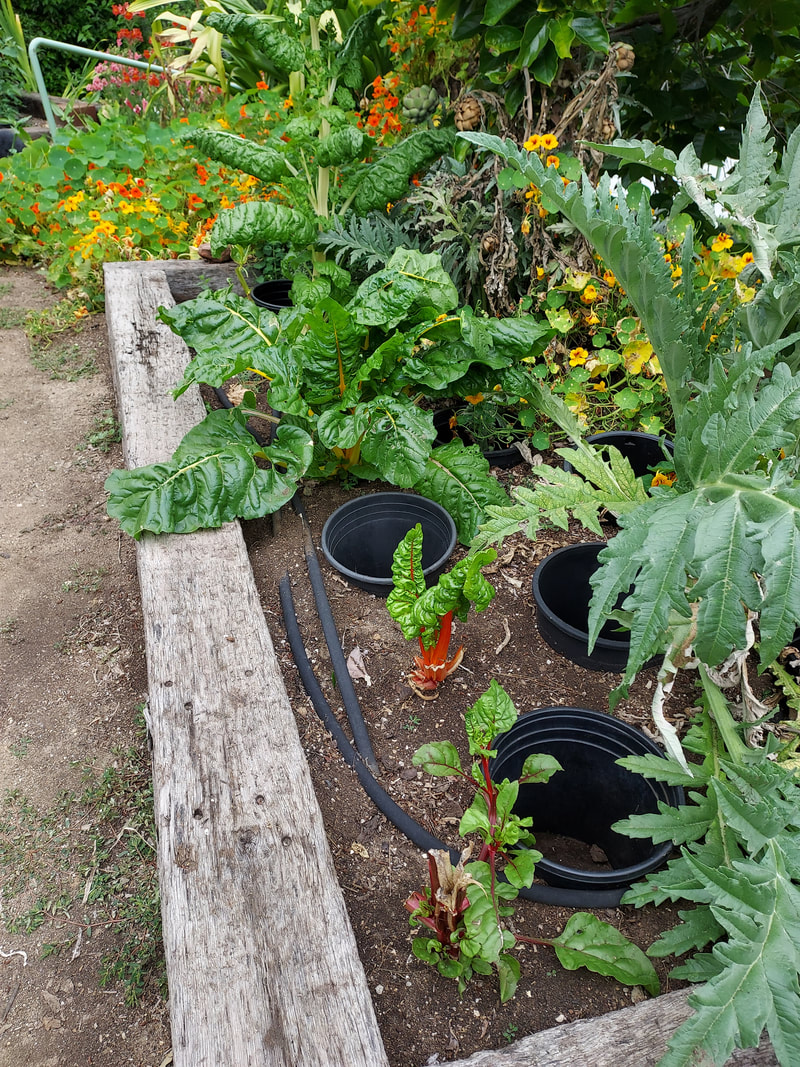
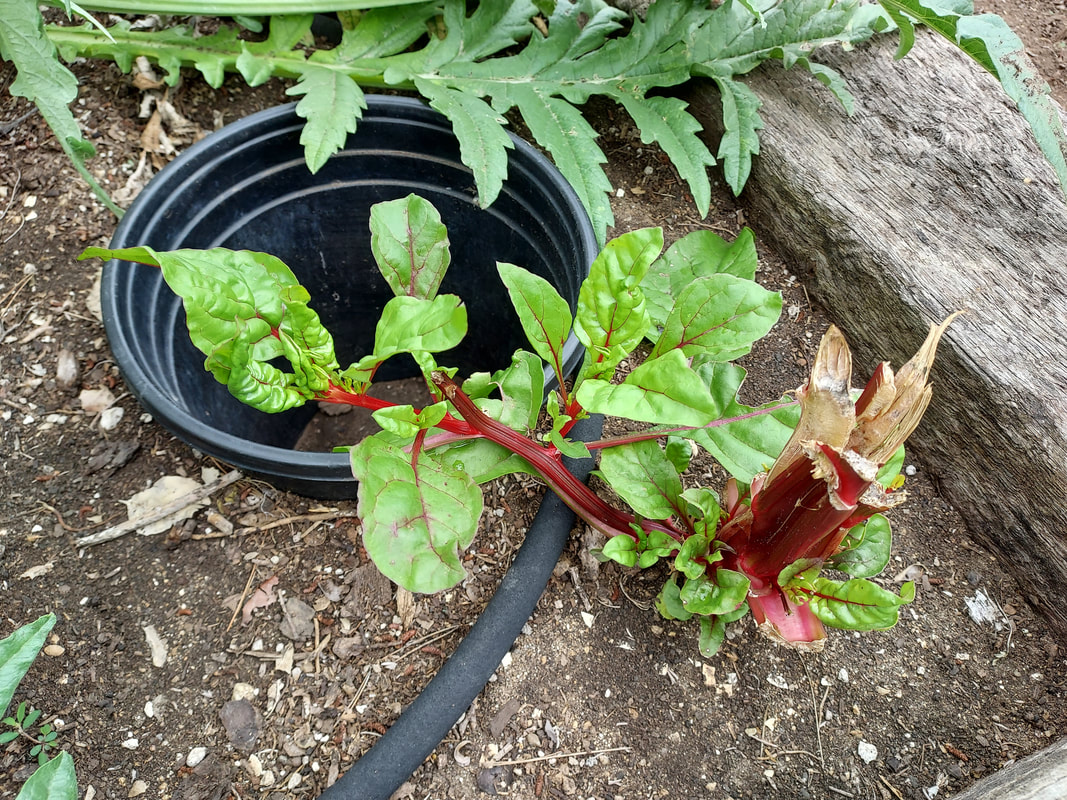
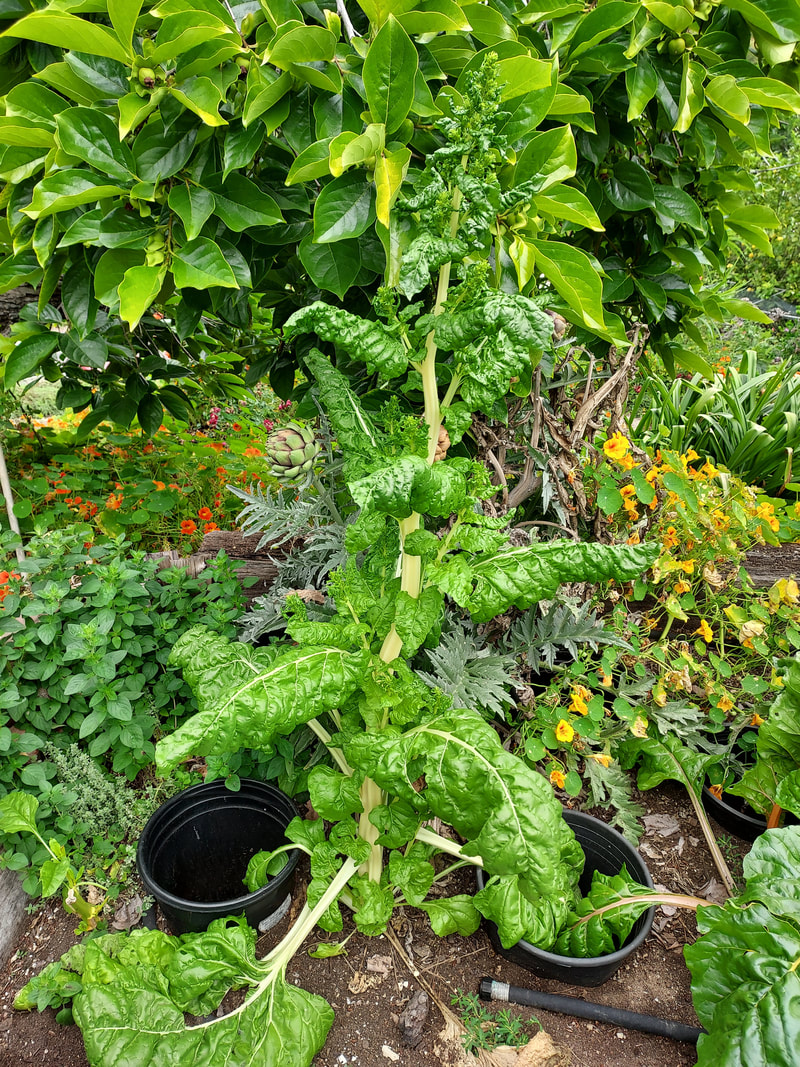
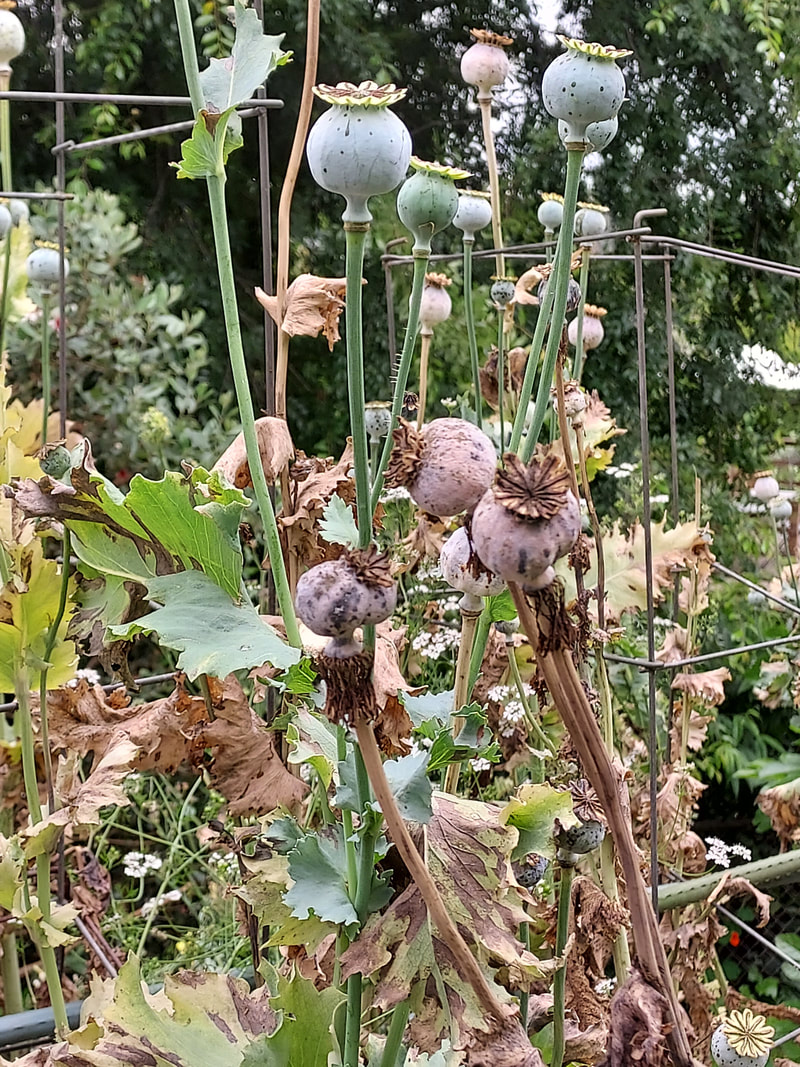
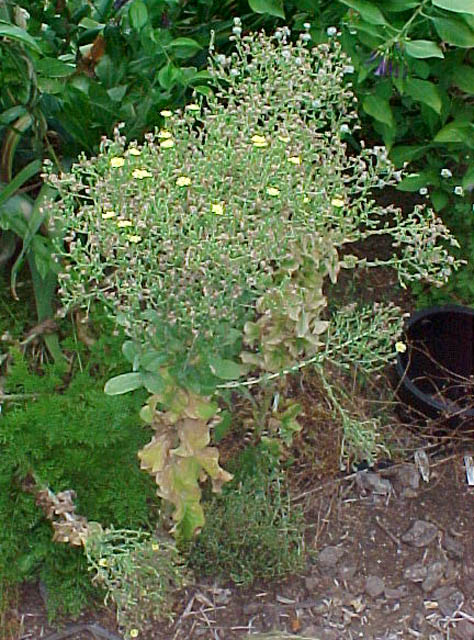
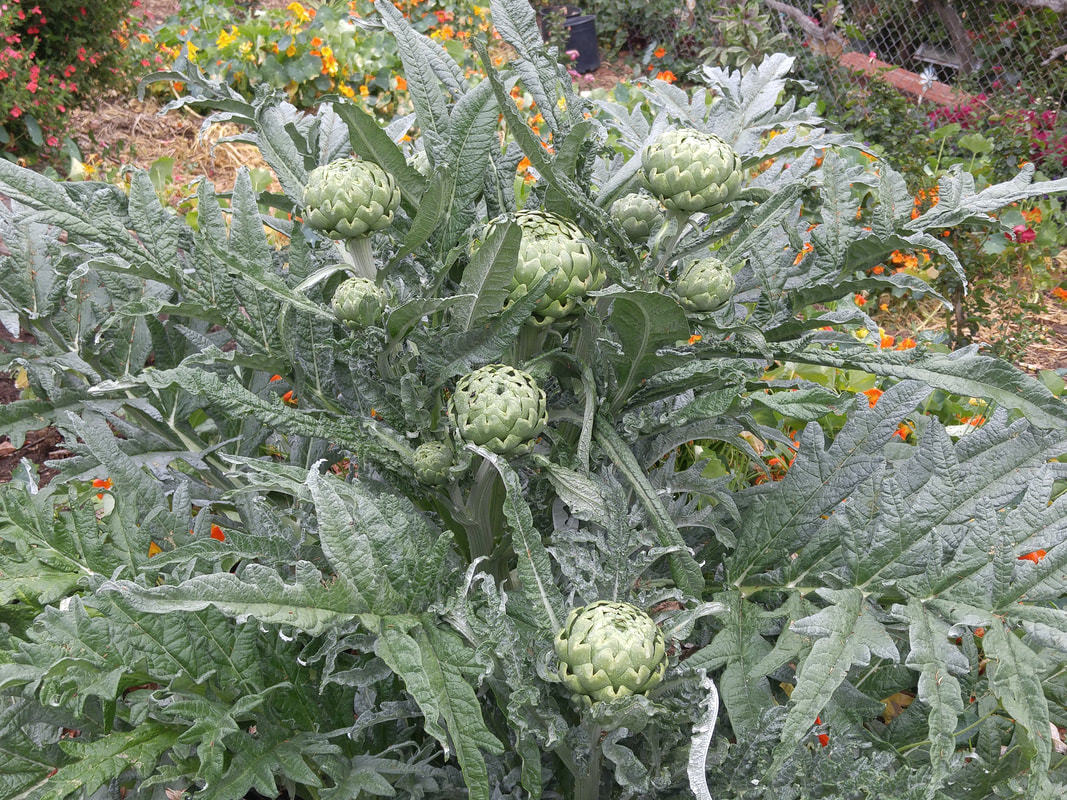
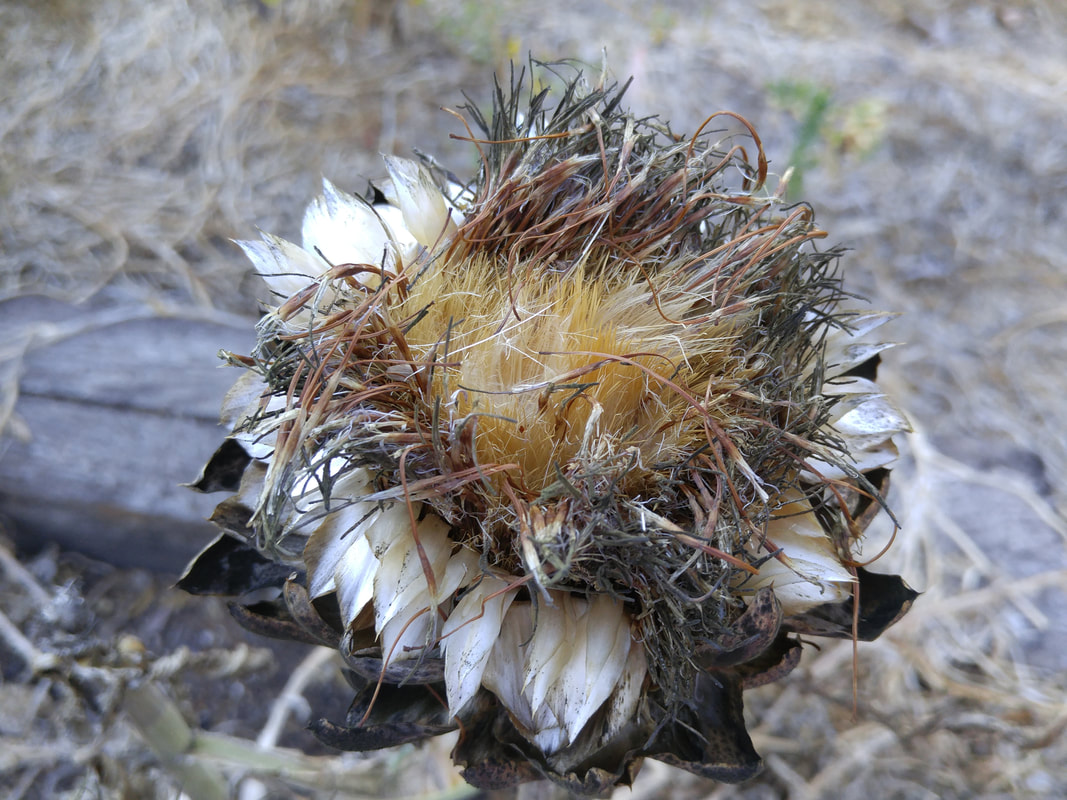
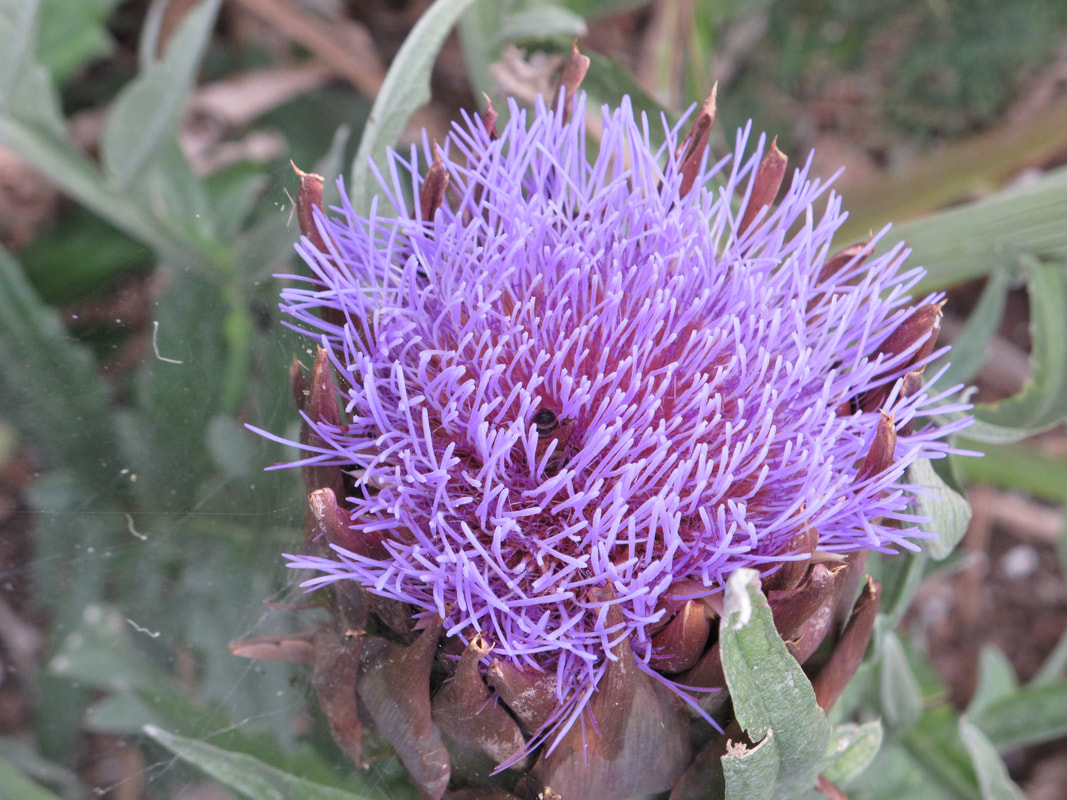
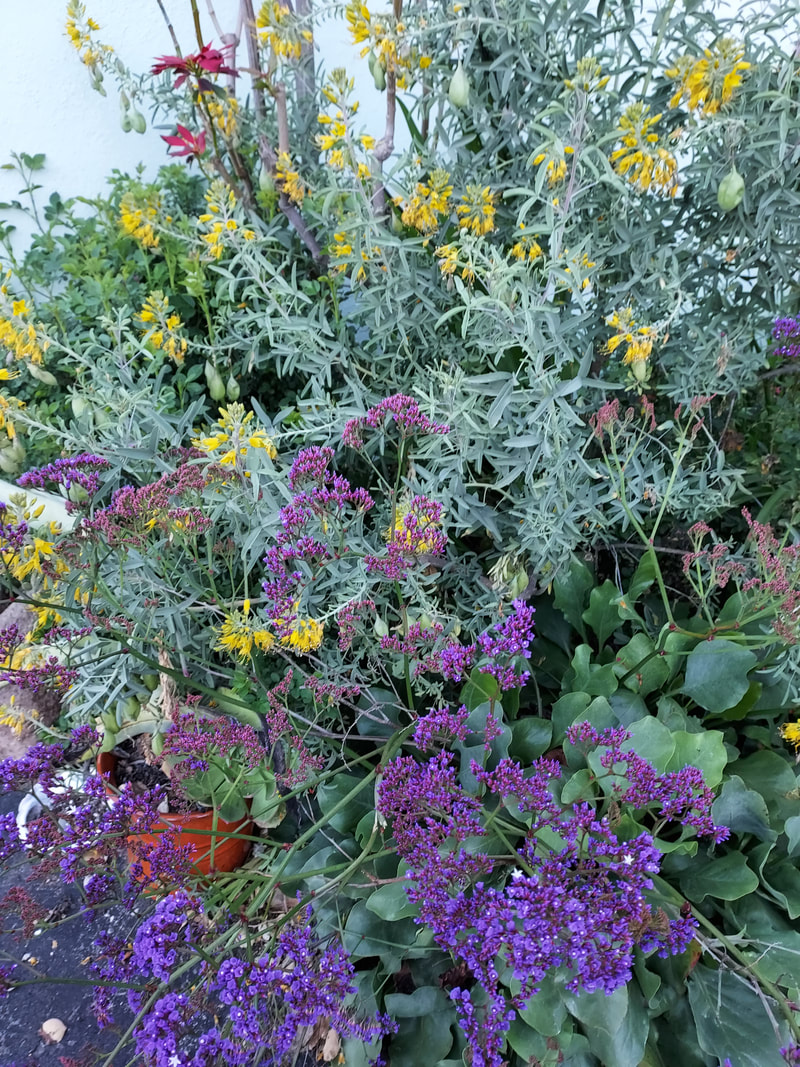
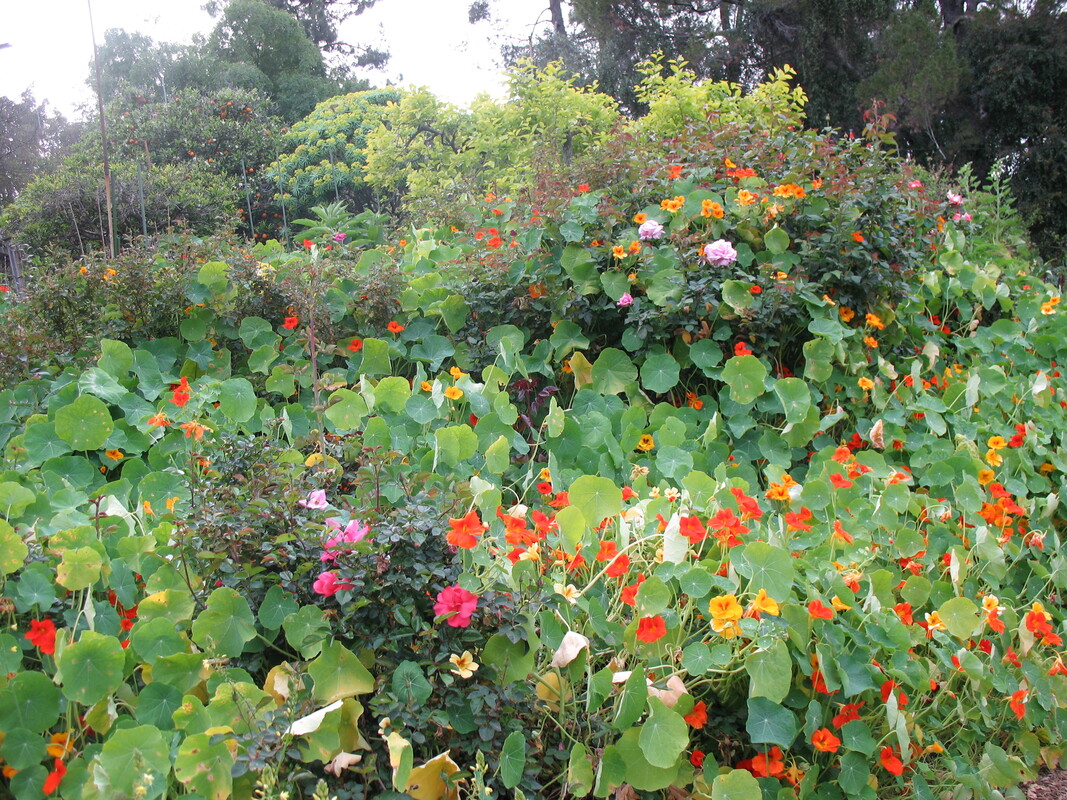
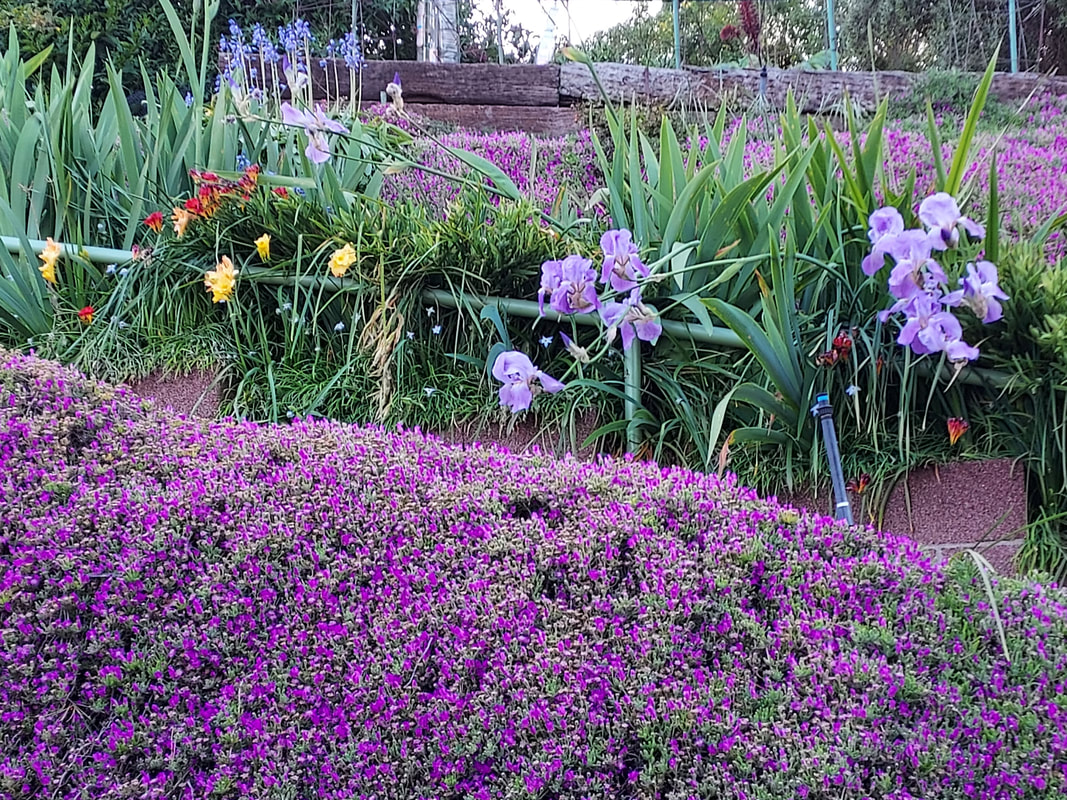
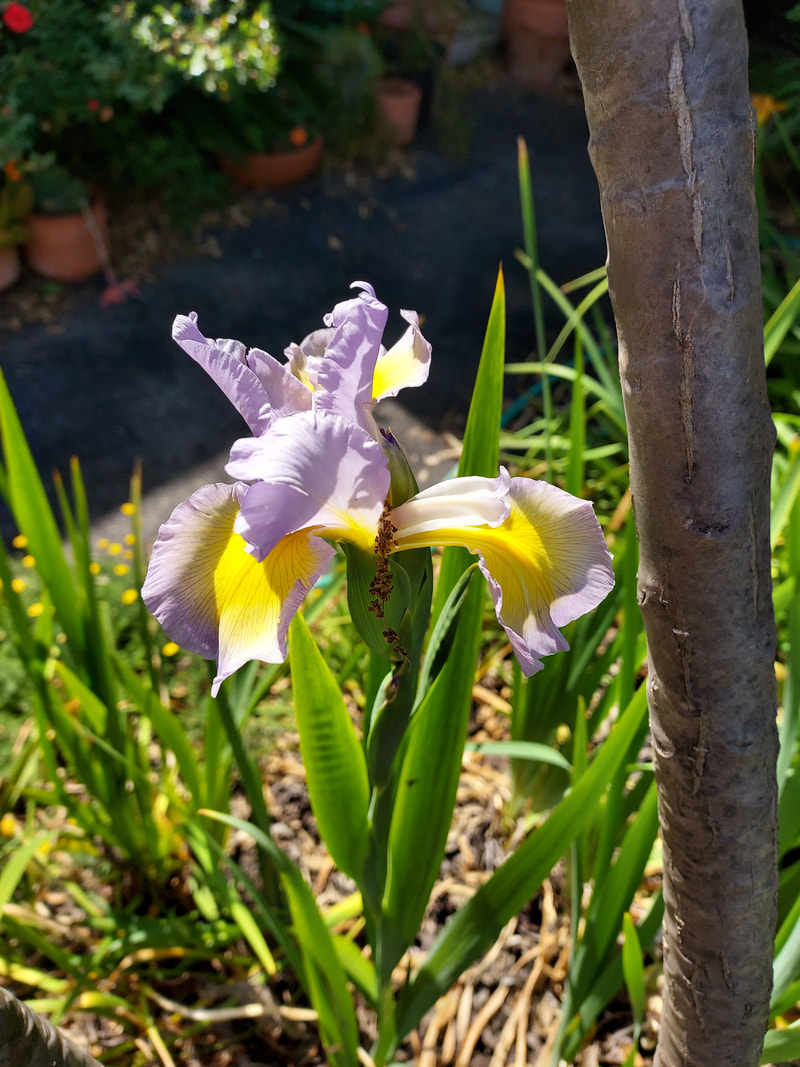
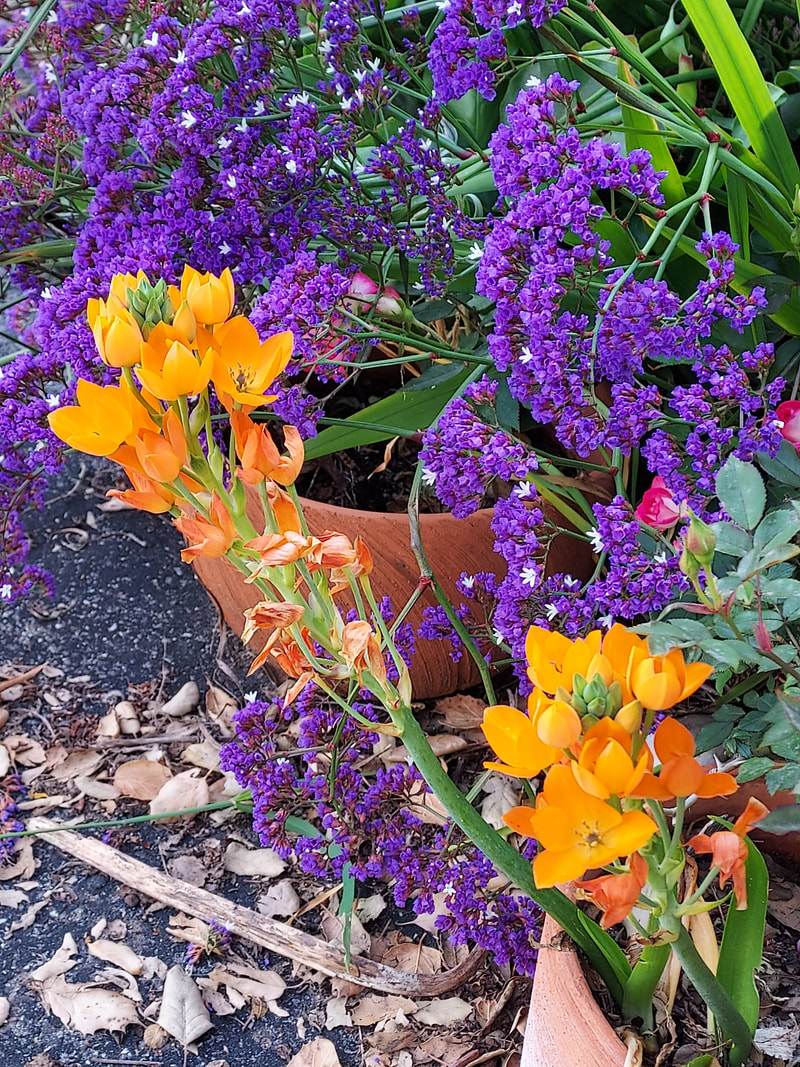
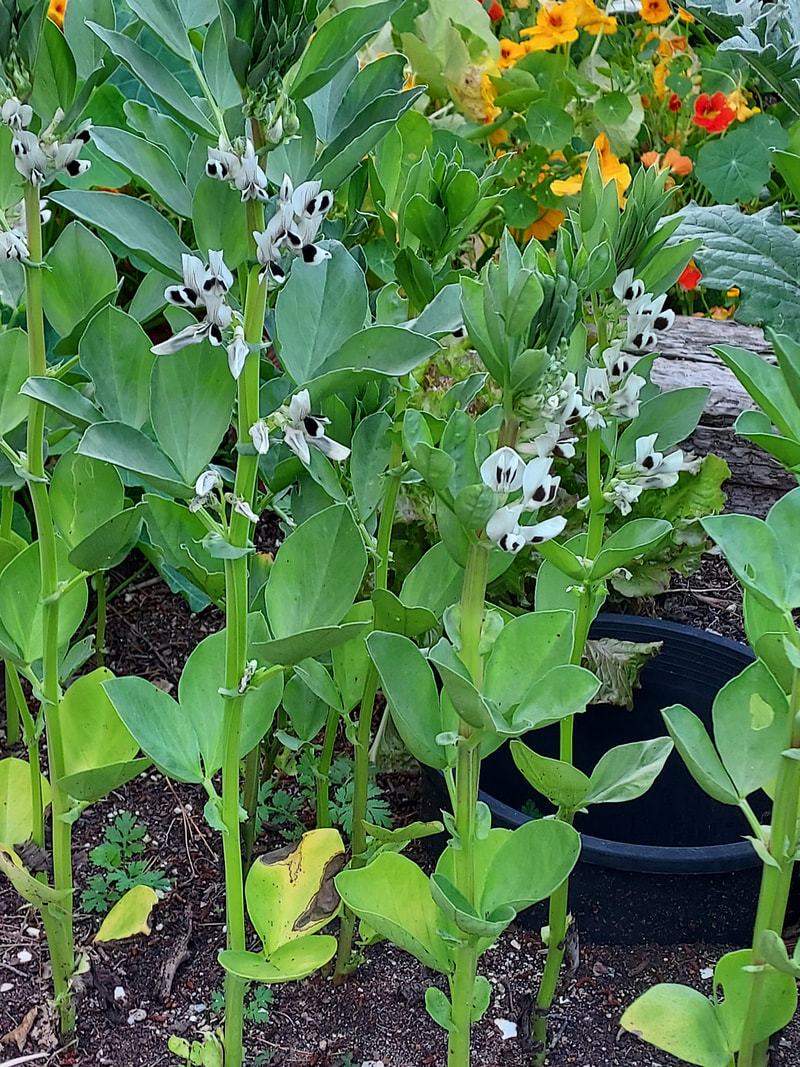
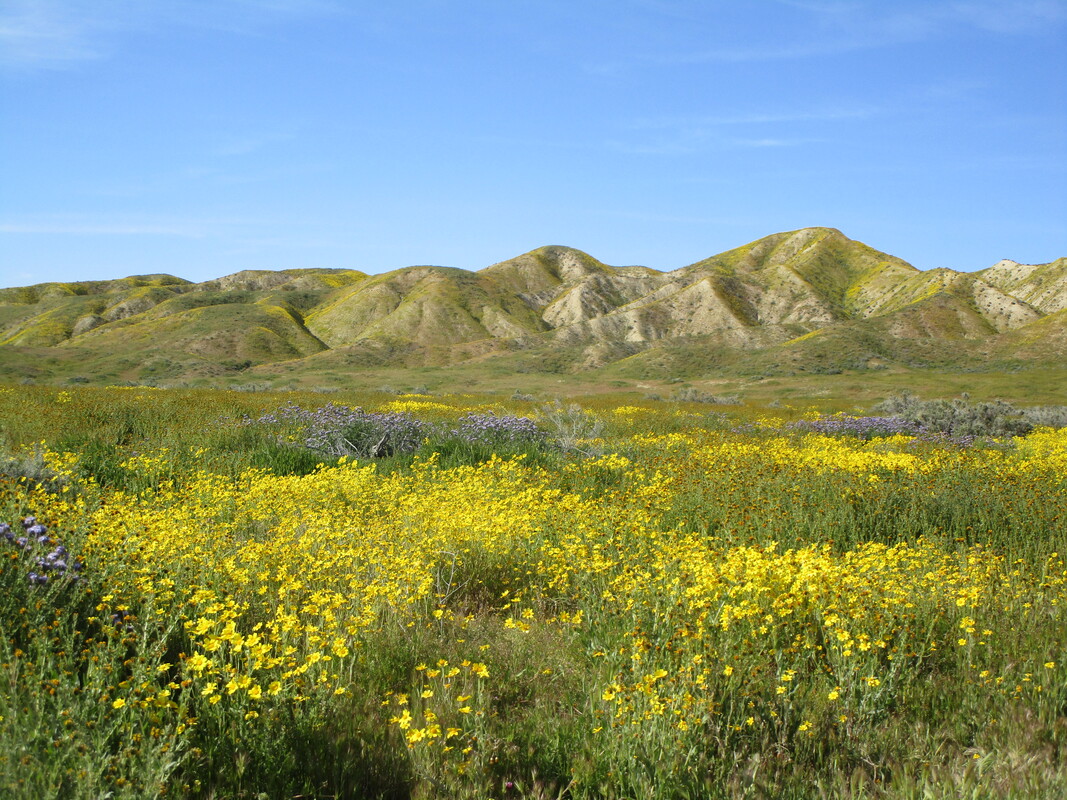
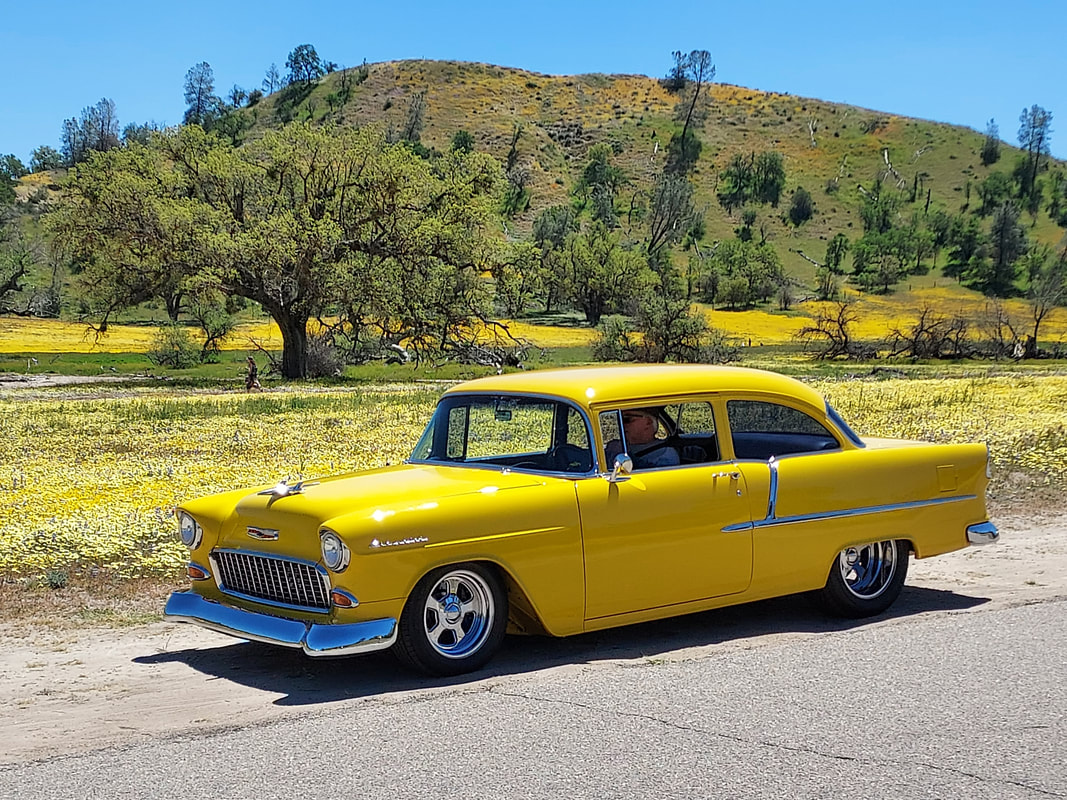
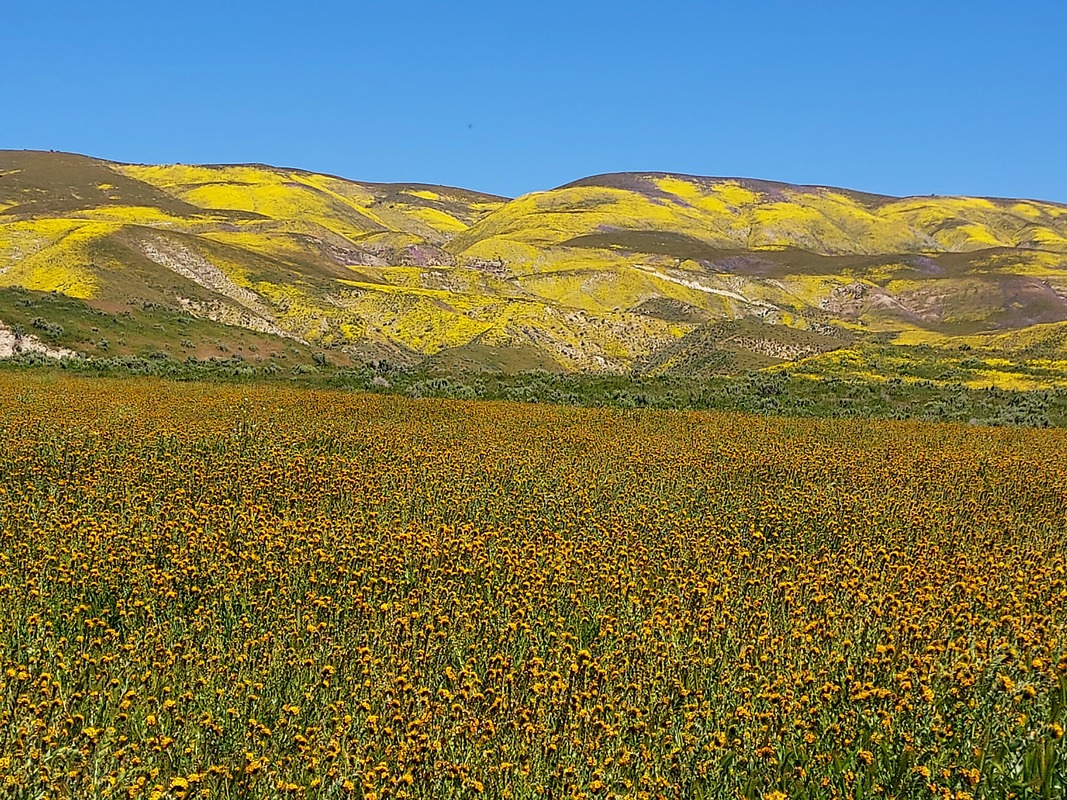
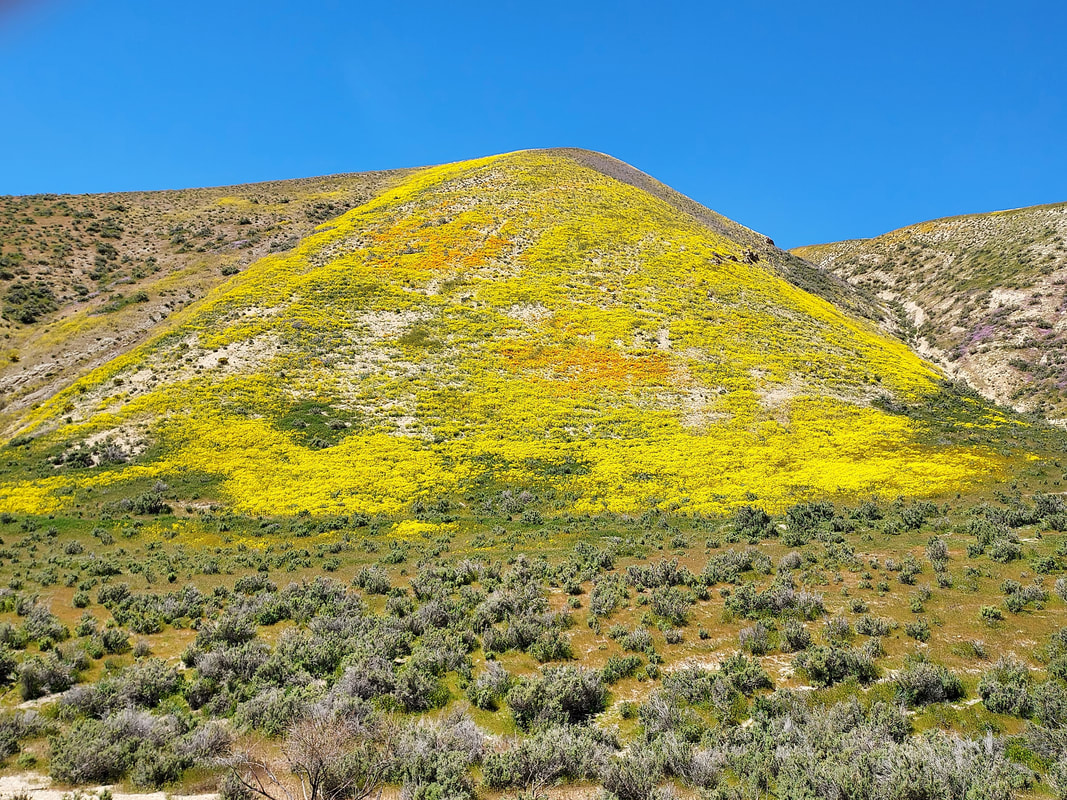
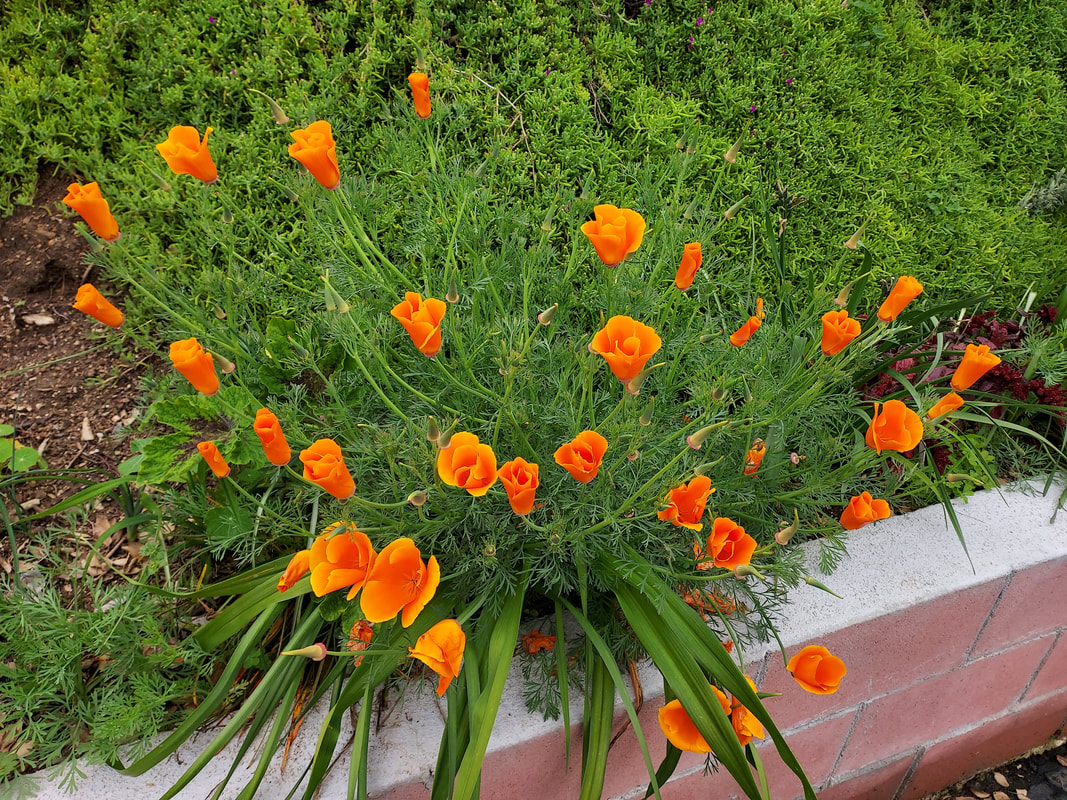
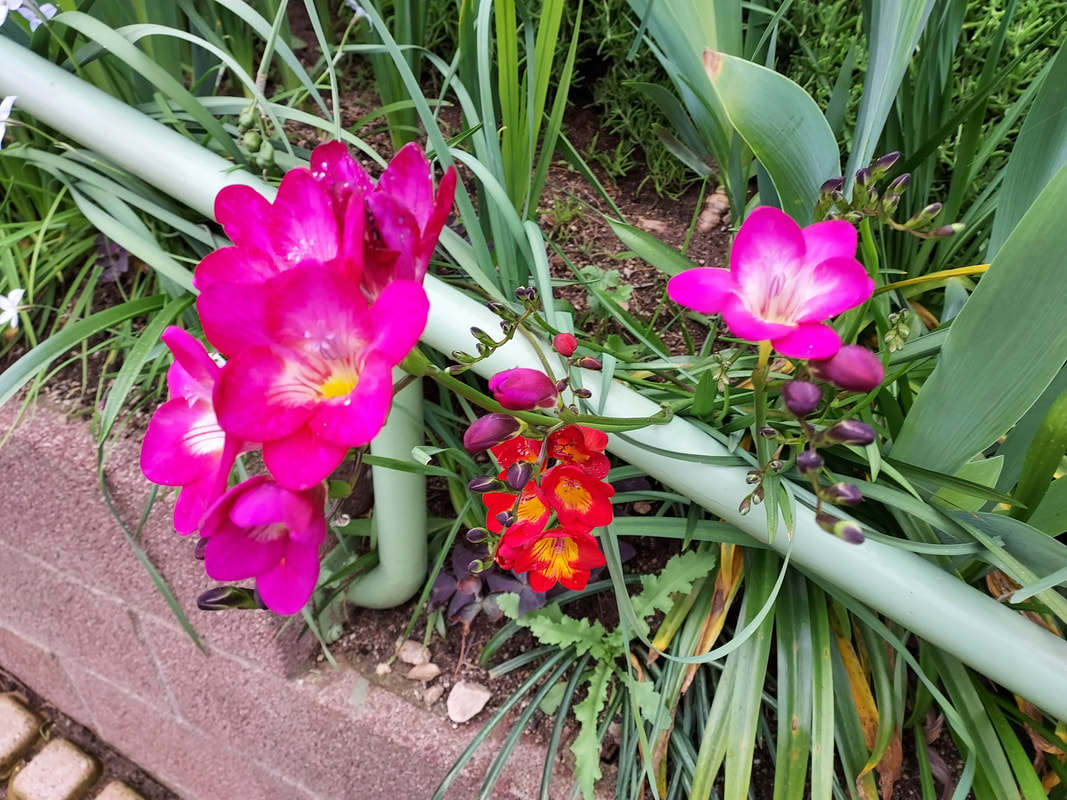
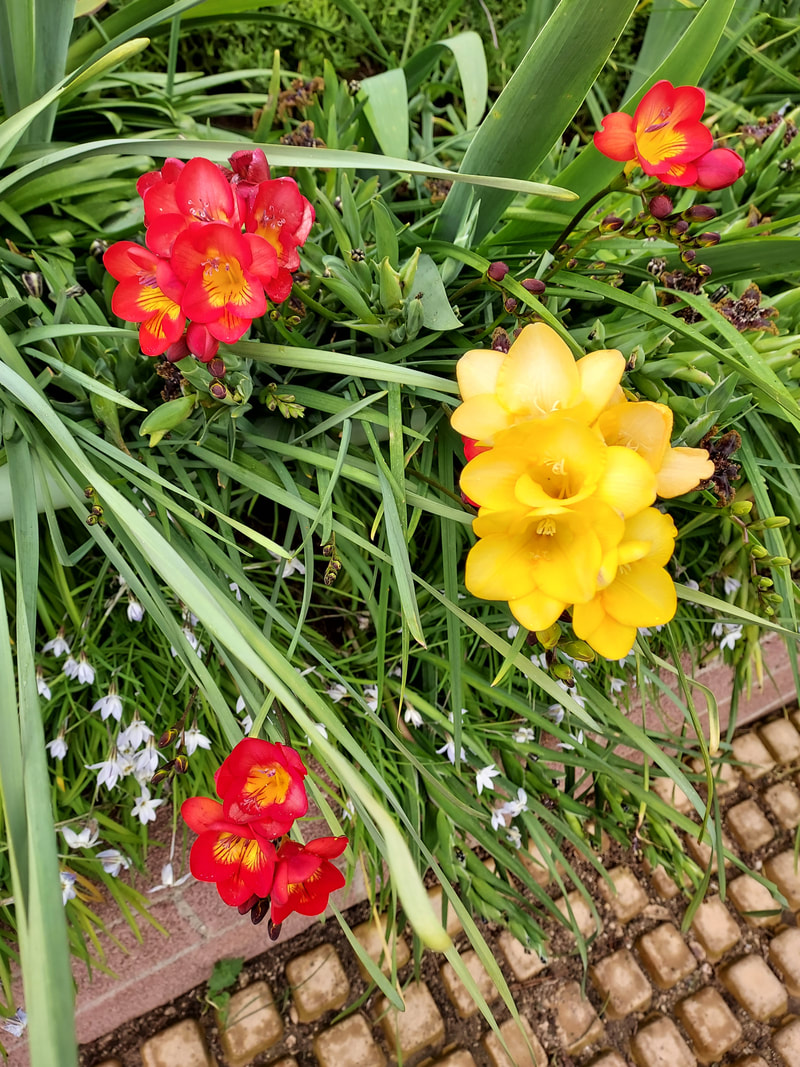
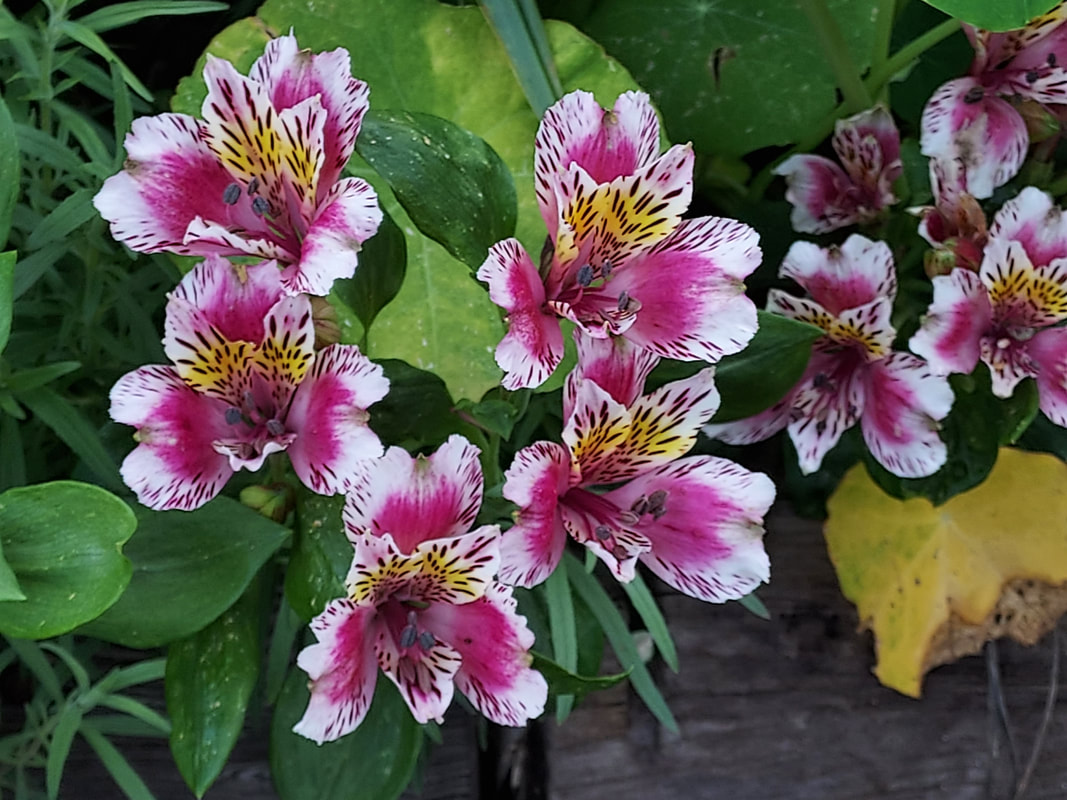
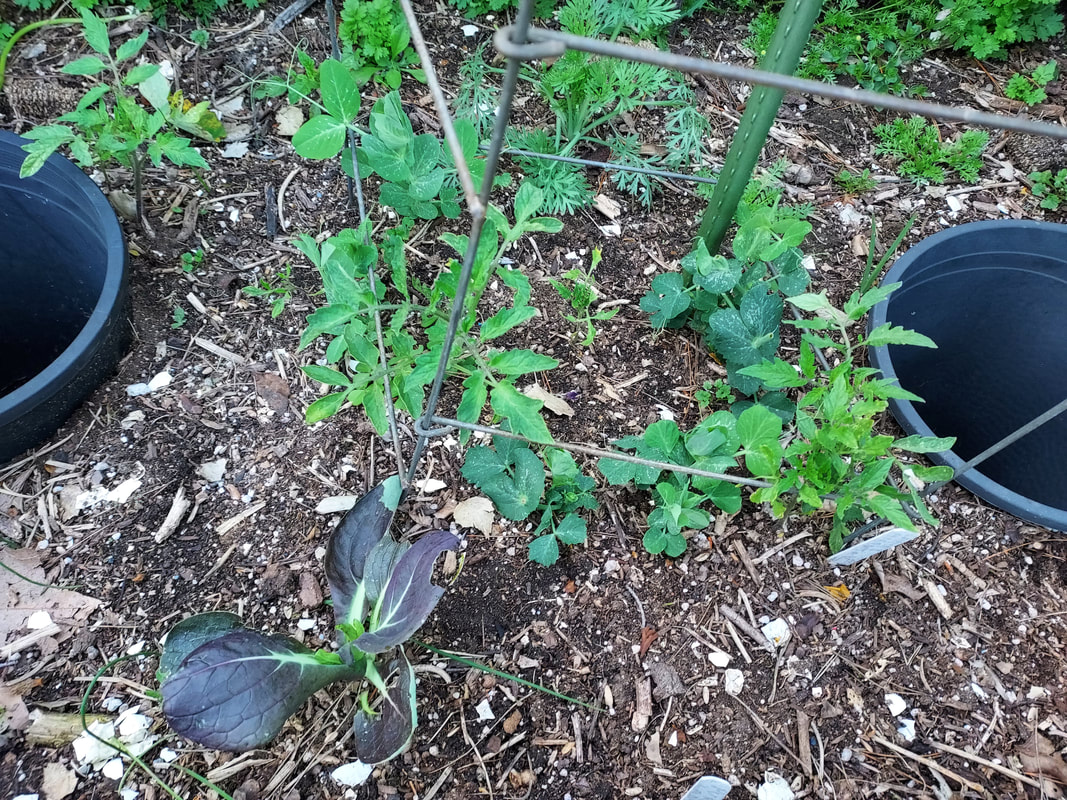
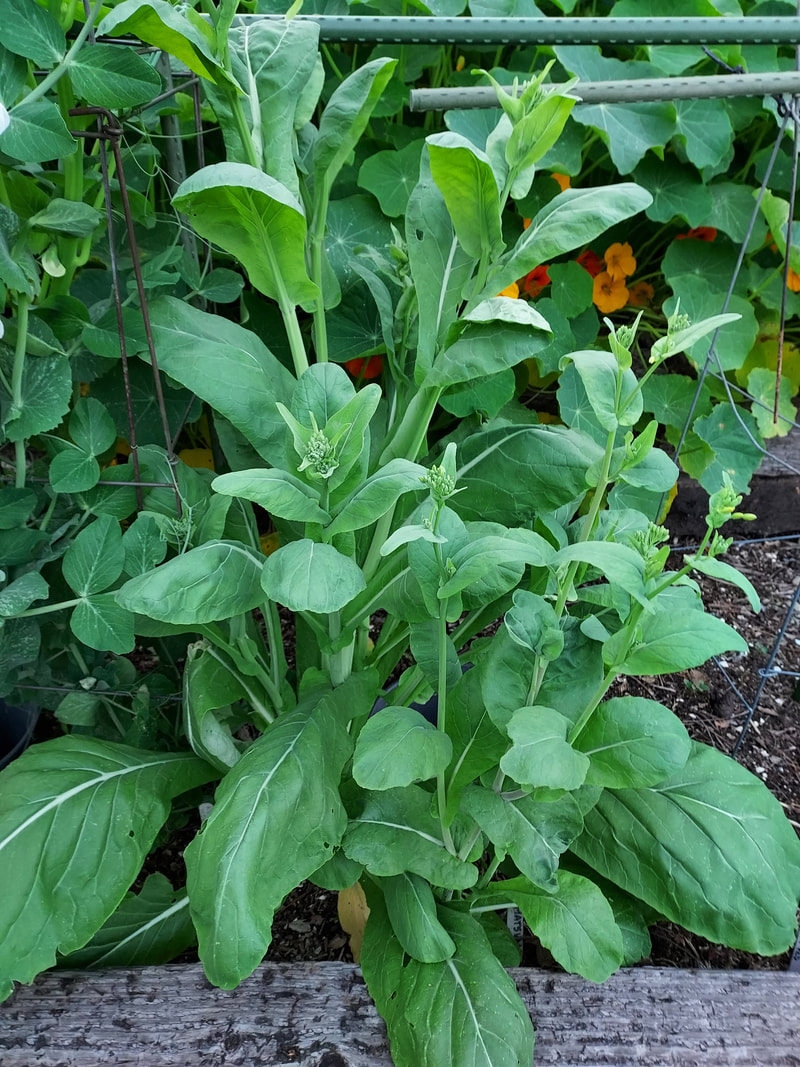
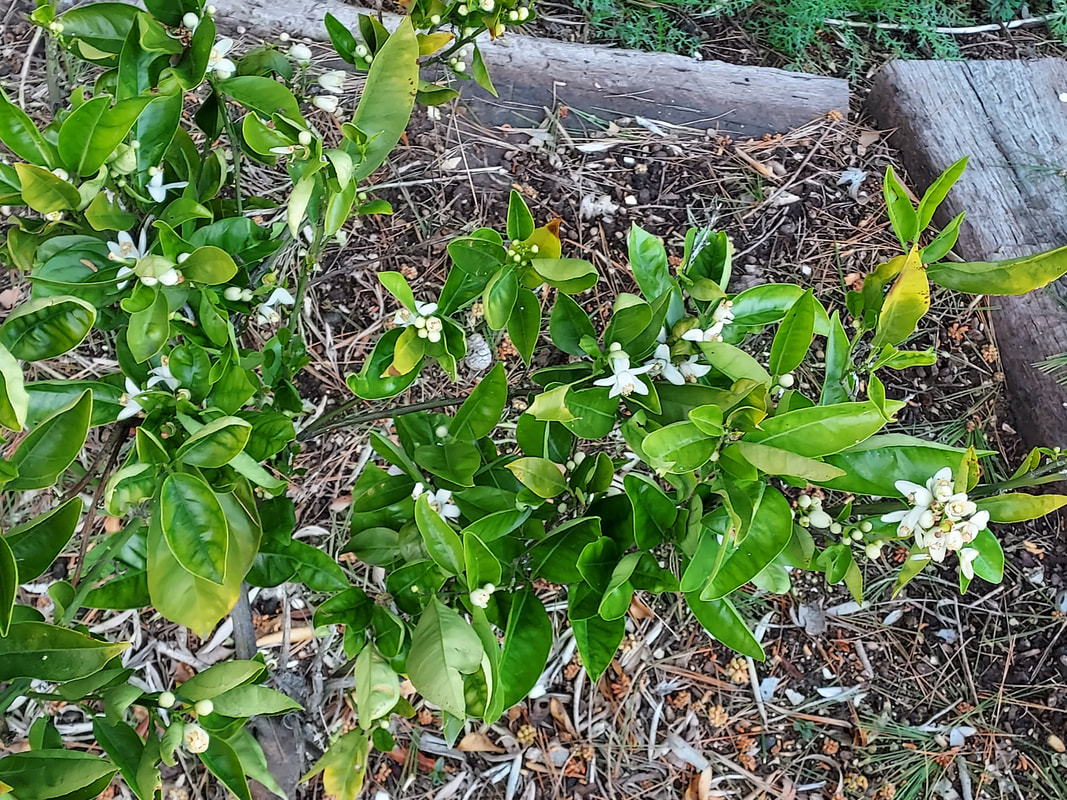
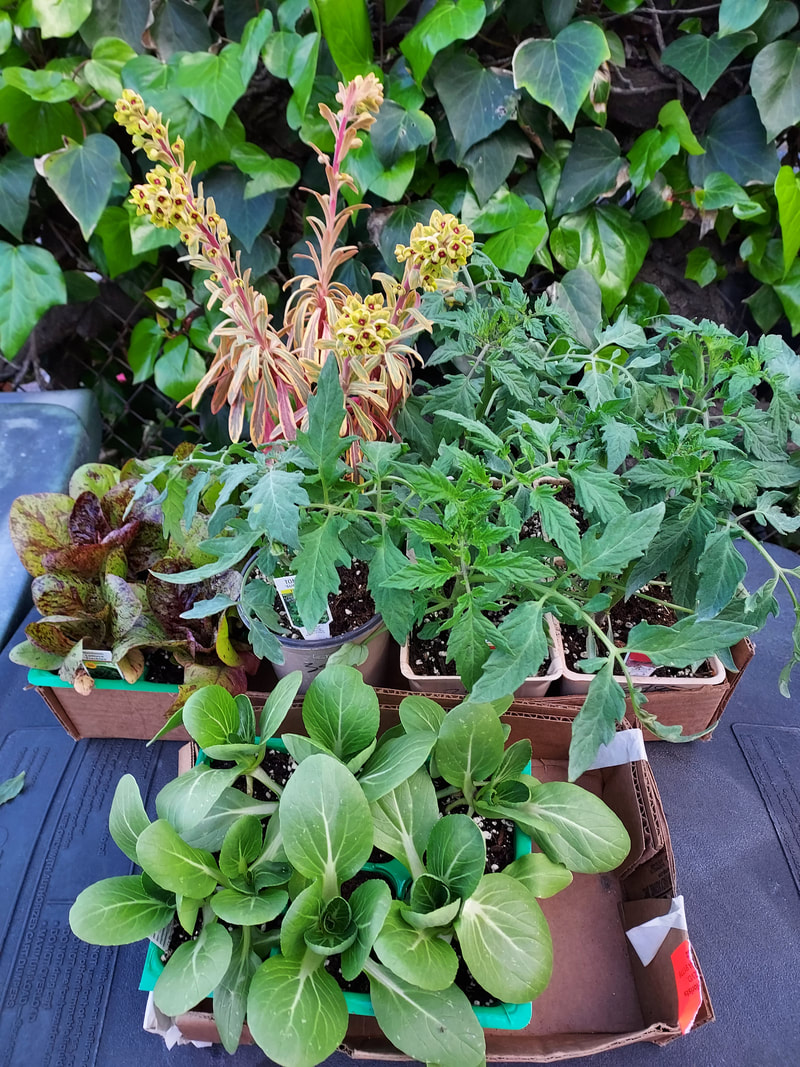
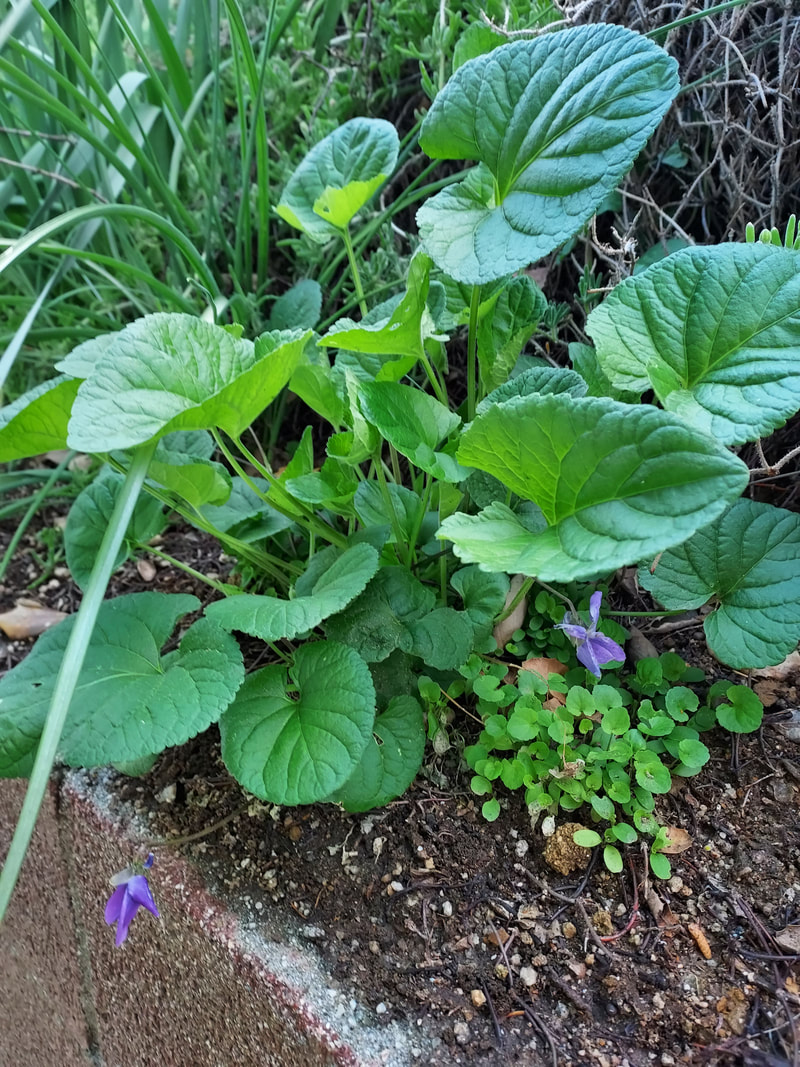
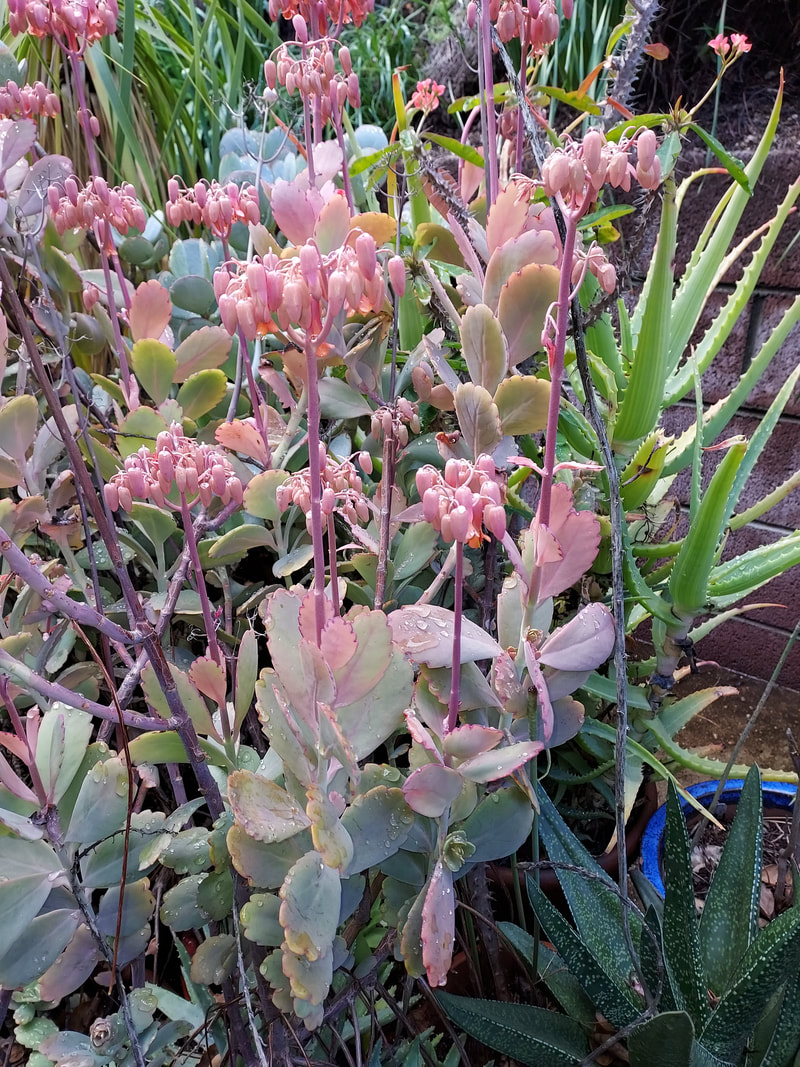
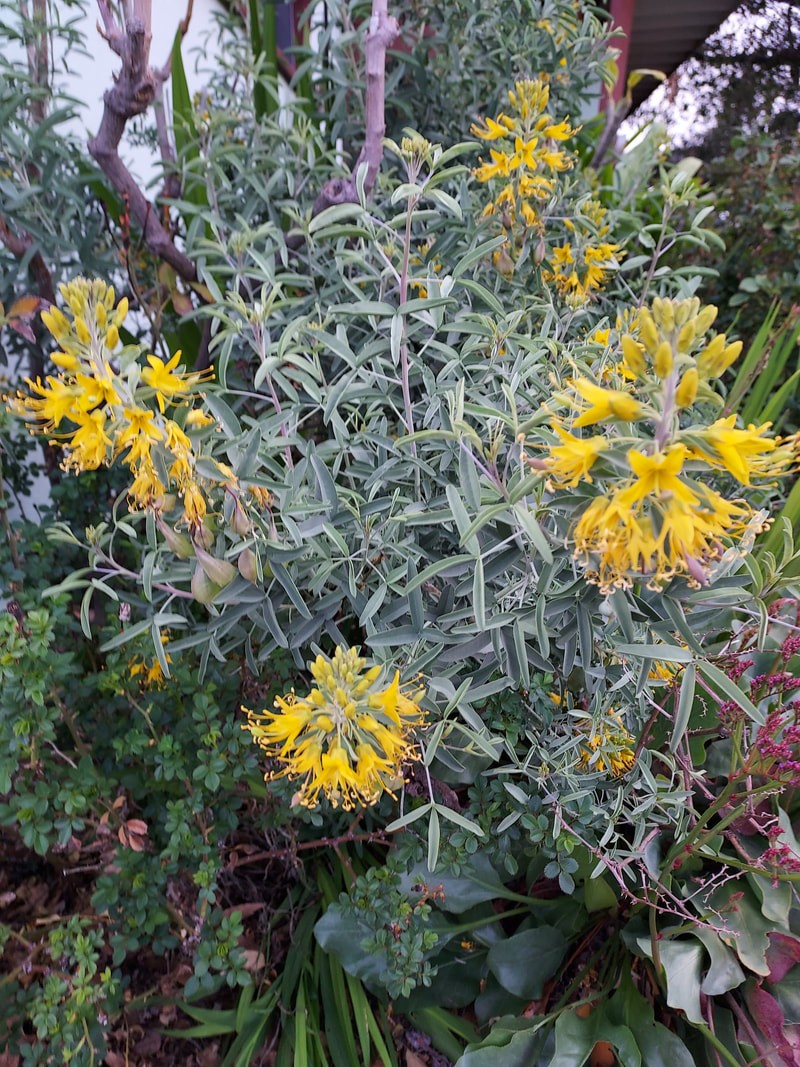
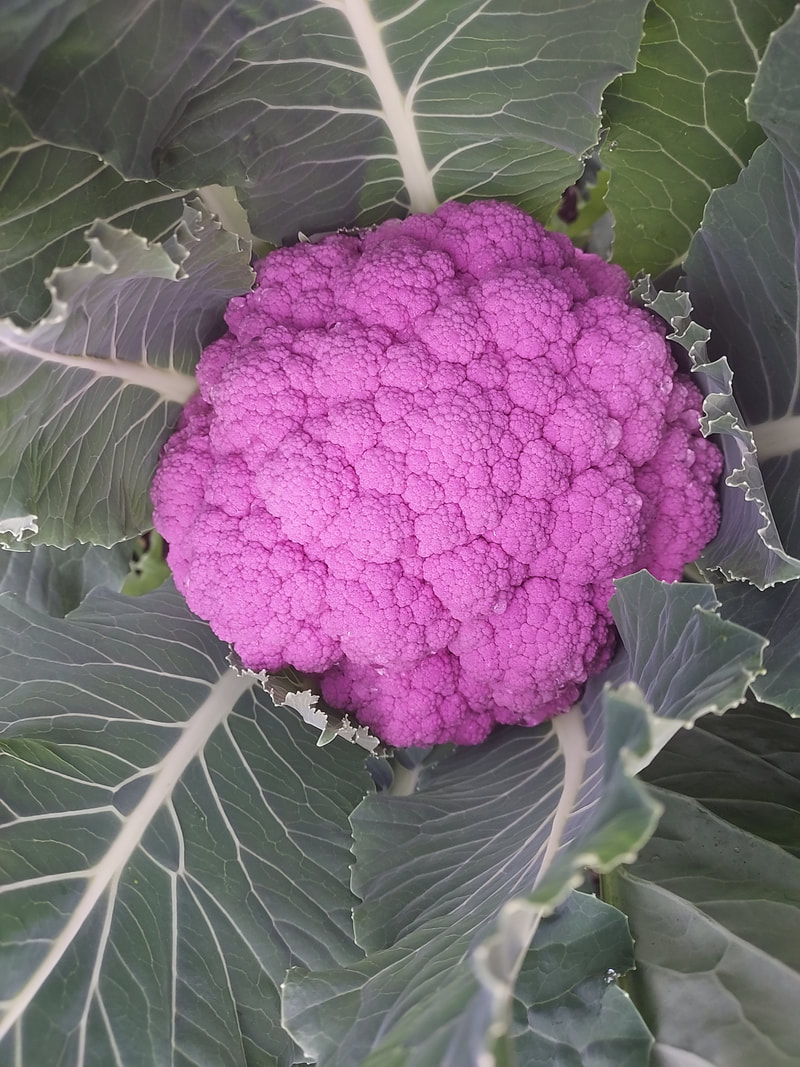
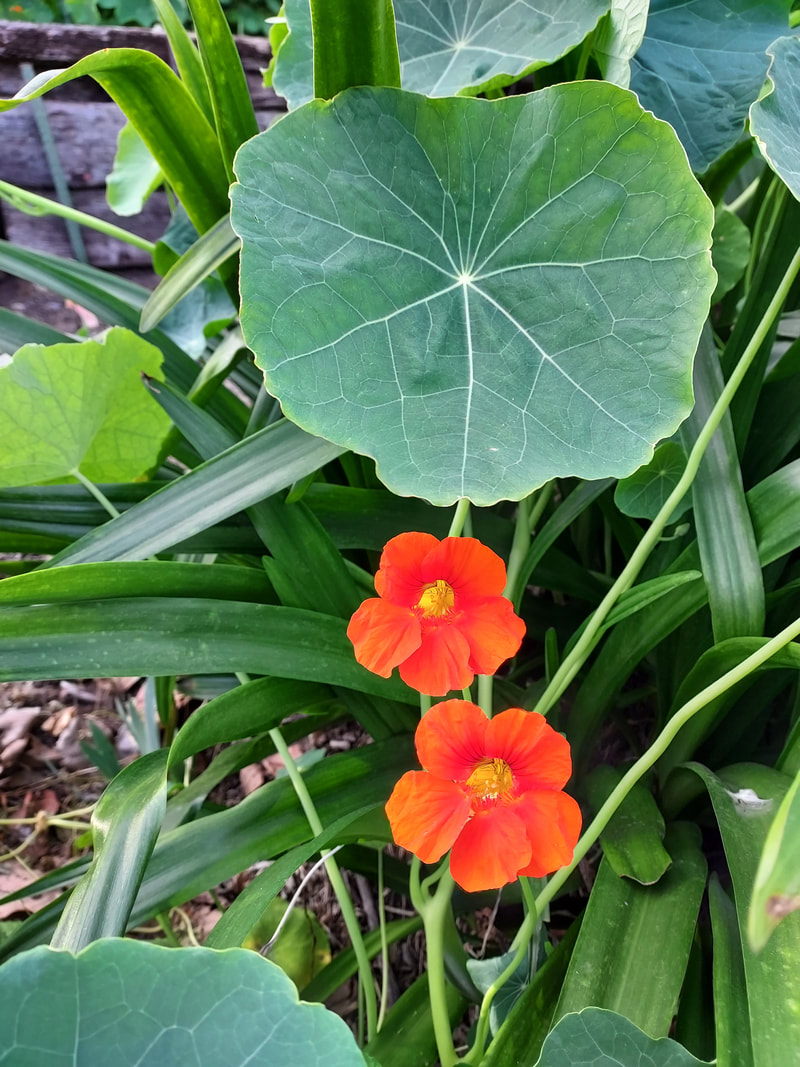
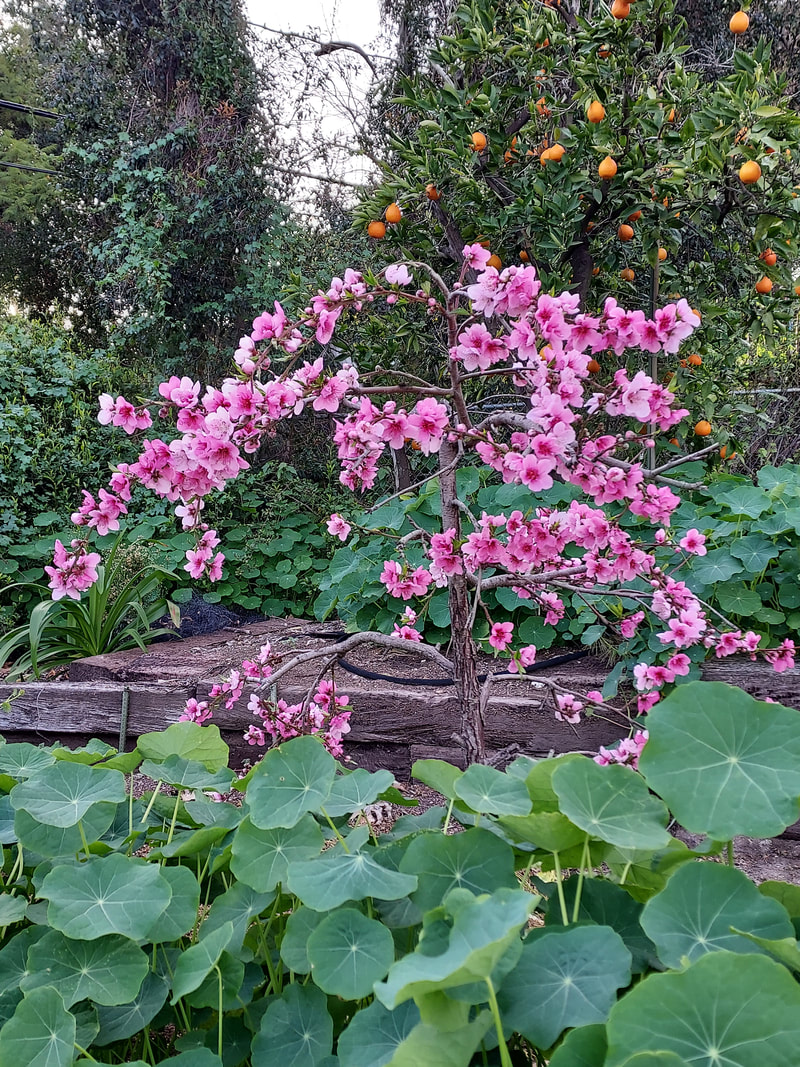
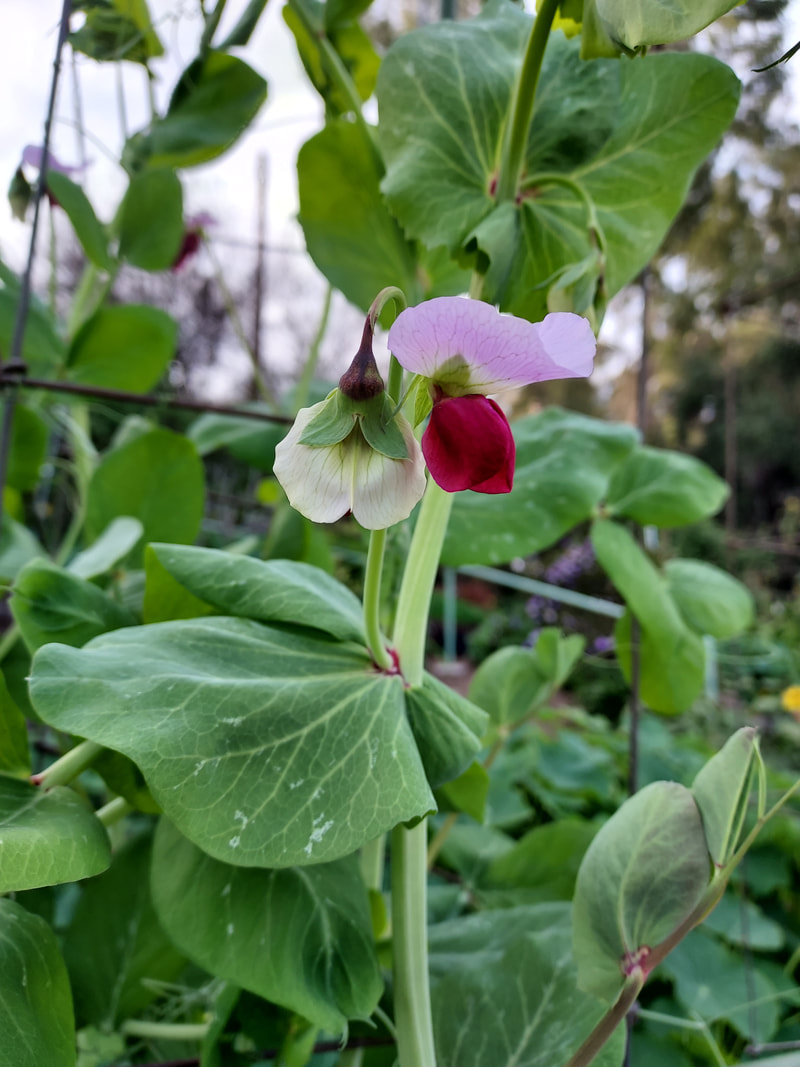
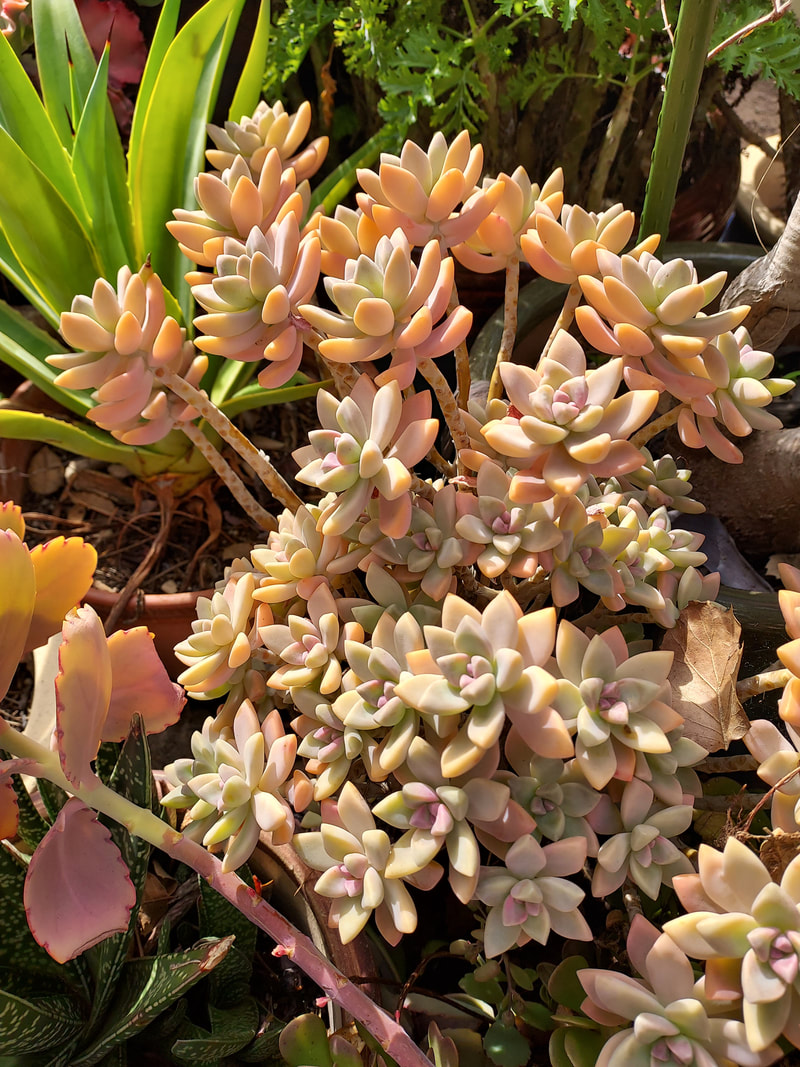
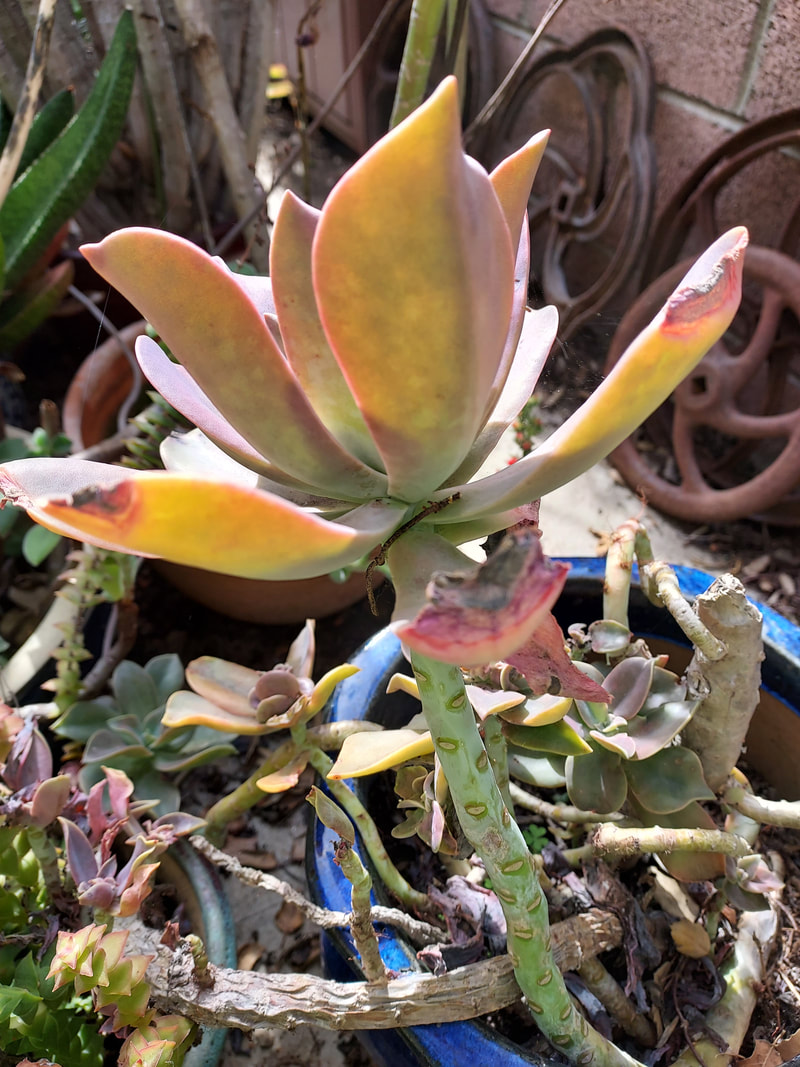
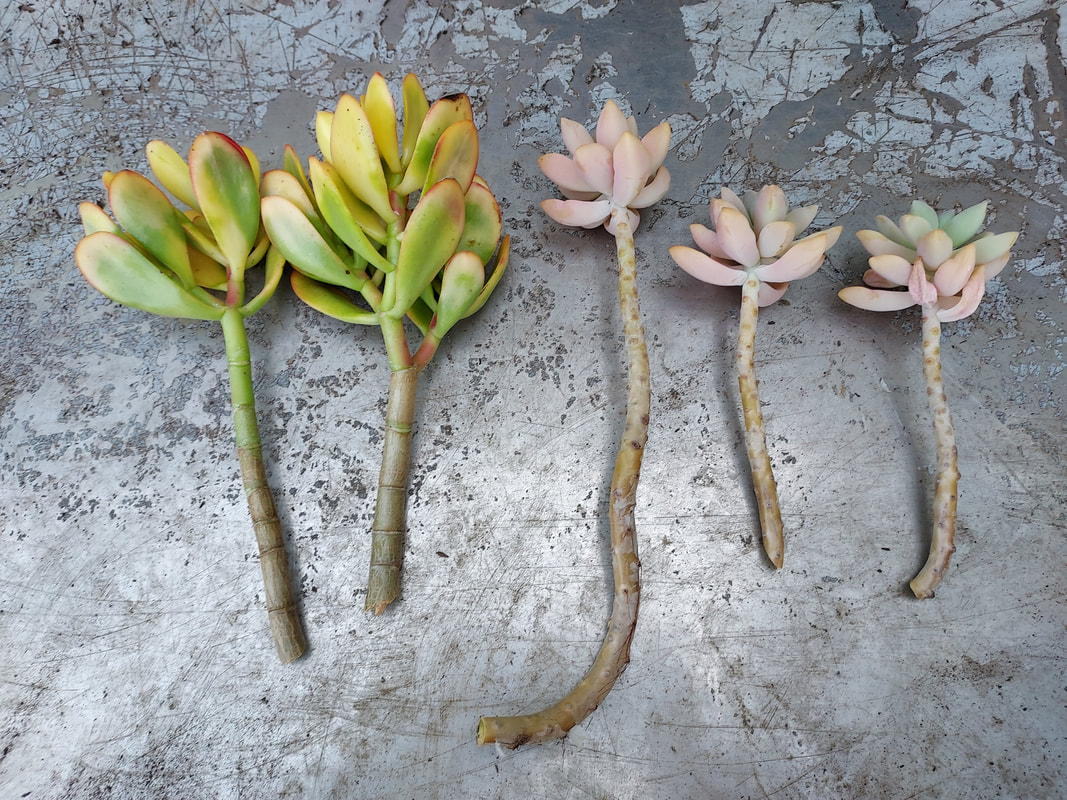
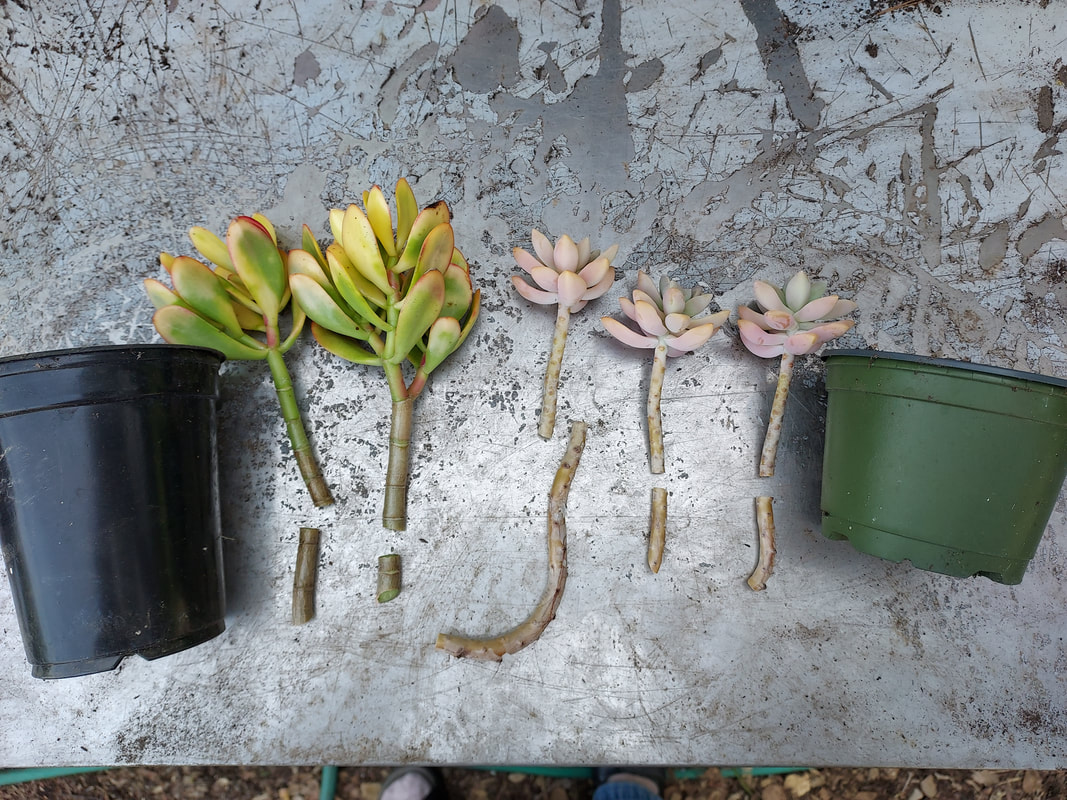
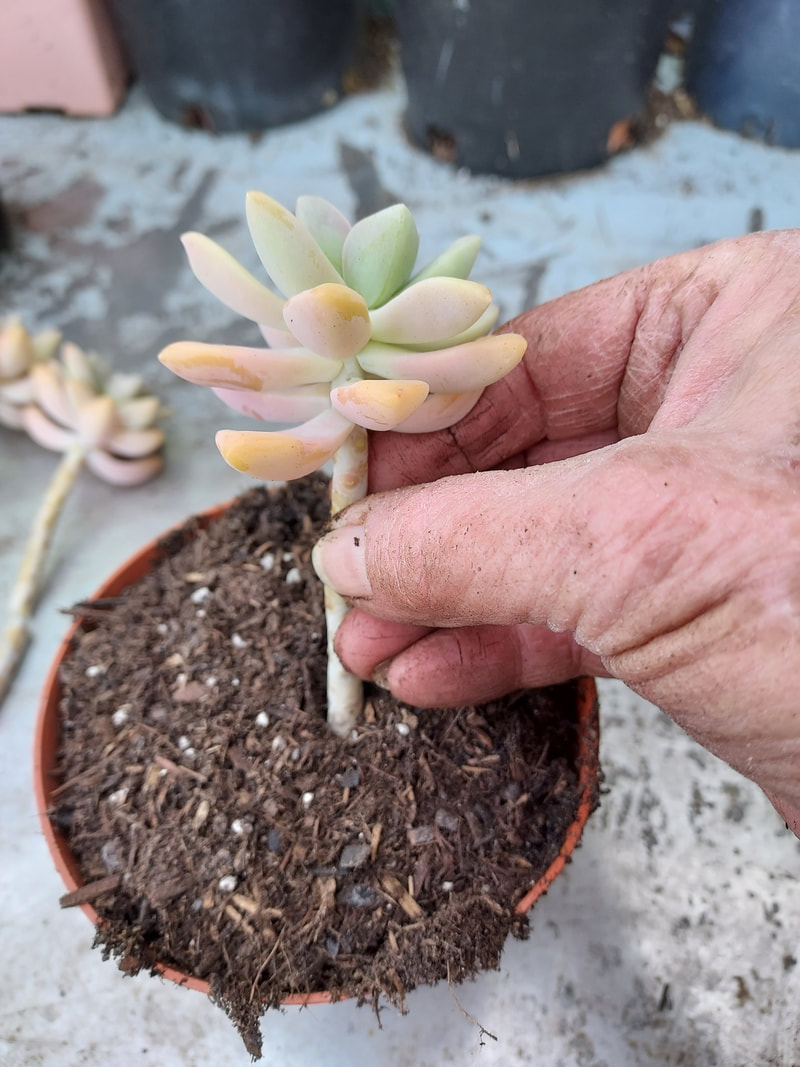
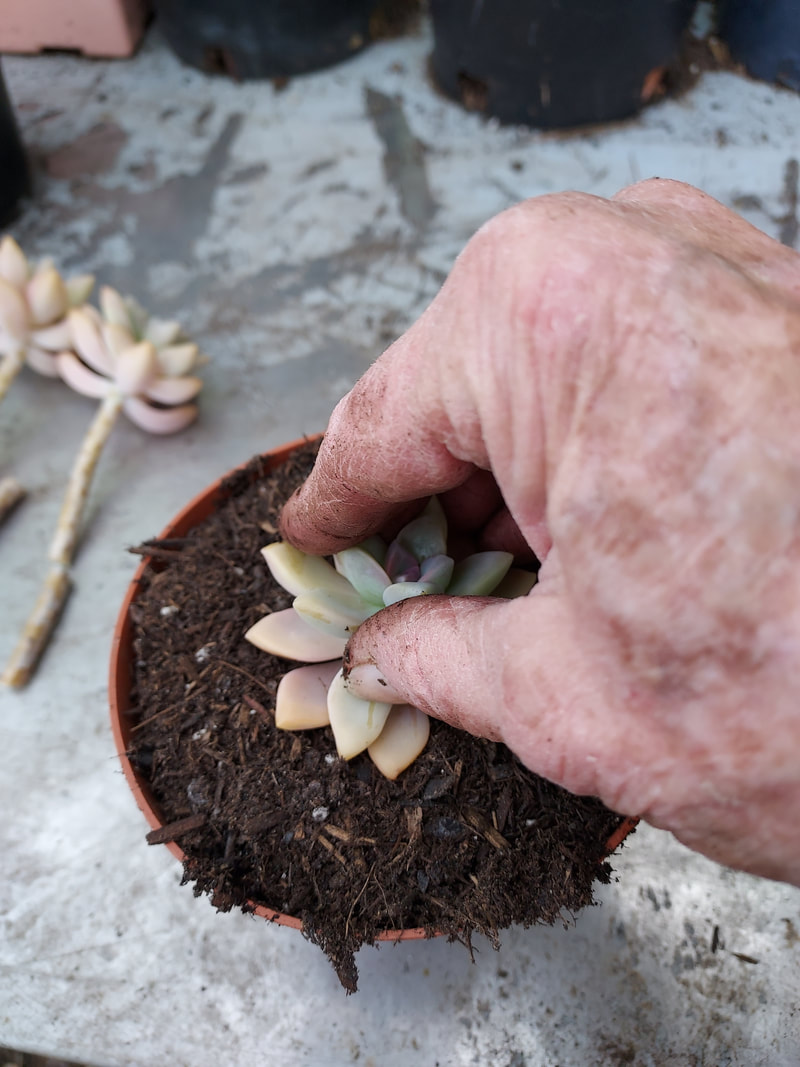
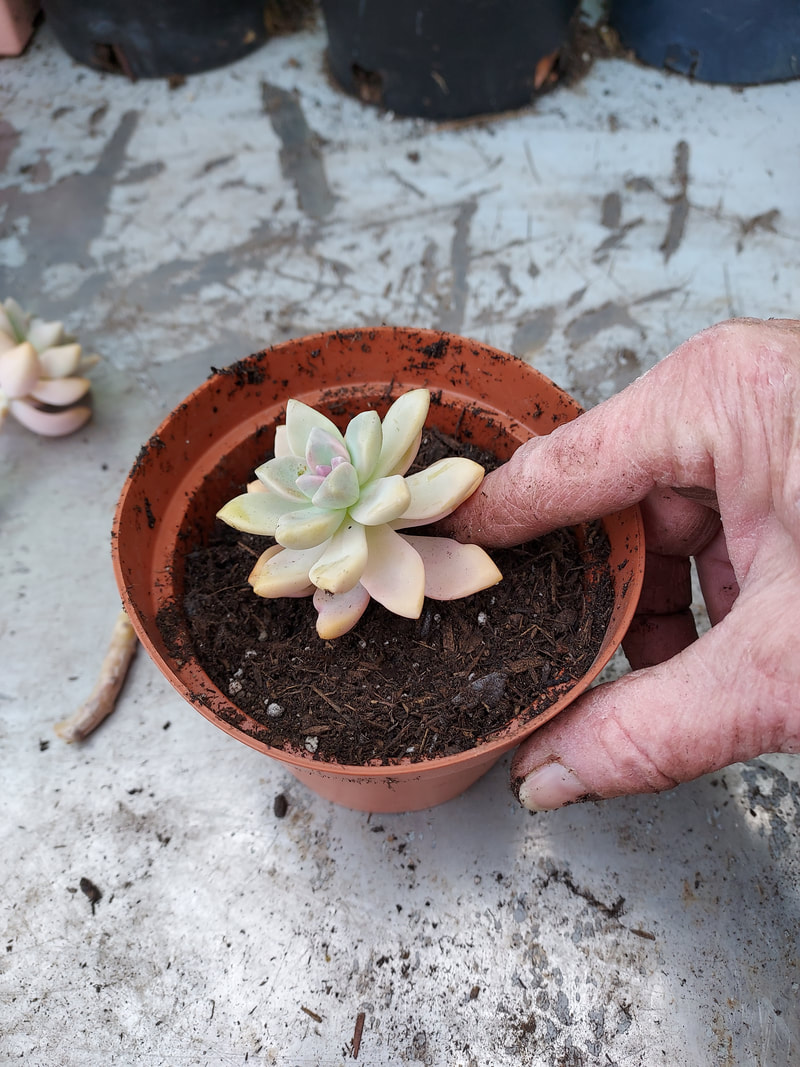
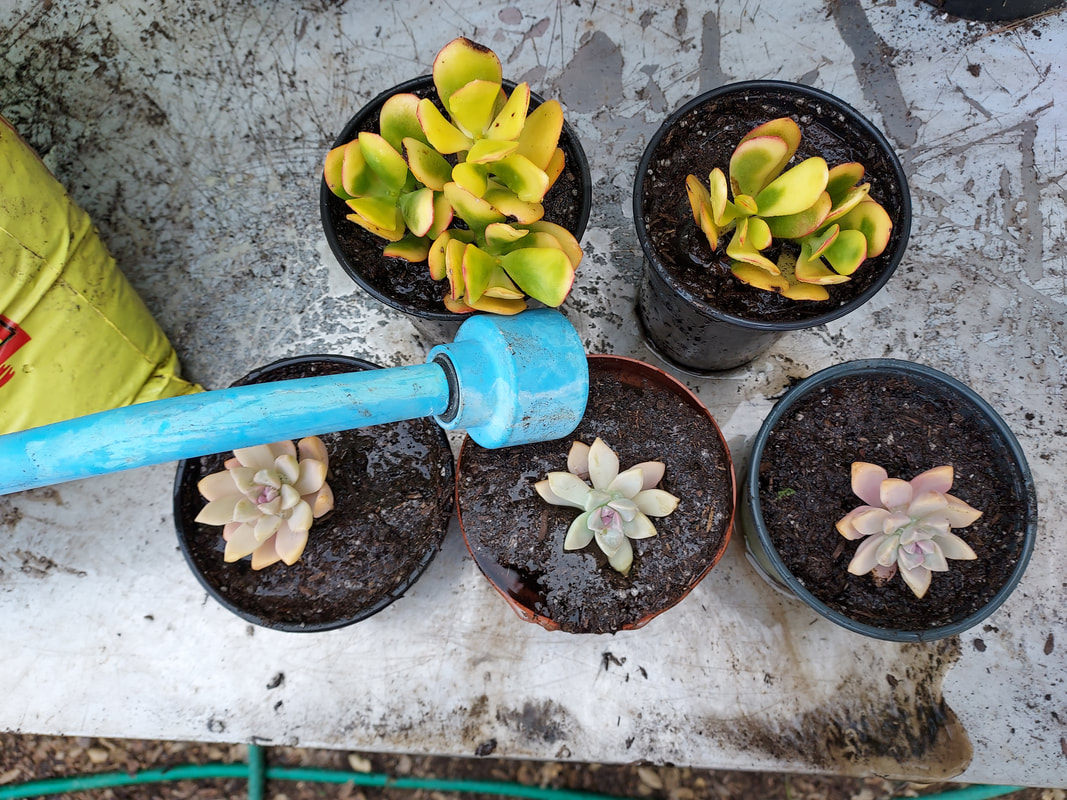
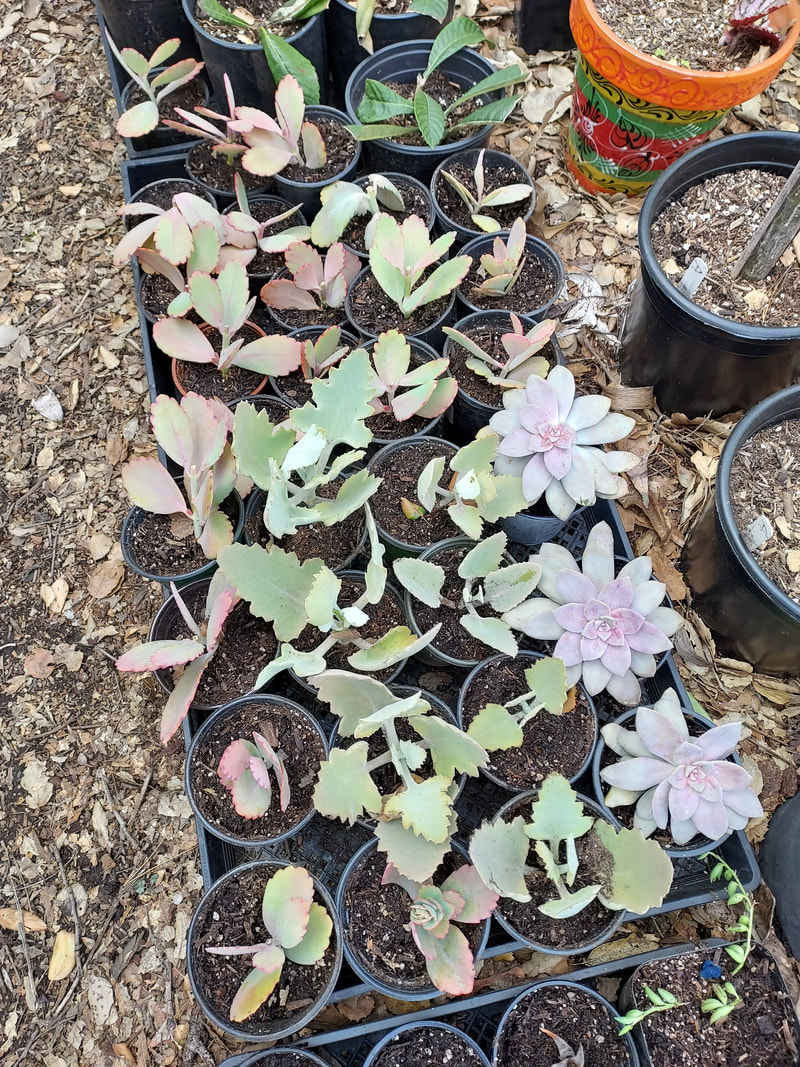
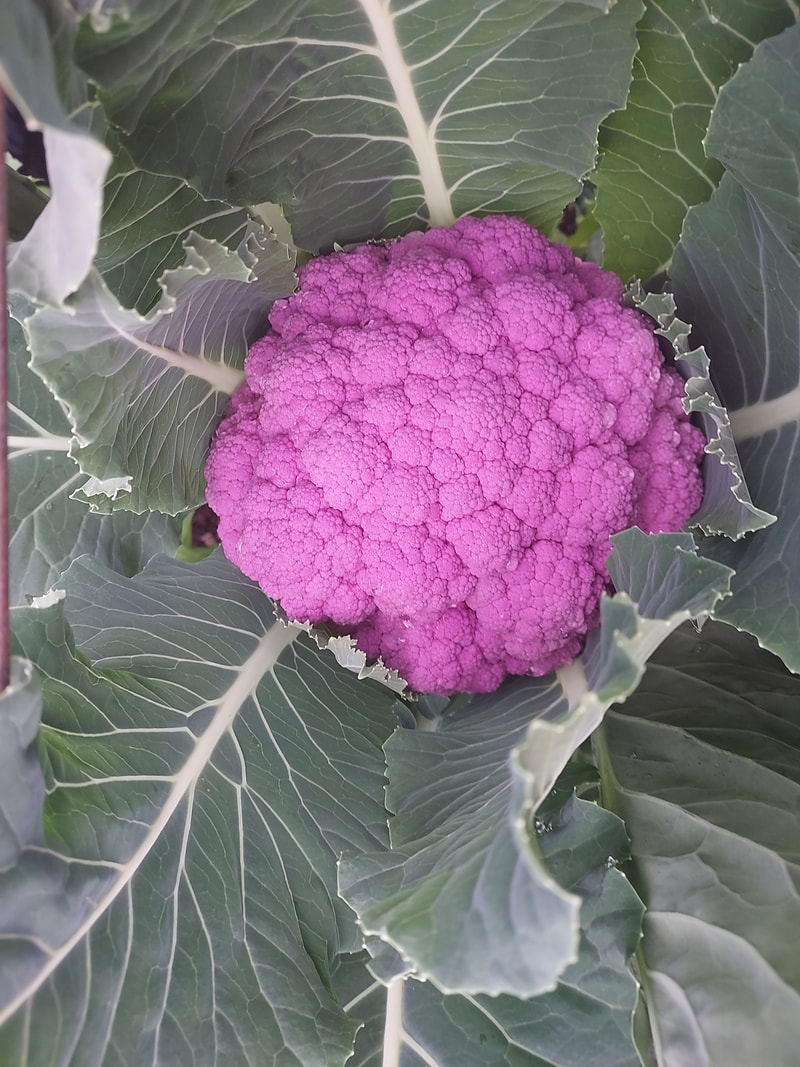
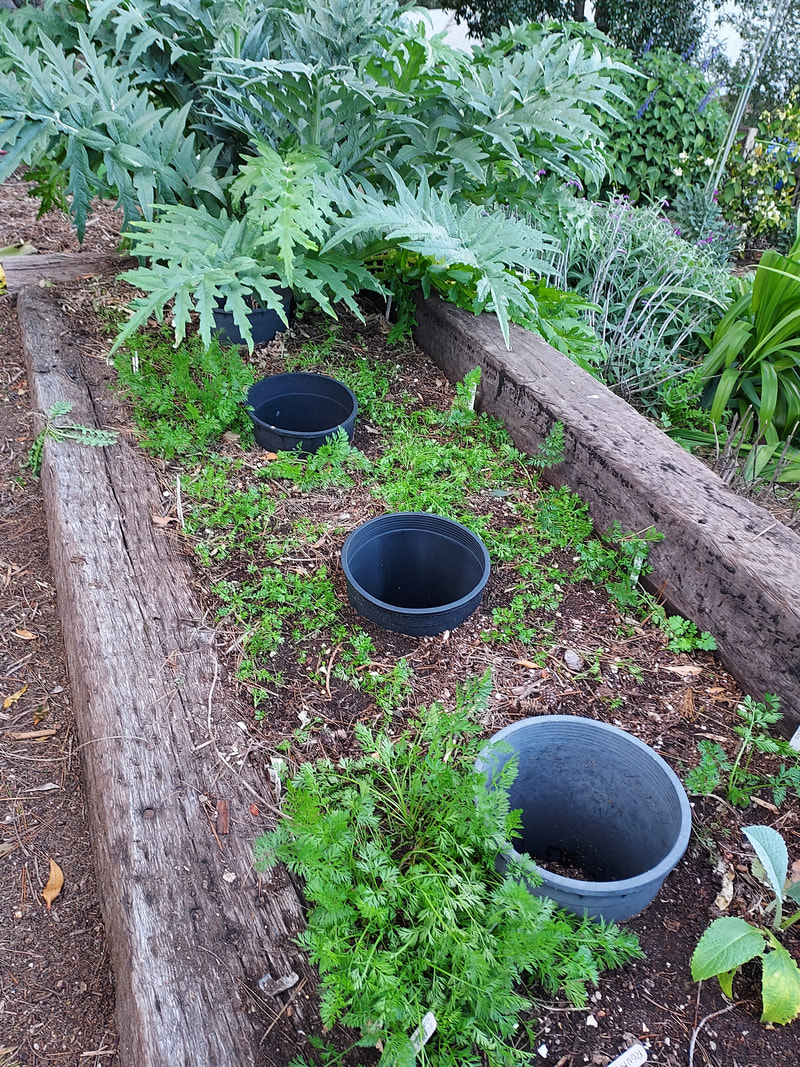
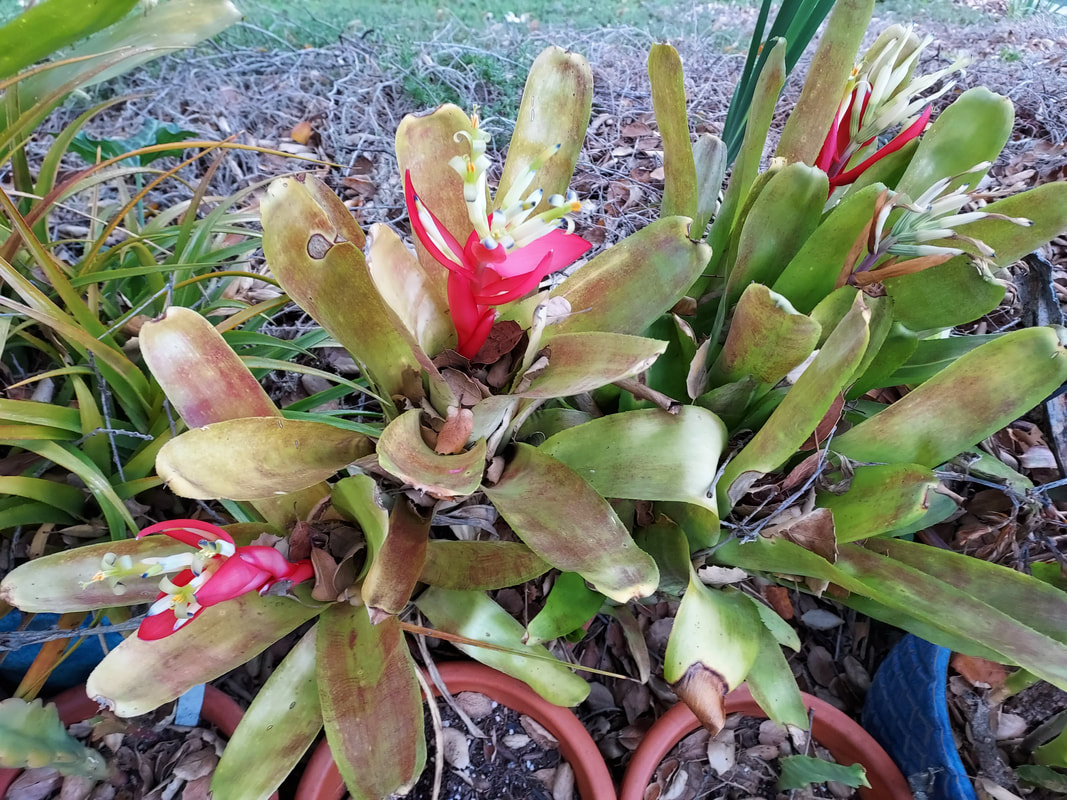
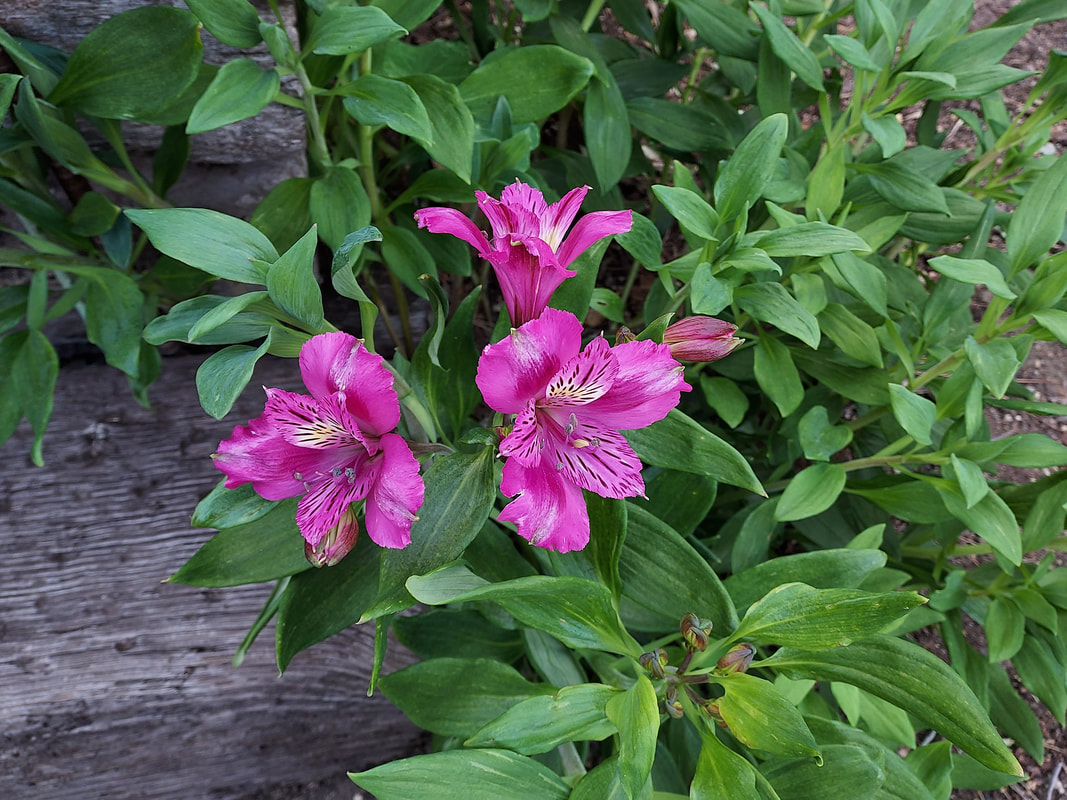
 Begonia time in the filtered shade garden! 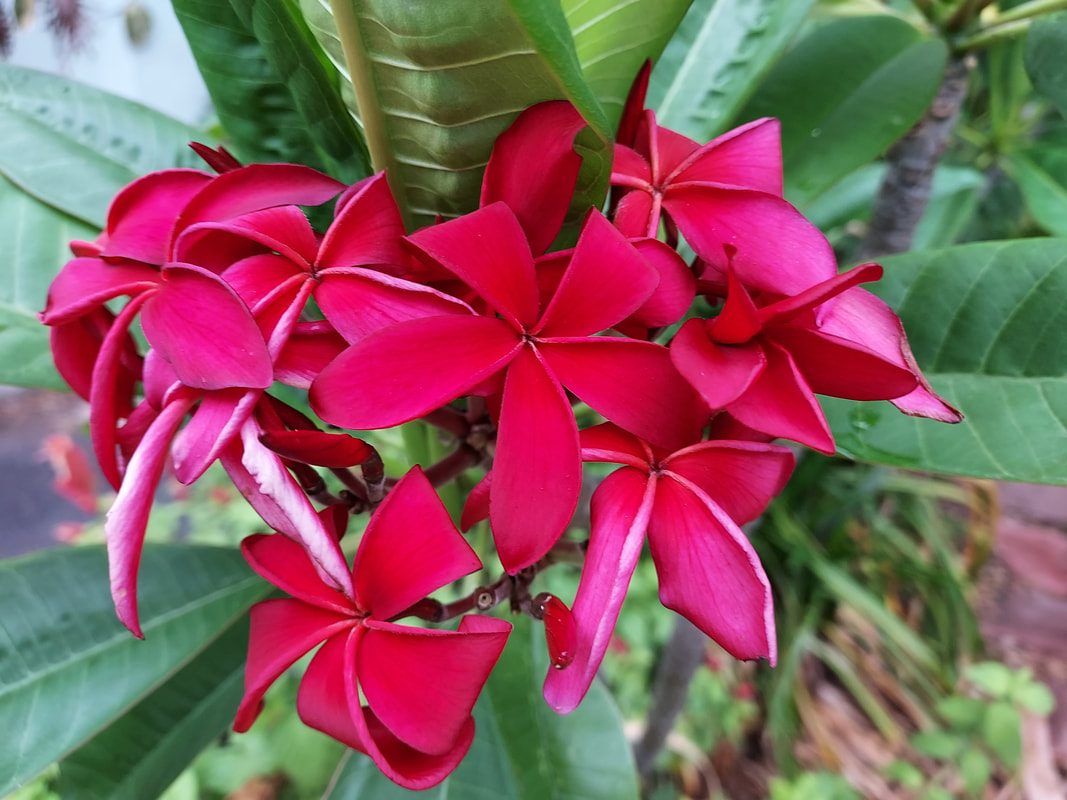 Exquisitely red plumeria. 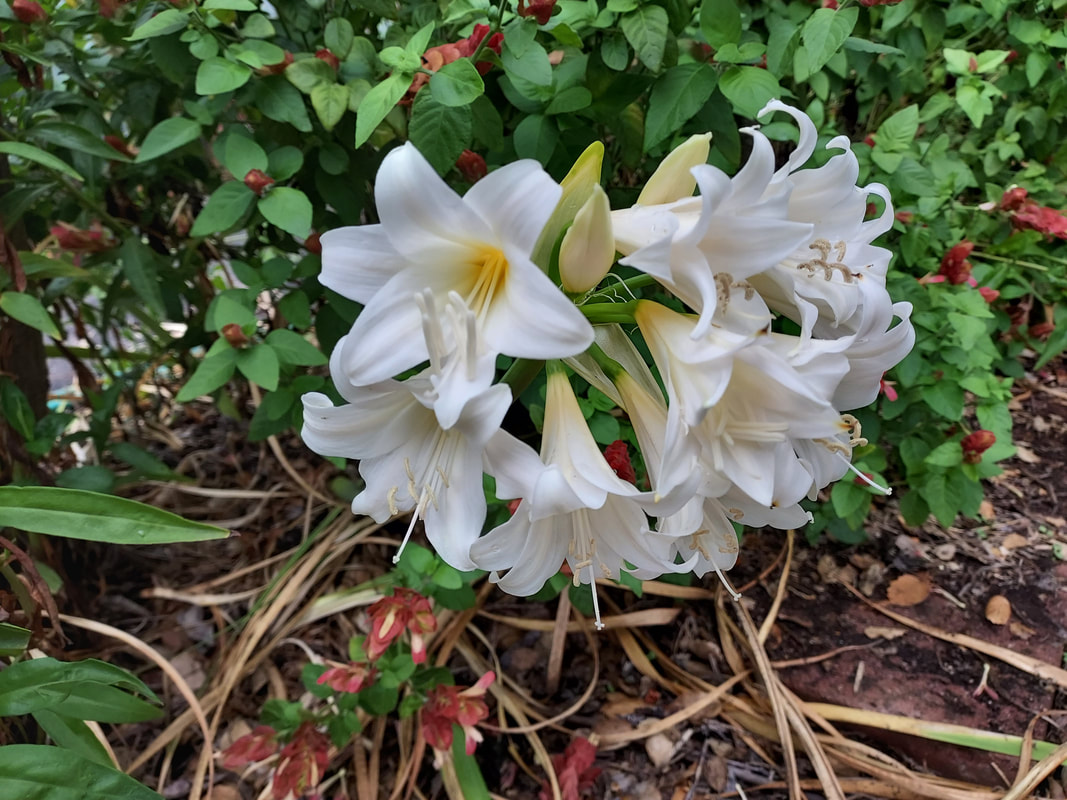 White amarcrinum. 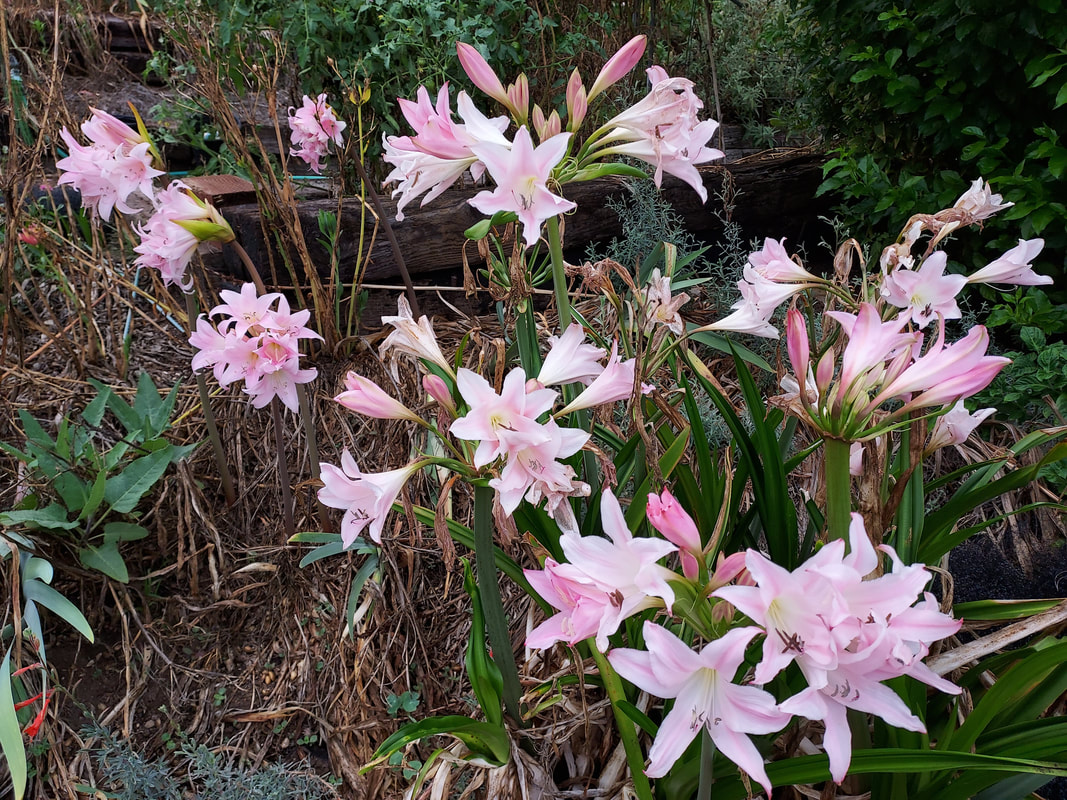 Light pink amarcrinum. 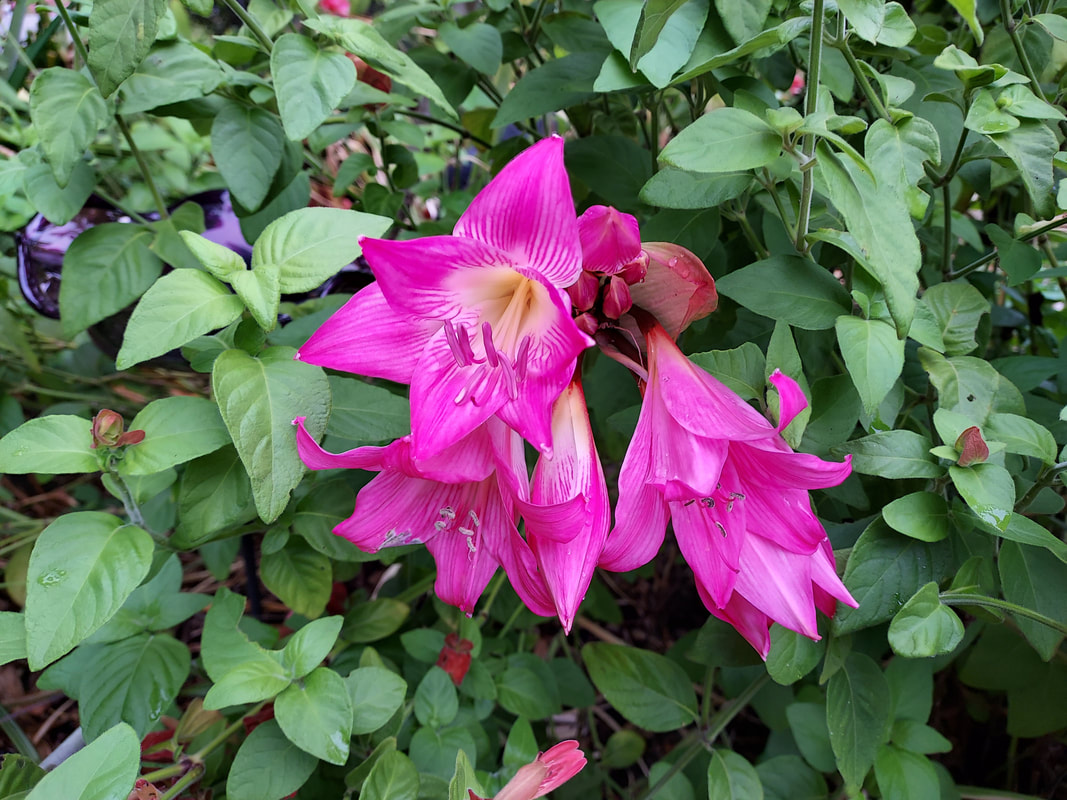 Bright pink amarcrinum. 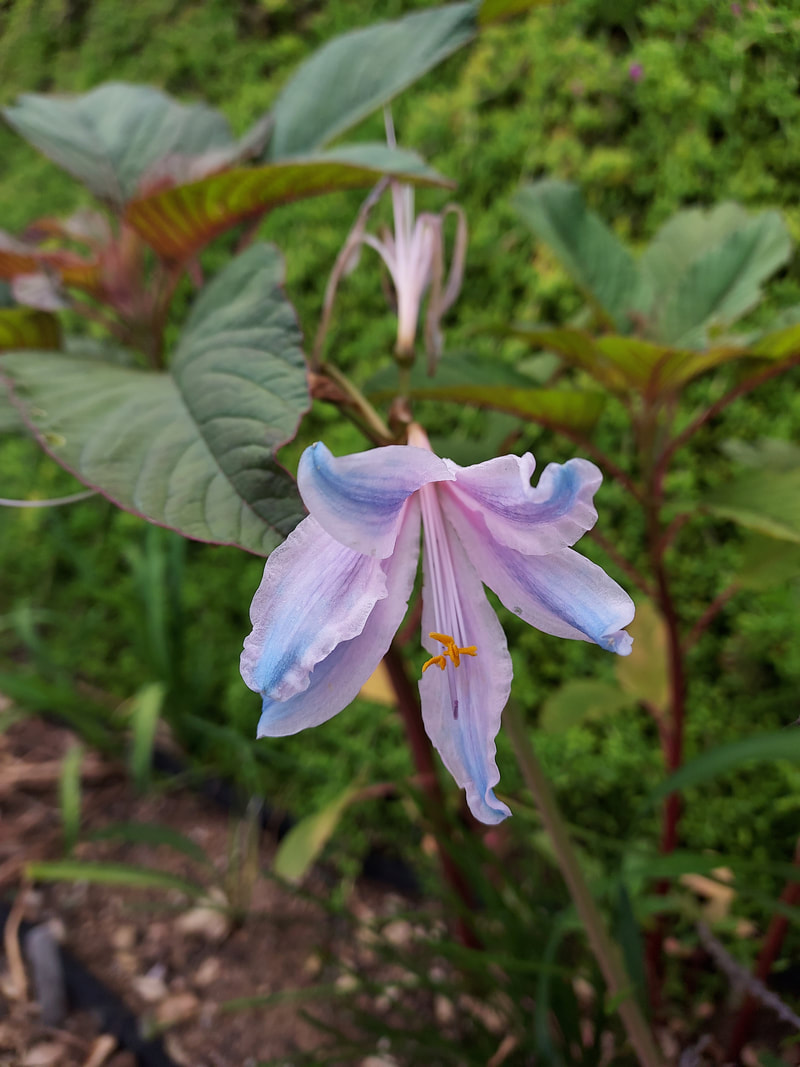 Beautifully mixed lilac and blue...the tag disappeared. 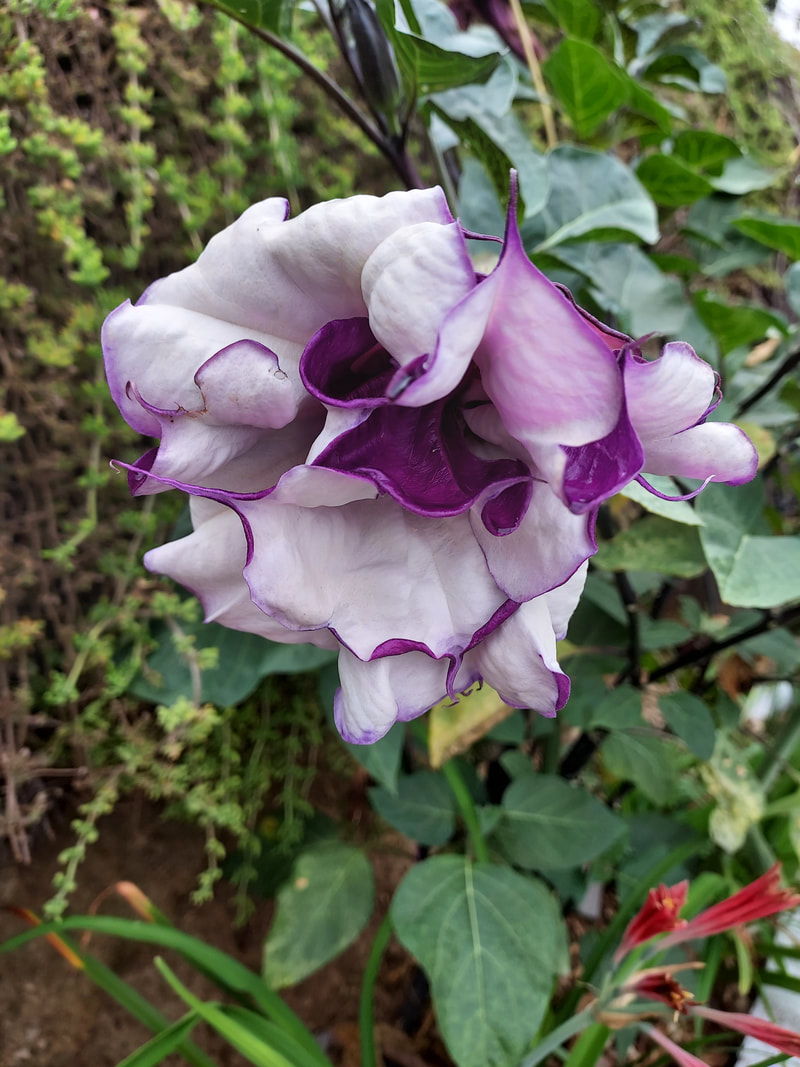 Purple People Eater Angel's Trumpet. 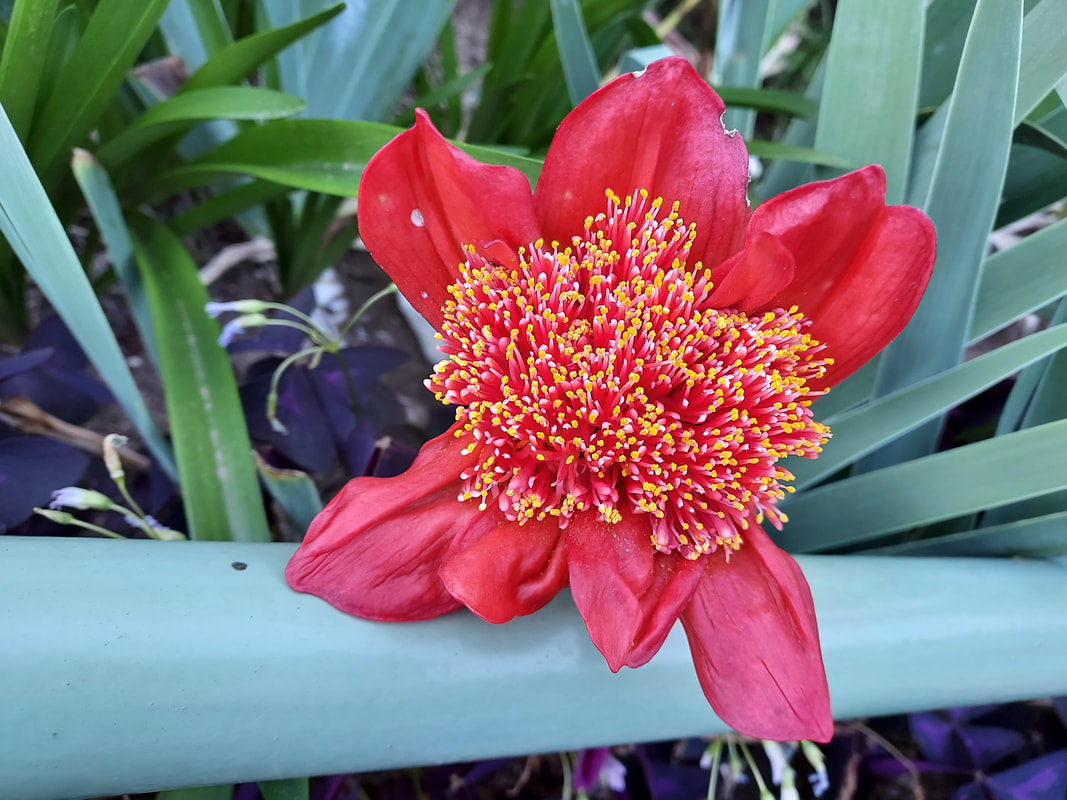 Another bulb I don't know the name of. 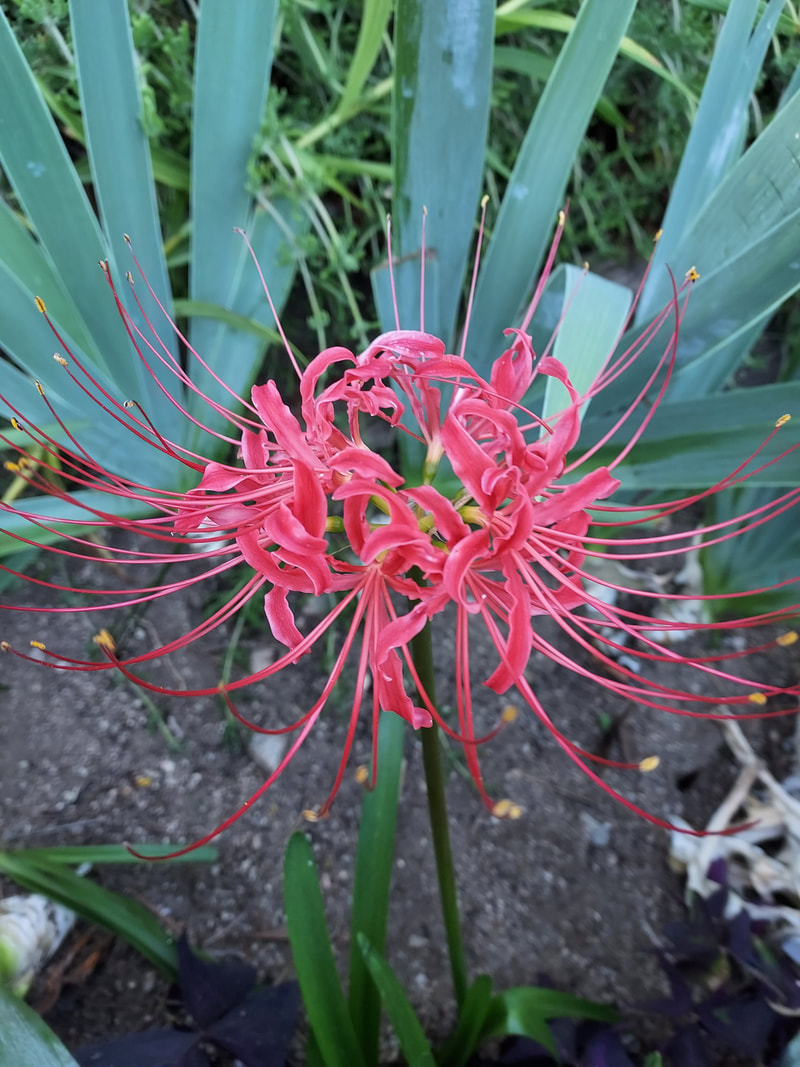 Lycoris. 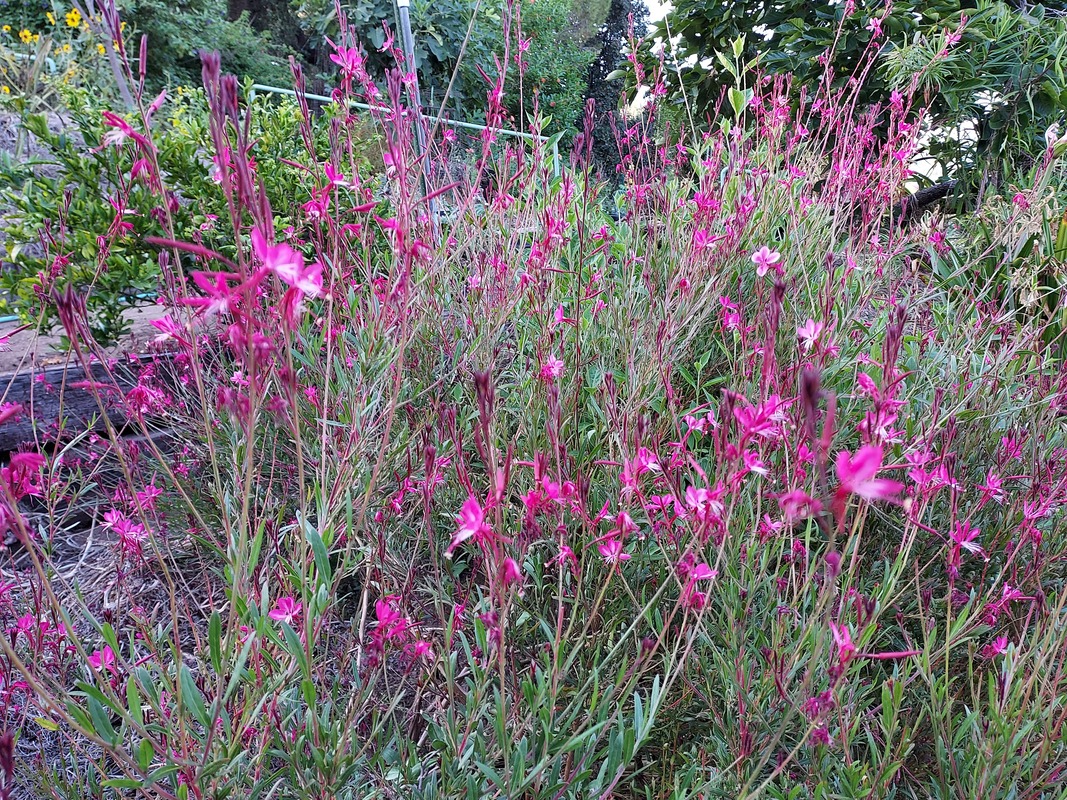 Gaura lindheimeri in pink. 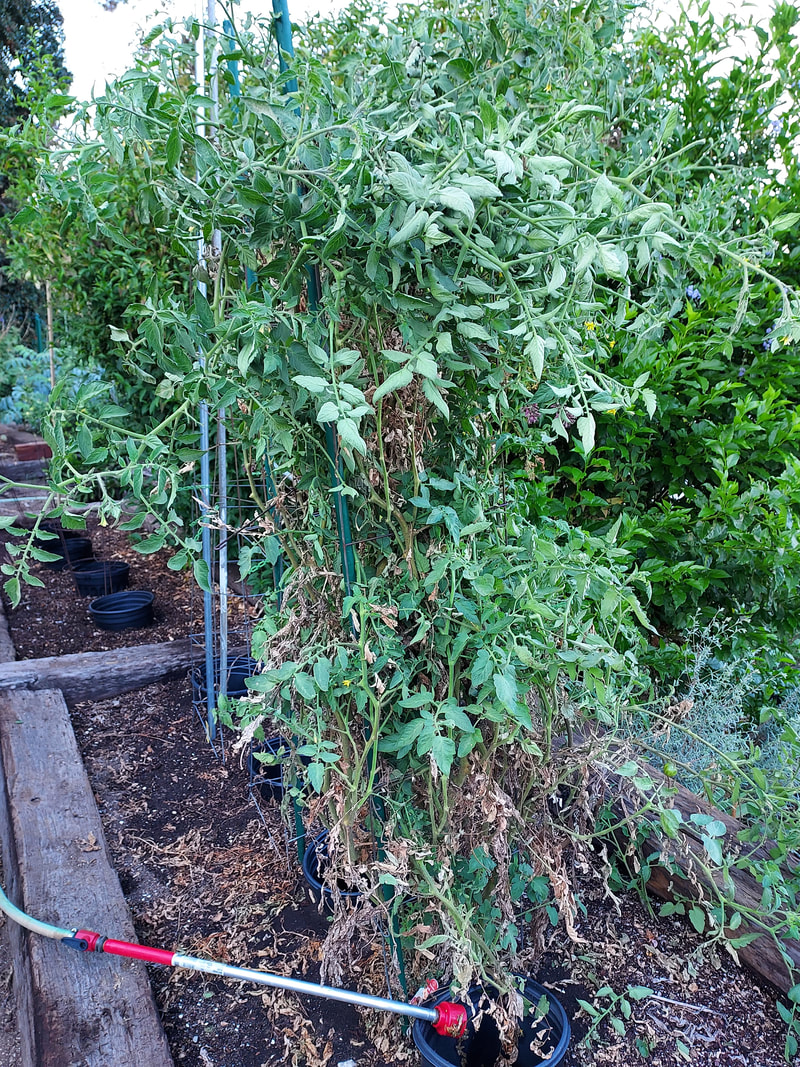 Purple Zebra huge plant overflowing its cage and setting blossoms.  Letting the volunteel plants finish maturing their tomatoes.  Garlic chives blooms. 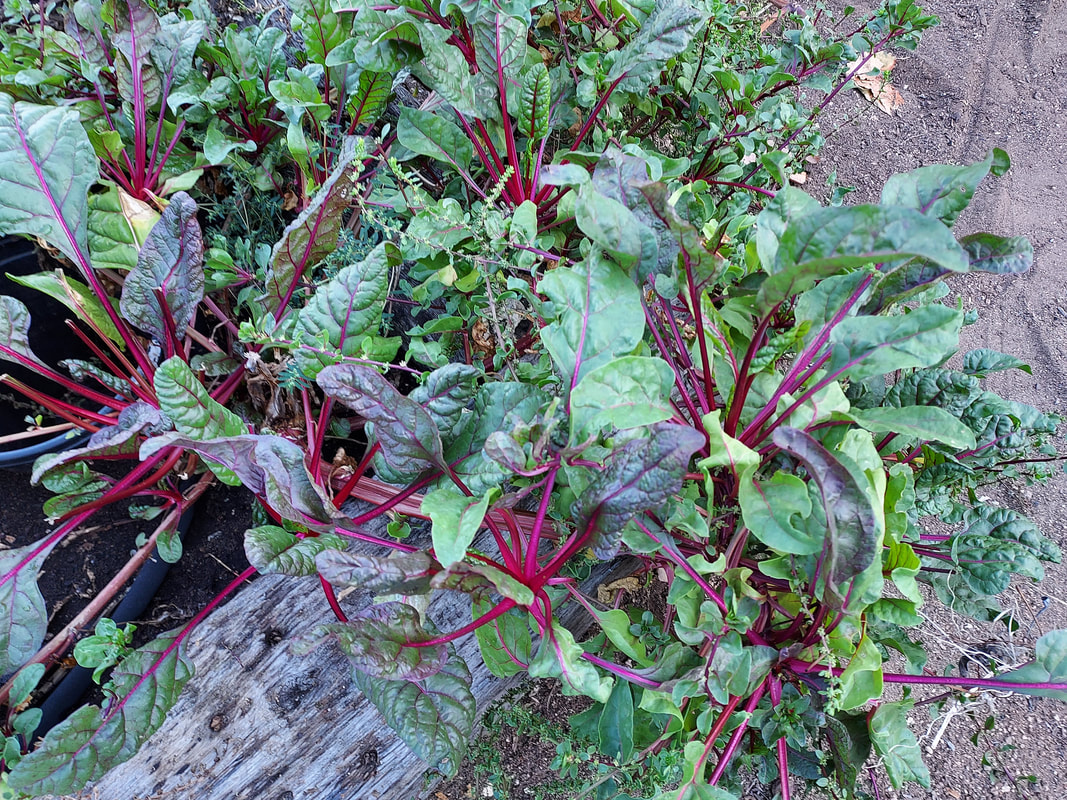 Chard resprouting with young growth and setting seed. 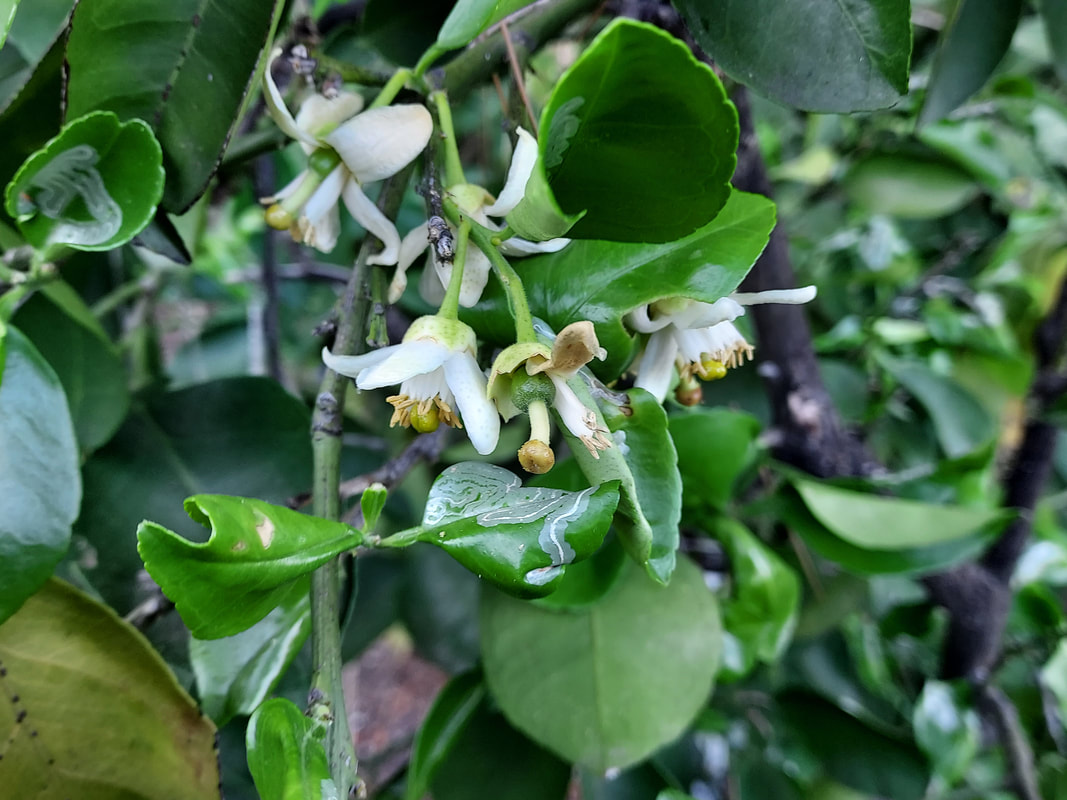 Another weirdness for this summer - Oro Blanco grapefruit sprouting blossoms. 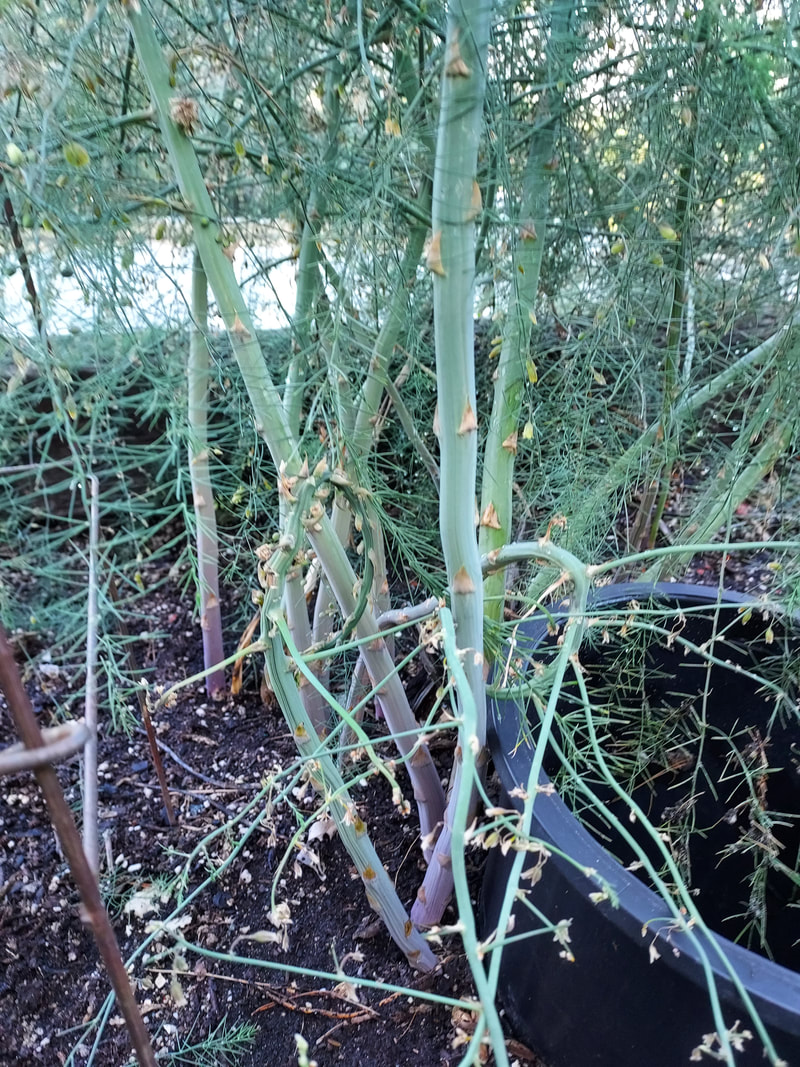 Many asparagus shoots ferning out bode well for next spring's crop! 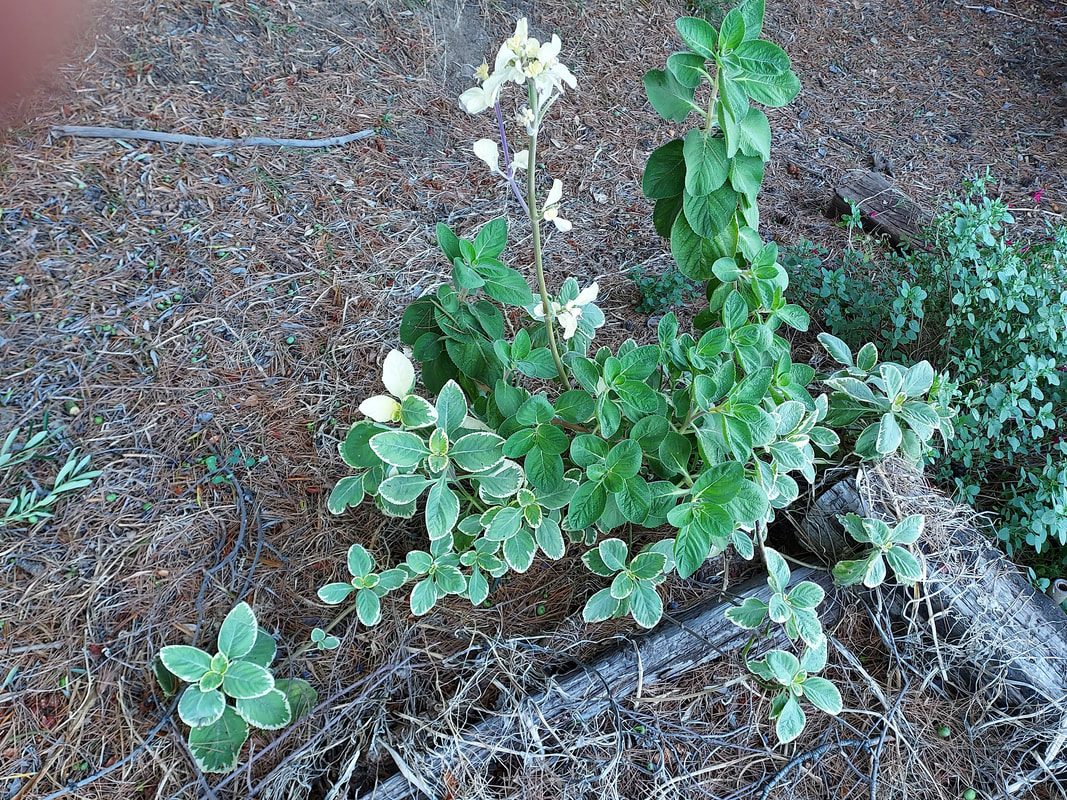 Plectranthus that's variegated trying to revert back to "plain" green. I keep trimming off the green, and rooting to give away, to encourage the variegation to thrive.  My favorite flower for Halloween! Cuphea. 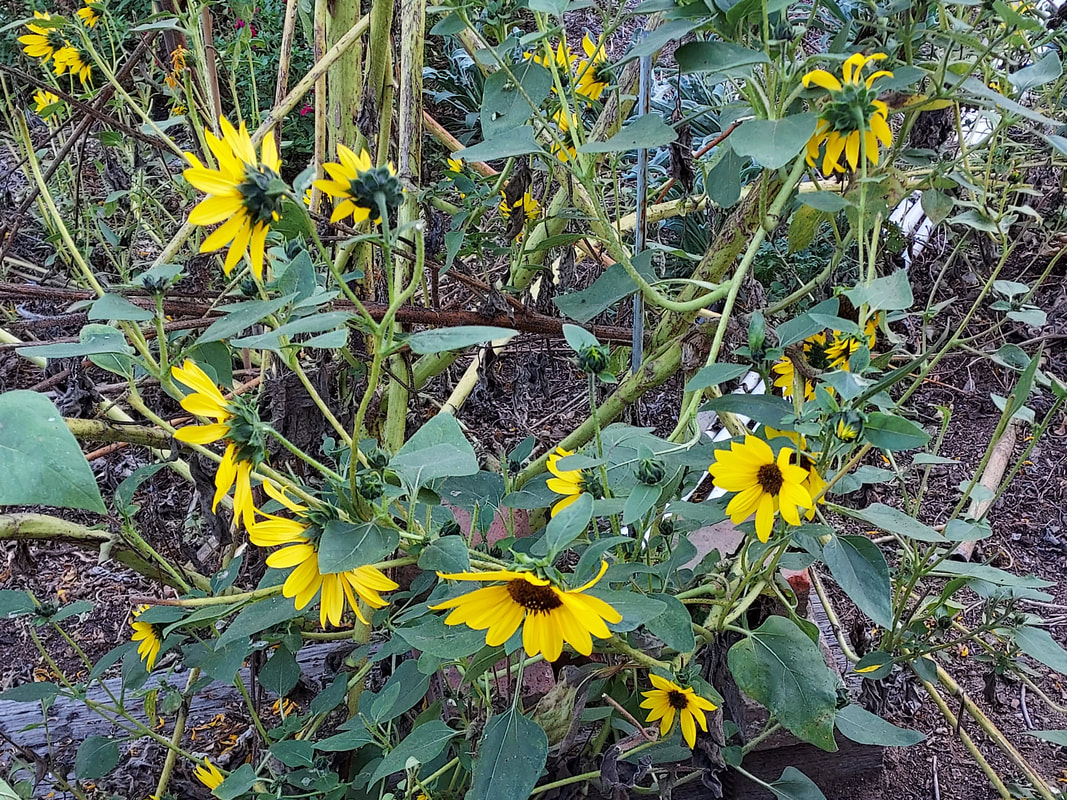 Wonderfully constantly blooming sunflower. | Today was heaven in my garden. After a month of no dirt under my fingernails, I made up for all that vacant time on several scores during the low-80-temperatures – removing dead plants, rescooping and watering tomato berms of plants that still have ripening tomatoes, and scattering and shallowly incorporating fertilizers into the long stretches in beds that’ll be seeded with overwintering edibles. What a glorious afternoon, feeling exquisitely alive again in the garden! Few Tomatoes I’ve never had so few tomatoes to harvest over summer – of my 18 plants I barely got 74 fruits, and those were medium to small in size as well as Sungold’s tiny size. One bed of 8 plants was primarily of volunteers that had sprouted in my compost pile. The other bed held the 10 favorite varieties that I’ve successfully grown for years. Both beds were fertilized and watered well. Volunteers The volunteers developed less foliage but resulted in more tomatoes; of course I don’t know what they were since they were volunteers so could have been crosses among last year’s fruits that made it into the compost pile. About half of these plants have died, but I’m waiting on letting the fruits that’ve already set to ripen in our continuing mid-80-degree daytime heat. Purchased Past Favorites The purchased plants that I’ve grown for years as my favorites grew more foliage but didn’t produce as many fruits as the volunteer plants. This made me think that I’d somehow overloaded them with nitrogen, even though I fertilized them the same as the volunteers, both initially when transplanting and when the blossoming first started. About one-third of these plants died early on during that first heat spell, but the remaining plants are very top-heavy (the vines are supported inside the cages up to six feet, then overflow down the outside for another four feet. On this still-strong foliage, they’ve put out a good number of blossoms, so we’ll see how many of them actually set fruit and develop during this daytime warmth. But, I’m hoping this out of curiosity since once the evening temperatures get lower than 60 degrees, the plants pretty much shut down the cooler it gets at nighttime, even with the “high” daytime temperatures. Sowing and Transplanting Overwintering Edibles Sowing seeds is a great way to get lots of plants to transplant around your garden or share with friends. And you get to choose varieties with specific qualities that you like or want to try. This is especially fun with packets that seemingly contain a billion seeds – like many lettuces – because you can count on reseeding them every three or four weeks if earlier ones haven’t germinated or you want many more plants. I love scattering the seeds along the six-inch-or-so front edge of my large veggie beds so they’re easy to keep sprinkled with water for good germination and then transplanted in small bunches into 6-packs or 4” containers for developing further prior to sharing with friends. |
|
11 Comments
|
Categories |


 RSS Feed