Gardening In LA
  • Home
  • About
  • Services
    • Garden Coaching
    • Speaking
    • Photography
    • Writing >
      • List of Articles
  • Blog
  • News
  • Monthly Tips
    • January
    • February
    • March
    • April
    • May
    • June
    • July
    • August
    • September
    • October
    • November
    • December
  • Events
    • Submit Your Garden Events
    • Botanical Gardens' and Other Organizations' Garden Events
  • Jobs
  • Web Links
  • Newsletter

BLOOMERS, PLANTING TOMATOES, STARTING SUMMER SEEDS

3/30/2016

0 Comments

 
Picture
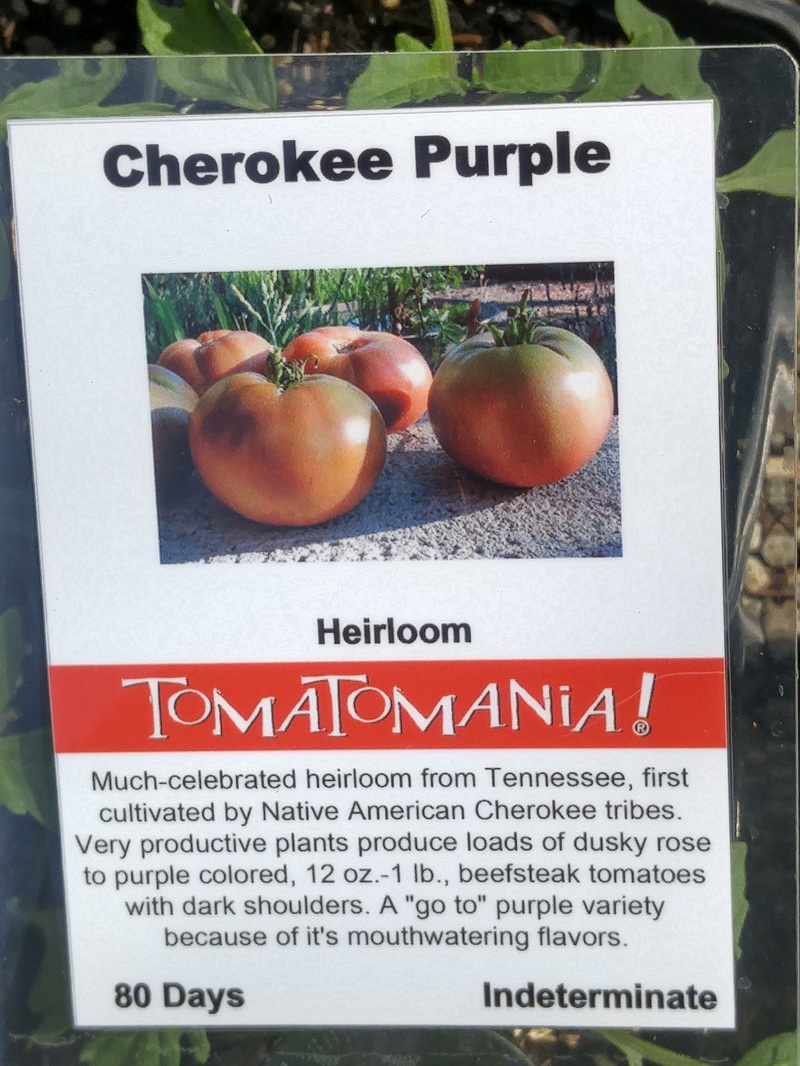
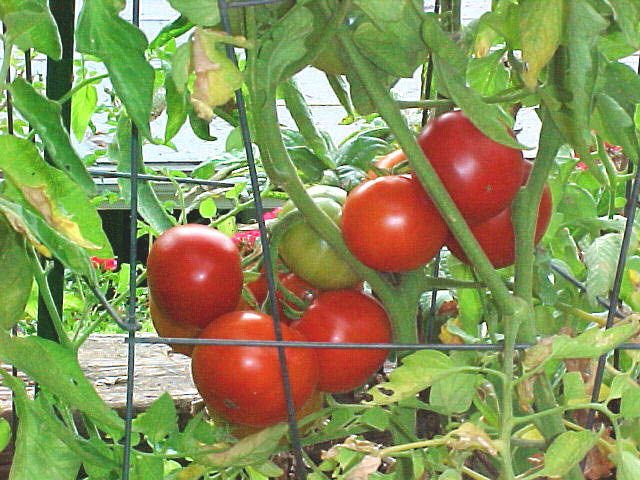
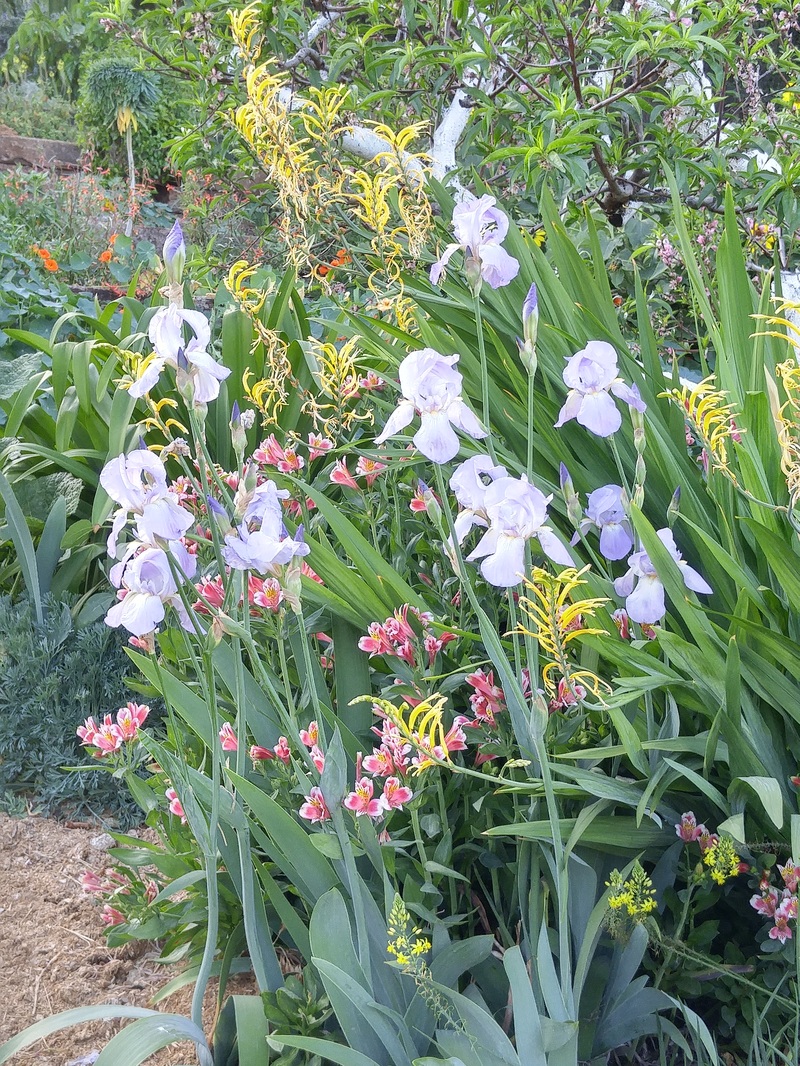
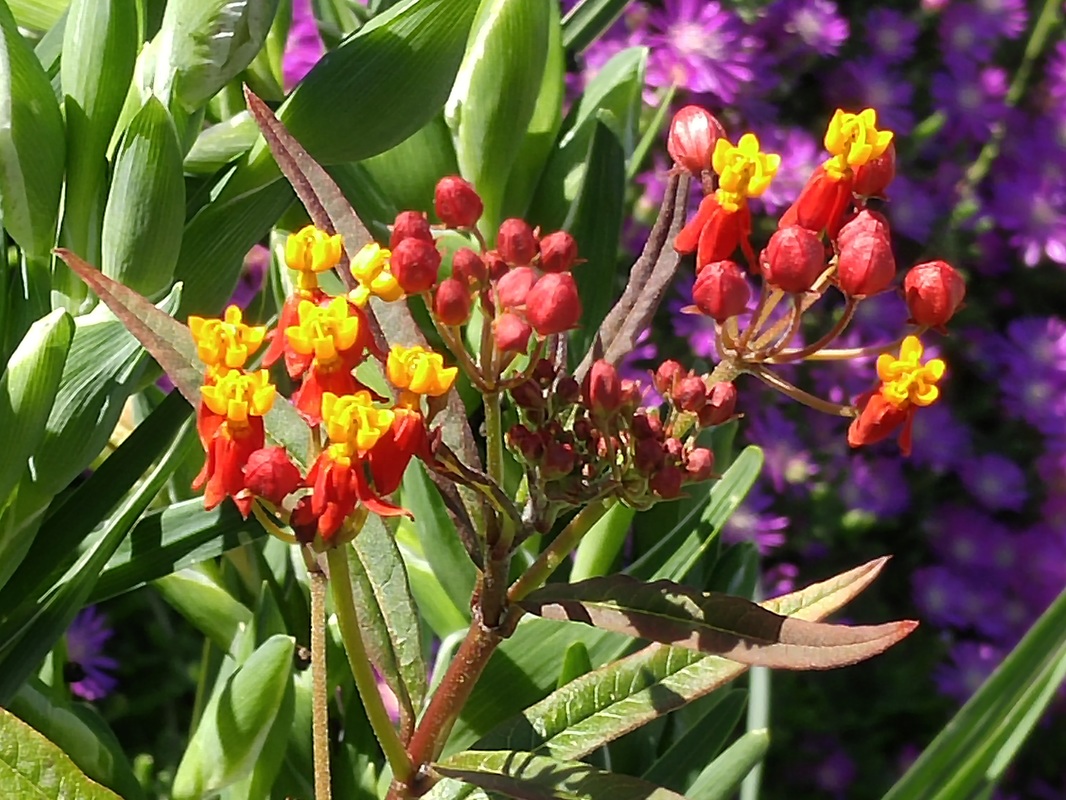
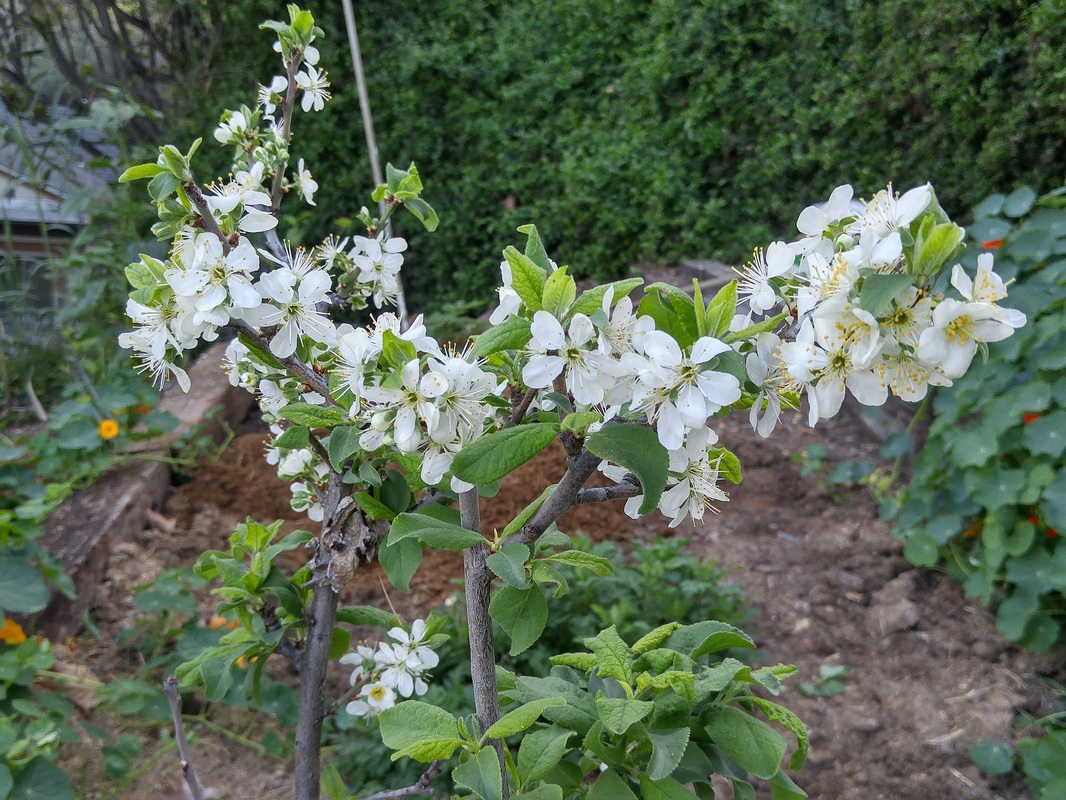
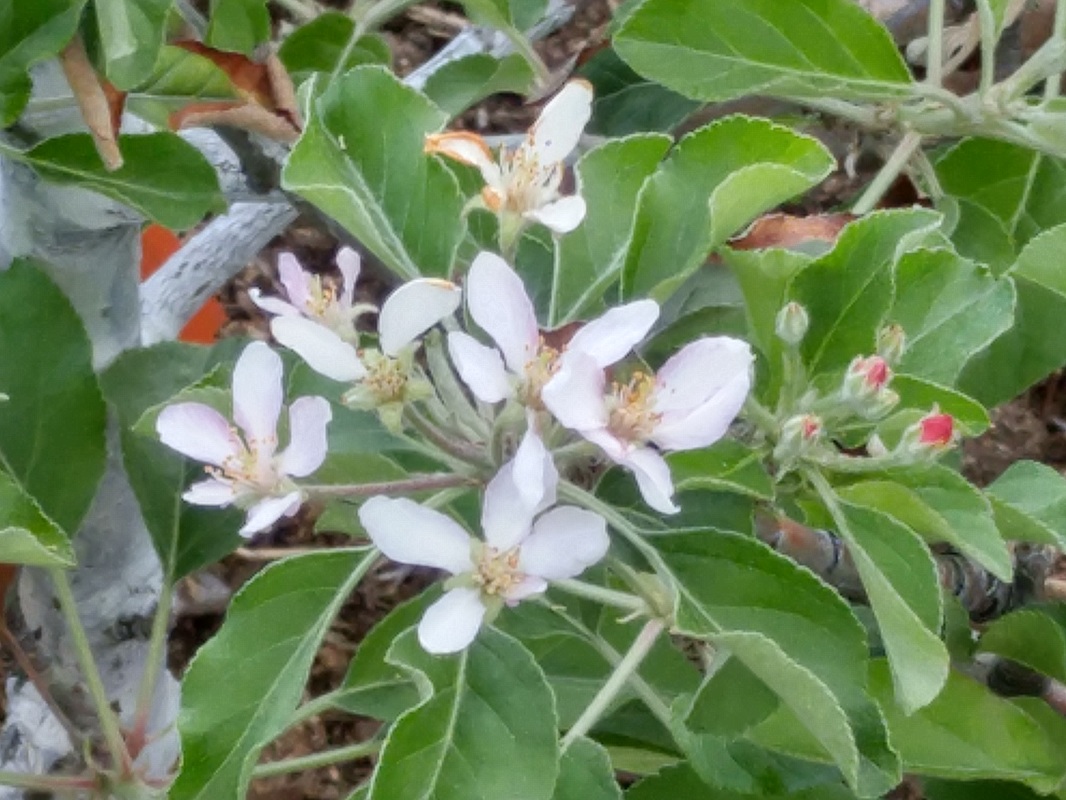
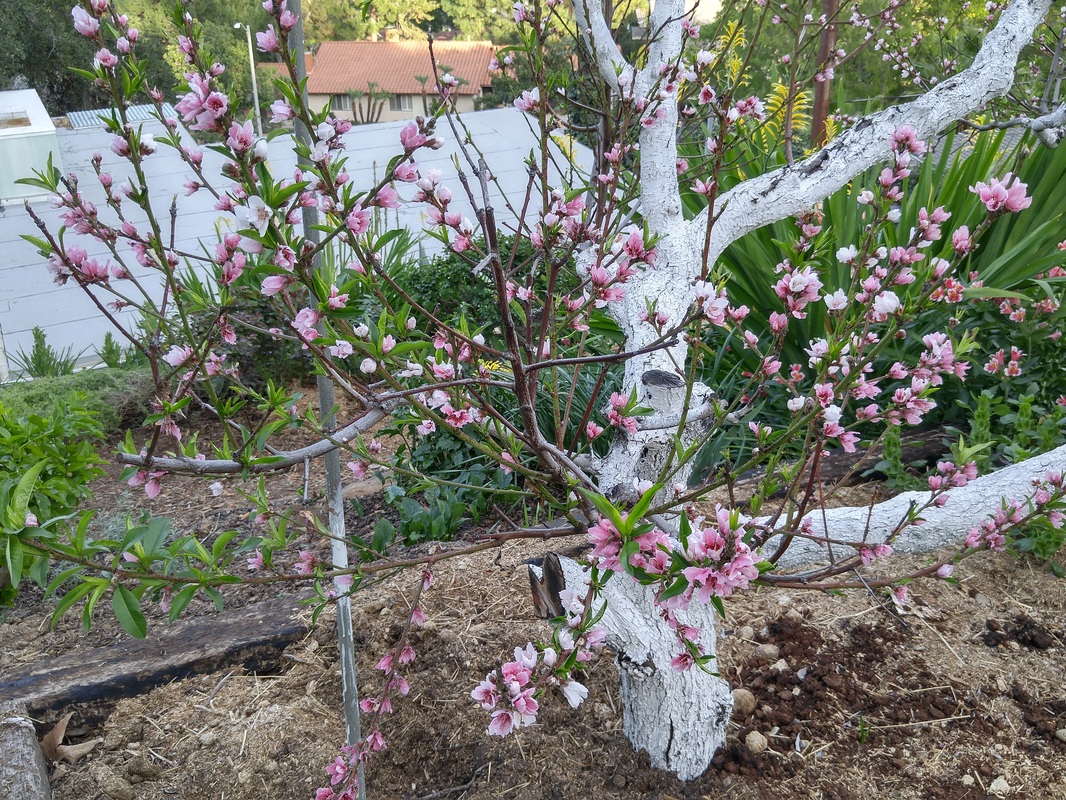
March blooms - roses, nasturtiums, bulbine
Picture
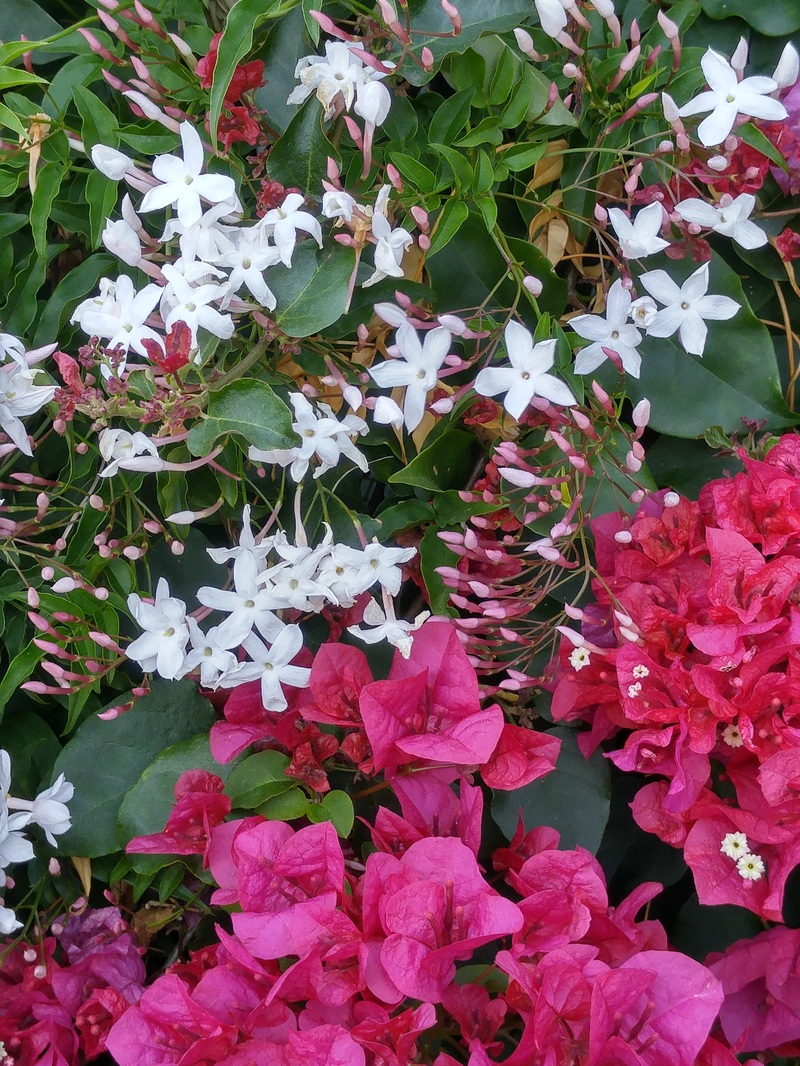
Jasmine and bougainvillea
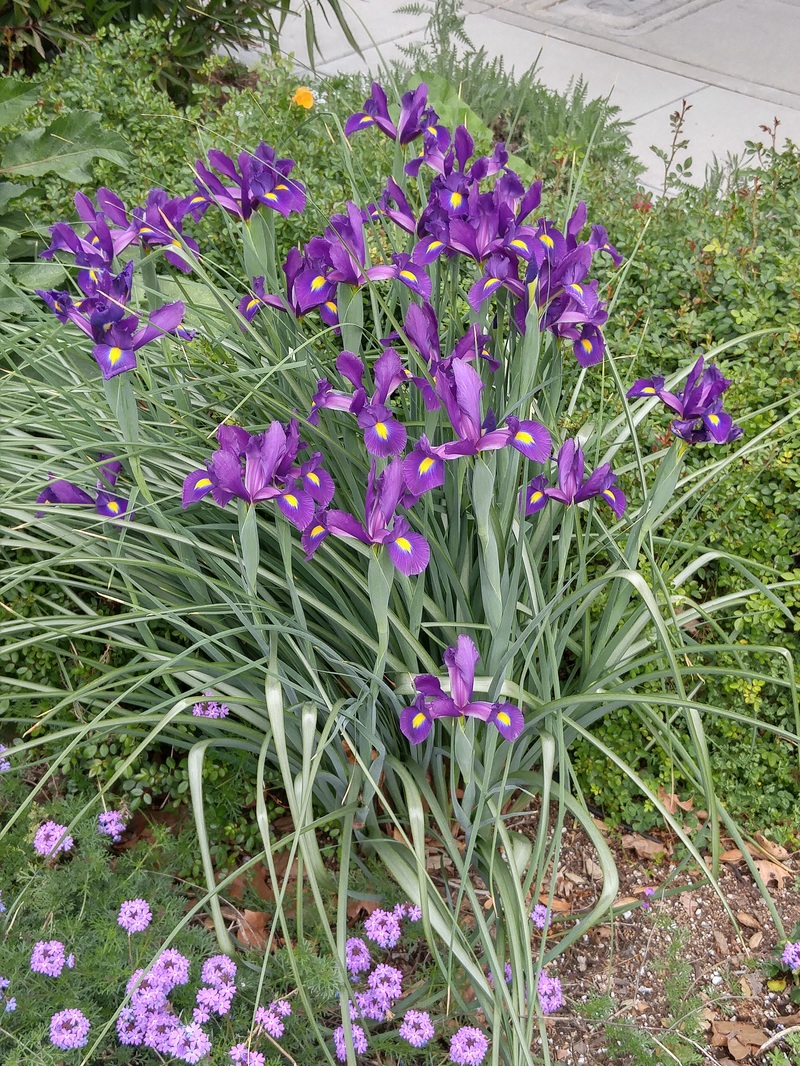
Picture
Dutch iris
Picture
Lucille Ball rose. The story goes that her daughter Lucy named this rose after her mother because it was the EXACT color of her Mom's hair.....
Picture
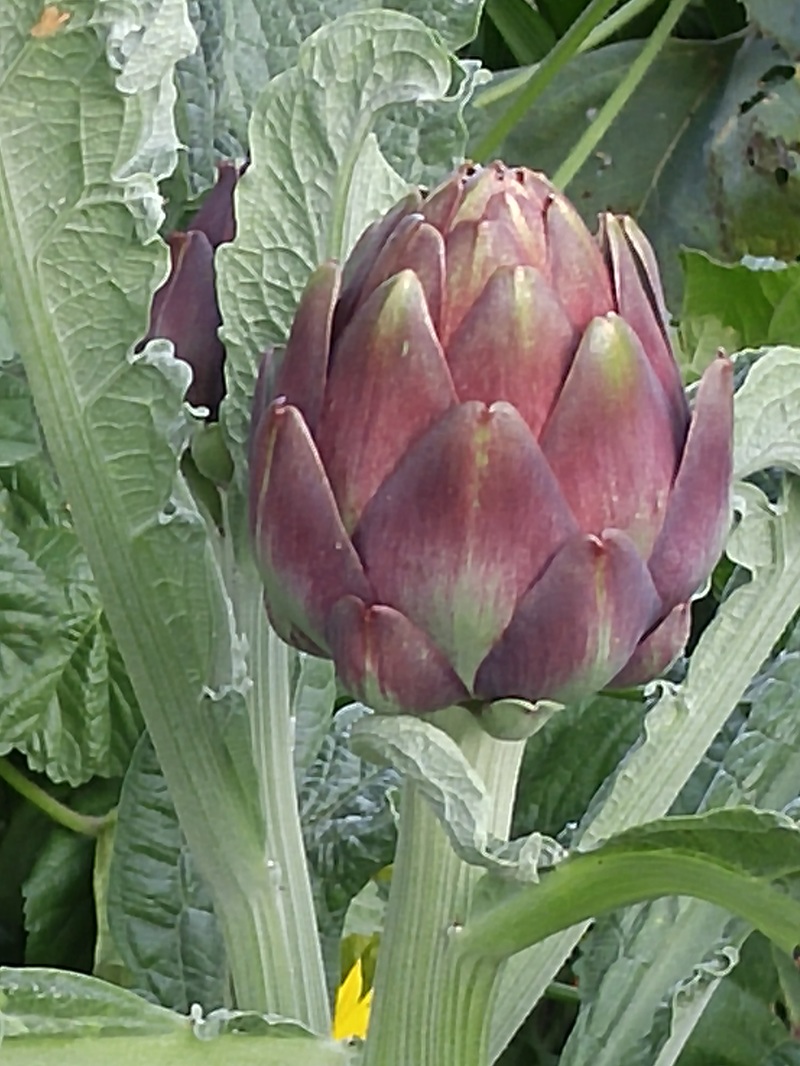
First "Opera" artichoke - delicious, huge, and beautiful, with minimal choke. Following this single monster-sized one will come 2 medium-sized ones, and then 3 or 4 "baby"-sized ones.
Picture
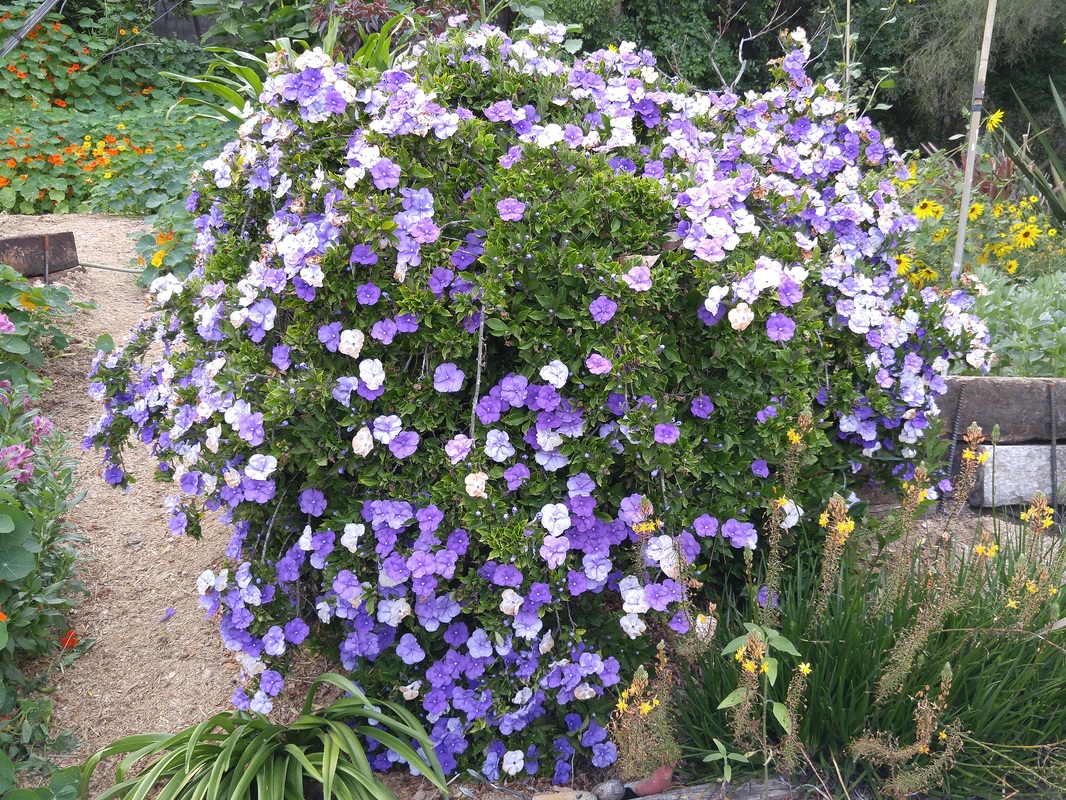
Yesterday, Today, and Tomorrow - whites, lilac, purple
Picture
sunflowers keep pumping out their blossoms
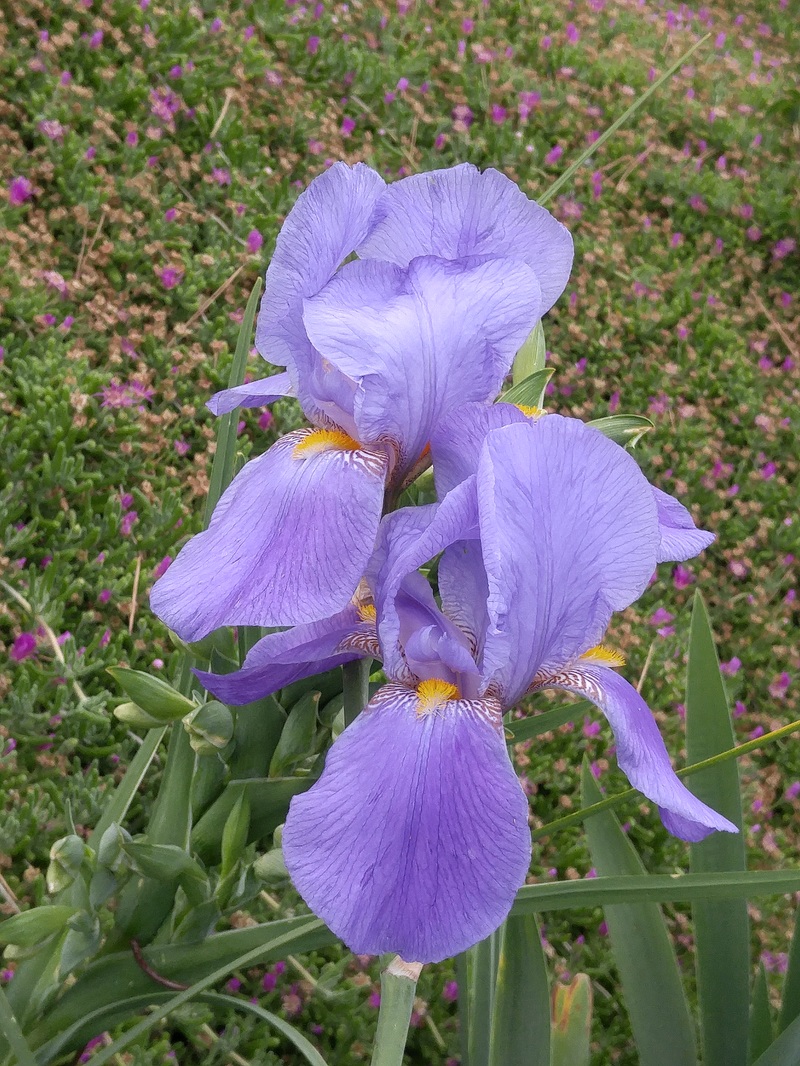
Picture
Classic lilac bearded iris
Oh, the wonderful color and billowing foliage!  The rains and the warmth have literally blossomed beautifully!  A week means another foot taller and more fully-developed foliage, and blooms rising above the greenery.  My oceans of nasturtiums are like waves of color with each breeze.  Peaches are the size of quarters and need hurried thinning of crowded ones.  Boysenberries are blossoming and set with dimesize green fruits.  First “brebra” figs are set on last-year’s brown wood.
 
I’ve even let tomato blossoms set on plants that are now two feet tall, knowing that they’re firmly established after transplanting a month ago and capable of both growing and producing fruits.  If I’d let them set their blossoms earlier, I’d be concerned that I was forcing the plant to expend its energy developing the fruit instead of establishing itself well into its new home and developing an extensive root system.
 
Planting Tomatoes
 
New tomato plants that I’ll still purchase over the next couple of weeks, I’ll plant deeply (up to their very topknot of three leaves) to foster more roots, create a watering berm a foot away from the stem as basins to direct irrigation water downward, and water deeply for two weeks to get the roots to “learn” to grow deeply into the soil “chasing” the gravity-directed water. 
 
On those newly-planted tomatoes, I’ll pluck off all blossoms and any fruit for at least a month, until the plants are at least two feet tall.  Then, I’ll let them set their blossoms and fruit because I know that they’ve developed excellent root systems and are absorbing all the great nutrition from the manure- and compost-enriched soil.
 
Starting Summer Seeds
 
The coming week, with its mid-60s air temperatures, is perfect for transplanting and for starting seeds.
 
Now that soil temperatures are warmer, summer veggies to plant the seeds include beans, cucumbers, and squash.  These all produce a lot of food for the amount of space they take in the garden, especially when they're grown up on trellises.  There are many varieties of each to try to see which you prefer, so plant a few at a time every three weeks so you’ll have a continuous but not overwhelming supply – unless you want to preserve them, of course, which means you’ll prefer harvesting a lot all at once.
 
Also be sure to plant edibles that take a long time to mature, like pumpkins and melons, which will also take a lot of water to develop fully, and space to “run”.  But, with lots of manure and compost and mulch and specific watering techniques, all of these issues can be dealt with successfully. 
 
More on those watering techniques later, especially on using 5-gallon nursery containers with holes in their bottoms! 

0 Comments

MANIA ABOUT TOMATOES

3/21/2016

2 Comments

 
Picture
A pleased customer
Picture
Picture
Possibilities are endless! Photo from the 2011 Heirloom Expo in Santa Rosa, by Alex Trigo of Two-Dog Nursery
Picture
My Celebrity from several years ago. To my taste, the perfect balance of acidity and sweetness, with full "tomato" flavor!
I had great fun chatting about tomatoes last Sunday at this year’s TOMATOMANIA!® event at the Tapia Brothers location in Encino. “Mania” is truly the word, with some 5,000 people joyfully purchasing some 18,000 tomato plants in some 275 varieties over the three-day event. A “pop-up” selling of more plants will continue at Tapia’s through April 4, open every day from 9am-5pm. And more full-blown sales will continue at another 8 Southern California locations through April 6 (and then 2 Northern California locations through April 30).  For specific dates and locations, see www.tomatomania.com.
 
What a wealth of choices of varieties to suit everyone’s tastes (literally!) and gardening spaces and skills. Each variety was accompanied by helpful information cards. Loving to “talk tomatoes” were Tomatomania inventor Scott Daigre, long-time colleagues Laura Moore, Steve Gerischer and Sam Hamann; and Master Gardeners Andy Vaughn and Rich Untal.
 
I asked each of them for their favorite varieties and new ones they’re trying this year.  Here’s their listing:
 
Favorites
All Black From Tula
Ananas Noire
Apricot Dream
Black and Brown Boar
Black Cherry
Black Krim
Blue Beauty
Brandy Boy (cross between Better Boy size and Brandywine flavor)
Carmello
Celebrity
Cherokee Purple
Chocolate Stripe
Enchantment
4th of July
German Pink
Gold Medal
Italian Paste (paste, huge and meaty)
Jaune Flamme
Orange Paruske Cherry
Pearson
Persimmon (less acid; complex)
Pink Ping Pong
San Marzano (paste, heavy producer)
Spoon (tiny, great for kids)
Sungold Cherry
Sunrise Bumblebee (like Sungold but oblong and bigger)
Super Fantastic
Sweet Tangerine
 
New Ones They’ll Try This Year
Cherokee Green
Copper River (a foody favorite - big, brown-purple skin, green flesh with copper “river” center)
Dark Galaxy
Green Doctor’s Frosted
Green Zebra Cherry
Pork Chop
Rose
Sunchocola Cherry

2 Comments

LENGTHENING HARVEST OF BOLTING LETTUCE

3/16/2016

0 Comments

 
Picture
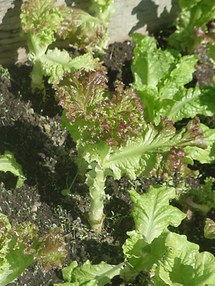
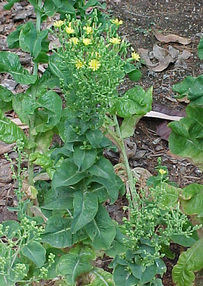
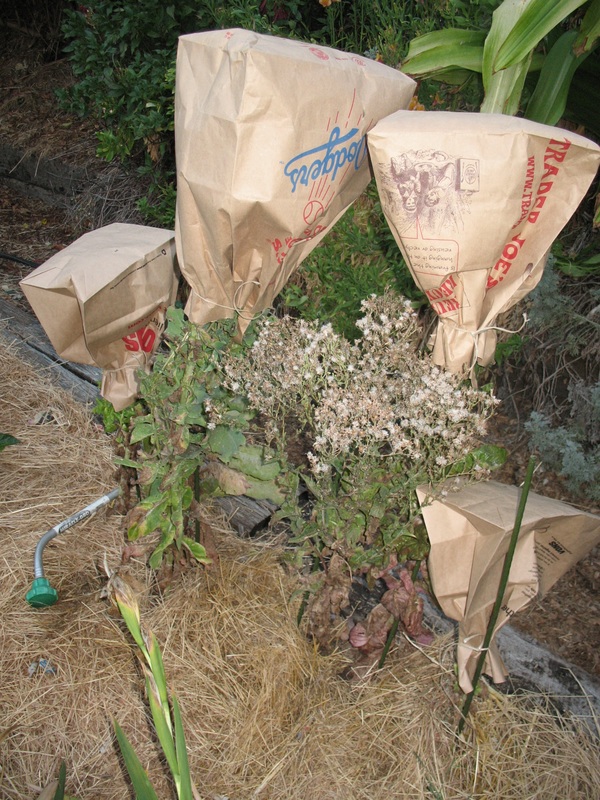
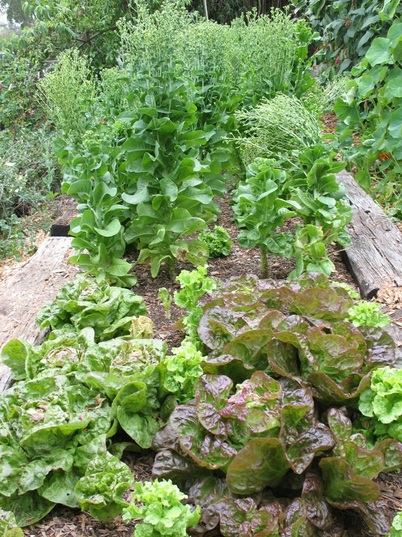
Different varieties of lettuce bolt at different times, some continuing to be edible while others become too bitter.
The lettuce has finally gotten too bitter for me to harvest for salads, so I’ve pulled out the plants and planted new seedlings. But, I’ve gotten a good month’s worth of lettuce harvests since that several-week long bout of heat that shifted the lettuce hormones from growing to bolting – elongating into “trees” on their way to setting seed – that turned the lettuce bitter.  Here’s how I salvaged all that lettuce, in four steps.
 
First, I tasted a single leaf from every plant to see whether I could still enjoy it.  The potential for bitterness is individual to each variety and each plant, so you can’t generalize; you must taste each plant.  Then, if the test-leaf is acceptable, you can go ahead and harvest that plant – but only the younger leaves, leaving the top 4 baby-sized leaves for further growth.  Cleanly tear off the older leaves for the compost pile – you don’t want to leave any foliage bits to attract snails and slugs.  The remaining plant will look like a stick with a topknot on it.
 
Second, any plants that had become too bitter in my taste test, I pulled and added to the compost pile.
 
Thirdly, I watered in the lettuce bed to encourage the plants to continue to grow quickly in the hopefully cooler soil and air temperatures for yet another week at least until the next batch of leaves had developed for harvest – or at least the next taste-test. 
 
Fourth, I took all of the harvested leaves into the kitchen and filled the sink with water, then gently turned the leaves into the water, gently submerging the leaves a couple of times and scooping off any of the bits of mulch.  Let the lettuce soak for 15-30 minutes, submerging them a couple of times to make sure they’ve all been under the water for some of that time.  Again gently, transfer a small handful of leaves from the water to a colander until they’re all out of the water.  Drain the water, and remove any more mulch bits.  Refill the sink.  Put the leaves back into the water a second time, submerging and leaving for another 15 minutes or so. 
 
This double-soaking process accomplishes two things – exchanging some or most of the bitter elements for plain water, and crisping up the lettuce. 
 
Back into the colander to drain slightly, then into ziplock bags into the refrigerator, pressing out most of the air when you zip the lock, these bags will keep the lettuce fresh and crisp for up to a week.
 
This technique will also work later in the season, when the weather really heats up for summer, and my just-planted lettuce will do its reproductive thing and bolt.
 
Remember though, that if you truly loved some of that lettuce (that weren’t hybrid varieties), you can leave the bolting plant to develop fully so you can harvest the seed.  It’ll take about another month to six weeks to complete this process because you must allow the plant to mature until it’s crispy-dry before harvesting the seed.


Picture
Lettuce starting to bolt into a "tree" - but leaves are still very sweet, so harvesting continues. Make sure to remove any nubs at the leaf bases on the stem so they don't attract snails and slugs.
Picture
Lettuce fully elongated and beginning to bloom.
Picture
Paper (not plastic!) bags contain seedheads so seed doesn't scatter as it dries. When the stalk is fully crispy dry so it snaps off, the seed will be fully mature. Store as is until sowing later by shaking the contents over the seeding bed - no need to actually separate seed from chaff.
0 Comments

BEES AND BLOSSOMS AFTER WONDERFUL RAIN

3/8/2016

0 Comments

 
Picture
Bee enjoying Mesembryanthemum
Picture
Borage blossoms were among the first candied flowers in medieval times. They taste cucumbery.
Picture
Dancy tangerines and blossoms smell glorious!
Picture
So many early-Spring-blooming posies all in one clump - bearded iris, chasmanthe, alstroemeria - luckily caught the day before those rainstorms!
Picture
Asclepias provide brilliant reds, yellows, and oranges.
Wasn’t that a wonderful two-for-one little set of rainstorms?  I love it when rains fall lightly for a while, which gets the top layer of mulch and open soil ready for the “entré” of heavier rain to come that thoroughly moistens the soil underneath, followed by a day’s clearing and then another rainstorm that gets the moisture even deeper.  This is the perfect way to get deep watering naturally! 
 
Of course, Sunday morning’s 5-6am tremendous thunder and lightning accompanied by the heaviest downpour I’ve ever experienced were amazing, and I was glad that the soil had had its previous opportunity to absorb the rain slowly.
 
Following the first storm, my various bins holding potted plants yet unplanted were completely full of rainwater, which I then upended into the garden.  The second storm brought only half-full bins, which I also poured into the garden.  Free water, with every drop caught by the mulch for long-term release to plant roots - doesn’t get better than that! 
 
I make a point of not tramping into the garden for a full day following rainstorms, to allow sufficient drainage in the pathways so I don’t compact even that soil covered with several inches of mulch.  And, I make a point of going into the garden in the late afternoon, when the sun has just passed over the hill behind us, since this time – still brightly lit but without contrasty shadows - is the best for photographs. 
 
But today, I saw how gloriously brilliant the mesembryanthemum was in the direct sun, almost fully covering the hillside, so I went up the hill early – only to find the bees happily buzzing in the mesembryanthemum and around the fruit trees. This is a good month earlier than it’s usually been in the past, which I assume is another result of the lack of real winter weather and the drought.  But, the best possible help to pollinating the fruit trees!
 
0 Comments

FRUIT TREES:  DON'T THIN BLOSSOMS; DO SHORTEN BRANCHES

3/1/2016

4 Comments

 
Picture
Sugar Prune Plum blossoming
Picture
Dorsett Golden Apple bloossoming
Picture
Early peach blossoming - and needing shortening of some branches to provide strength to hold maturing fruit without bending down. [The white-painted trunk is to prevent sunburn during the winter. Use 50% light-colored INDOOR latex paint, which seems counter-intuitive since this is outdoors, but outdoor oil-based paint will smother the tree pores!]
Picture
Mulberry leafed out...
Picture
...and setting blossoms. Fruit will be about 1" in size.
Picture
Cooke's Pakistan Mulberry blossoms will be about 3" in size.
DON’T

Don’t remove fruit tree blossoms, thinking that you’ll save yourself effort later when the fruit sets because you won’t have so many to remove. 

We want the pollinators to land on as many blossoms as possible, giving them both their food source and hopefully enabling fruit to set. 

Remember that wind is also a mode of pollination – which is why it matters that you can depend on different varieties in your neighborhood to help pollinate your varieties. 

Many of those tiny fruits that do set will fall off on their own, or when a passing animal (you…) brushes up against them and knock them off, or who knows what, before they reach the dime-size stage when you DO need to be cognizant of how many and where they’re set on the branches.

THEN you can go ahead and remove the excess according to the expected mature size and placement on the branch. 

Removing blossoms now will considerably reduce the possibility of there being enough blossoms that are pollinated and remain on the tree long enough to mature until we harvest them. 

Waiting until the tiny fruits are set guarantees you’ll have the choice of which to remove later.
 
DO

Do trim back the individual branches that are more than about 12” long. Fruit that sets further out on long branches will literally drag the branches down as the fruit gradually matures and gains weight.  This will result in branches that either break from the increasing weight or remain “stuck” in that downward position after the mature fruit is harvested. 

Trimming back the too-long branches now will provide stability for the tree as well as the fruit that does set. 

Later, when fruits are dime-size, you can easily thin the individual ones that are so close that they might touch – and rot – as they mature. But you’ll have the choice!
 
MULBERRIES

Yummy mulberries are great choices for the home garden because they set new fruit repeatedly and are so delicate they aren’t frequently available at even farmers markets. 

Last year, I pruned back branches following my first harvest, only to find that another set of blossoms appeared just a couple of weeks later. 

In order to keep the vigorous branches trimmed short enough to keep new growth within bounds of my reach for future harvests, I kept pruning after every mini-harvest, and kept getting more blossoms and fruit through the fall.  What a great and pleasant surprise! 

Of course, not many of the delectable fruits made it from the garden to the dinner table…or rather, I gave all those to my husband since I’d already eaten my share in the garden as I’d harvested them!

4 Comments

    Archives

    January 2023
    December 2022
    November 2022
    October 2022
    September 2022
    August 2022
    July 2022
    June 2022
    May 2022
    April 2022
    March 2022
    February 2022
    January 2022
    December 2021
    November 2021
    October 2021
    September 2021
    August 2021
    July 2021
    June 2021
    May 2021
    April 2021
    March 2021
    February 2021
    January 2021
    December 2020
    November 2020
    October 2020
    September 2020
    August 2020
    July 2020
    June 2020
    May 2020
    April 2020
    March 2020
    February 2020
    January 2020
    December 2019
    November 2019
    October 2019
    September 2019
    August 2019
    July 2019
    June 2019
    May 2019
    April 2019
    March 2019
    February 2019
    January 2019
    December 2018
    November 2018
    October 2018
    September 2018
    August 2018
    July 2018
    June 2018
    May 2018
    April 2018
    March 2018
    February 2018
    January 2018
    December 2017
    November 2017
    October 2017
    September 2017
    August 2017
    July 2017
    June 2017
    May 2017
    April 2017
    March 2017
    February 2017
    January 2017
    December 2016
    November 2016
    October 2016
    September 2016
    August 2016
    July 2016
    June 2016
    May 2016
    April 2016
    March 2016
    February 2016
    January 2016
    December 2015
    November 2015
    October 2015
    September 2015
    August 2015
    July 2015

    Categories

    All

    RSS Feed

© 2015 Yvonne Savio. All Rights Reserved.                                                                                                                                                         Web Design by StudioMAH.