Gardening In LA
  • Home
  • About
  • Services
    • Garden Coaching
    • Speaking
    • Photography
    • Writing >
      • List of Articles
  • Blog
  • News
  • Monthly Tips
    • January
    • February
    • March
    • April
    • May
    • June
    • July
    • August
    • September
    • October
    • November
    • December
  • Events
    • Submit Your Garden Events
    • Botanical Gardens' and Other Organizations' Garden Events
  • Jobs
  • Web Links
  • Newsletter

Tomato Tallies and Thoughts

9/26/2019

4 Comments

 
Picture
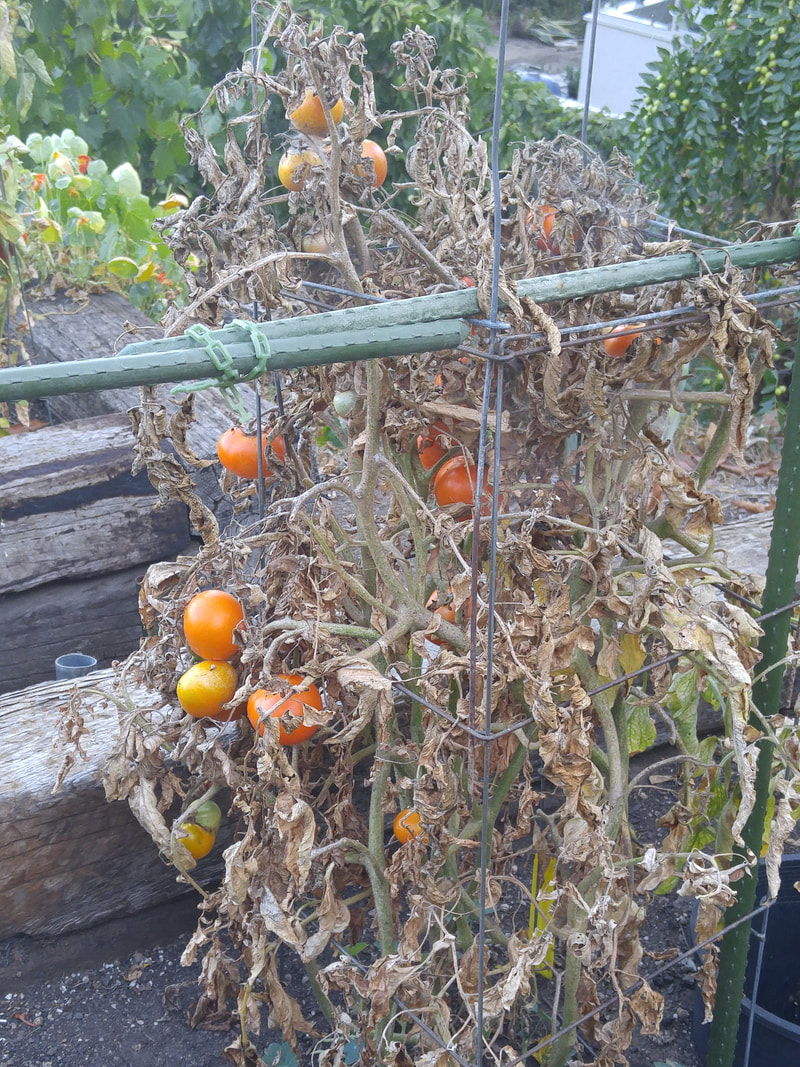
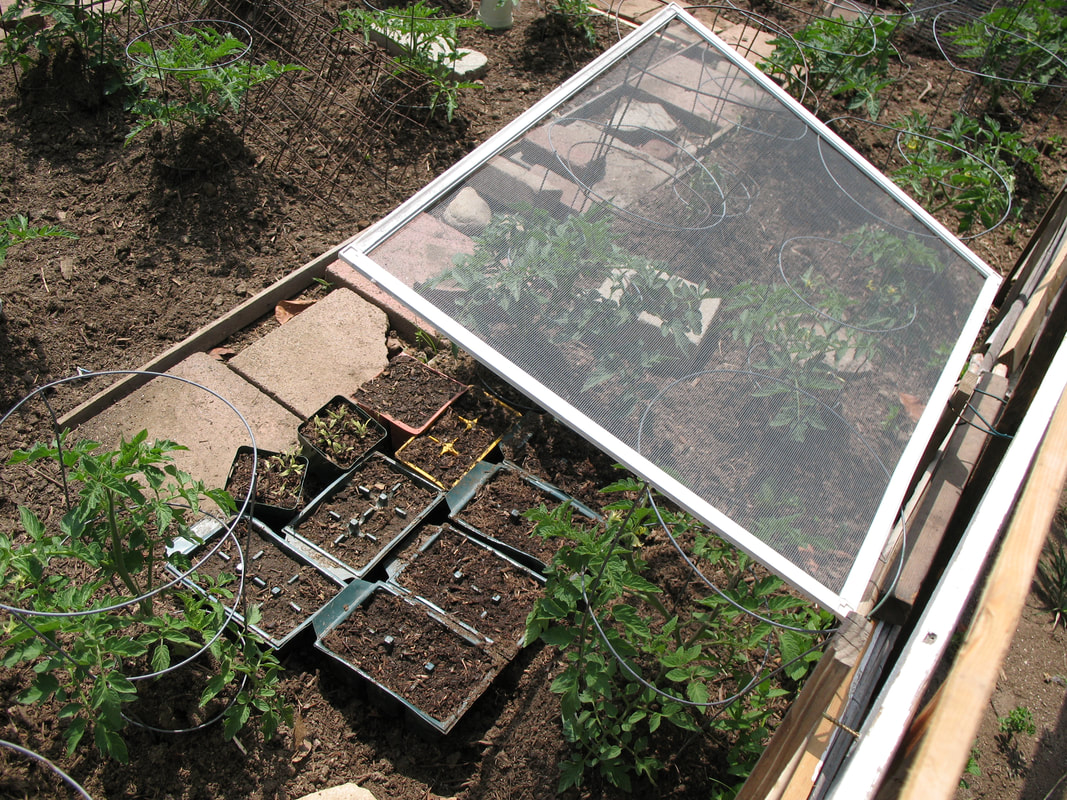
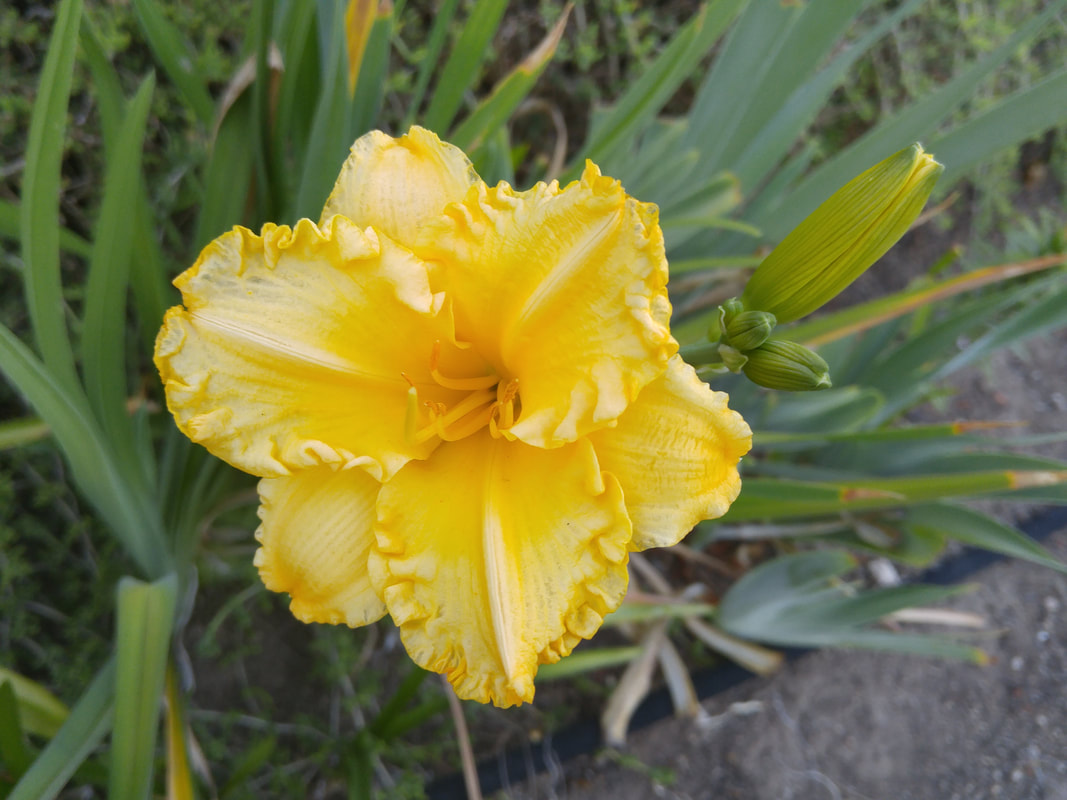
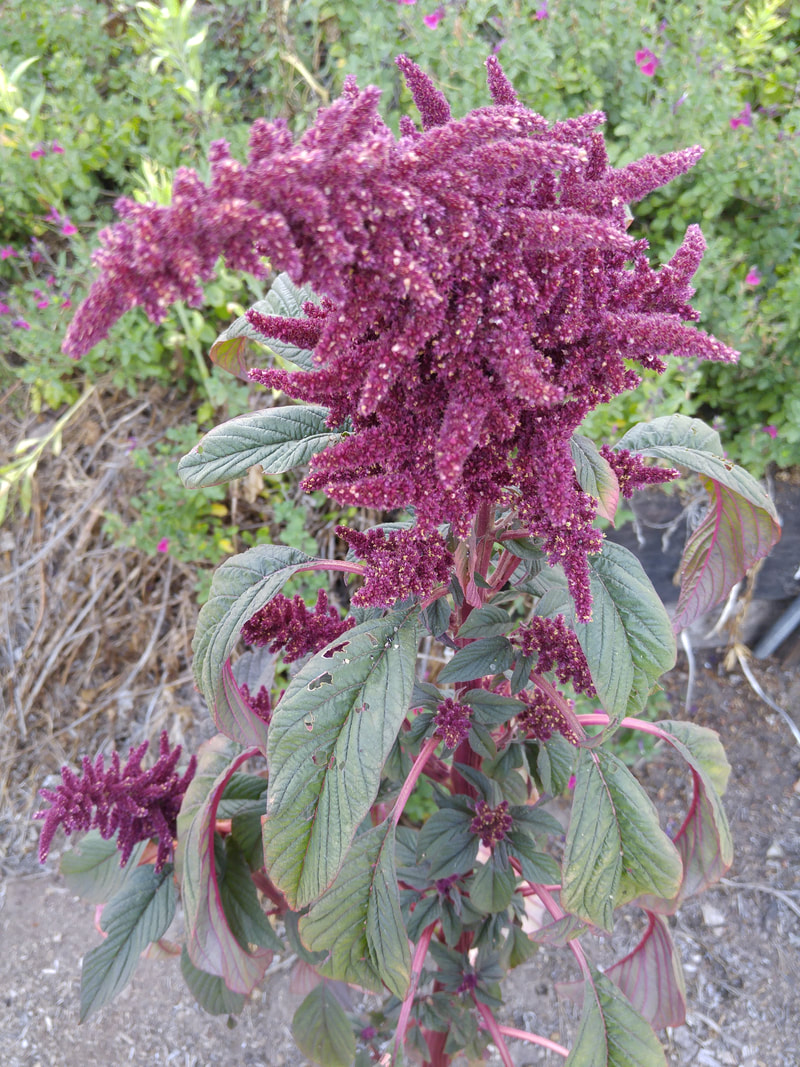
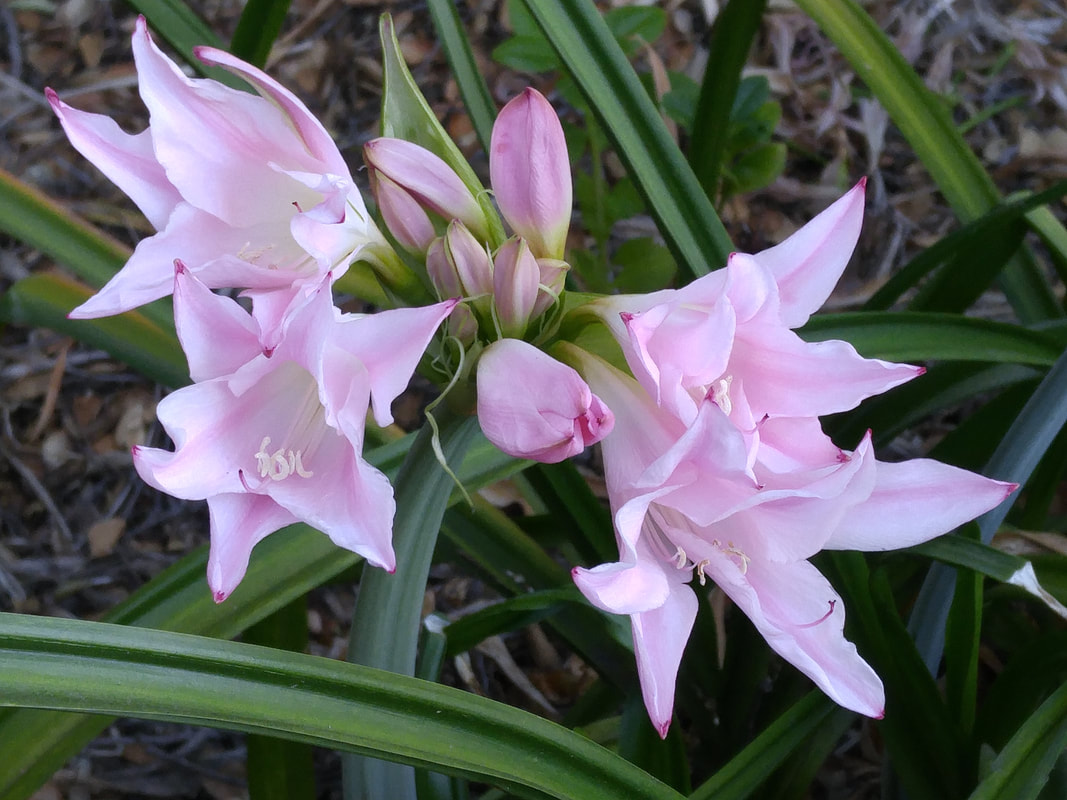
"February Christmas Tree" - Sweet Tangerine tomatoes still firm and holding on the just-about-dead bush.
Picture
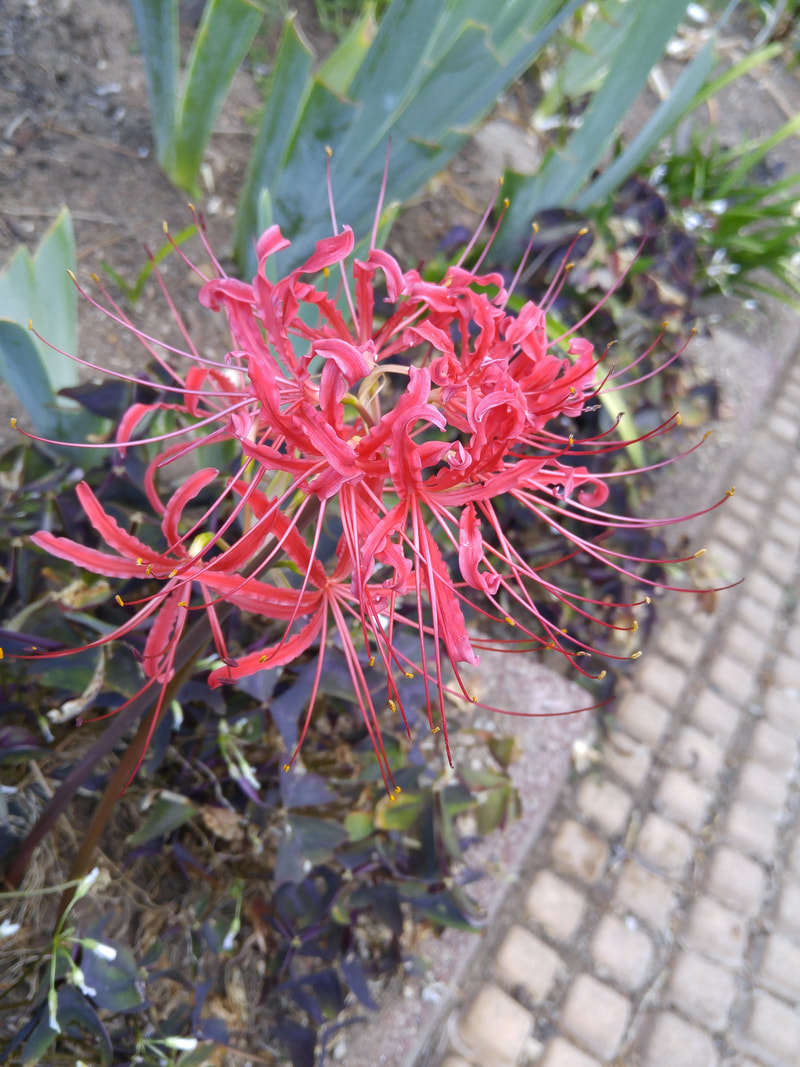
Red Nerine suddenly appears in all its frilly delicacy.
Picture
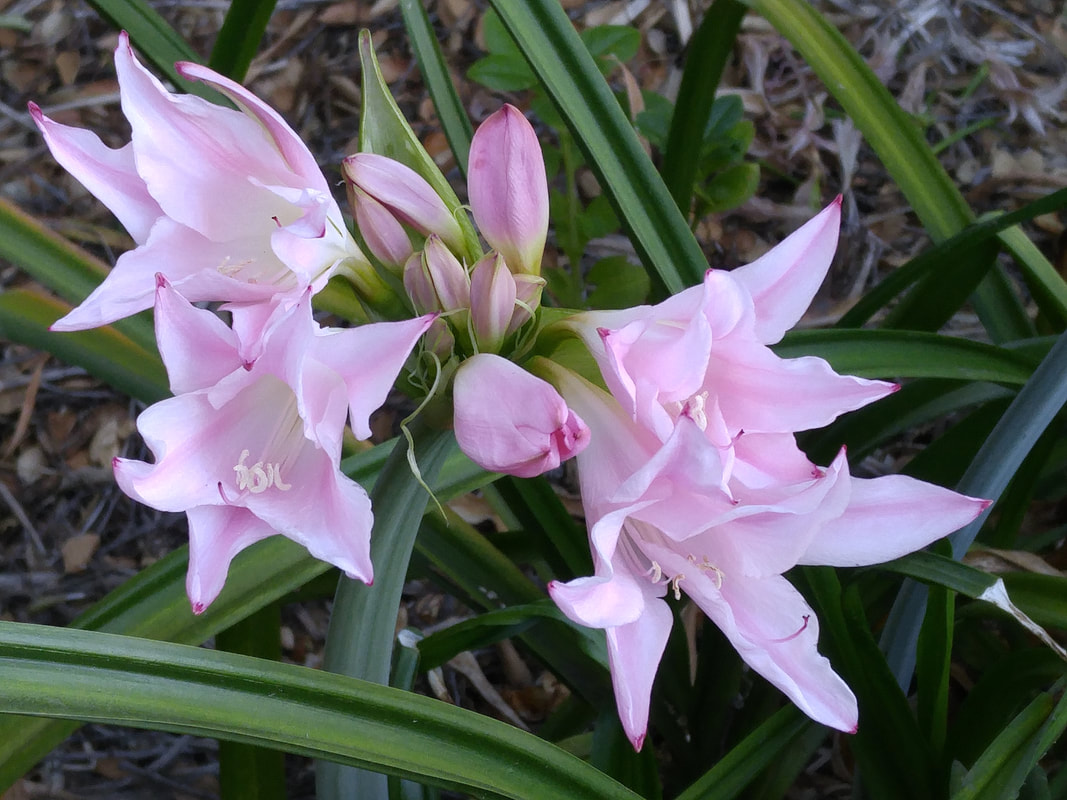
Amarcrinum keeps on blooming
Picture
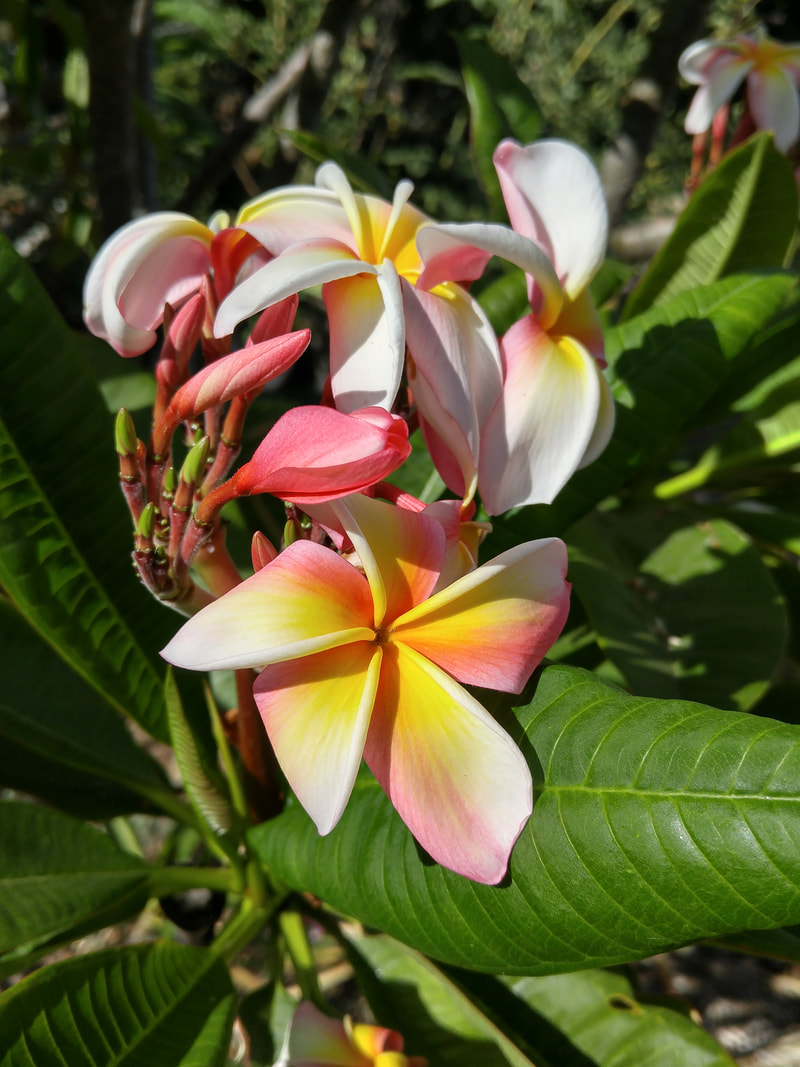
And the plumeria with its wonderful fragrance
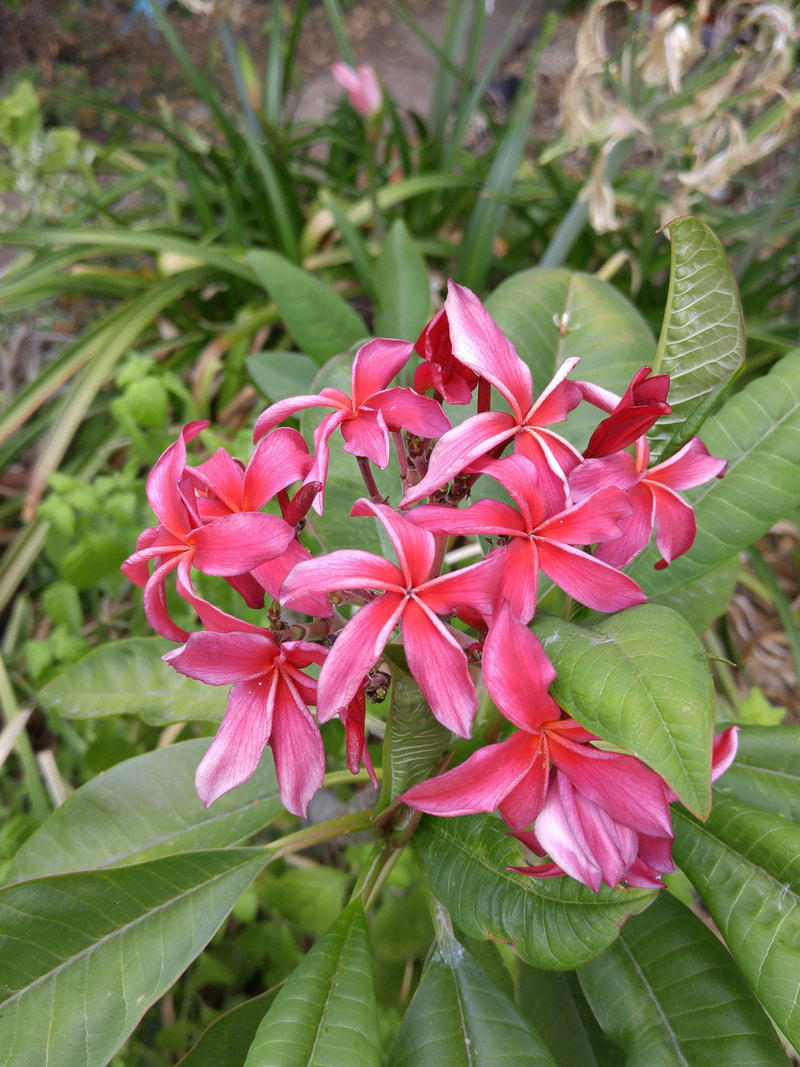
Picture
Even red!
​     My tomatoes are well and truly dead for this year.  Despite deep watering every second or third day, the extended over-95-degree heat was more than they could manage to keep growing and setting fruit or even staying green.  The four last-harvested plants - Celebrity, Red Zebra, Sweet Tangerine and Sungold - looked like February Christmas trees, with dead foliage studded with red or yellow fruits.  The fruits were still firm, and I’d left them on the plants until I’d needed them.  But now that I’m ready to shift to fall- and winter-growing and eating, I’ve harvested all the remaining fruits and pulled the plants.  Here’s my final tally and thoughts about varieties and what I’ll grow – or not – next year.  I hope the info will help you make your decisions, as well.
 
Overview
     I transplanted 4” containers with 9” tall plants three times – March 18, April 20, and June 9 – in 4 separate beds that had been amended with manure, compost, and EB Stone or Dr. Earth organic fertilizer. 
     I planted multiples of most varieties that I’ve enjoyed in the past – 2 Ace 55, 1 Berkeley Tie-Dye, 1 Big Rainbow, 1 Black From Tula, 4 Black Krim, 7 Celebrity, 4 Cherokee Purple, 1 Chocolate Cherry, 2 Green Zebra, 2 Isis Candy, 1 Momotaro Gold, 1 Mr. Stripey, 3 Paul Robeson, 2 Red Zebra, 1 Stupice, 1 Sungold, 2 Sweet Tangerine.
     March 18 plantings = Berkeley Tie-Dye, Big Rainbow, Black Krim, Cherokee Purple, Chocolate Cherry, Green Zebra, Isis Candy, Momotaro Gold, Mr. Stripey, Red Zebra, Sungold, Sweet Tangerine.  Some of these plants began bearing on June 27, most bore through mid-to-late-August, and some lasted until September 17. 
     April 20 plantings = Black Krim, Celebrity, Cherokee Purple, Paul Robeson, Stupice.  First fruits were from Paul Robeson on July 18, and Celebrities from July 29 through September 17.  One bed of Paul Robeson and Cherokee Purples developed nicely and set fruit but died in the too-intense heat wave.  I’ll pay more attention to that bed next time around!
     June 9 plantings = Ace 55, Celebrity.  I chose these hybrid varieties to plant this late since I thought they’d been sturdy enough to deal with the coming heat.  However, all of the plants died before growing much, except one Celebrity plant that developed enough to bear 2 small fruit before dying.  I won’t plant this late again!
     Total fruit count = 1256 fruits
 
Cherry Tomatoes = 784 fruits
Sungold – 552 1/2-inch fruits were yellow-turning-orange and a tasty balance of sweet and acid.  Definitely grow again!
Chocolate Cherry – 135 3/4-inch fruits were a rich brown color and rich but milder flavor.  Definitely grow again!
Isis Candy – 97 3/4-inch fruits were a beautiful cream-and-rose-striped color with sweet tones in a richly-flavored base.  Definitely grow again!
 
Mid- and Larger-Size Tomatoes = 472 fruits
Ace 55 – Weak growth and then died following June 9 planting.
Berkeley Tie-Dye – 4 large fruits, nice swirly coloring, bland flavor.  Maybe I’ll grow one more time.
Big Rainbow – 27 medium-sized fruits, coloring not variegated so perhaps plant was mislabeled, nice flavor. I’ll try again.
Black From Tula – 23 medium-sized fruits, purplish-brown coloring, similar to Black Krim.  Definitely grow again.
Black Krim – 46 medium-to-large fruits, purplish-brown coloring.  One of my favorites; will grow again.
Celebrity – 77 medium fruits, clear red coloring, nice balanced sweet-to-acid flavor, firm fruits that hold on the bush well.  One of my favorites; will grow again.
Cherokee Purple – 20 medium-to-large fruits, reddish-purple coloring.  One of my favorites; will grow again.
Green Zebra – 84 small-to-medium fruits, striking green-to-white striping that turns golden chartreuse when ripe, a bit tart flavor that mixes well with other varieties’ sweeter fruits, firm fruits that hold on the bush well.  Will grow again.
Momotaro Gold – 1 medium fruit with undistinguished flavor.  Won’t grow again.
Mr. Stripey – 2 fruits, muted striping, ok flavor.  Will try again since last year’s planting bore many flavorful fruits.
Paul Robeson – 16 medium-to-large fruits, purplish-brown coloring, similar to Black Krim and Black From Tula.  Definitely grow again.
Red Zebra – 108 small-to-medium pointed fruits, red with faint striping, firm fruits that hold on the bush well.  Will grow again.
Stupice – 11 small-to-medium fruits, red with nice flavor.  It’s borne more fruits in years past.  I always grow this variety in tribute to my gardening-mentor mother since both she and the tomato variety come from what-was-then Czechoslovakia.
Sweet Tangerine – 53 small-to-medium fruits, bright orange skin and flesh, nice flavor, firm fruits that hold on the bush well.  Will grow again.

4 Comments

Starting Lettuce and Other Seeds

9/12/2019

4 Comments

 
Picture
I organize my seed packets first by season and then each individual container by type of seed, like carrots; then alphabetical by variety. I label 2 stakes for each variety, one for seeding now and the other for the next sowing.
Picture
Sowing in rows in the raised bed. Note sprinkler lines on either side.
Picture
Sowing seeds really thickly is fine for parsley and cilantro and mesclun-type greens since you'll harvest by handfuls with a knife cutting about an inch above the soil.
Picture
Beet seeds scattered about an inch apart on either side of the soaker hose.
Picture
Rolled newspaper filled with potting mix works.
Picture
The bottom of a large bin offers side protection from crawling pests and breezes.
Picture
Starting in my Speedling trays. I've punched a hole in each cell to receive the 3 seeds.
Picture
Placing 3 seeds into each depression.
Picture
Covering each depression with a bit of potting soil to keep the seeds in place each time I water.
Picture
Keep 1/4" of water in the bottom tray so potting soil can reabsorb it as needed.
Picture
6-packs and 4" containers fit into a plastic tray for easy watering. Keep 1/4" of water at the bottom so potting soil can reabsorb as necessary.
Picture
Place containers in light shade - with NO direct sun - until at least half of the seeds have sprouted.
Picture
Cheesecloth stretched and anchored over seedbeds provides some light shade from midday blasting sun as well as flying insects.
Picture
Nursery trays make excellent light shade so soil won't dry out before the seeds germinate.
Picture
Window screening offers light shade from sun.
Picture
Stella d'Oro still reblooming.
Picture
Amaranth keeps reseeding throughout the summer and fall.
Picture
Amarcrinum continues its one-bloom-each-day.
​     It’s time to get started with seeds for fall and winter crops. If you’ve never started seeds or are still mystified with the germination process, here’s what works for me.
     The many wonderful edible choices to start now include beets, bok choy, broccoli, Brussels sprouts, cabbage, carrots, cauliflower, celery, chard, chervil, chives, collards, endive, garlic, kale, kohlrabi, leeks, lettuce, green onions, short-day bulb onions (like Grano, Granex, and Walla Walla), parsley, parsnips, peas, white potatoes, radishes, spinach, and turnips.
 
Starting Seeds In the Ground or In A Container?
Seeds that have taproots – like carrots, parsley, parsnips – should be started where they will mature so the root can grow straight and long.   The tap root is many times longer than what you observe as the above-ground portion, so if started or purchased in containers it will get curly and perhaps even stunt the growth of the plant.  So, save these for starting in the ground where they will mature.
 
Starting Seeds In The Ground
  1. Choose a location that gets afternoon shade or at least filtered light so soil doesn’t dry out before seeds germinate.
  2. Loosen soil to a 3” depth, knocking apart all clumps larger than a quarter of an inch.  If clayey, incorporate finely-grained compost so the soil mix drains well.
  3. Smooth soil mix.
  4. Scatter seeds sparsely either in rows or in the whole area.  More space between seeds is better, so they each have its own 1/4” of soil to develop without much competition for moisture and nutrition.
  5. Scatter a very small amount of fine compost over the seeds to anchor them when you water.
  6. Gently sprinkle water over the whole area, making sure to just barely moisten the soil and settle the seeds but not sweep them away.
  7. After a couple of minutes, repeat the light sprinkling so the water sinks deeper into the soil mix.
  8. Repeat again after another couple of minutes.
  9. This sequential sprinkling should have moistened the full 3” depth and anchored seeds nicely in the soil mix so they can absorb moisture and be warmed by daily sun to germinate.
  10. Every other day, sprinkle the area again at the end of the day so the water can remoisten the soil surface that dried during the day.
  11. Seeds will germinate according to the genetics of their type and variety.  For example, lettuce and radishes should be up in a couple of days, but parsley and carrots may take a good three weeks!
 
Starting Seeds In Small Containers To Be Transplanted Later
  1. Use 2” or 3" deep container with drainage holes - recycled plastic containers or Speedling® trays or 6-packs, etc.
  2. Fill the container to its top with a quality good potting mix with small granules that are finely-textured, not bigger shreds of bark.  I like Dr. Earth or EB Stone fertilizer and LGM potting mix.
  3. Press the mix lightly, or gently slam (not a contradiction in terms) the container on the table you’re working on so the mix granules settle a bit, releasing any air pockets.
  4. Press the tip of your finger into the center of each container’s cell or an inch apart in a single larger container to form a depression about 1/4" deep.
  5. Place 3 seeds into each depression. Fewer likely won't ultimately result in a seedling that's sufficiently-developed to transplant, and too many more will be too competitive between all of ones that initially germinate. You want to end up with one really nicely developed seedling, and trim off the others at the soil level, instead of trying to salvage every seedling by splitting the seedball with several seedlings.
  6. Thinly scatter a bit of mix on top of the seeds - just enough to hold them in place when you water, but still have a bit of the depression remain so water can sink in right next to each seed.
  7. Gently sprinkle with water several times to moisten the mix without dislodging the seeds.
  8. Place individual containers or 6-packs into a group tray that will hold at least 1/4" water so the mix can pull up residual water as it needs it within a couple of hours after you water each time. 
  9. Place the group tray in a brightly-lit area with NO direct sun.  Direct sun will dry out the mix too much before the seeds are able to germinate.
  10. Sprinkle with water both in the morning and the evening for a week or so until about half of the seeds emerge.  Then water once a day or two depending on the weather just to keep the mix barely moist to foster good root development.
  11. Once seedlings grow to about 1” tall and start leaning toward brighter sunlight, move the group tray to a location that gets direct sun in the morning.
  12. Make sure that the bottom of the group container retains 1/4" water in it for a couple of hours after you water so the seedlings won't dry out during the day's direct sun.
  13. When seedlings are 2" tall and have several “true” leaves, move the group tray near where you're going to transplant them so they acclimate to the weather pattern at their new home.  Keep an eye to the water at the bottom of the tray.
  14. After a week's acclimatization, transplant seedlings where they’ll mature and water in well.
  15. For 2 weeks after transplanting, water the seedlings every other day to keep them hydrated while they reestablish their root systems into the surrounding soil.
 
4 Comments

    Archives

    May 2023
    April 2023
    March 2023
    February 2023
    January 2023
    December 2022
    November 2022
    October 2022
    September 2022
    August 2022
    July 2022
    June 2022
    May 2022
    April 2022
    March 2022
    February 2022
    January 2022
    December 2021
    November 2021
    October 2021
    September 2021
    August 2021
    July 2021
    June 2021
    May 2021
    April 2021
    March 2021
    February 2021
    January 2021
    December 2020
    November 2020
    October 2020
    September 2020
    August 2020
    July 2020
    June 2020
    May 2020
    April 2020
    March 2020
    February 2020
    January 2020
    December 2019
    November 2019
    October 2019
    September 2019
    August 2019
    July 2019
    June 2019
    May 2019
    April 2019
    March 2019
    February 2019
    January 2019
    December 2018
    November 2018
    October 2018
    September 2018
    August 2018
    July 2018
    June 2018
    May 2018
    April 2018
    March 2018
    February 2018
    January 2018
    December 2017
    November 2017
    October 2017
    September 2017
    August 2017
    July 2017
    June 2017
    May 2017
    April 2017
    March 2017
    February 2017
    January 2017
    December 2016
    November 2016
    October 2016
    September 2016
    August 2016
    July 2016
    June 2016
    May 2016
    April 2016
    March 2016
    February 2016
    January 2016
    December 2015
    November 2015
    October 2015
    September 2015
    August 2015
    July 2015

    Categories

    All

    RSS Feed

© 2015 Yvonne Savio. All Rights Reserved.                                                                                                                                                         Web Design by StudioMAH.