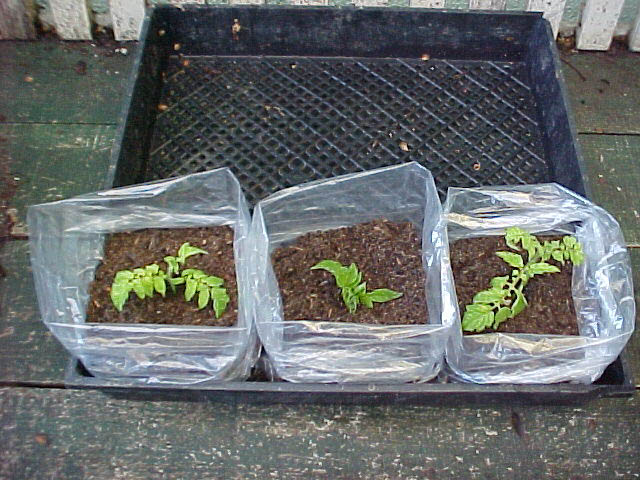
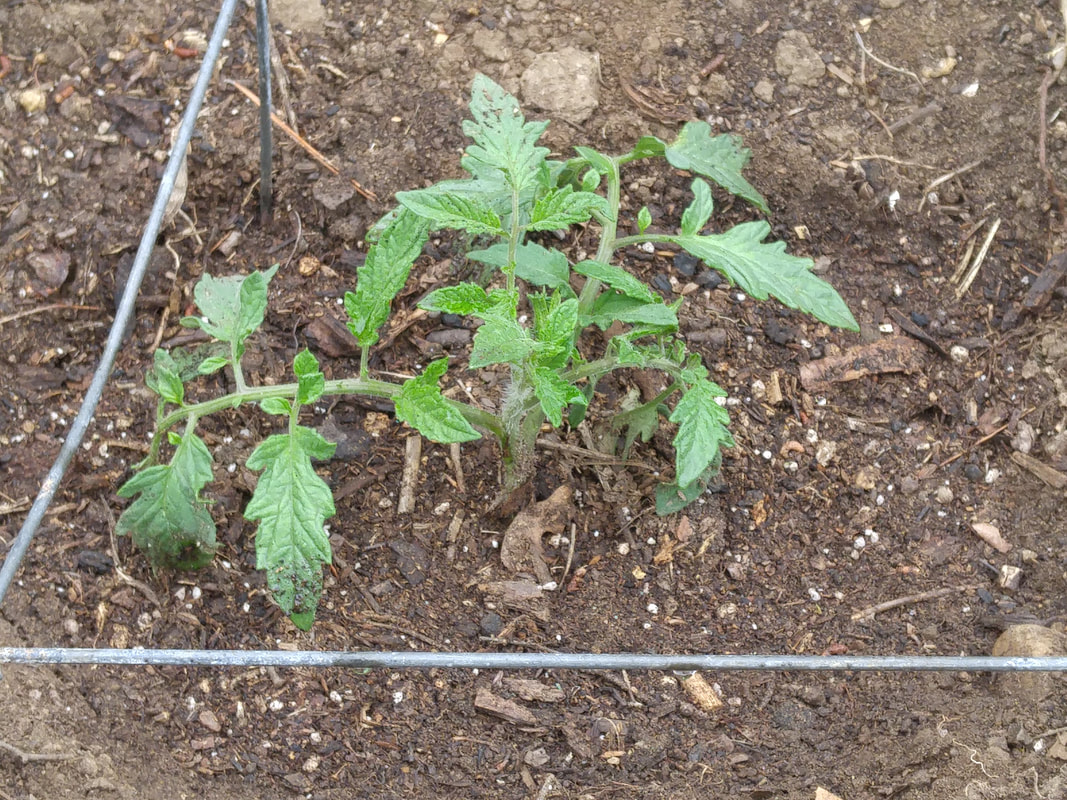
| | Once you've started your tomato seeds indoors - since they need temperatures between 70-80 to germinate - and they've developed their second set of "true" leaves, you can utilize this technique to get them growing strongly in anticipation of transplanting them outdoors in a couple of months when the soil is warm. One technique to assure sturdy tomato plants from seeds started indoors uses quart-size plastic food storage bags. Folding the bags into square boxes allows several bags to fit together as a group in a square drip tray. Also, each plant's root system is concentrated in blocks that are easy to transplant into the garden. To prepare each bag, fold the bottom two corners under to meet, point to point, and tape them in place. Clip the four new corners for drainage. Transplant each two-inch tall seedling into its own bag. Fold down the top of each bag to just above the soil level of the plant. Pack each together in the drip tray, and place the tray in a bright but cool area. As the plants grow, add more soil every few days up to the top two leaves, pulling up the sides of the bag as necessary. Water and feed as usual. Turn the whole tray every day or so so that the plants grow straight. The resulting transplants often have half-inch sturdy stems. Two main planting techniques will encourage roots to form along the length of the buried stem. The upright deep-planting method is generally chosen by gardeners in areas with warm springs and summers and those who have loose soils in raised beds. The horizontal planting method is more useful for gardens with cooler springs and summers and soils that are heavy. For deep planting into the garden, cut open the bottom of the bag, and set the plant and its entire root system into an eight-inch-deep hole deep enough to bury the plant up to its top set of leaves. Slip the bag up and out of the hole over the plant. Fill in the hole with soil, and pull extra soil into a berm several inches out from the plant. For horizontal planting, also cut open the bottom of the bag, but turn the plant on its side and gently urge it out so it's laying down sideways in a three- inch-deep trench long enough to accommodate the root section and half of the plant stem. Gently bend the plant's top two leaves up above the soil surface. Fill in the hole with soil, and pull extra soil into a berm several inches out from the plant. Fill the berms in with water three times to make sure all the soil is thoroughly moistened. The third time, use a half-strength solution of a balanced complete fertilizer such as 10-10-10. "Balanced" means all the N-P-K numbers are the same. "Complete" means that there is at least some of each N, P, and K; none of the numbers is a zero, such as 0-10-10. |
|
0 Comments
|
Categories |

 RSS Feed