Gardening In LA
  • Home
  • About
  • Services
    • Garden Coaching
    • Speaking
    • Photography
    • Writing >
      • List of Articles
  • Blog
  • News
  • Monthly Tips
    • January
    • February
    • March
    • April
    • May
    • June
    • July
    • August
    • September
    • October
    • November
    • December
  • Events
    • Submit Your Garden Events
    • Botanical Gardens' and Other Organizations' Garden Events
  • Jobs
  • Web Links
  • Newsletter

Getting The Garden Ready For Summer’s Heat

5/17/2020

2 Comments

 
Picture
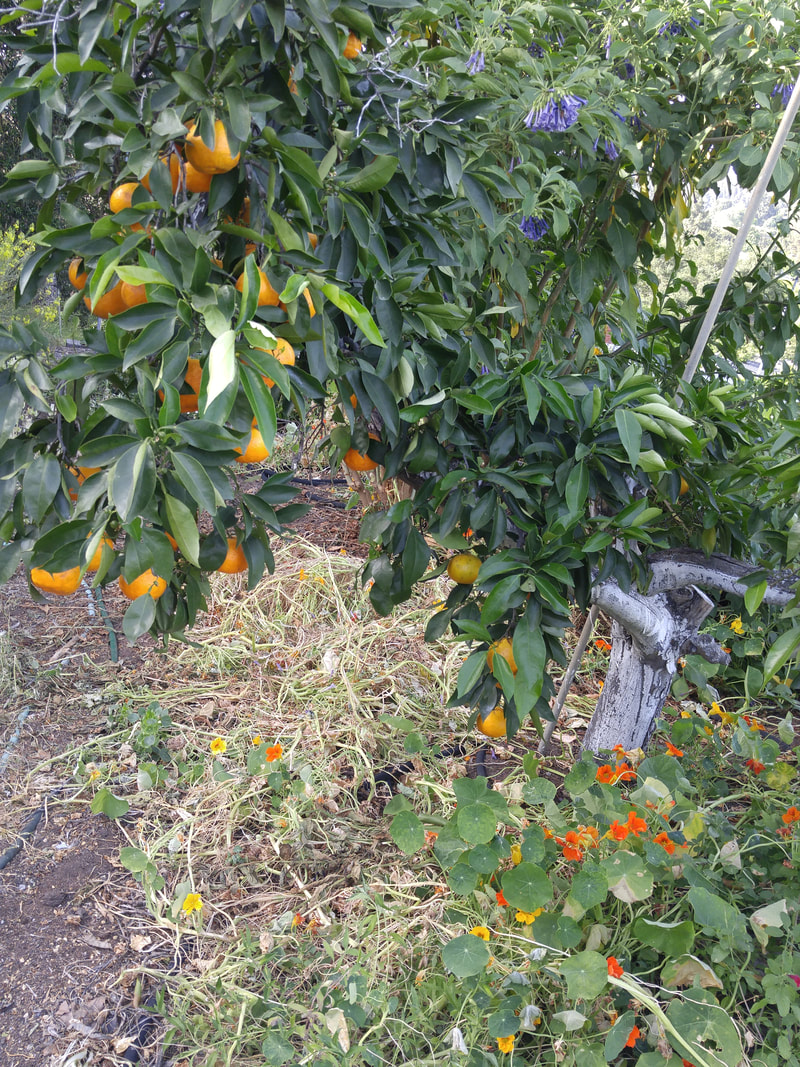
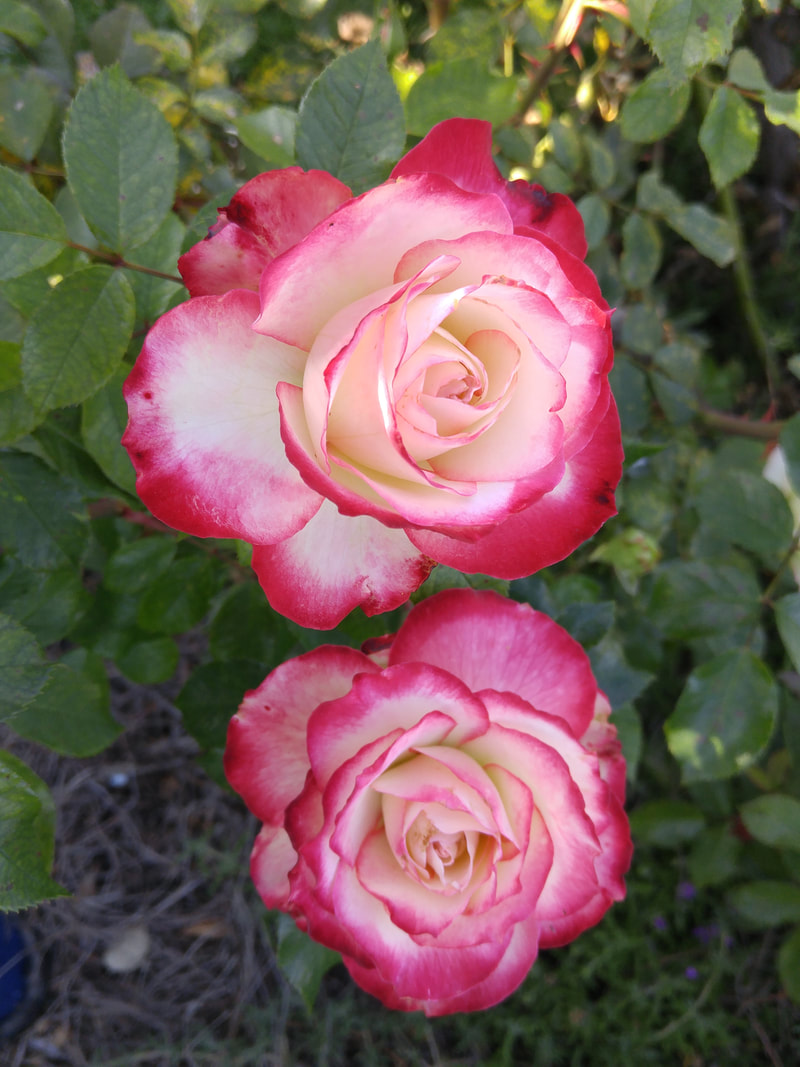
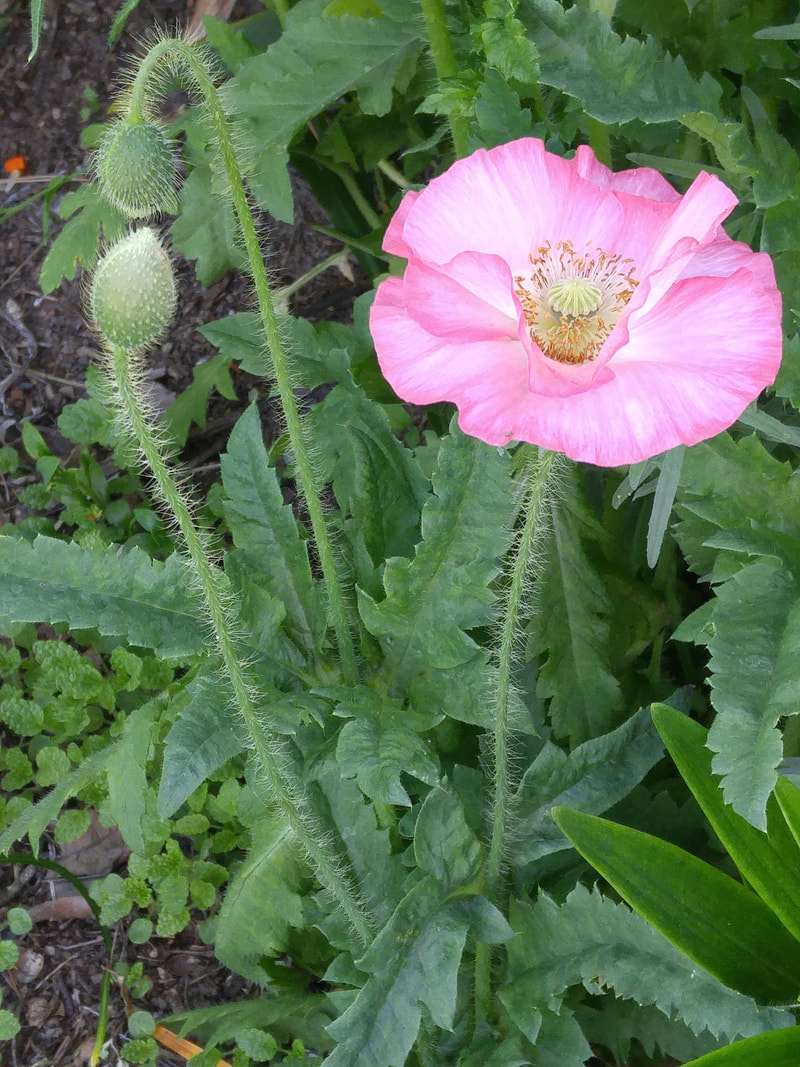
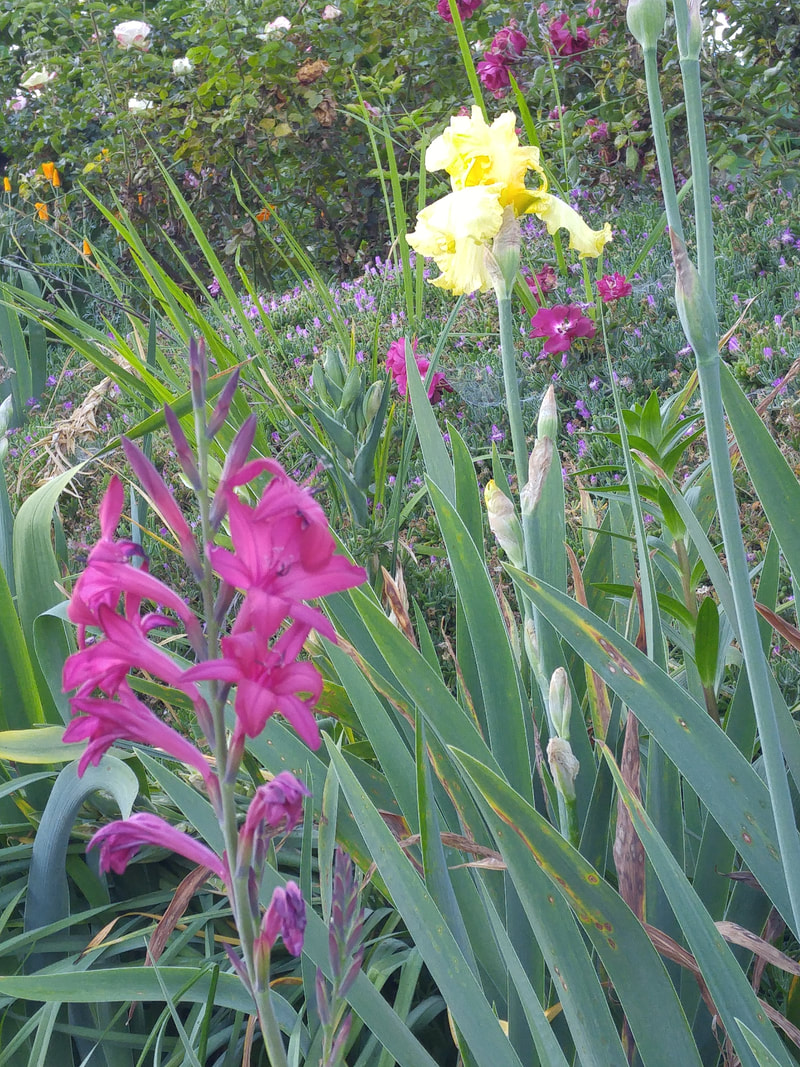
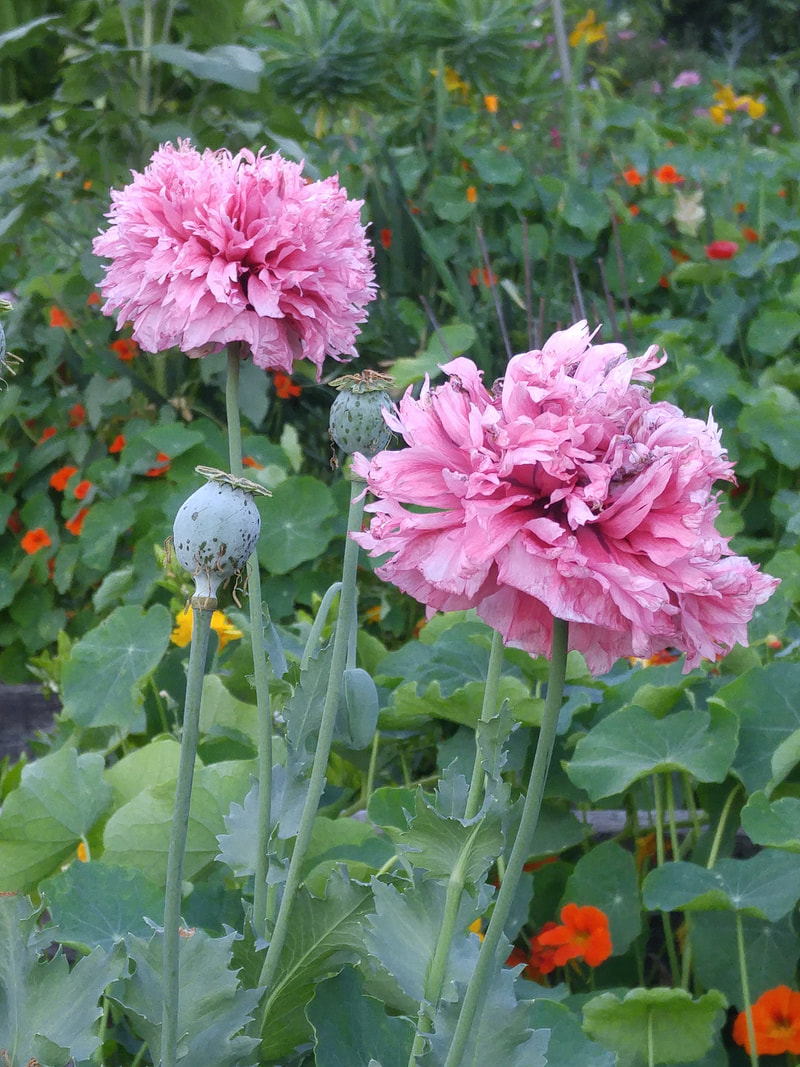
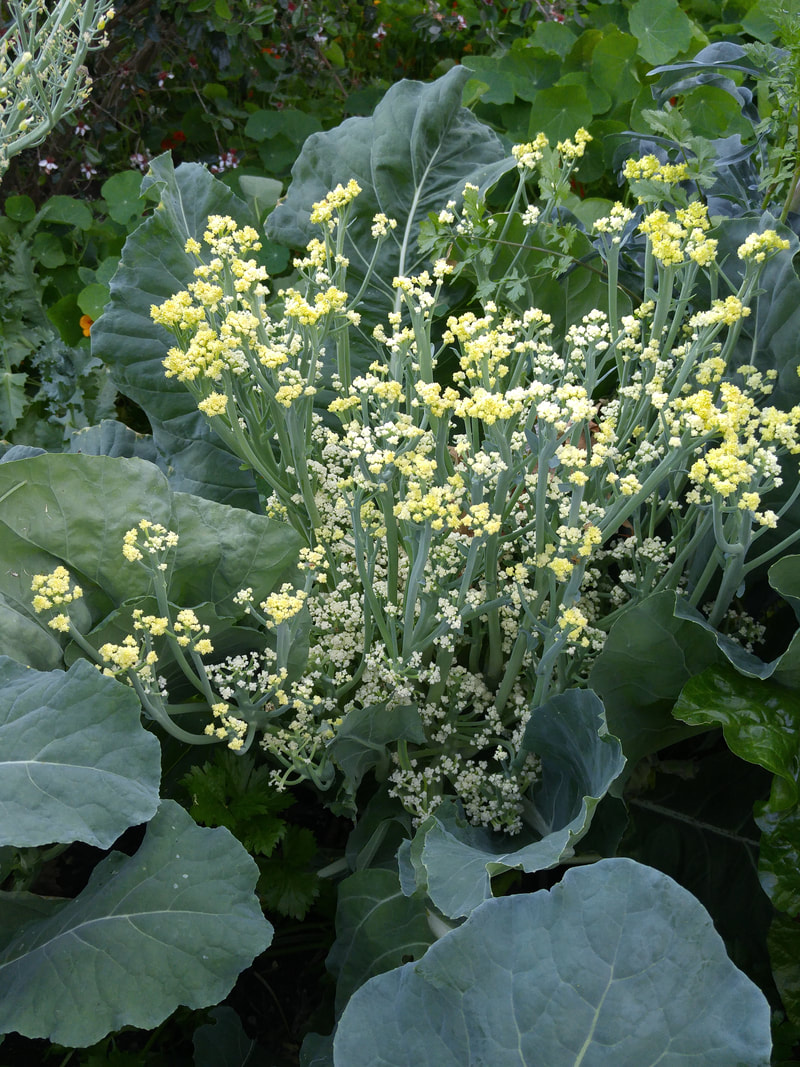
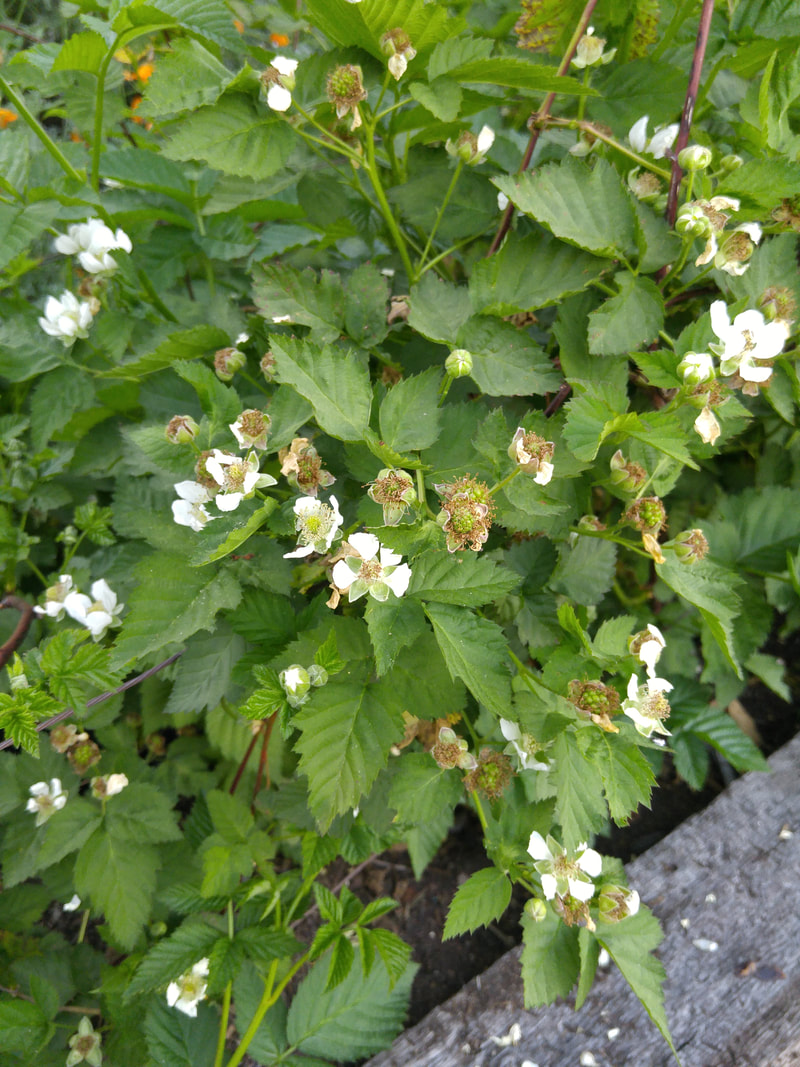
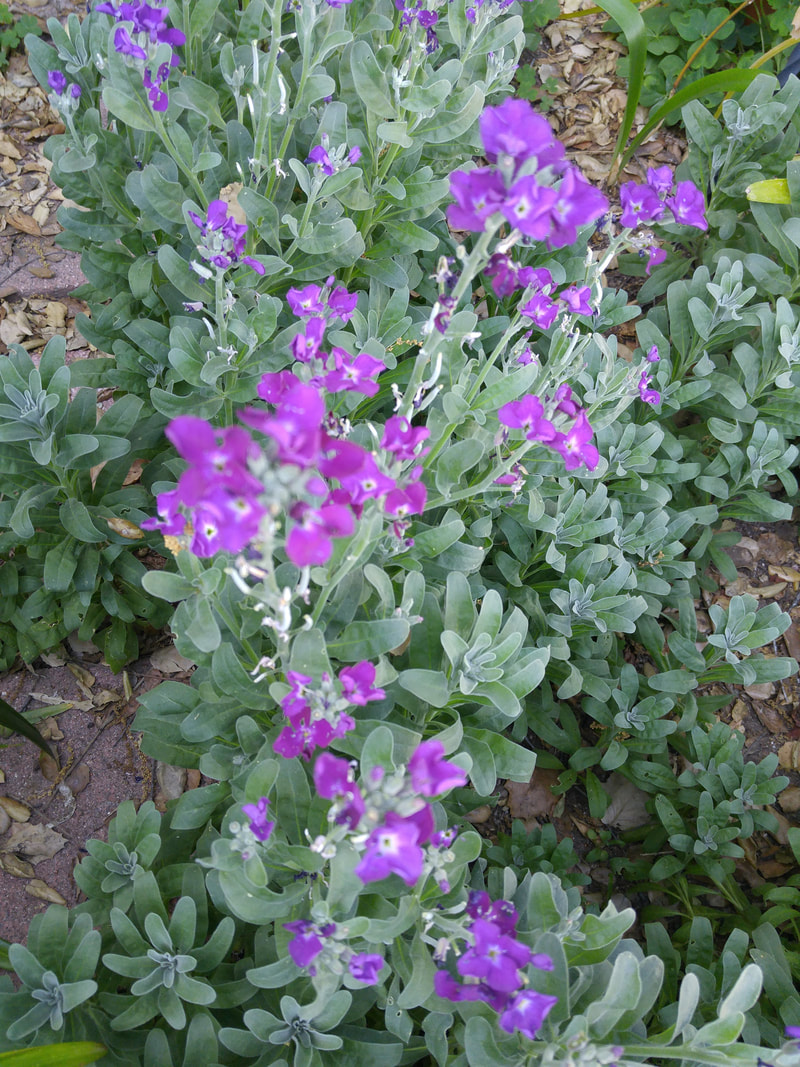
Dancy tangerine with fading nasturtiums underneath as mulch
Picture
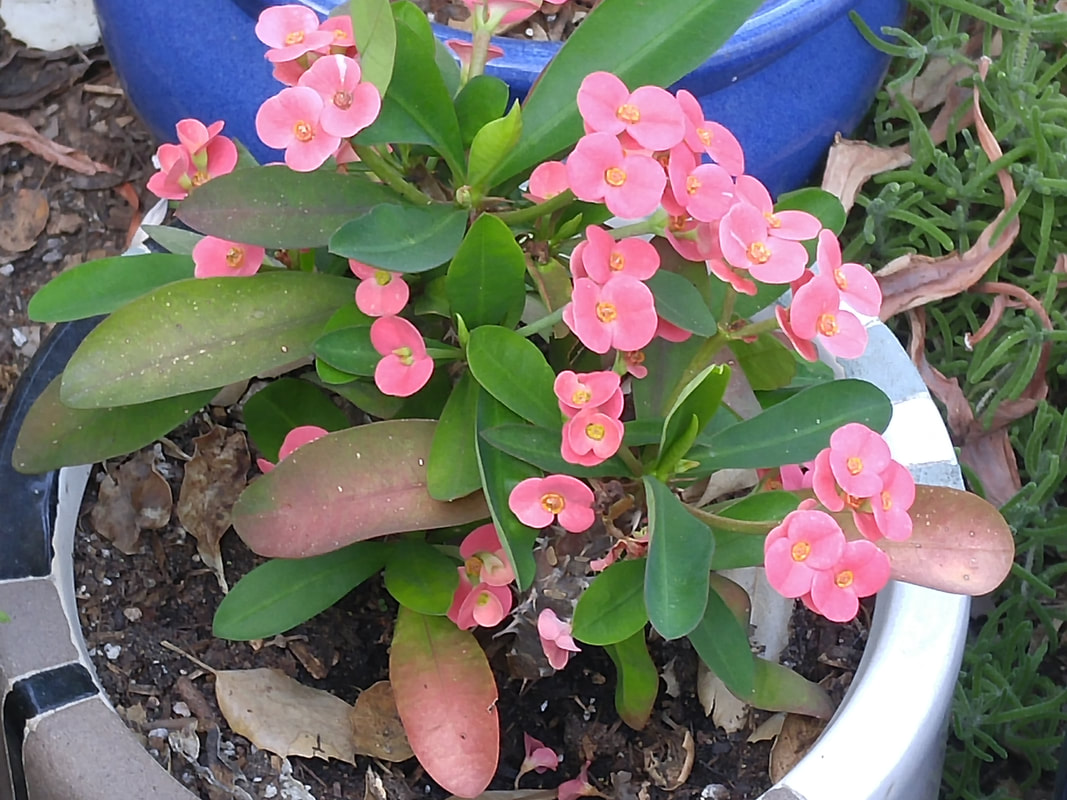
Euphorbia - dwarf Crown of Thorns
Picture
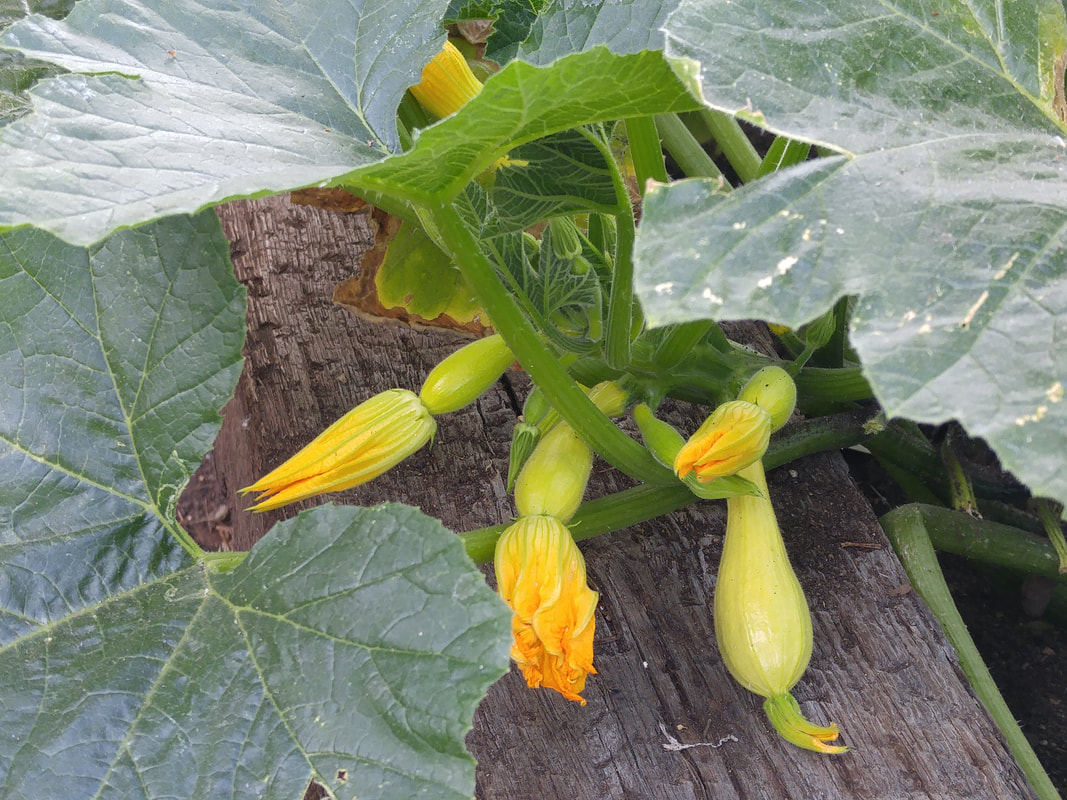
Yellow "crookneck" squash that's had its crookneck bred out of it. My favorite squash that tastes already buttered.
Picture
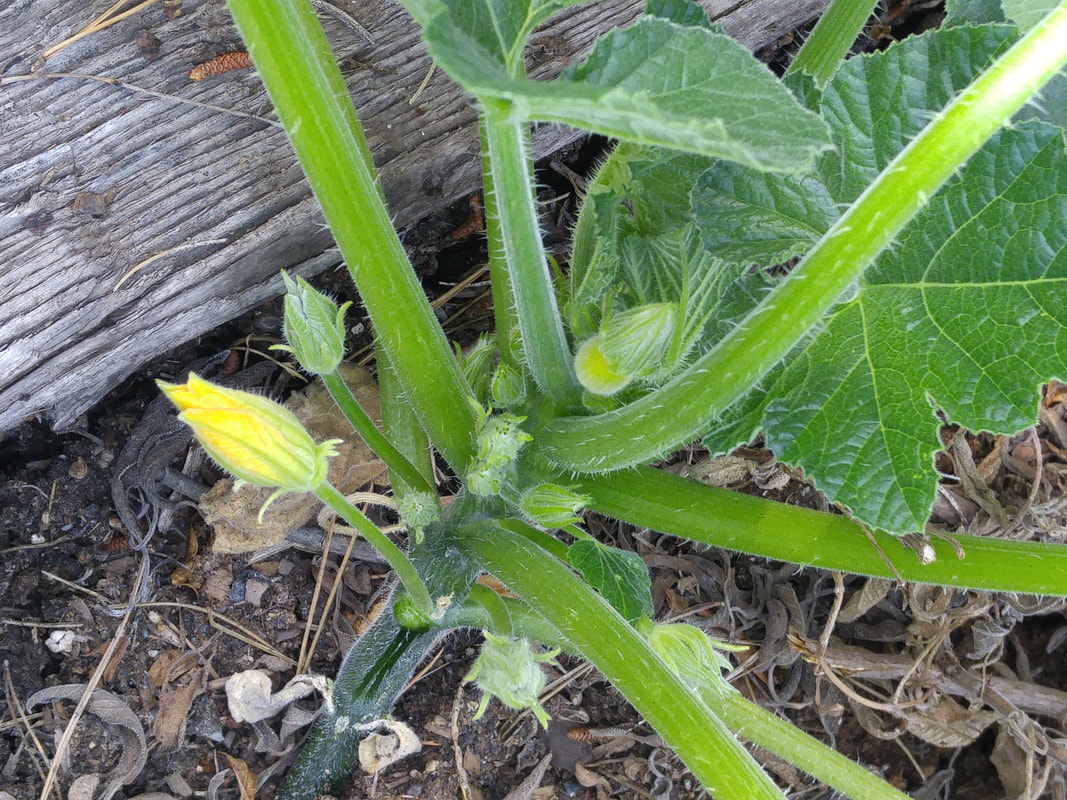
Second seeding of yellow squash - sown when the first batch started bearing fruit. Third seeding will be made now that this second one is setting fruit. This reseeding technique means that I'll be eating succulent "baby" squash from successive sowings all the way through the summer into the fall. The blossoms that have the long stems (on the left) are the male flowers, that usually come first. The blossoms that have shorter stems and a swelling underneath the blossom (on the right and bottom) are the females. If the females don't get pollinated, they'll shrivel up and die.
Picture
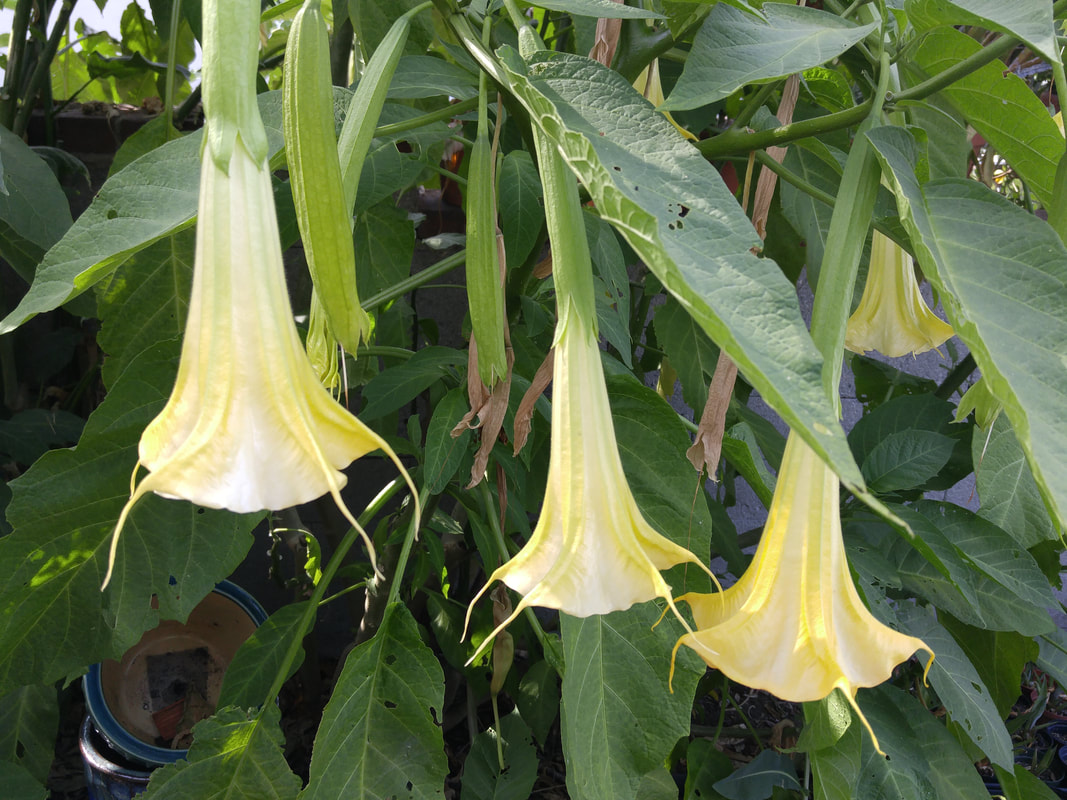
Light yellow brugsmania with "tails"
Picture
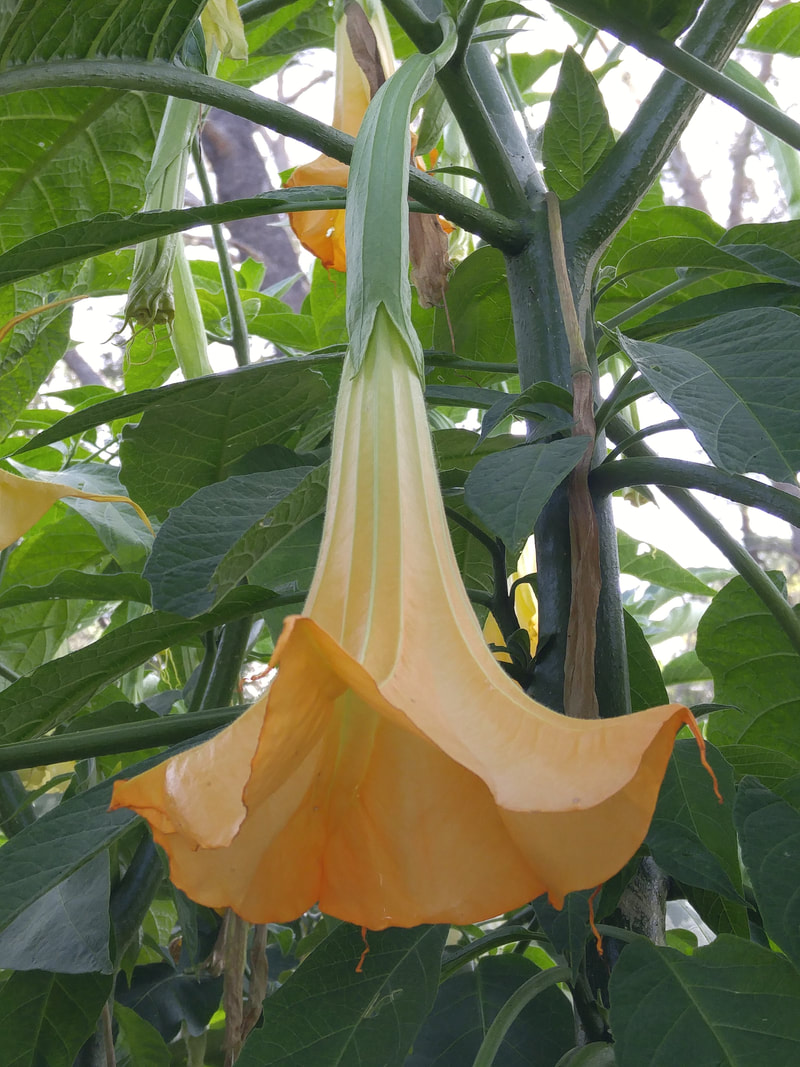
'Charles Grimaldi' Brugsmania has a wonderfully delight fragrance at dusk
Picture
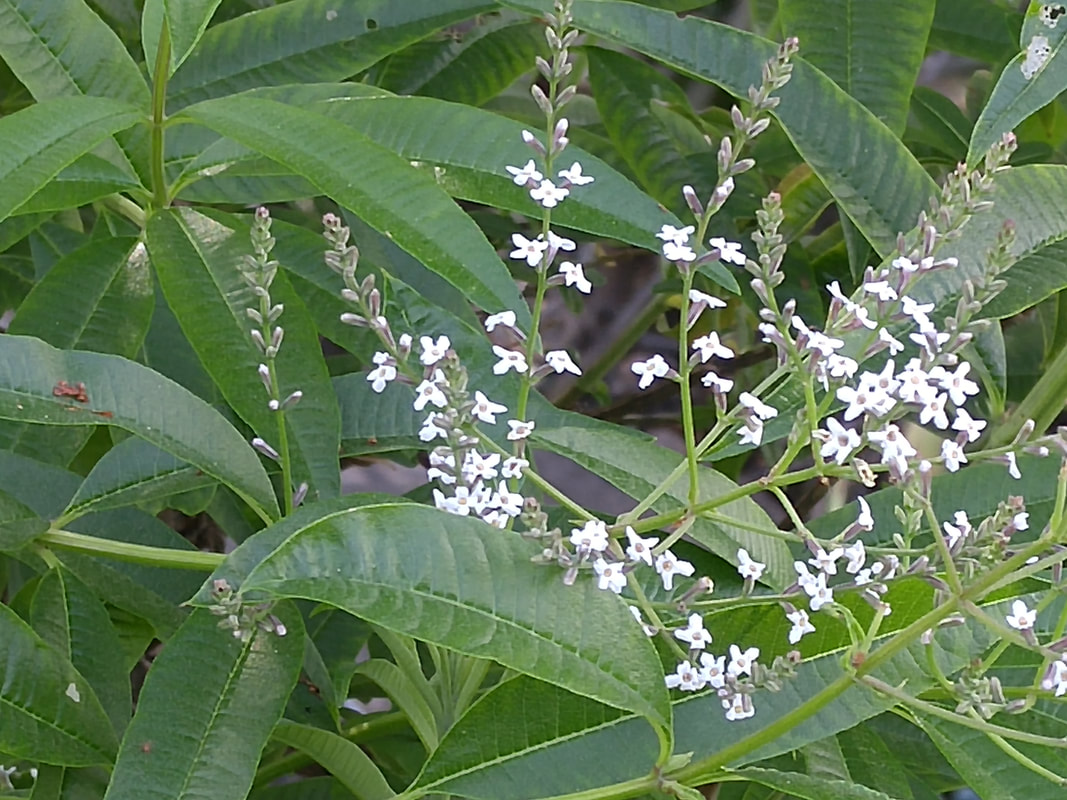
Lemon verbena has delicately tiny white flower sprays and really fragrant leaves
Picture
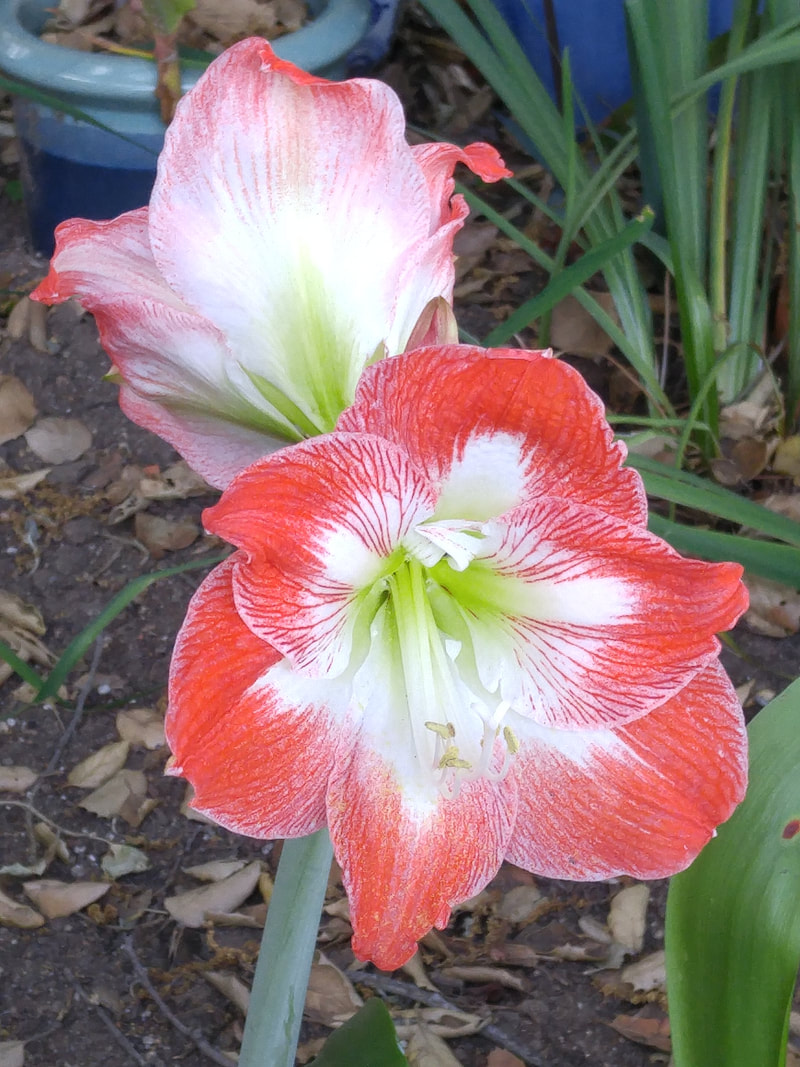
This is the normal time for amaryllis to bloom in the garden. When planting a gift amaryllis from December, it'll take about two years to "revert" back to its "correct" blooming time now.
Picture
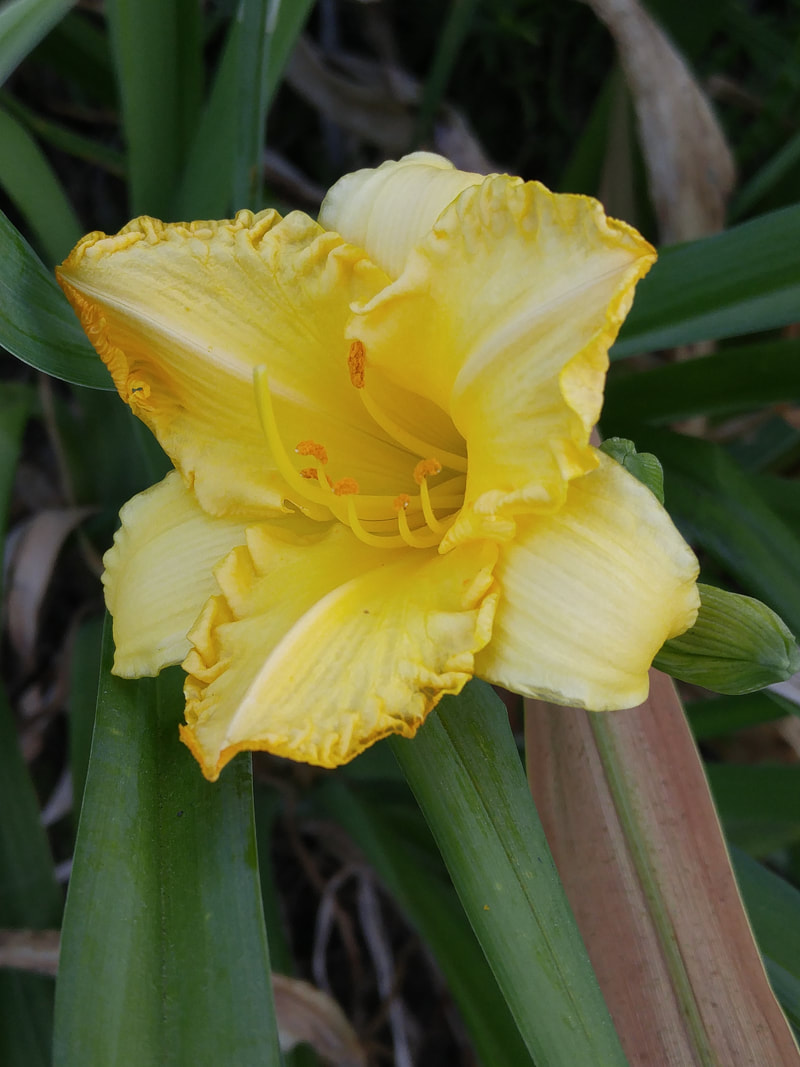
Yellow reblooming daylily
Picture
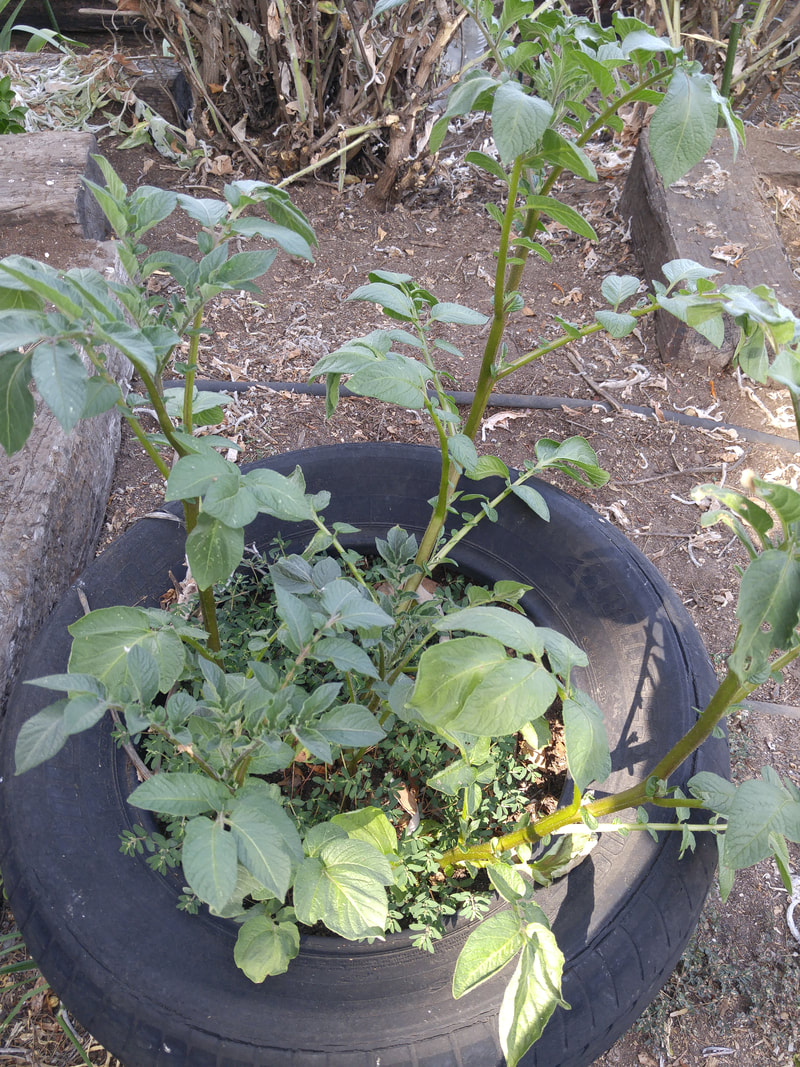
Potatoes in a double-deck tire planted in February and filled with compost as the stems elongated. It's now ready for another tire on top. When the foliage dies back in another month or two, potatoes will have formed all along the stems that were buried.
Picture
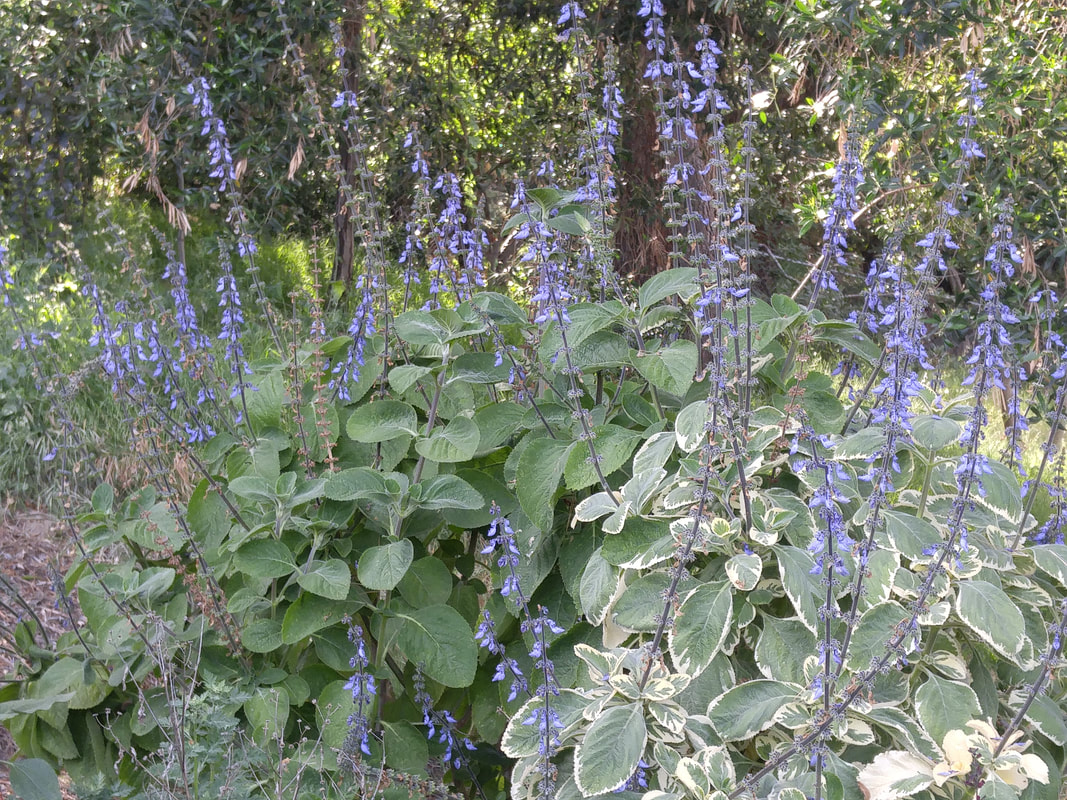
Plectranthus - I planted the variegated one, and the green shoots reverted back to the "normal" coloration.
Picture
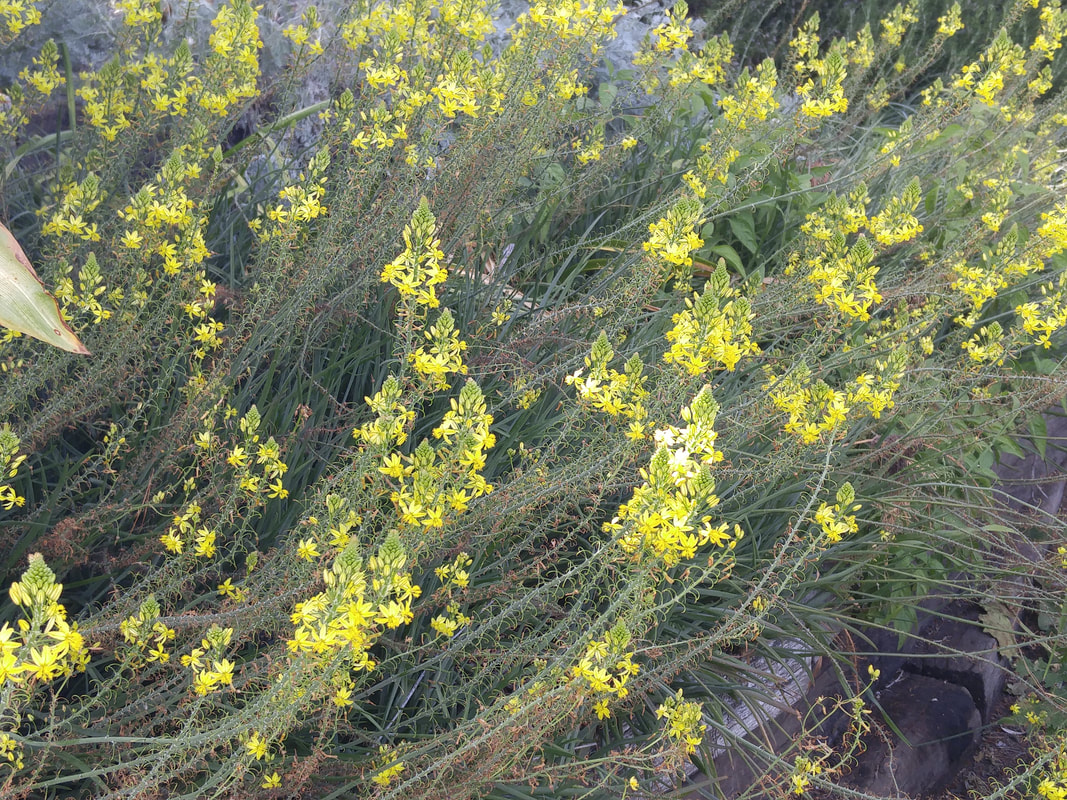
Bulbine blooms from February through December, starting at the bottom of their stalks and continuing to grow and bloom for the rest of the spring, summer and fall. Its succulent shoots are easily broken off and replanted, making a groundcover that continues growing in one direction similar to bearded iris.
Picture
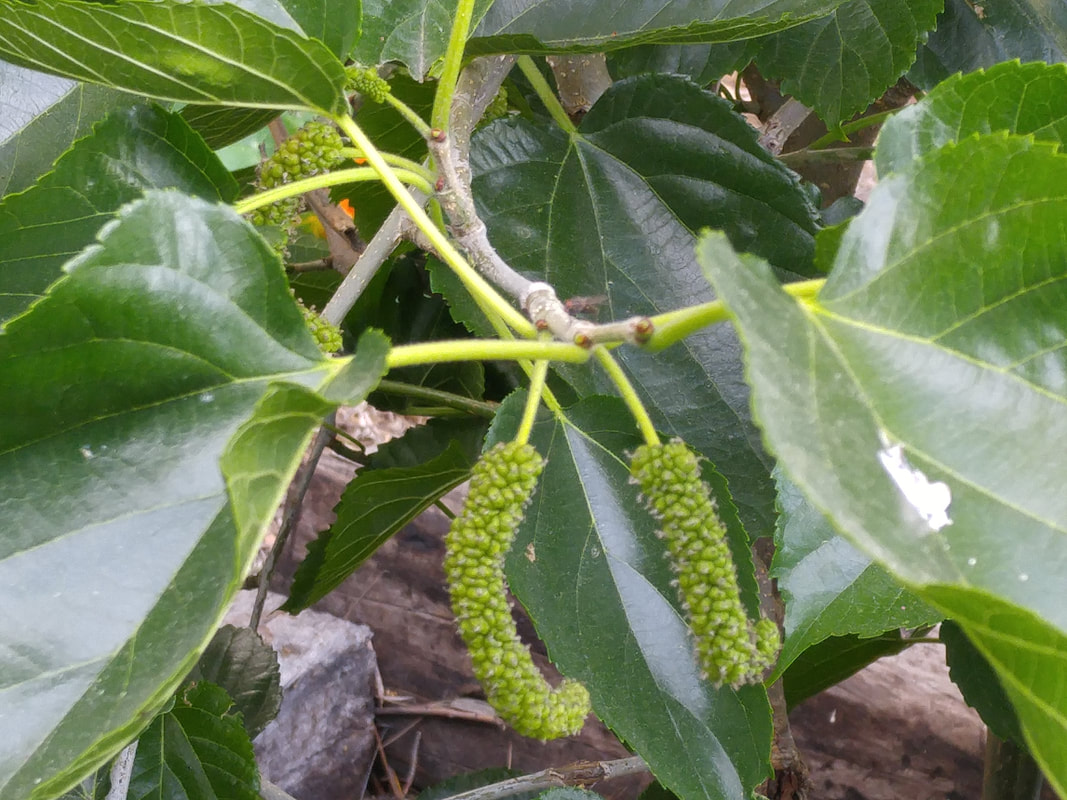
Pakistan mulberry ripening
Picture
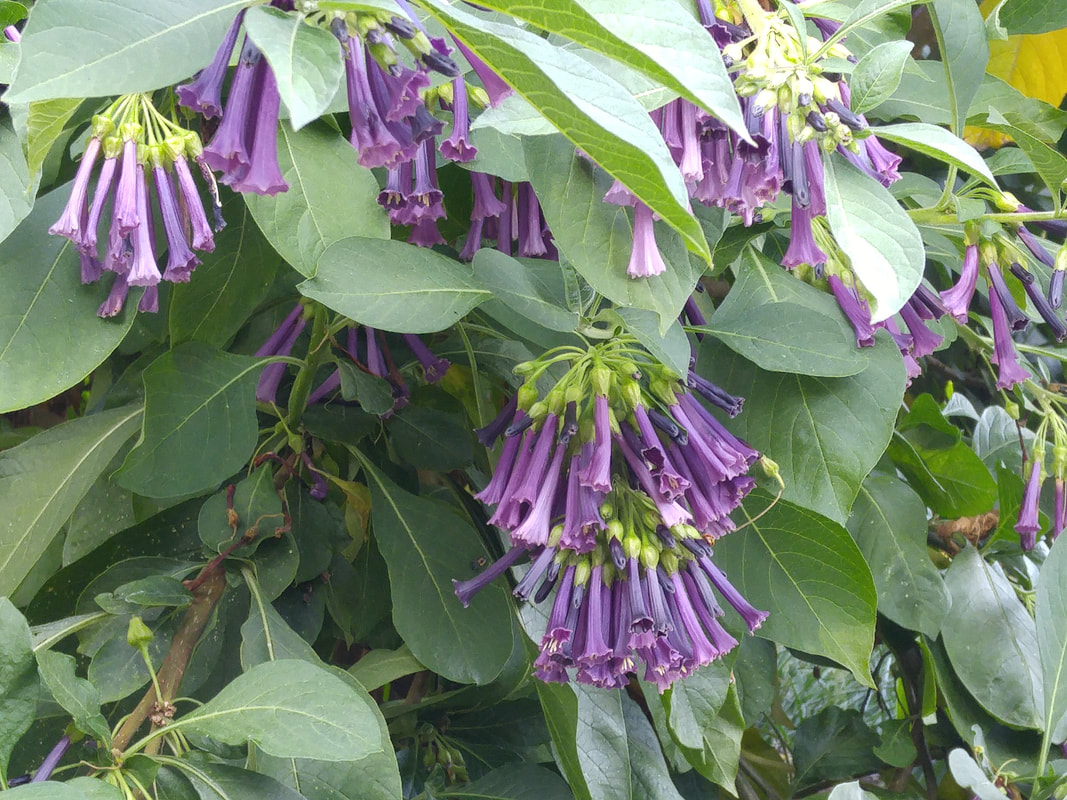
Iochroma is loved by hummingbirds
Picture
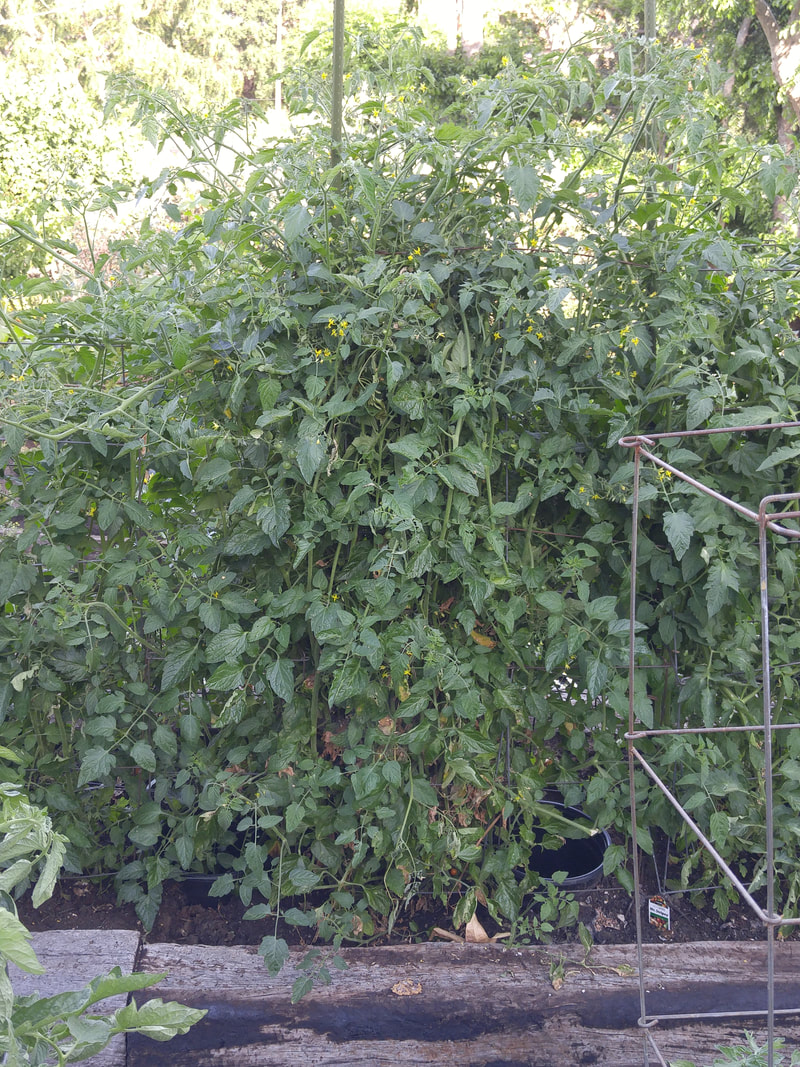
Volunteer Sungold cherry tomato germinated in early January and has gotten huge - more than 5 feet tall - and is blossoming and setting fruit.
Picture
Sungold blossoms and fruitset
Picture
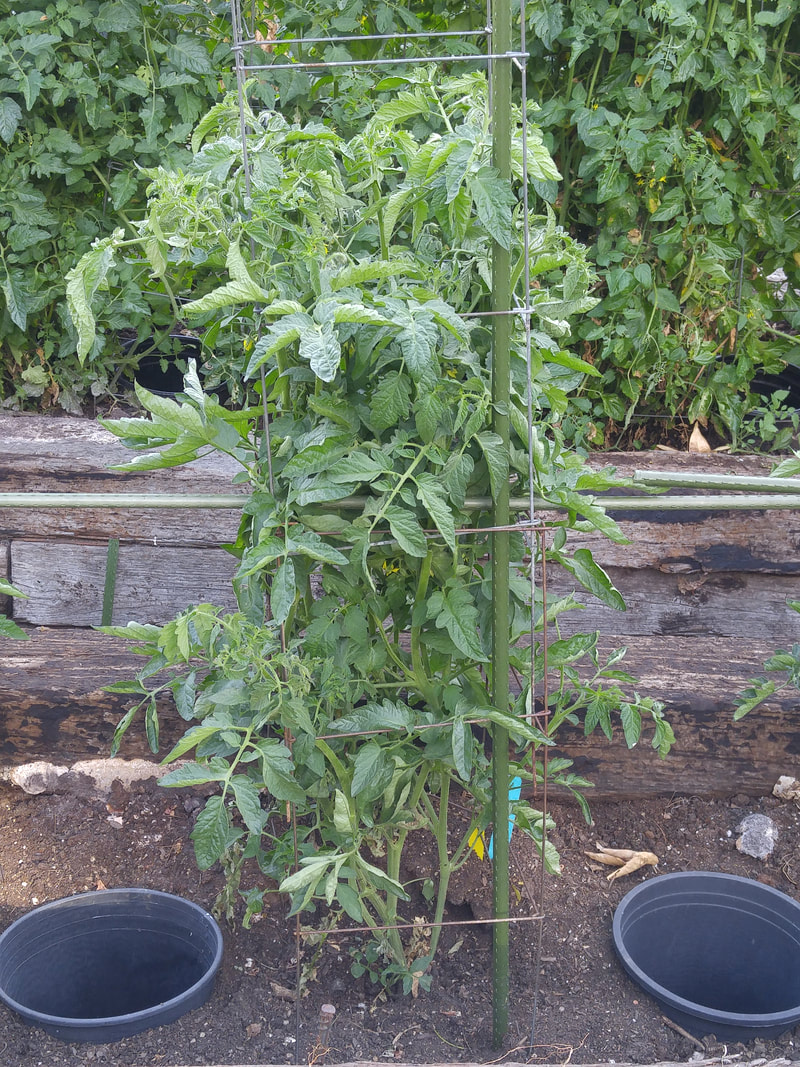
Chocolate Stripes tomato. I let my tomato plants keep their blossoms when the foliage reaches the second tier of the cage, indicating that the root system was well-developed. The buried 5-gallon nursery containers between each plant are filled with water along with the soil basin beneath each plant, making sure that the entire root zone is kept evenly moist.
Picture
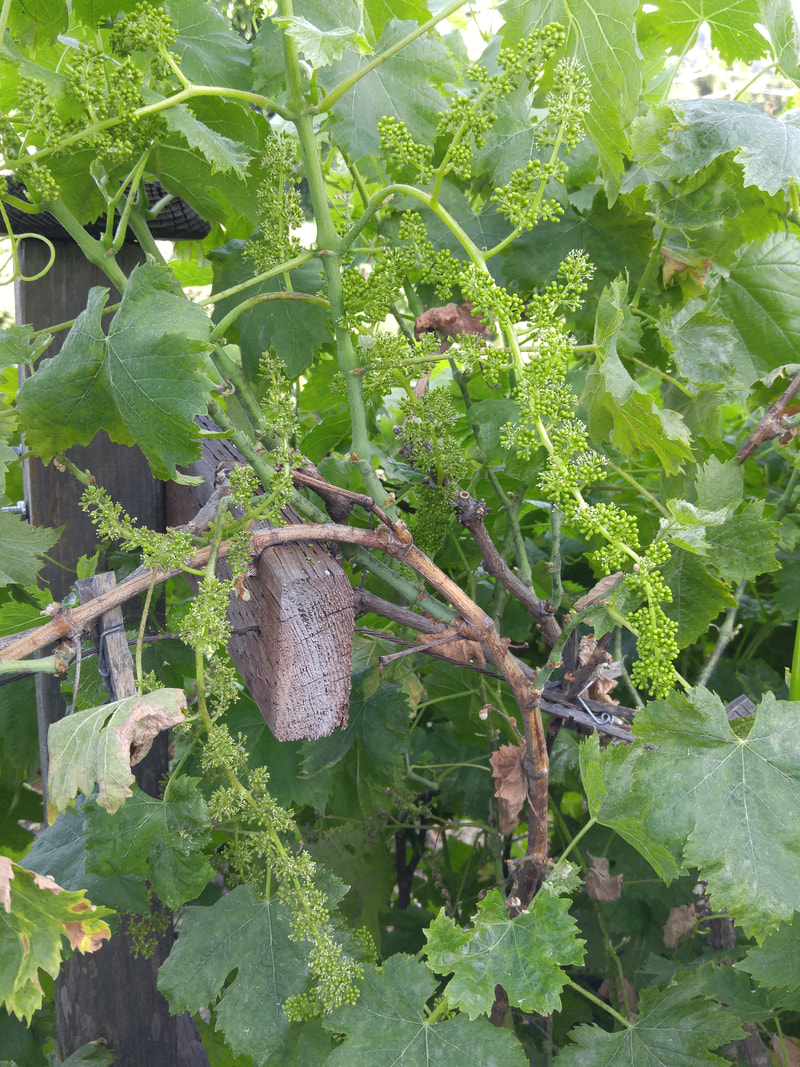
First grapeset for these 3-year-old plants rooted from cuttings.
Picture
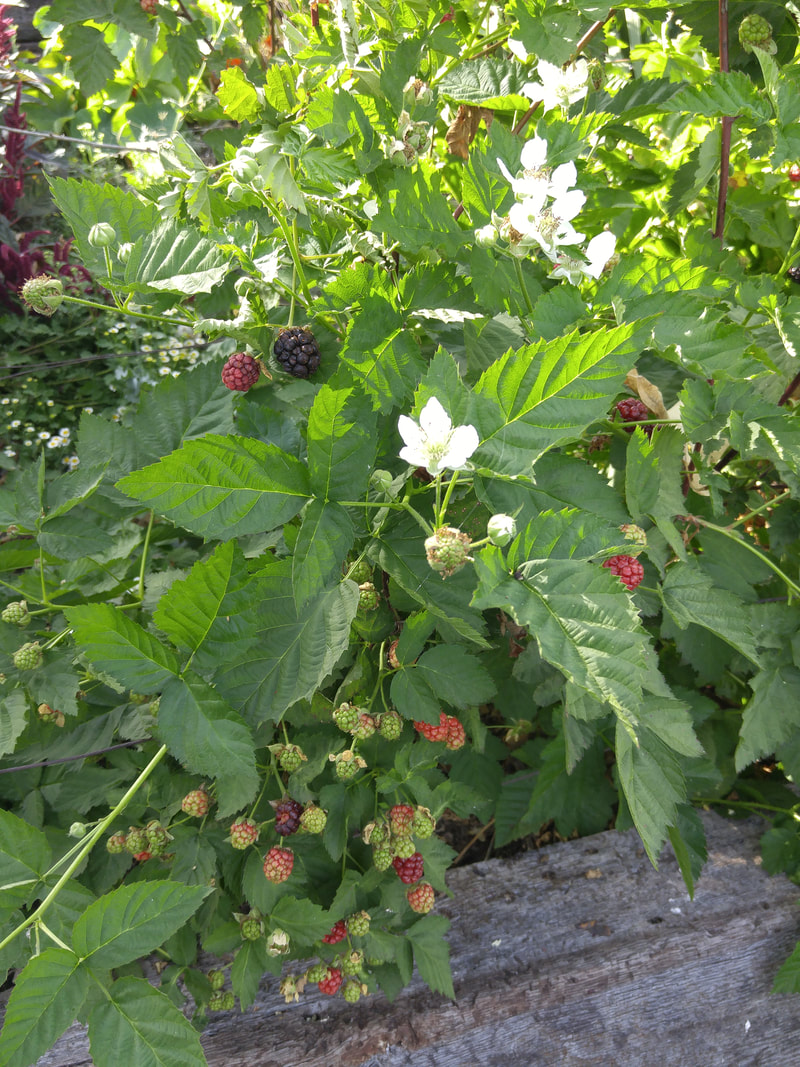
Thornless boysenberry blooms, fruit set, and ripening fruit. Let berries get fully black (not just dark purple), dull rather than shiny, with the green calyx "hat" at the top of the berry turning brown, and the berry literally falling into the palm of your hand when you "tickle" it from underneath. If you have to tug at the berry, it's not ripe yet.
Picture
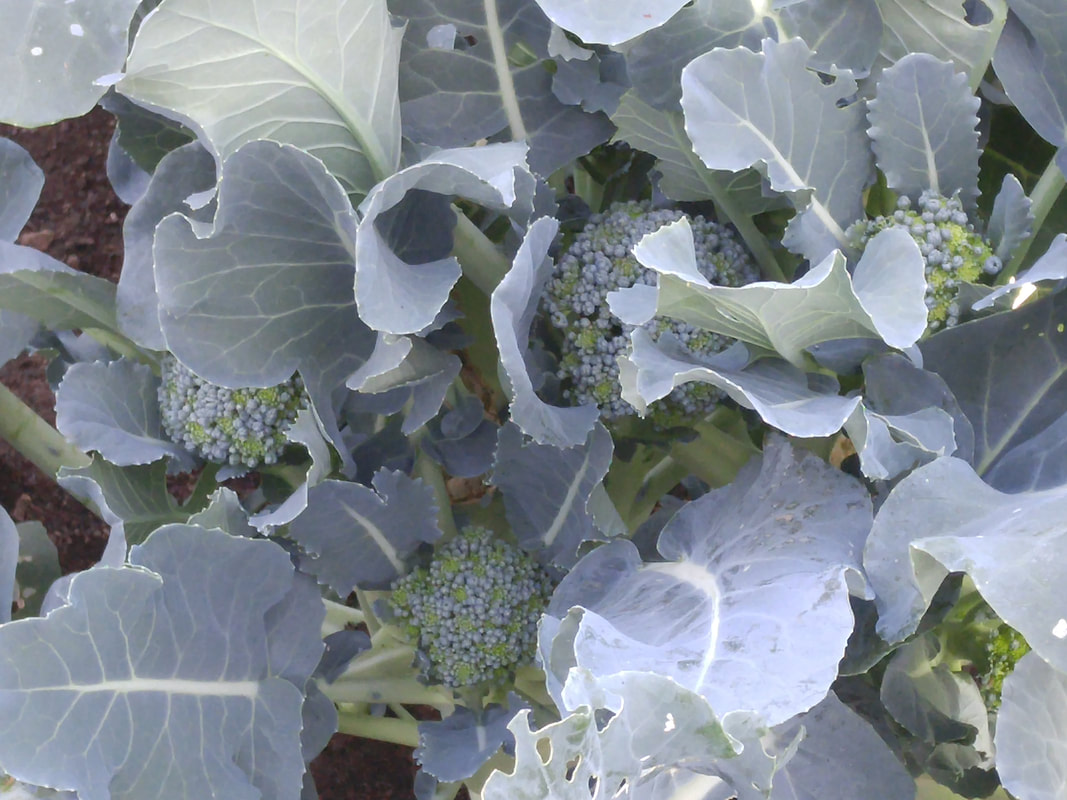
Broccoli florets developing after the first main head was harvested.
Picture
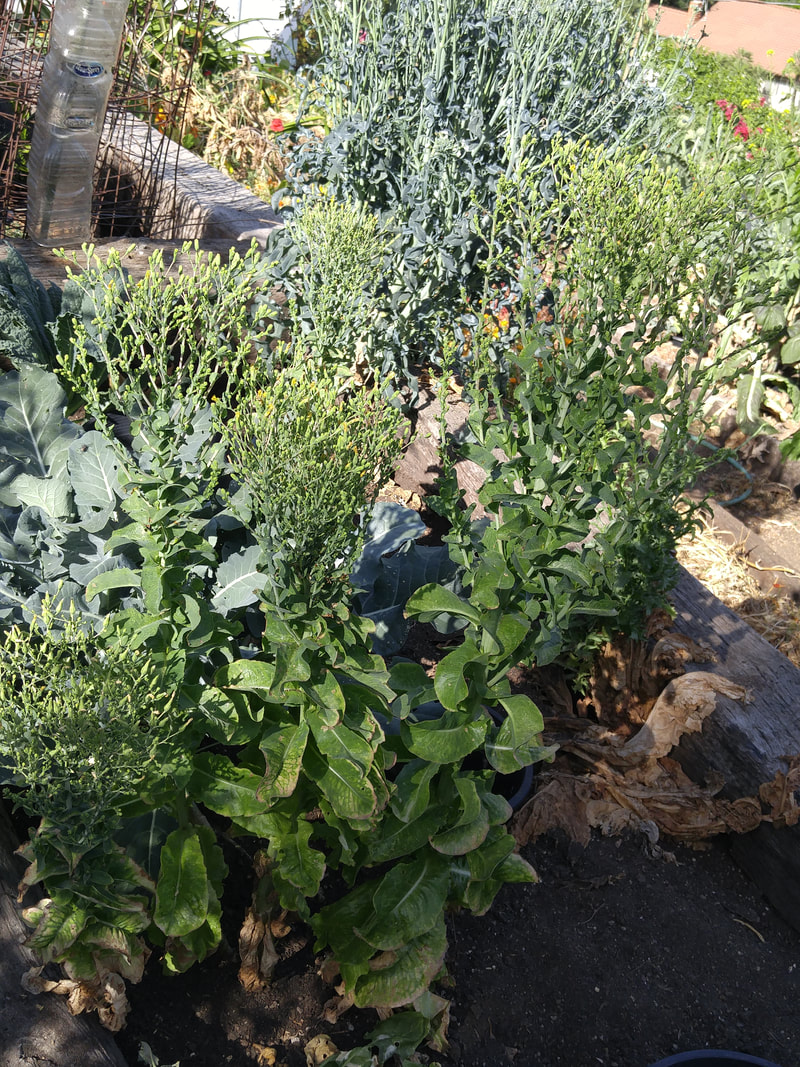
Lettuce beginning to blossom. When more than half of the tiny flowers have dried, cover the entire plant with a big paper bag, and tie the bottom shut. The seeds will form and dry but not scatter since you've corralled them in the bag. When you can easily snap off the stem at its base, it's fully dry and can be stashed under a bed or other dry place until you're ready to sow in the fall. If the stem wobbles, it's not completely crispy dry, so wait another two or three weeks before trying again.
Picture
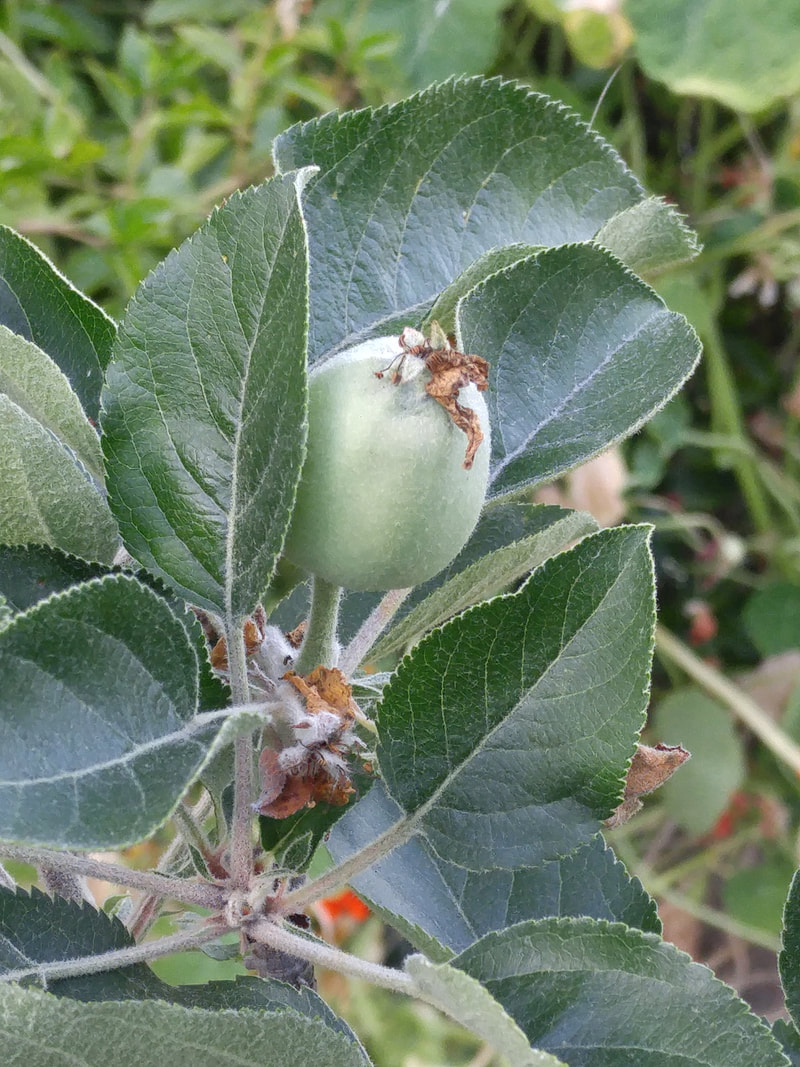
Fuji apple - allow only one apple to set among the 5 blossoms at each fruiting stem.
Picture
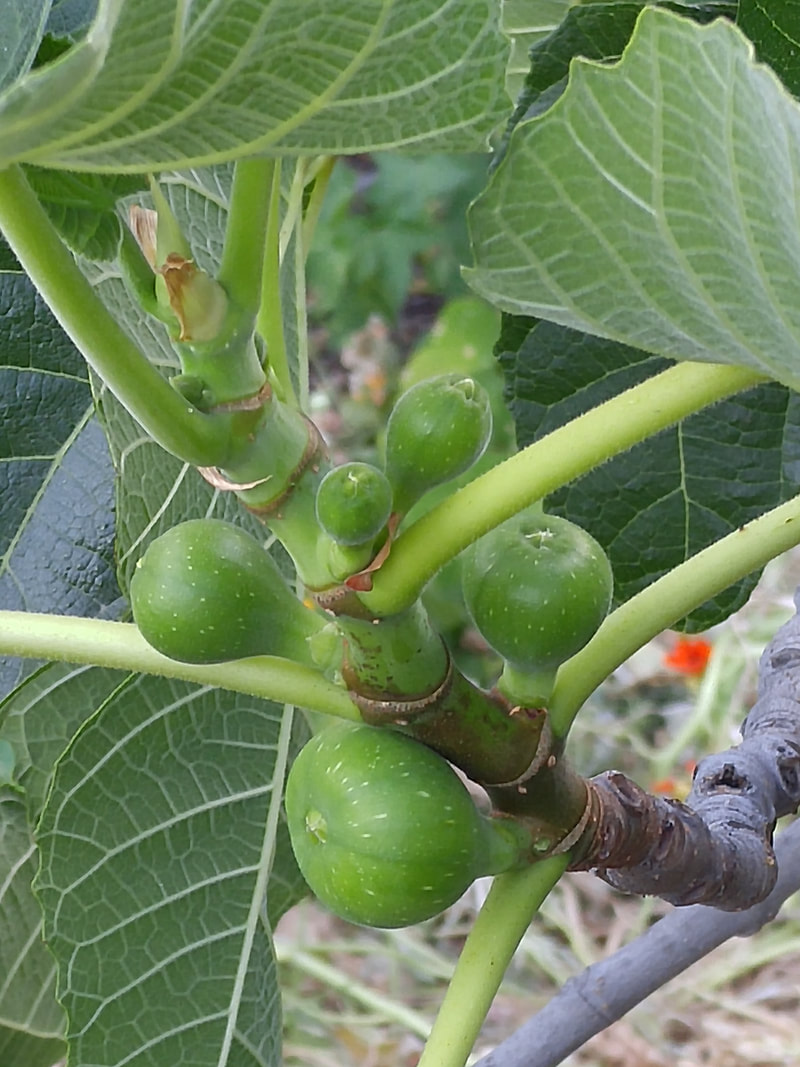
Peter's Honey fig fruitset.
Picture
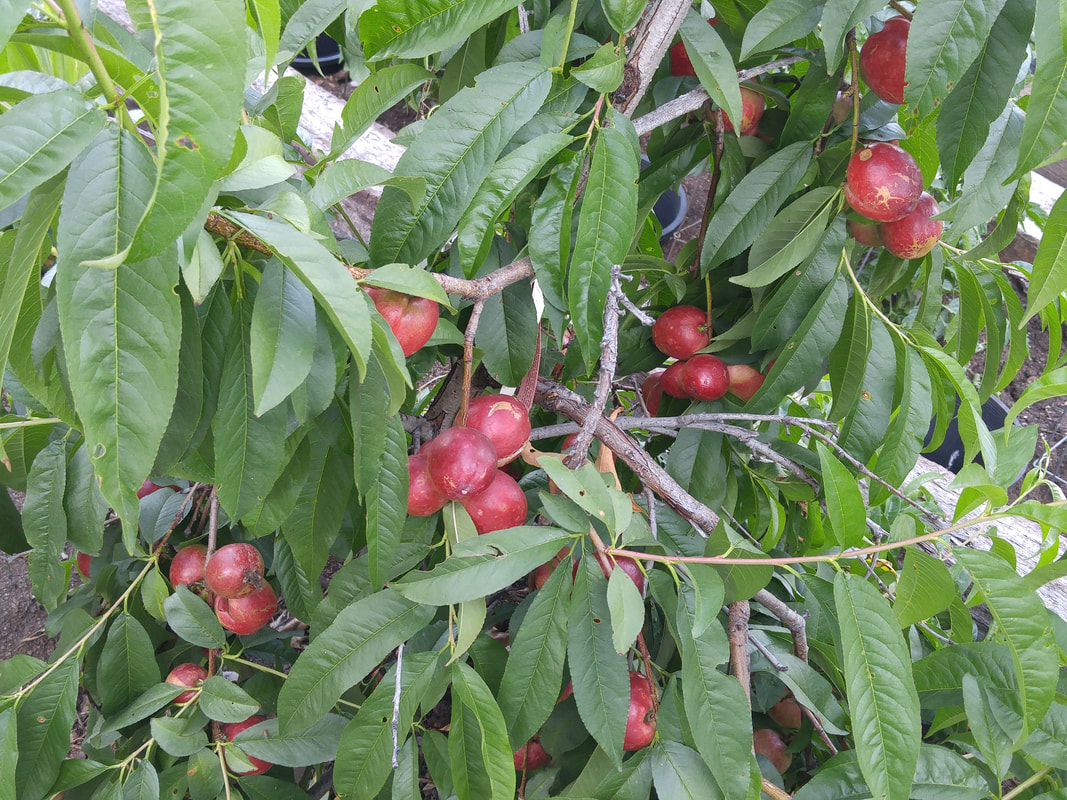
Arctic Star nectarine fruitset
Picture
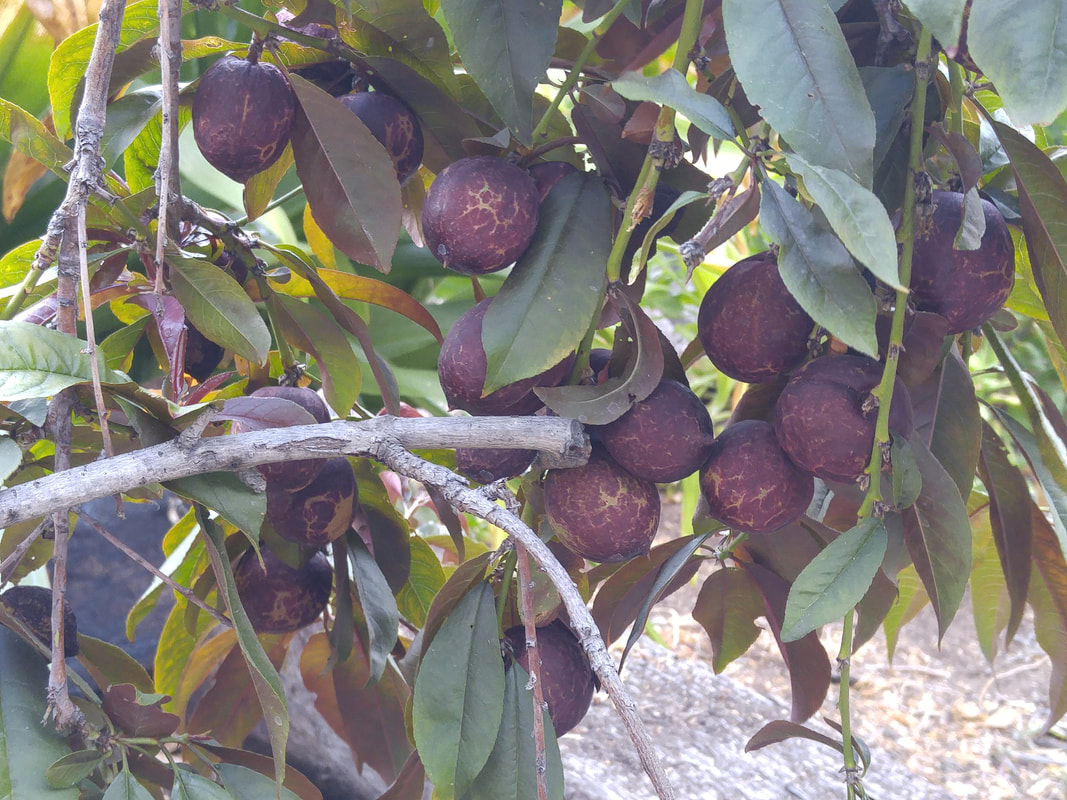
Spice Zee nectarine fruitset
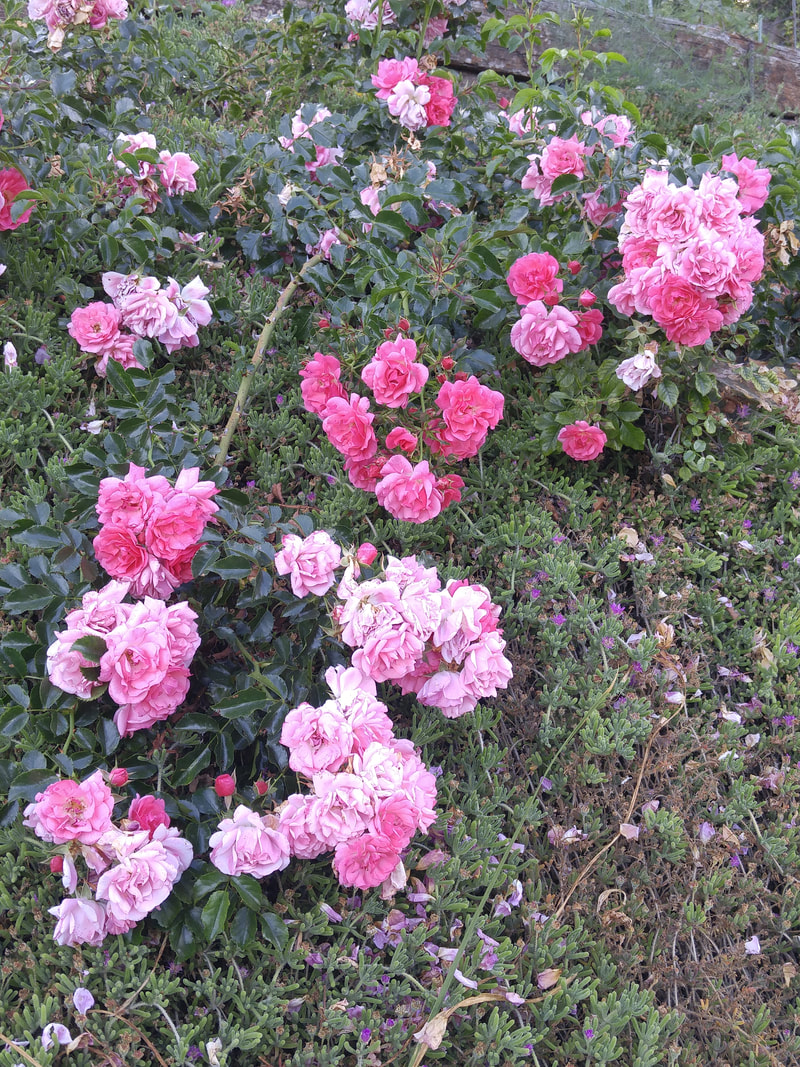
Picture
Pink Carpet Rose
Picture
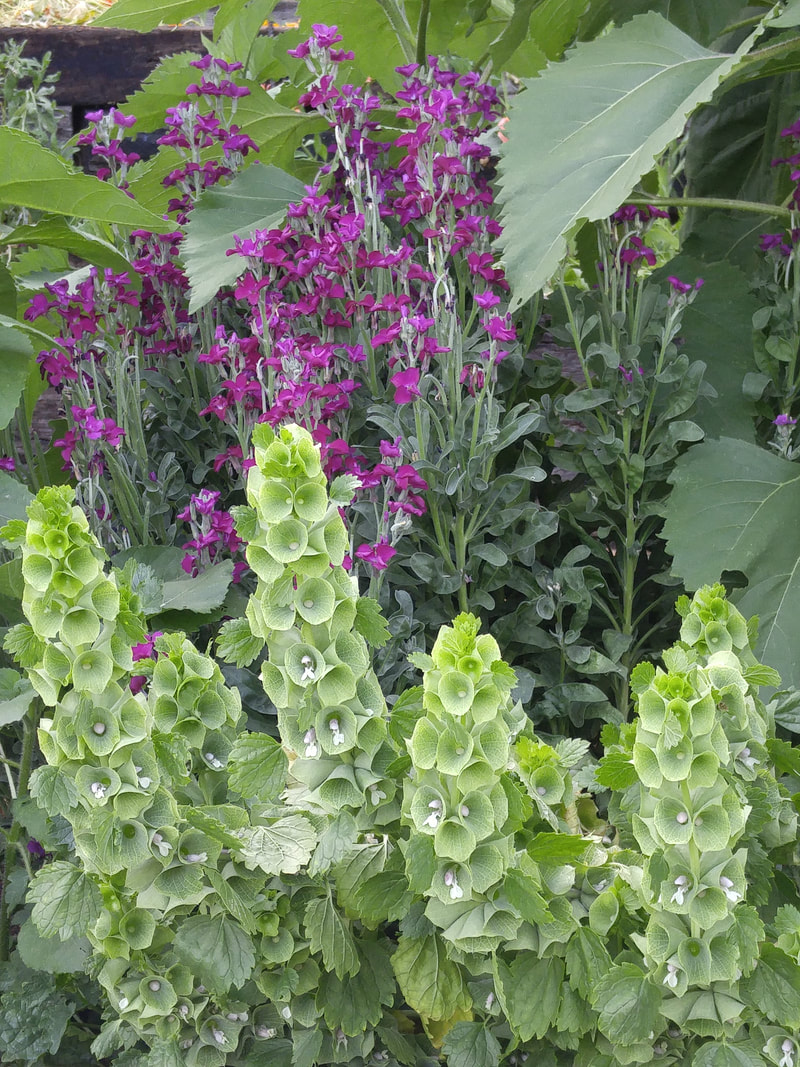
Super fragrant species purple single stock, and Bells of Ireland, Moluccella laevis
​With our blissfully pleasant temperatures in the 70s and 80s for months on end, we can easily fall victim to assuming these ideal conditions will continue and our garden plants will be just as happy as we gardeners are.  But, given that we’re moving toward the end of May, our summer’s heat will shortly be upon us.  Unless we change our activities to match the plants’ upcoming needs, now-happy plants will become stressed-out plants. And we gardeners will be disappointed in not getting the vegetables and flowers that we'd planned on.
     The critical elements to accomplish now for summer success include planting, fertilizing, watering, and mulching.
 
Planting
     Make your choices and get them into the ground or containers by the end of this month.  They’ll need several weeks to get acclimated to their new homes and environment as they begin to make new roots to establish themselves, so hopefully blasts of summer heat will wait until the later part of June. 
      Three planting tricks will help plants get established more quickly:
  1. Dig planting holes at least a foot wider and deeper than the plant containers, and massage the rootballs to loosen the existing roots and incorporate some of the planting mix into the soil.
  2. Create a berm around the edge of the dug-up soil as a watering basin to direct water down to the roots.
  3. Place a piece of cardboard or plastic on the south side of the plant to shade the plant from mid- to late-afternoon direct sun for at least a week, until the plant stays perky throughout the day.  
 
Fertilizing
     For tomatoes and other vegetable and berry plants that are starting to bloom,  water in a timed-release fertilizer to provide nutrition for the extra-hard work the plant will have to accomplish over the next several months of blossoming and setting and maturing fruits.  
     Ornamental plants appreciate the extra nutrition as well.
 
Watering
     Water deeply and less frequently to assure that the water sinks down to below the plants’ rootzones to keep them well-hydrated during our blasts of summer heat.  A stick or shovel inserted the day after watering will alert you to how deeply the water actually went – so you can adjust the length of time you water to make sure it goes deeply enough each time you water. 
     Depth guidelines depend on the genetics of the vegetable you’re growing.  For summer vegetables, these are:
  • 1 foot deep = celery, chard, lettuce
  • 2 feet deep = bean, carrot, cucumber, eggplant, pepper, squash
  • 3 feet deep = melon, pumpkin, tomato
     Frequency guidelines depend on your soil, the amount of foliage, and the air temperature.
  • Soil - Start with once a week for loam soil, twice a week for sandy soil, and once every two weeks for clay soil
  • Foliage - More frequently for tomato plants that are 5’ tall with lots of foliage
  • Temperature – More frequently when temperatures are above 95 degrees; even more when above 100 degrees.
     The problem with watering too frequently is that the water stays within the top several inches of the soil, so plant roots stay there as well.  Then, when we get our several-days-long blasts of summer heat, those top several inches of soil are too hot for the roots, and there are no roots further down in the cooler soil, so the plants stress out or actually die.
 
Mulching
     Organic mulch provides five benefits to the garden by providing shade:
  1. Conserves soil moisture – irrigation water doesn’t evaporate as quickly, so roots stay hydrated.
  2. Moderates soil temperature – soil doesn’t suffer swings in heat and cold and wind, so seeds and seedlings and plants can grow without these stresses.
  3. Keeps weeds from germinating; any that do are easy to pull – Weed seeds that require light to germinate are foiled.  Any that do germinate grow very spindly stems up through the mulch to reach the light, so are easily removed.
  4. Lessens erosion – The force of the drops of rain and irrigation is broken by hitting the mulch, and water seeps gently into the soil, so downbursts can’t sweep away bare soil.  
  5. Enrichens soil nutrition and texture as the mulch decomposes and feeds beneficial microorganisms – At the junction of the mulch and the soil surface, the mulch gradually breaks down, becoming perpetually slow-release fertilizer that dissolves further into the soil.
 
For more tasks and opportunities, see May Monthly Tips
2 Comments

Are You A Beginning Gardener?

5/2/2020

3 Comments

 
Picture
Choose carrot varieties according to your soil - tiny round ones for clay soil, long thin ones for sandy soil, and medium ones like these for loam. I love Danvers half-long and Little Finger. They may take 3 weeks to germinate, so keep the bed moist and filtered light.
Picture
Melianthus seed pods
Picture
Double Delight rose
Picture
Iceland poppy
Picture
Yellow repeat-blooming iris and red-purple watsonia
Picture
Breadseed poppy
Picture
Spuria iris
Picture
Dancy tangerine fruit and blossoms
Picture
Breadseed poppy
Picture
Cauliflower "ricing" tips are still tender.
Picture
Chard elongated with seeds forming at tip, but small leaves are still tender.
Picture
Boysenberry blossoms and fruit forming.
Picture
Floribunda rose blooms in clusters.
Picture
Sky blue iris fell over.
Picture
Spuria iris
Picture
Species stock -- the single purple from which all the other colors and forms were bred.
Picture
Culinary sage branches cut, spread out single-depth on a big cookie sheet, and dried in the oven pilot light overnight. Single branch is in the center-right. On the right-most, stem-only branch, the leaves have been plucked so they remain as whole as possible to store until use; then you crush them so they release their fragrance and flavor into the recipe. The remaining twigs go to the compost pile or a barbecue fire for a bit of smoky fragrance.
In these COVID-19 times, with Stay-At-Home mandates, lots of folks are considering gardening as a keep-from-going-crazy-with-all-this-free-time activity.  As “novel” as this activity is for them, it can be a delightful adventure for adults and kids alike, literally discovering where our food comes from and how to grow something as simple as lettuce.  And, growing it yourself makes it infinitely more exciting to eat it!  It can be as small-scale as one container on a windowsill indoors or patio outdoors, or extending to several raised beds in the yard.  So, how to get started?  

1. Where is the best soil and sun exposure? 
You can't just dig a hole, plop a plant in, and expect to get lots of flowers and fruit. If you plan to grow foliage-only plants like lettuce, cilantro, parsley, you’ll need a location that receives at least 6 hours of direct sun.  For plants that will flower and ripen fruit like tomatoes and squash, the location must receive at least 8 hours of direct sun every day since it's doing all that extra work to blossom and set and mature the fruit.

2. Soil is basic. 
Soil is the beginning, middle, and end of successful gardening. It doesn't just prop up the plants! Clay soil can be dense and full of nutrients but not well draining.  Sandy soil drains well but doesn’t have much nutrition.  Loam soil is a combination of both.  All soils can be improved by adding organic matter -- in clay soil, it provides more air pores; and in sandy soil it provides more absorption.  Dig in manure and compost to a depth of at least 12 inches.  If you have access to coffee grounds (Starbucks and Peet's, etc., may provide for free!), add them too since they offer across-the-board nutrition.

3. Grow only plants proven to do well in your micro-climate.
Whether your garden space is along the coast, inland, or in the mountains or desert, check with local nurseries and neighbors to choose varieties that will do best there. If the plant description indicates that plants should have full sun, this means different things along the coast or inland.  Along the coast, the moisture in the "marine layer" cools things down and it may frequently be foggy. Inland, plants may need some protection from the late afternoon sun beating down. 

4. Choose the healthiest plants you can find. 
Make sure that you choose types of plants according to the upcoming season – in late Spring, choose plants that want summer’s heat; in Fall, choose plants that thrive in Winter's coolness.  

5. Transplant properly.  
Ruffle the rootball slightly to loosen up the outer roots, and rough up the sides of the planting hole so roots don't meet a "brick wall." Plant most plants at the same depth that they were in their containers.  Tomatoes are the only plants that also develop "adventitious" roots all along the portion of the stem that is underground, so plant them deeply, up to the top set of leaves, to encourage an extensive root system and consequently more vigorous plant producing more food. 

6. Wait until the soil has warmed sufficiently in Spring. 
While you may want to have the first ripe tomato on the block, don't transplant summer vegetable seedlings into the ground until the soil has warmed above 60 degrees Fahrenheit. Peppers, especially, will "pout" and never really thrive when transplanted too early.  

7. Grow plants up trellises.
Trellises enable the greatest use of the soil, fertilizer, and water in your garden beds since you can grow plants more closely, with the foliage growing up instead of shading more growing space. And harvesting is much easier.  Tomatoes come in "determinant" (they grow only to a determined height, bear all their fruit and then die) or "indeterminate" (they keep growing and bearing fruit until killed by frost), so give them support as soon as you plant them, rather than waiting until they get too big and flop over. 

8.  Fertilize when planting and when blossoming.
Before transplanting, incorporate a complete slow-release fertilizer (like 5-5-5) into the root area along with manure and compost. As plants grow, use a good organic fertilizer, like fish emulsion (yes, it will be stinky for a day or two, but some new versions  don't smell so strongly). When fruiting plants like tomatoes start blooming, give them another feeding to encourage lots of blossoms and fruit. 

9. Water properly.
Watering frequency changes according to the weather.  Always water deeply to "teach" the roots to grow deeply. Then the plants will thrive during hot spells instead of dying because their roots were so close to the surface from shallow watering.  Also, plants like to have their leaves (including the undersides) rinsed every once in a while during hot weather. But, fungi and other diseases can get a good start within only six hours of wet-and-warm conditions, so make sure that foliage dries off by sunset. Soaker hoses and other "dribblers" help release water slowly so it's absorbed into the soil to keep root systems hydrated. 

10. Mulch, mulch, mulch
Keep replenishing a two-to-four-inch thick layer of organic matter on top of the soil throughout the gardening year to moderate soil temperature, hold in moisture, lessen evaporation, prevent weeds from sprouting, and ultimately break down into the soil. Smaller mulch pieces offer more protection and break down more quickly. But, for moist organic mulch like fresh grass clippings, lay down a thin layer so it doesn’t dry into an impervious layer. 

For specific month-to-month task possibilities for you and your garden, see Monthly Tips.
3 Comments

    Archives

    March 2023
    February 2023
    January 2023
    December 2022
    November 2022
    October 2022
    September 2022
    August 2022
    July 2022
    June 2022
    May 2022
    April 2022
    March 2022
    February 2022
    January 2022
    December 2021
    November 2021
    October 2021
    September 2021
    August 2021
    July 2021
    June 2021
    May 2021
    April 2021
    March 2021
    February 2021
    January 2021
    December 2020
    November 2020
    October 2020
    September 2020
    August 2020
    July 2020
    June 2020
    May 2020
    April 2020
    March 2020
    February 2020
    January 2020
    December 2019
    November 2019
    October 2019
    September 2019
    August 2019
    July 2019
    June 2019
    May 2019
    April 2019
    March 2019
    February 2019
    January 2019
    December 2018
    November 2018
    October 2018
    September 2018
    August 2018
    July 2018
    June 2018
    May 2018
    April 2018
    March 2018
    February 2018
    January 2018
    December 2017
    November 2017
    October 2017
    September 2017
    August 2017
    July 2017
    June 2017
    May 2017
    April 2017
    March 2017
    February 2017
    January 2017
    December 2016
    November 2016
    October 2016
    September 2016
    August 2016
    July 2016
    June 2016
    May 2016
    April 2016
    March 2016
    February 2016
    January 2016
    December 2015
    November 2015
    October 2015
    September 2015
    August 2015
    July 2015

    Categories

    All

    RSS Feed

© 2015 Yvonne Savio. All Rights Reserved.                                                                                                                                                         Web Design by StudioMAH.