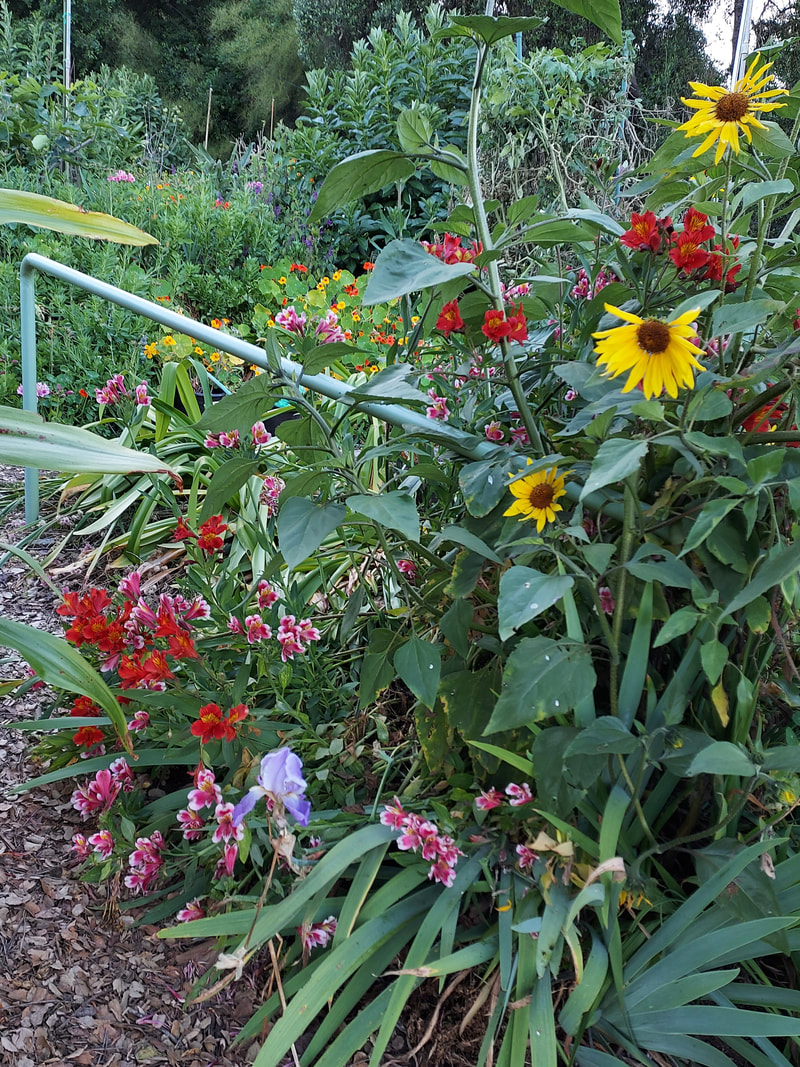
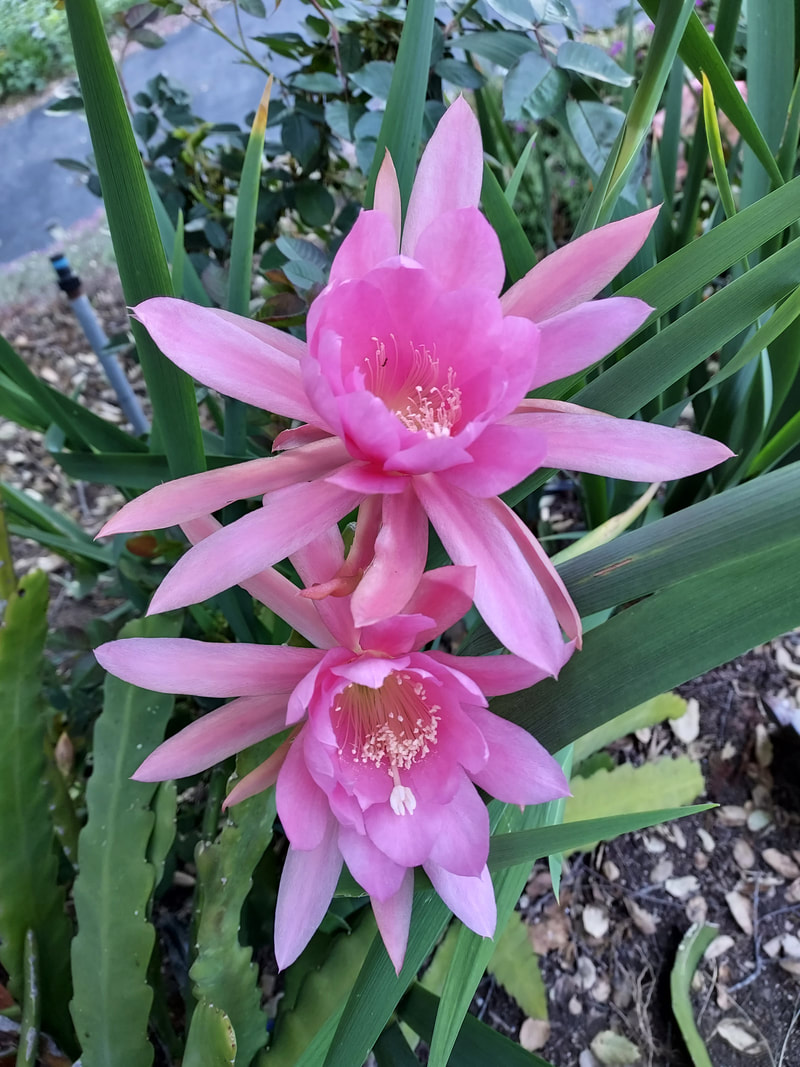
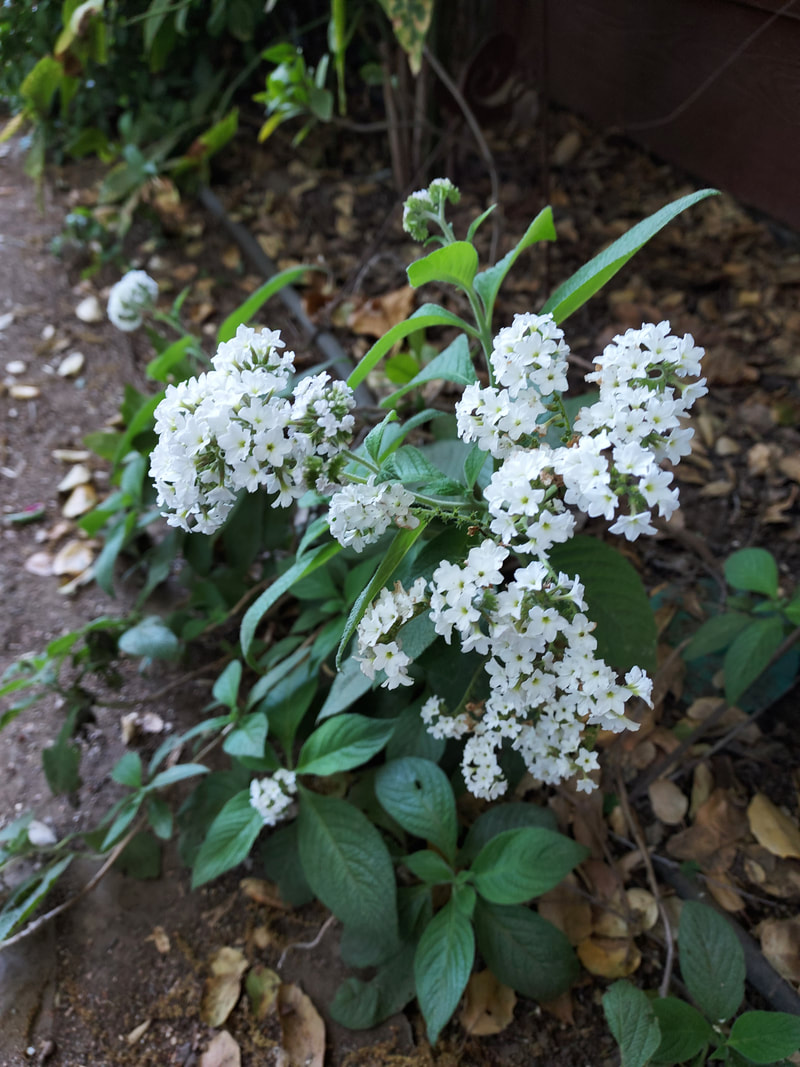
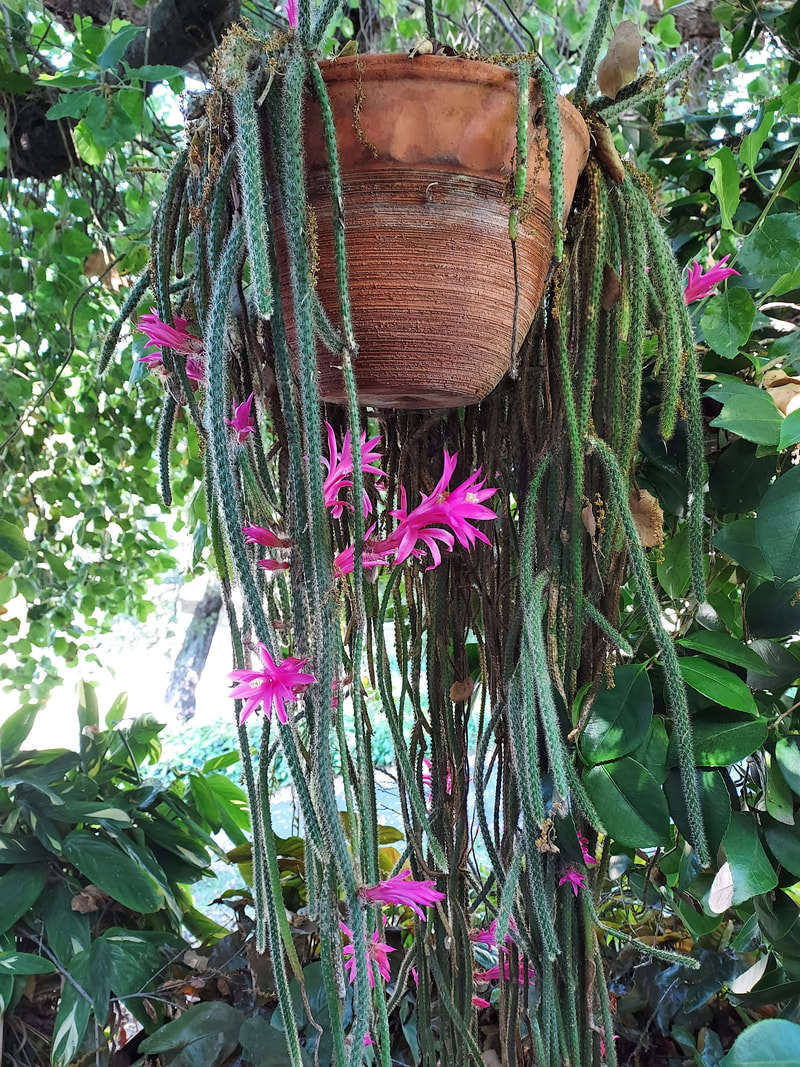
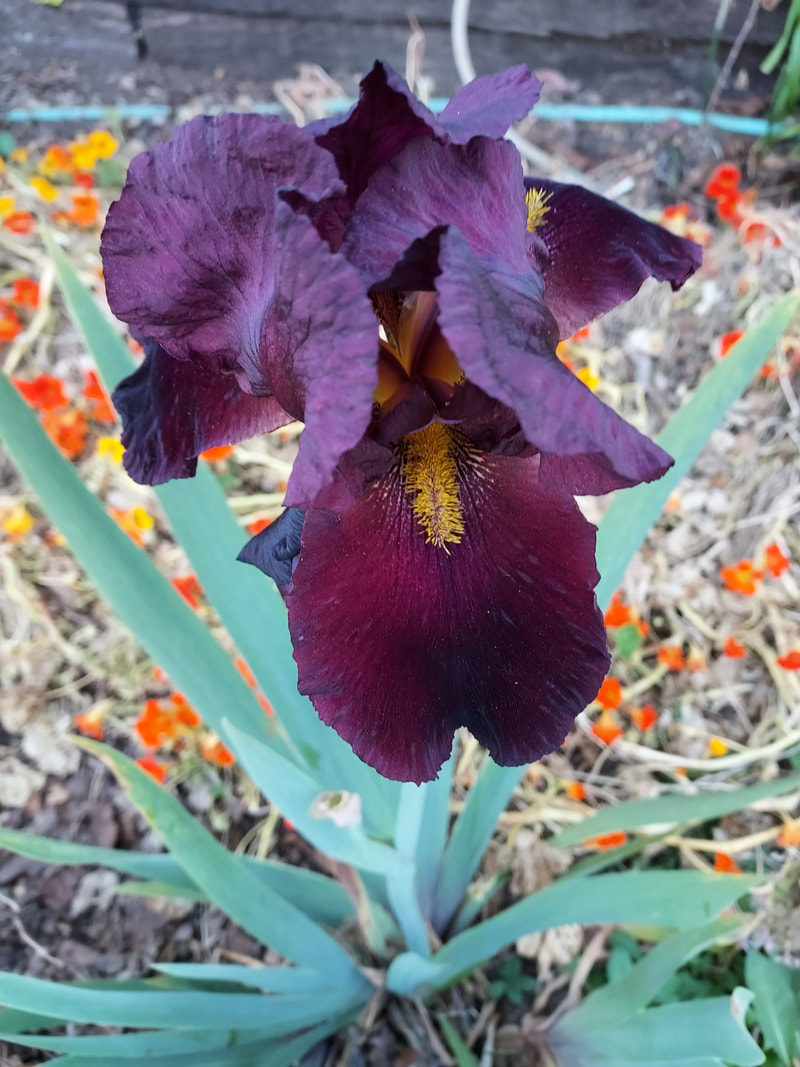
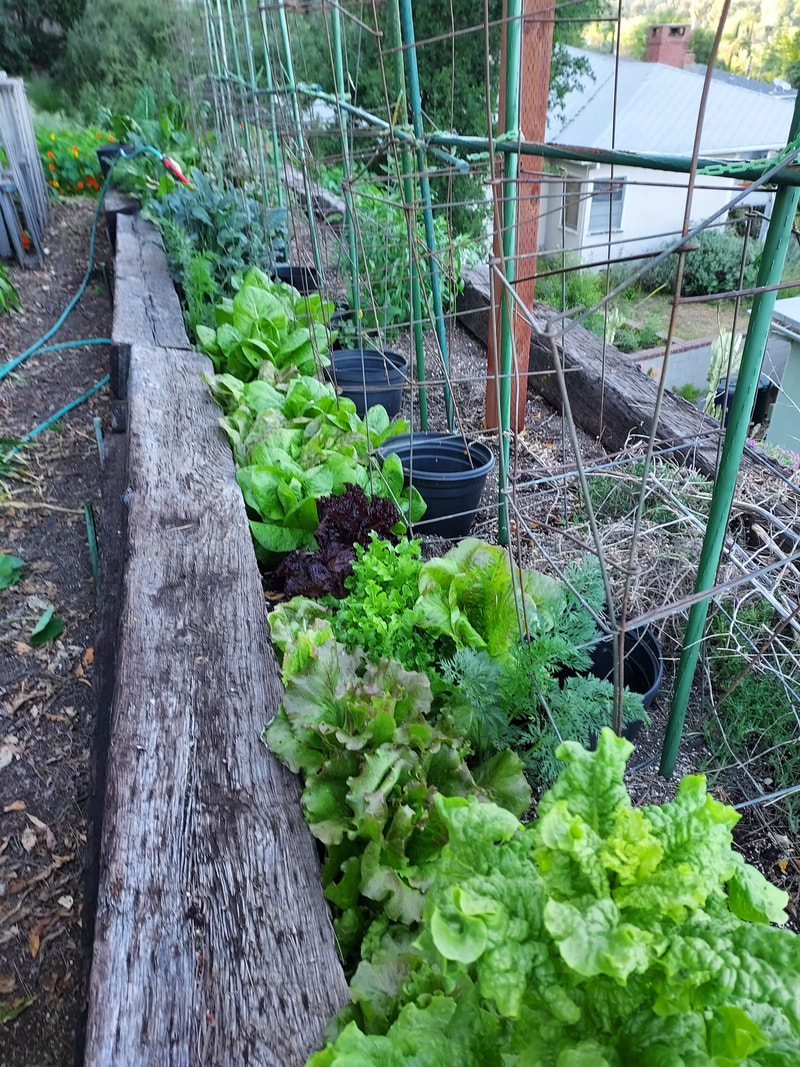
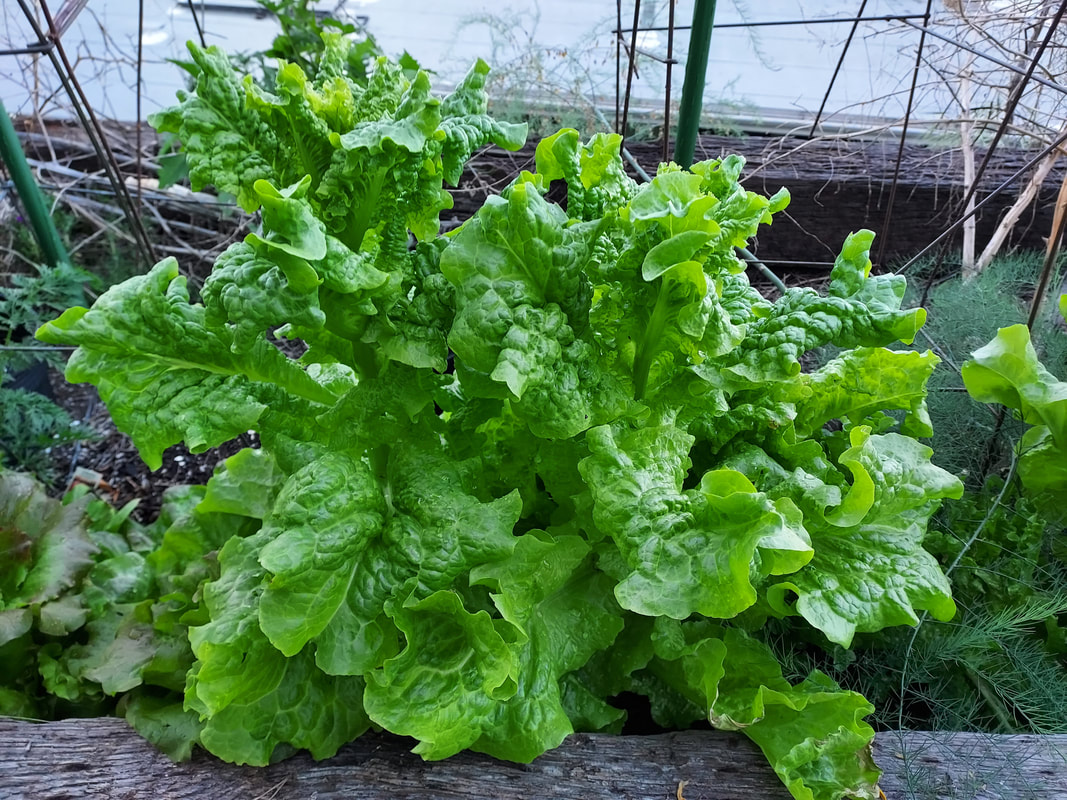
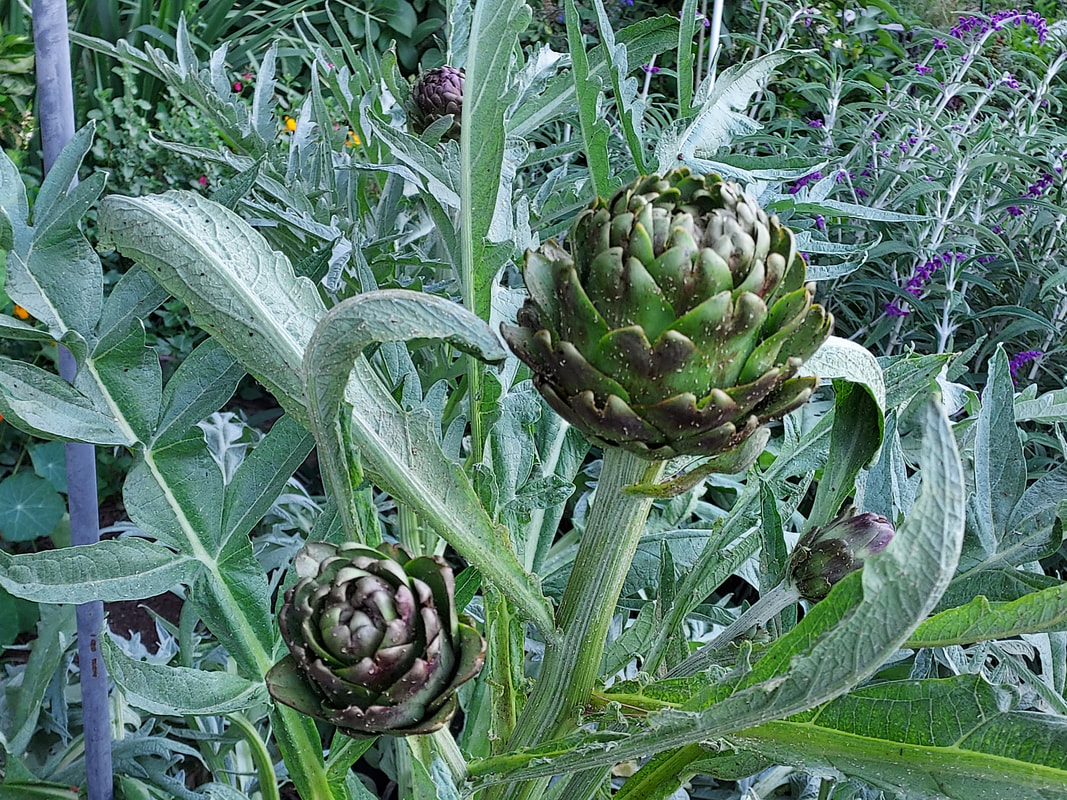
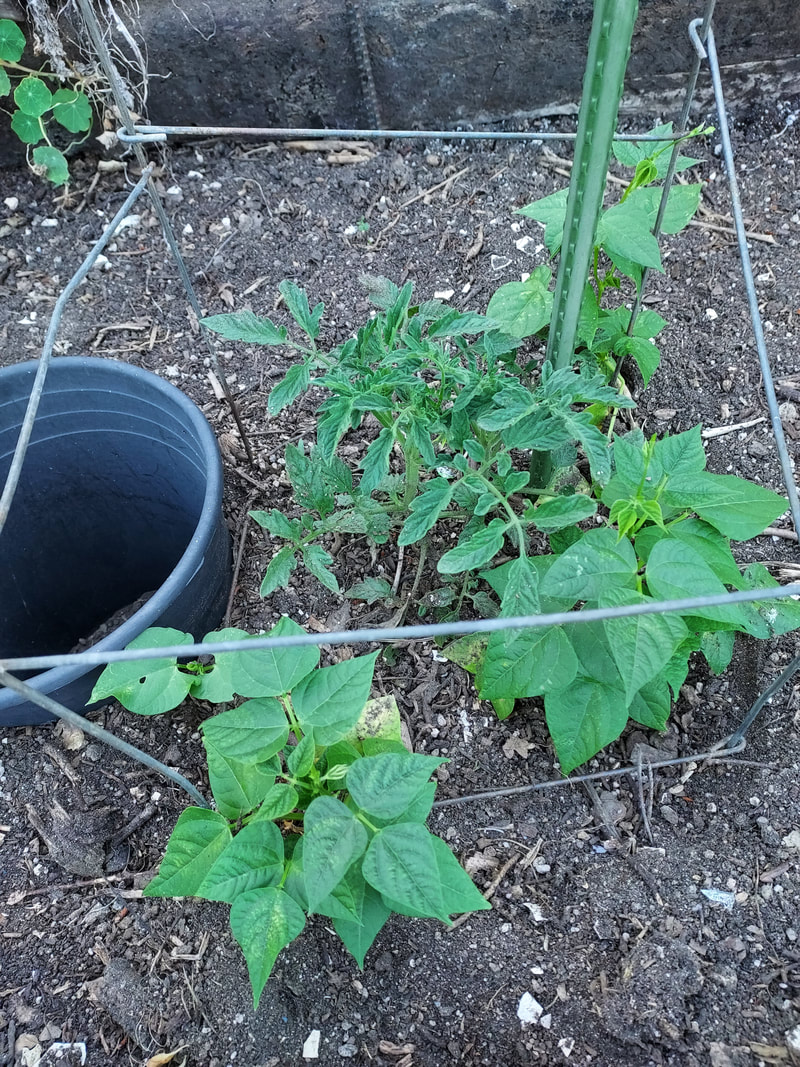
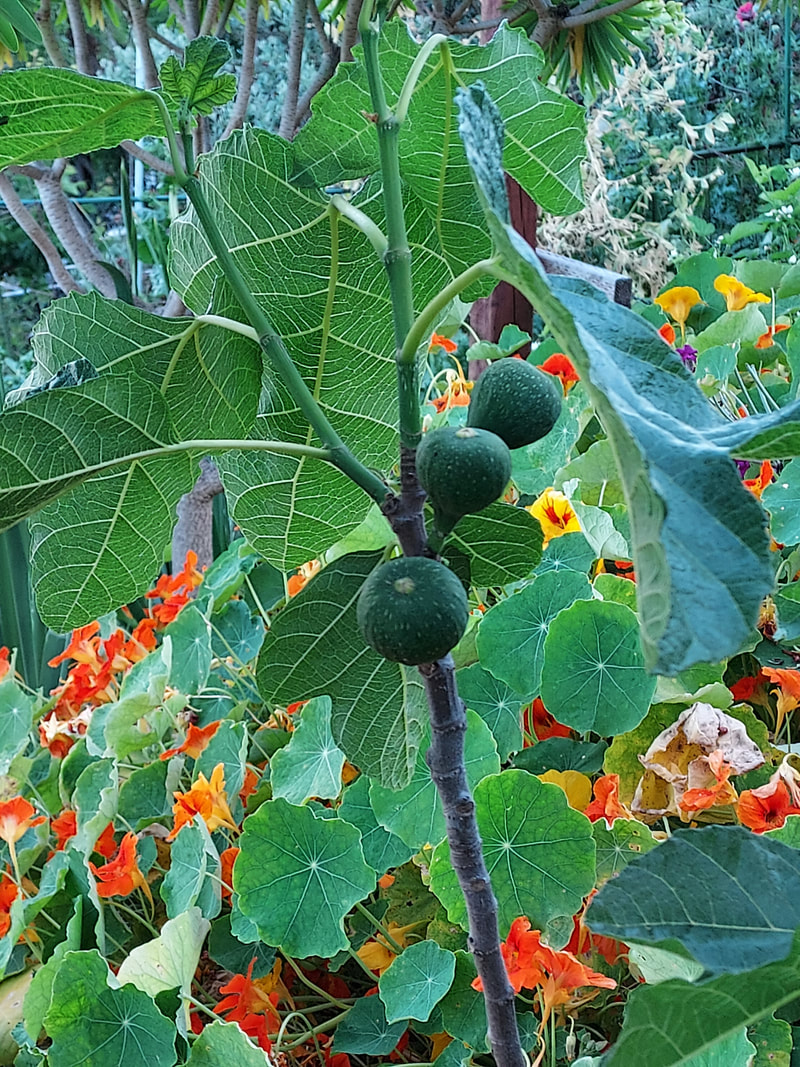
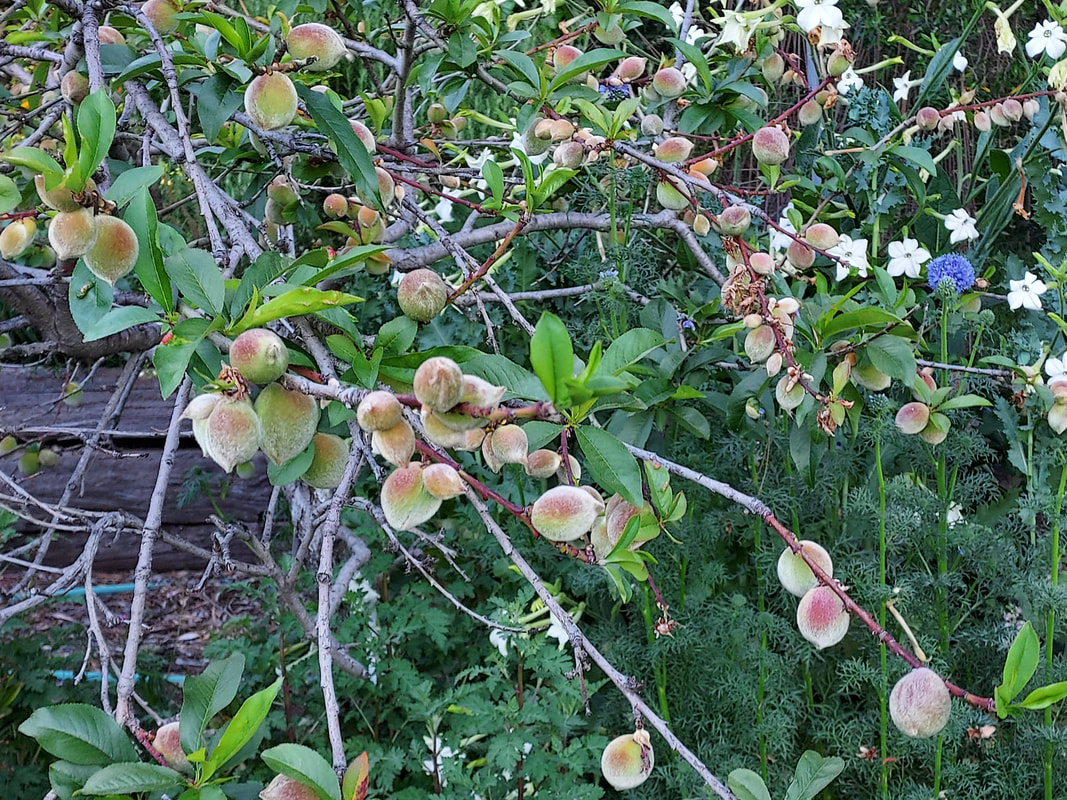
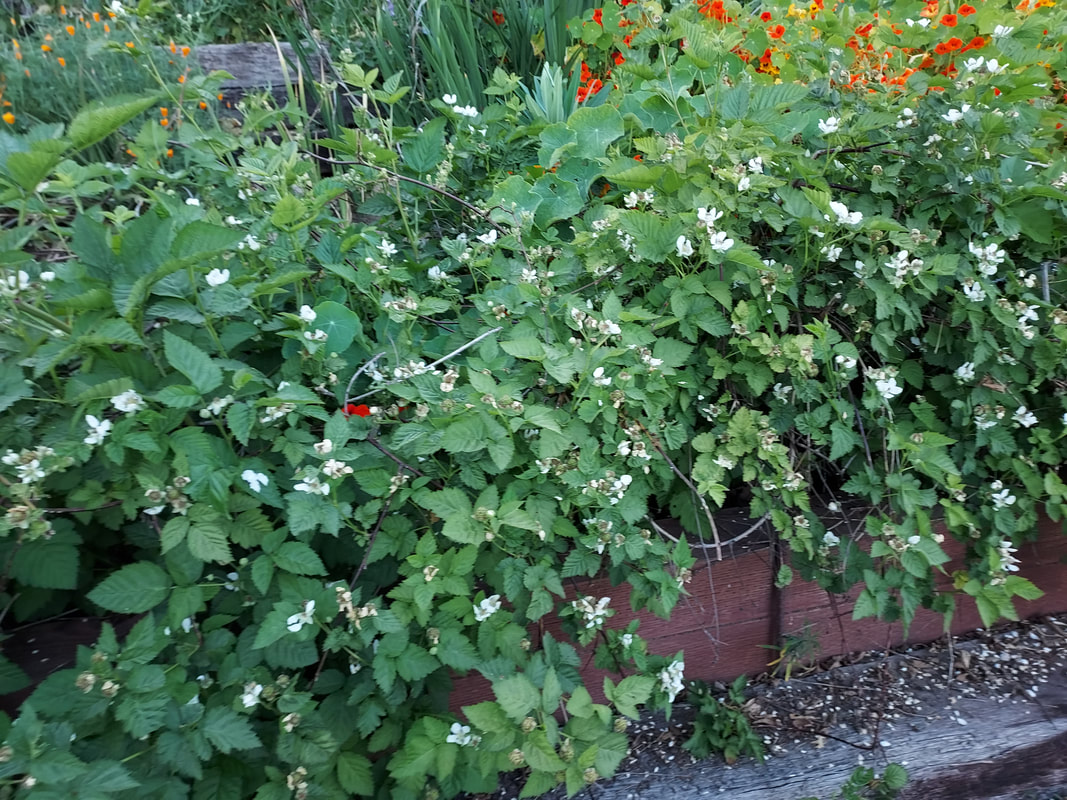
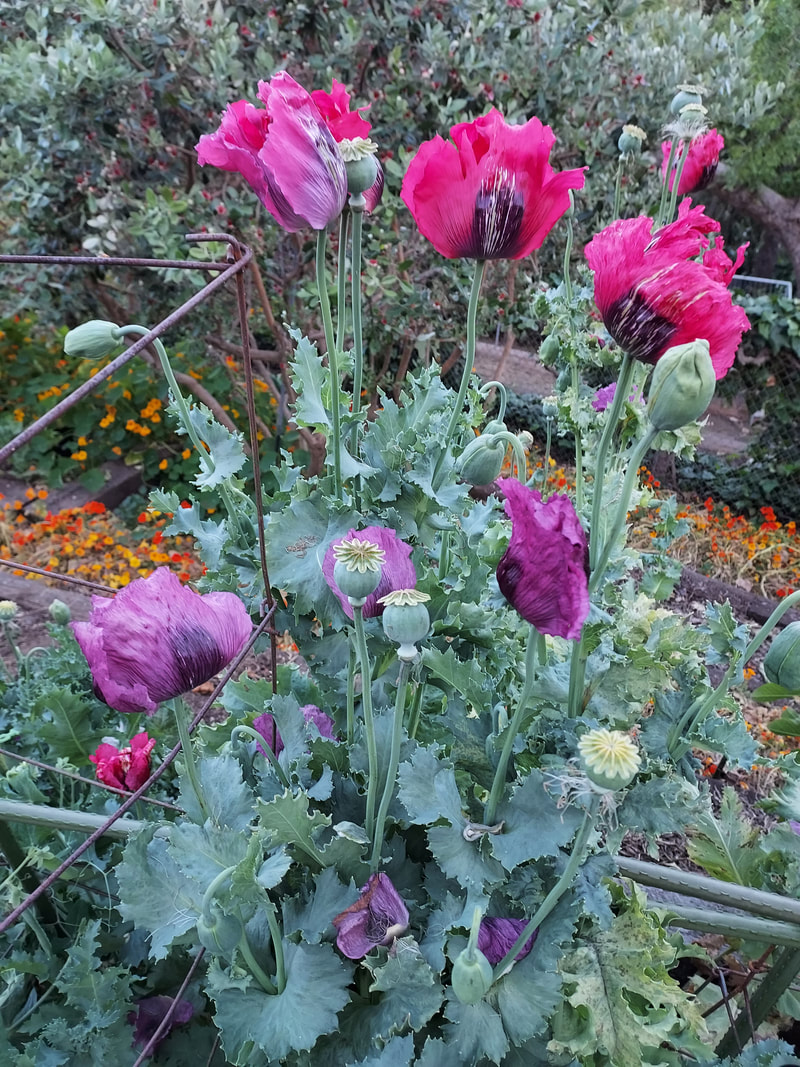
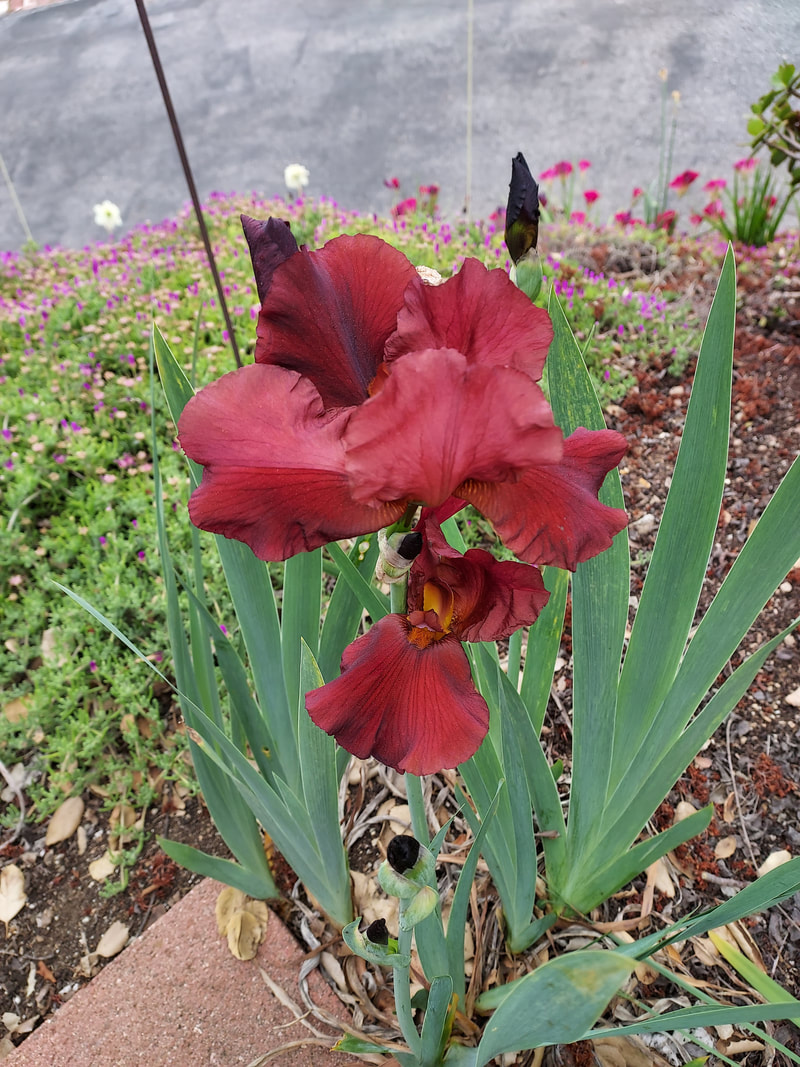
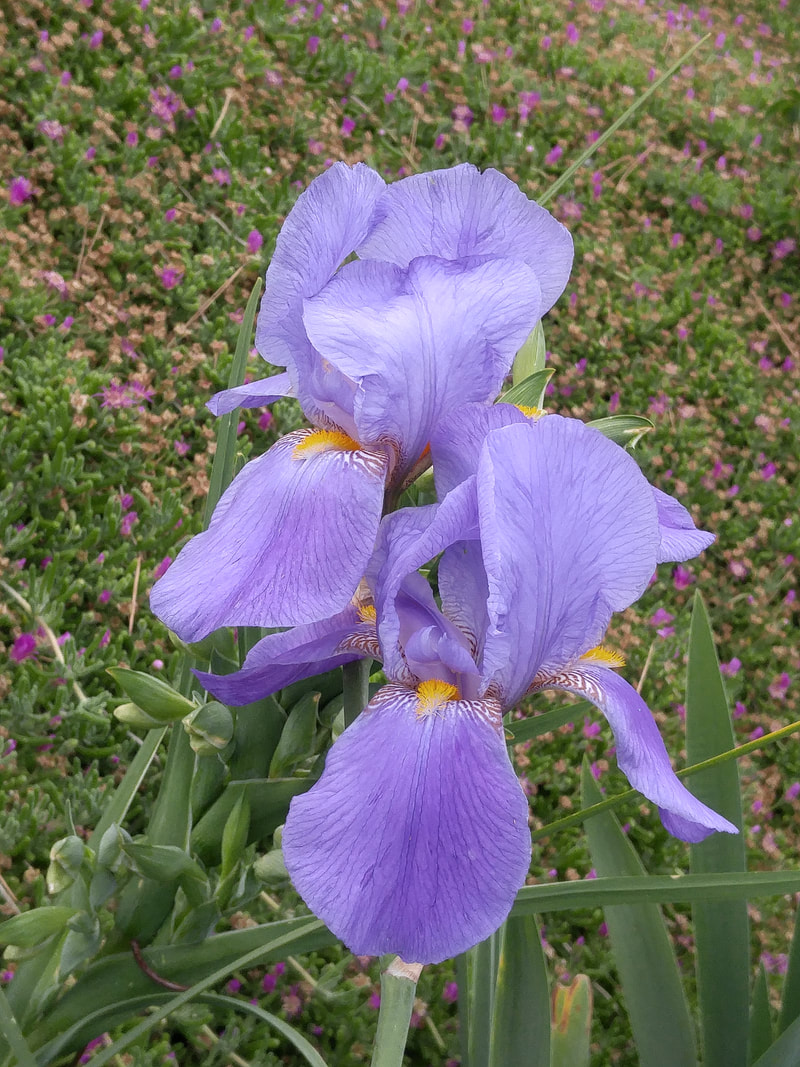
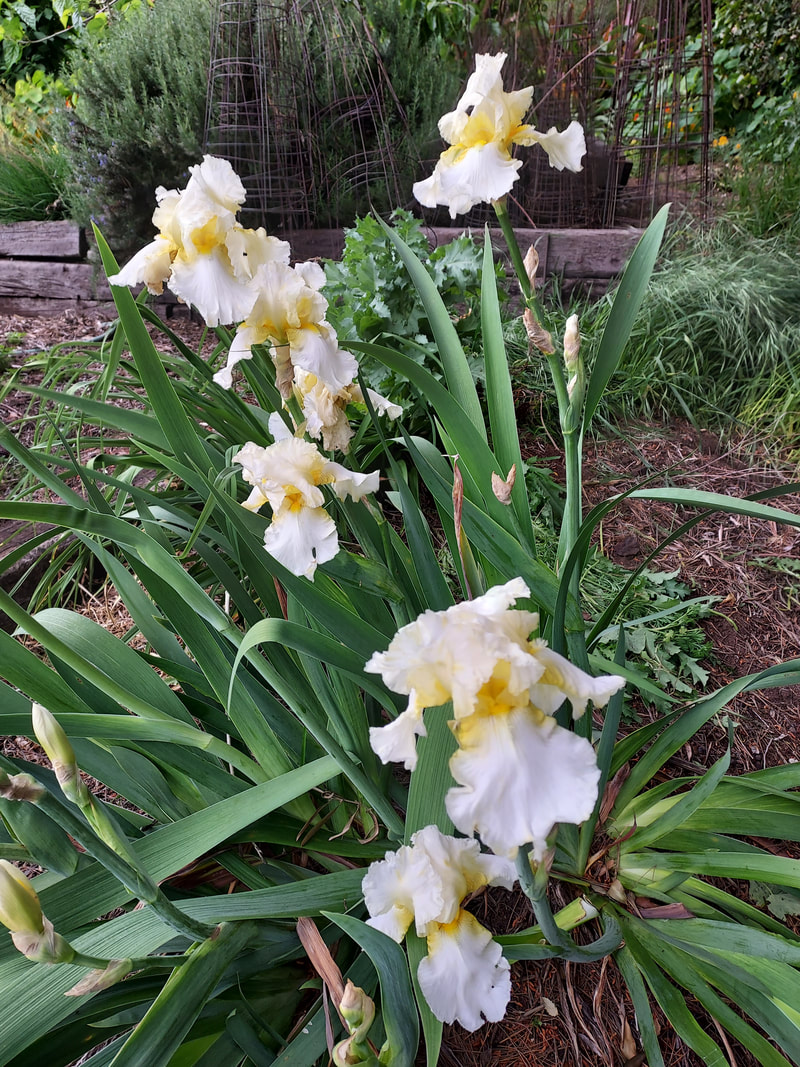
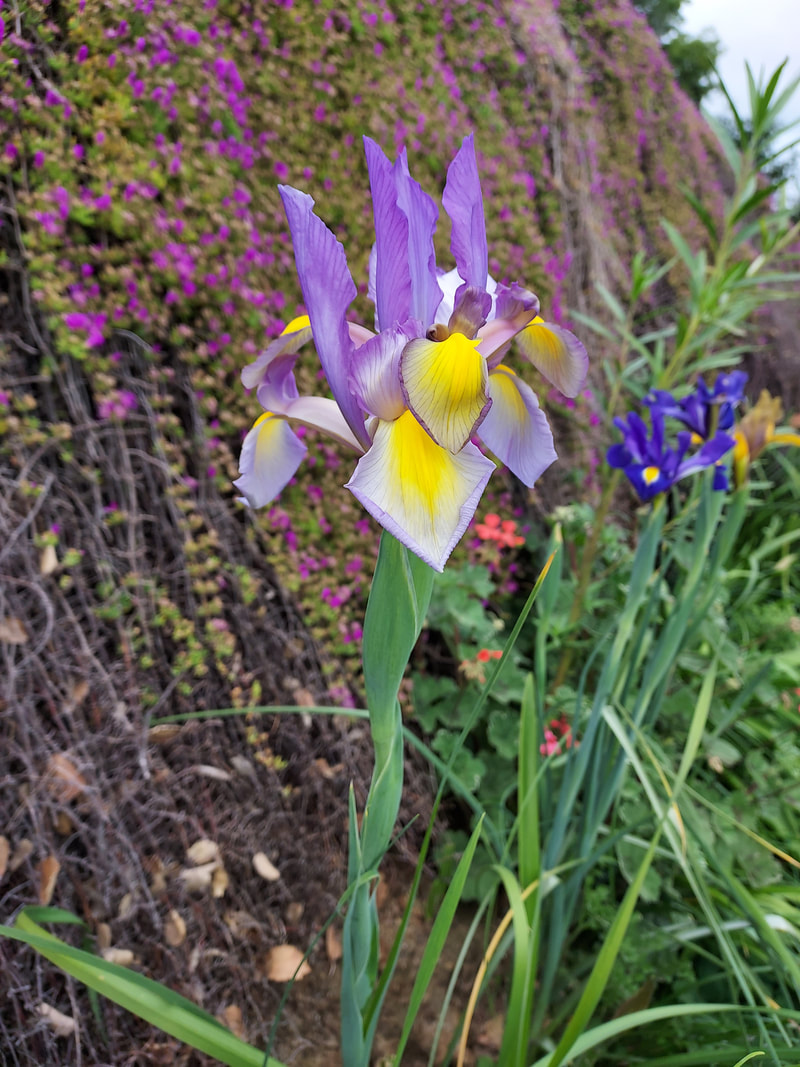
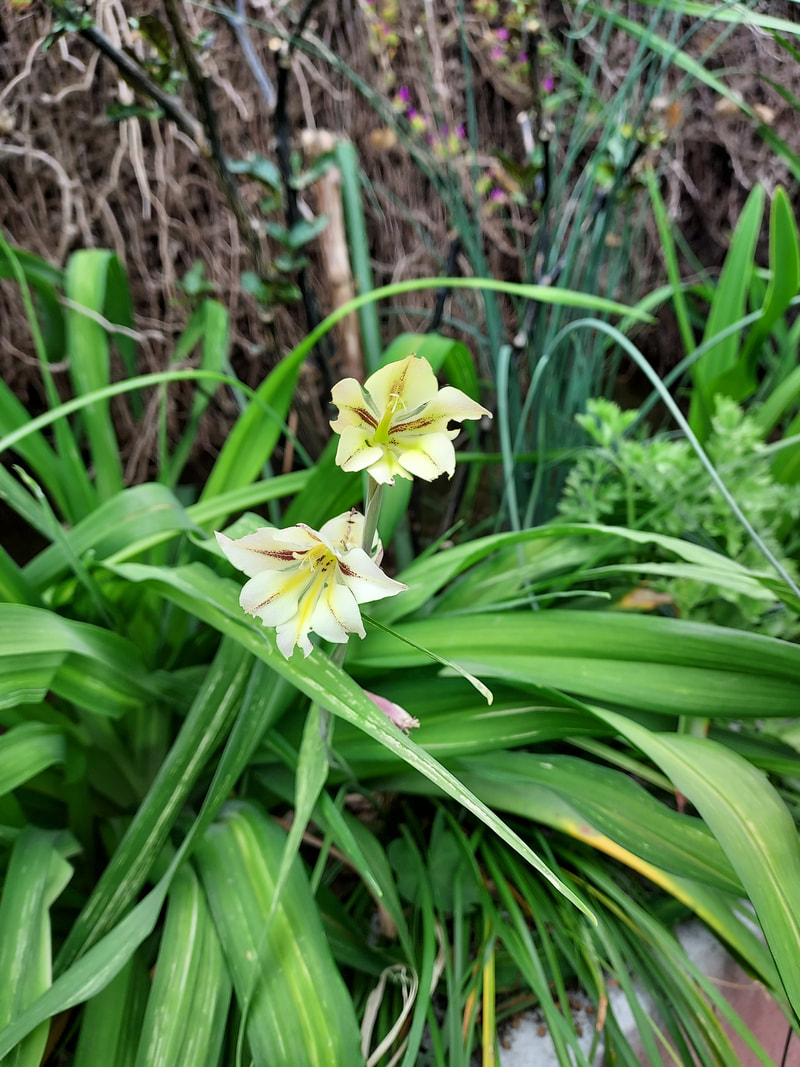
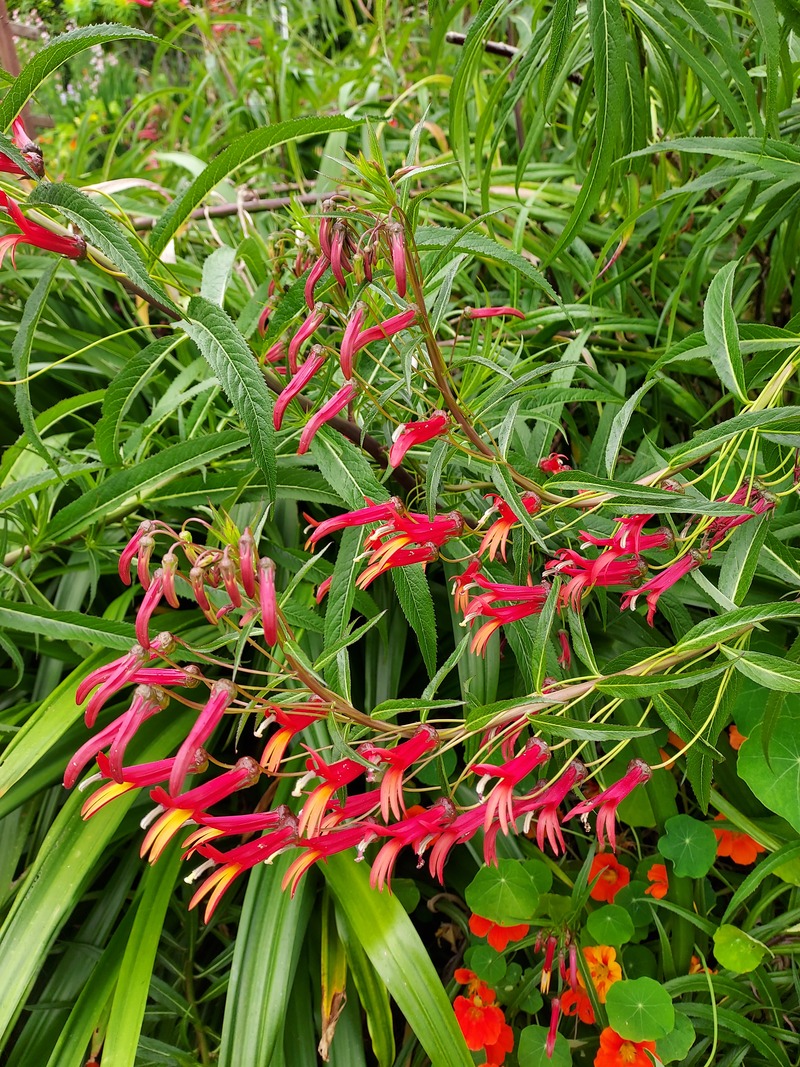
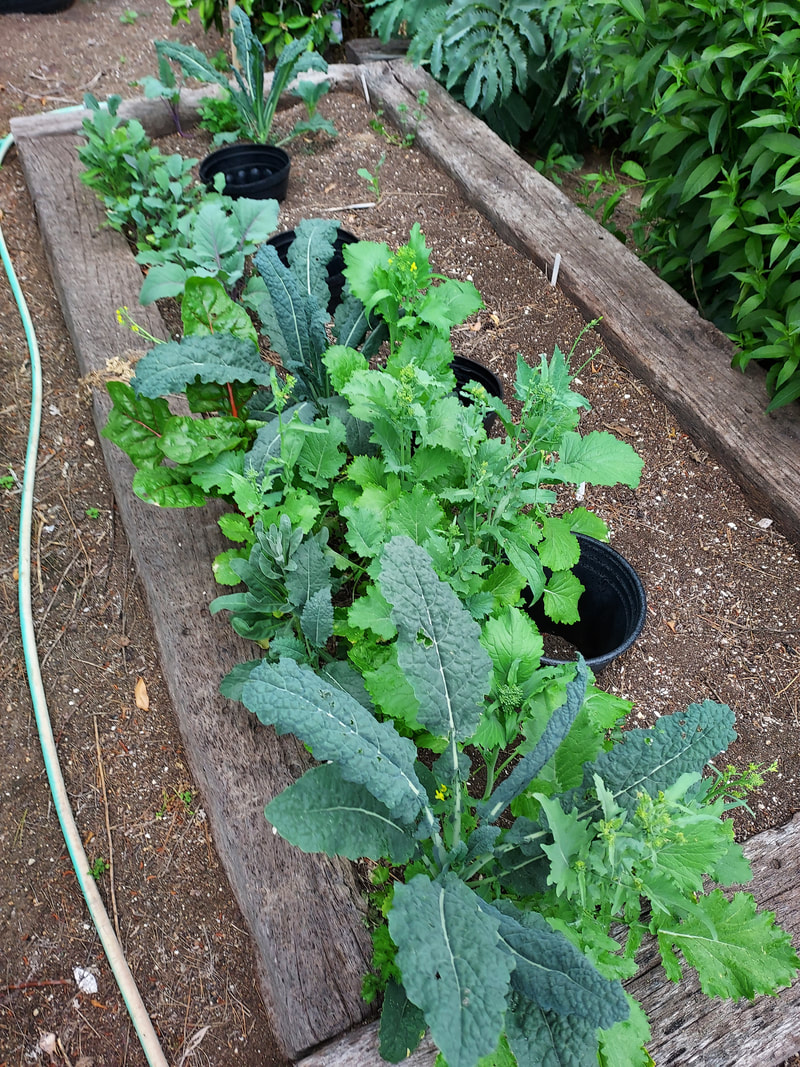
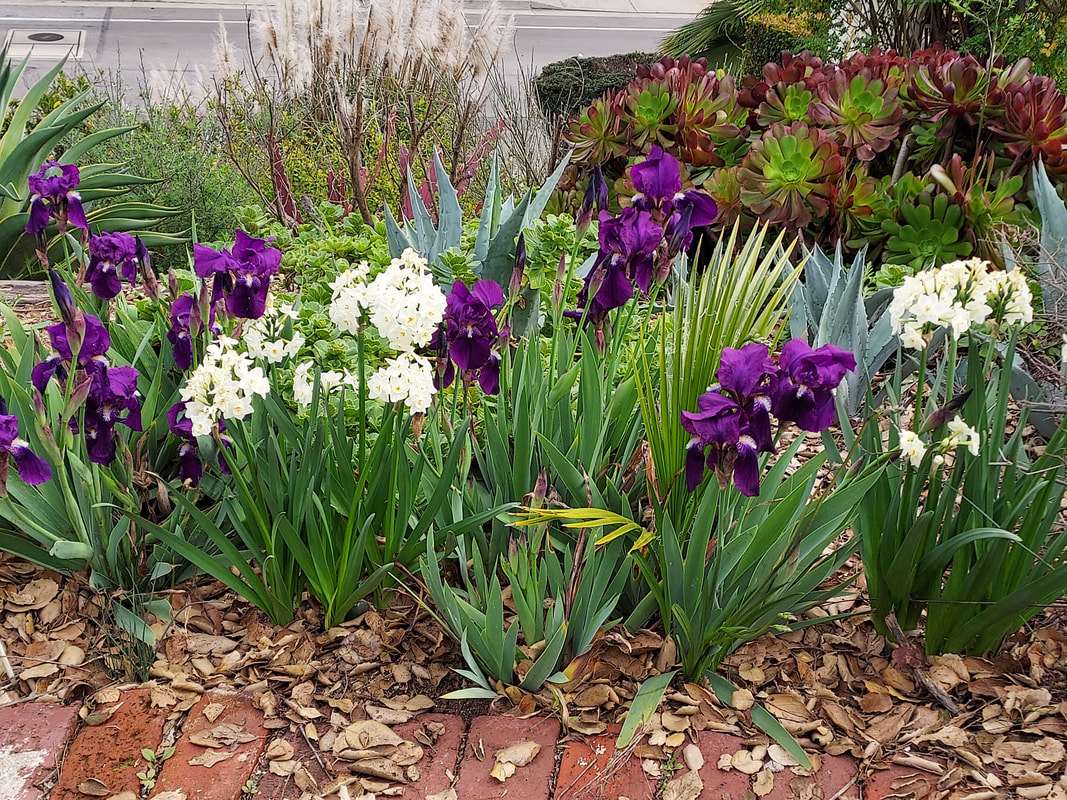
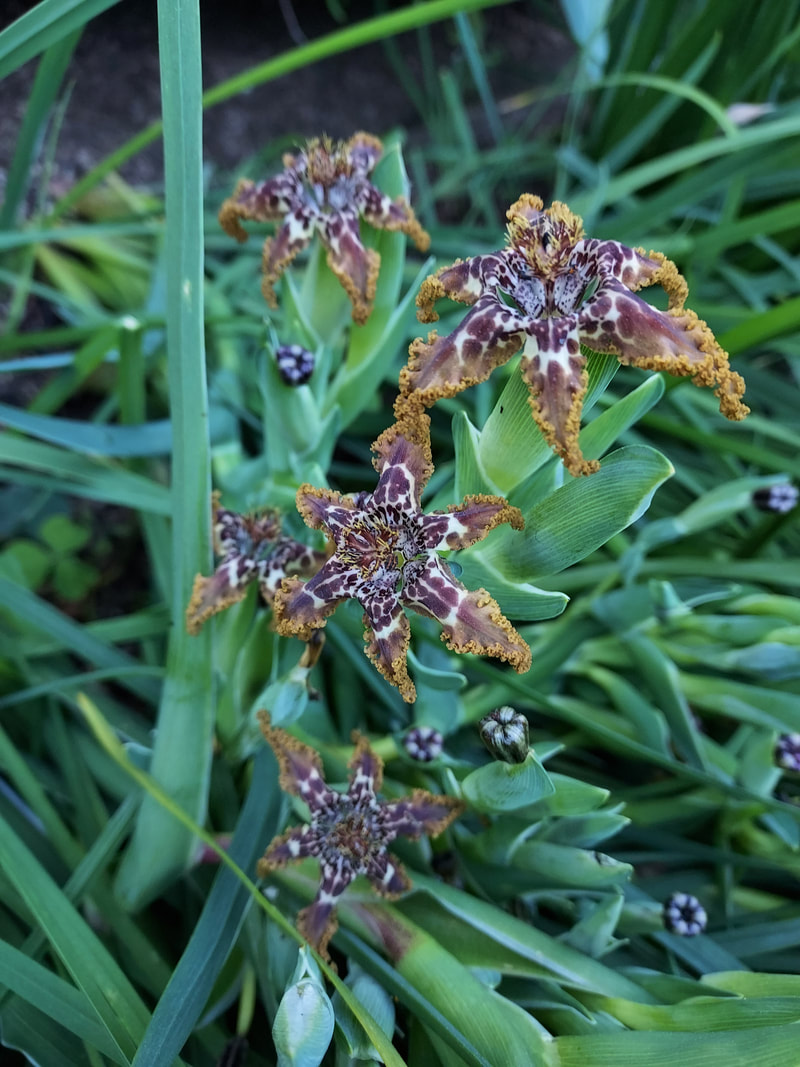
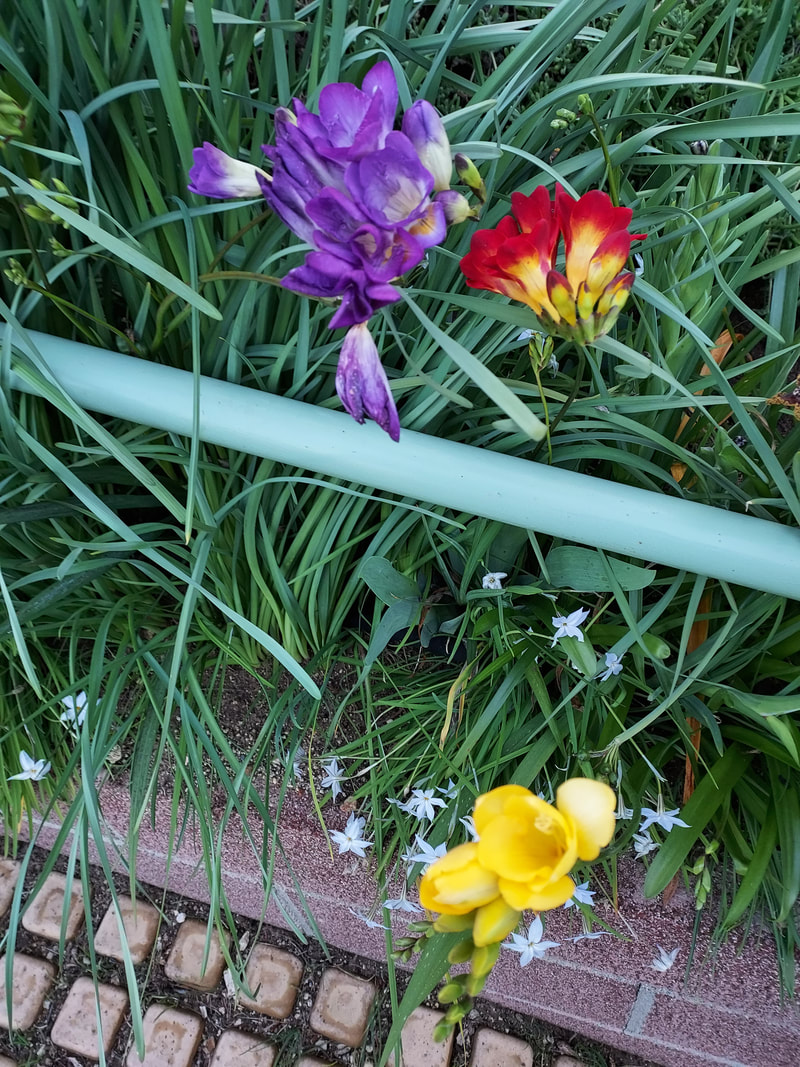
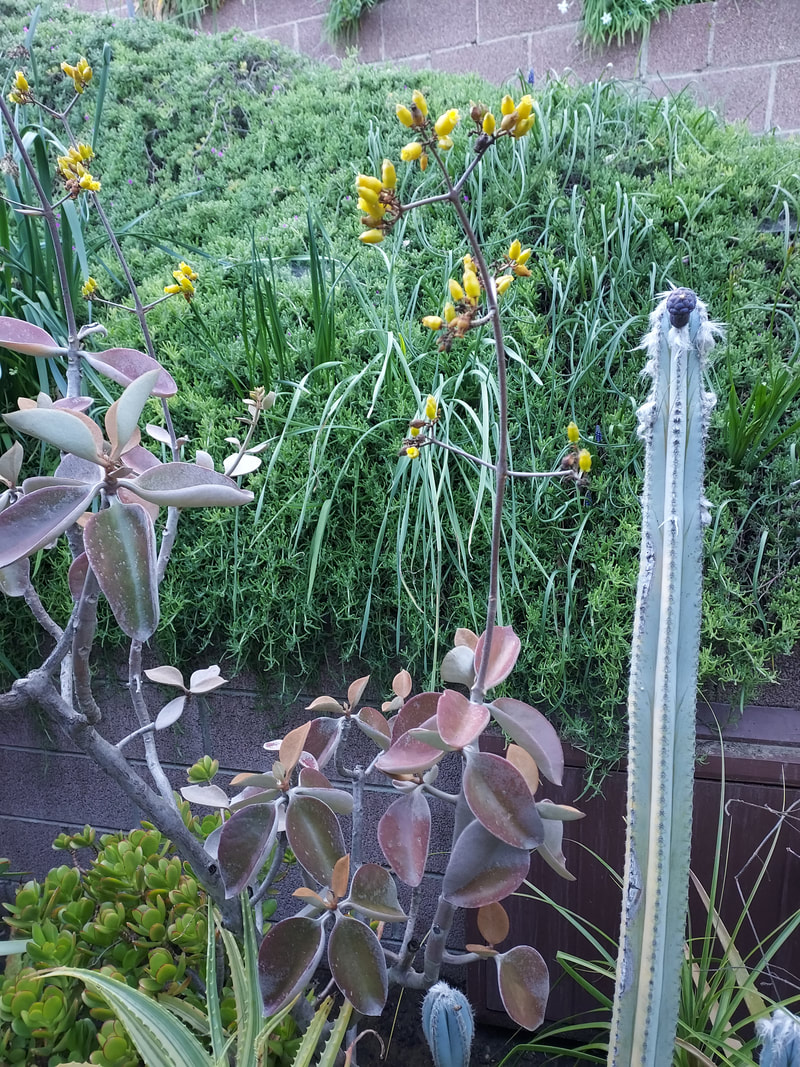
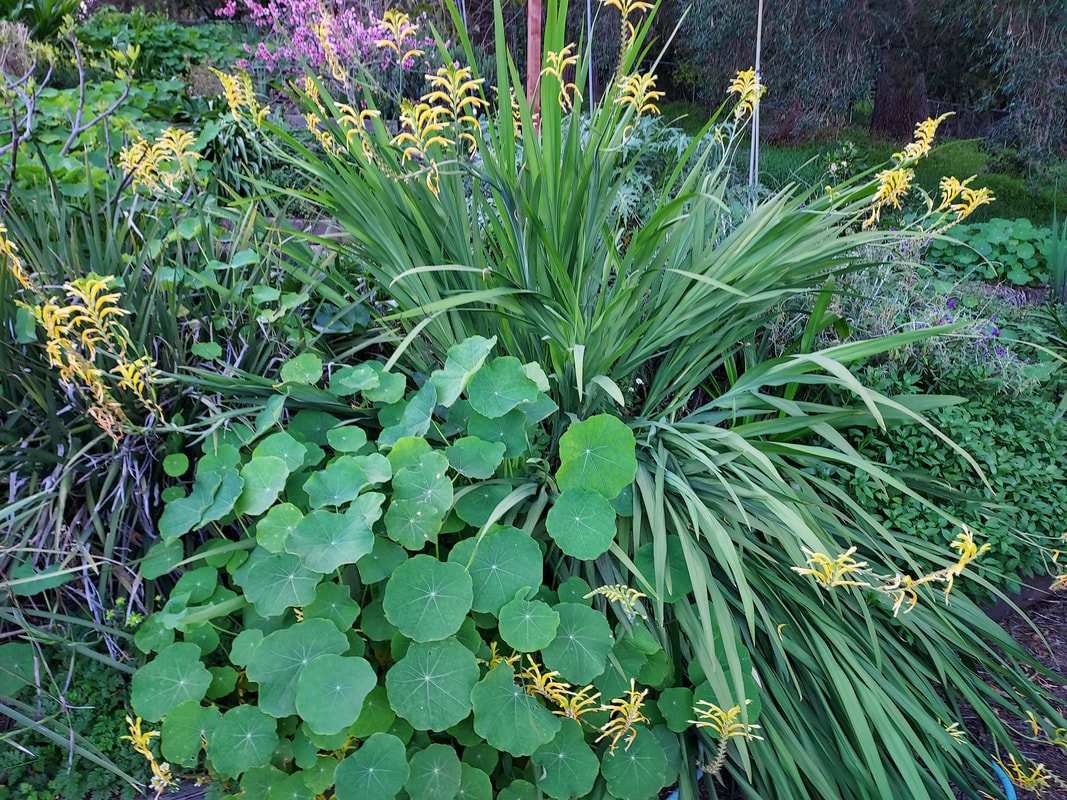
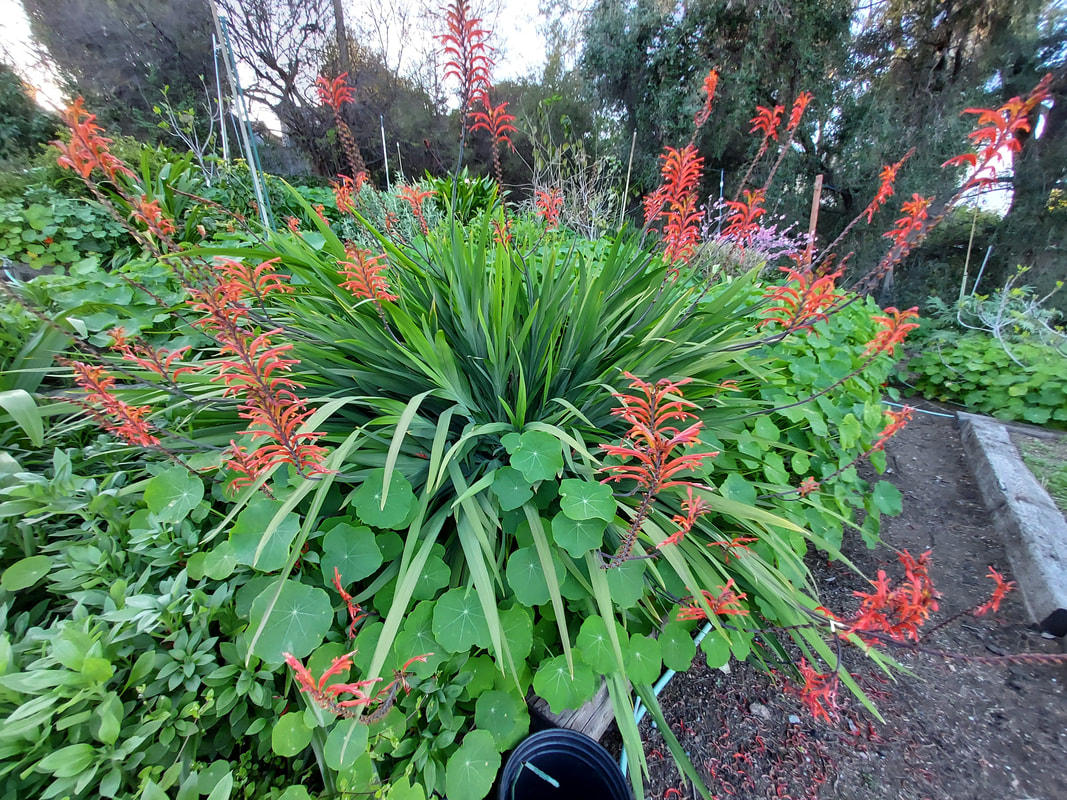
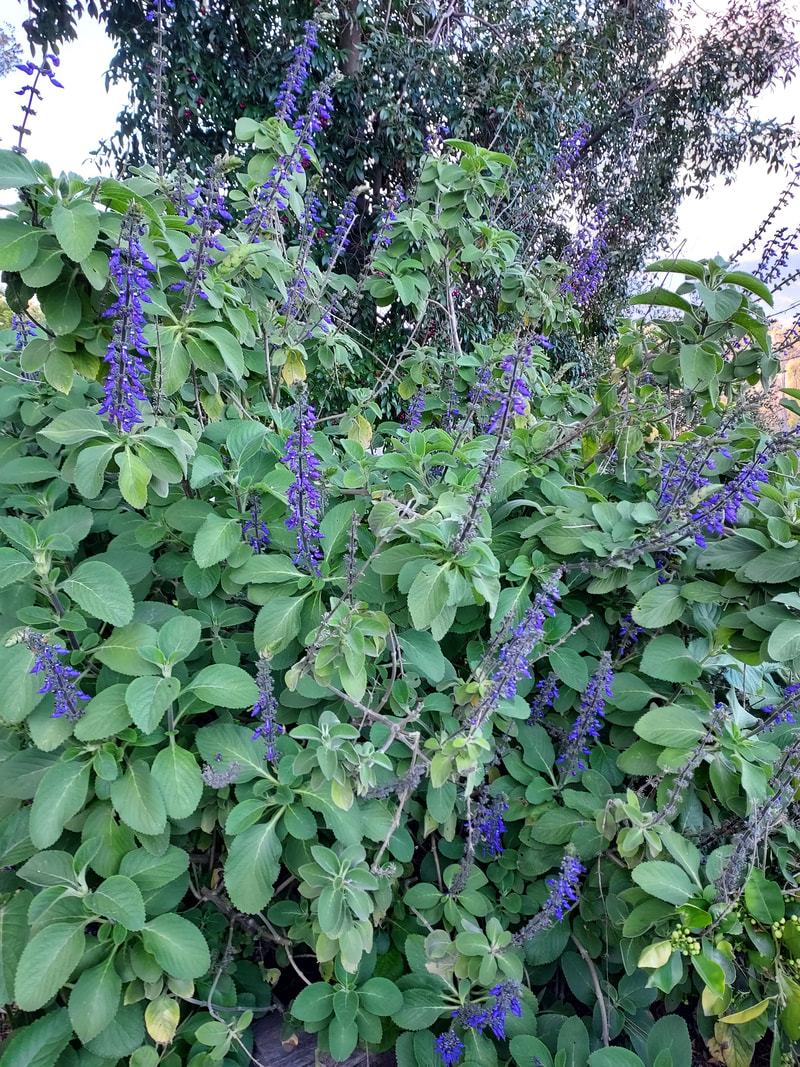
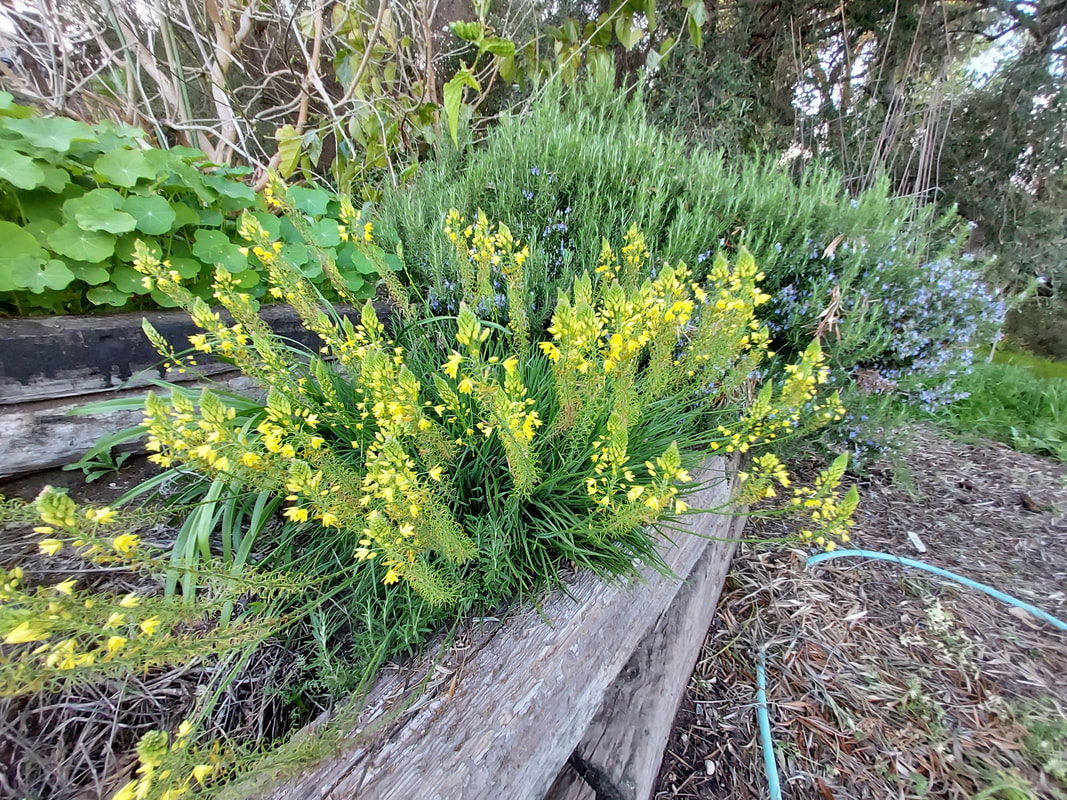
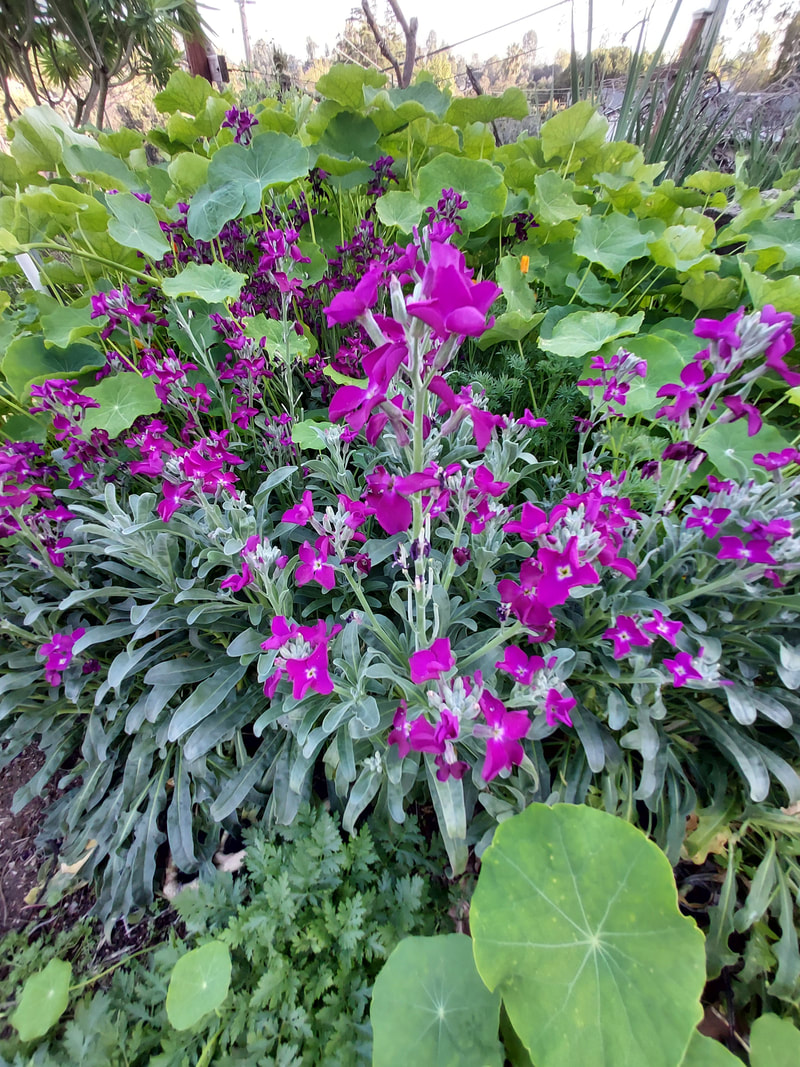
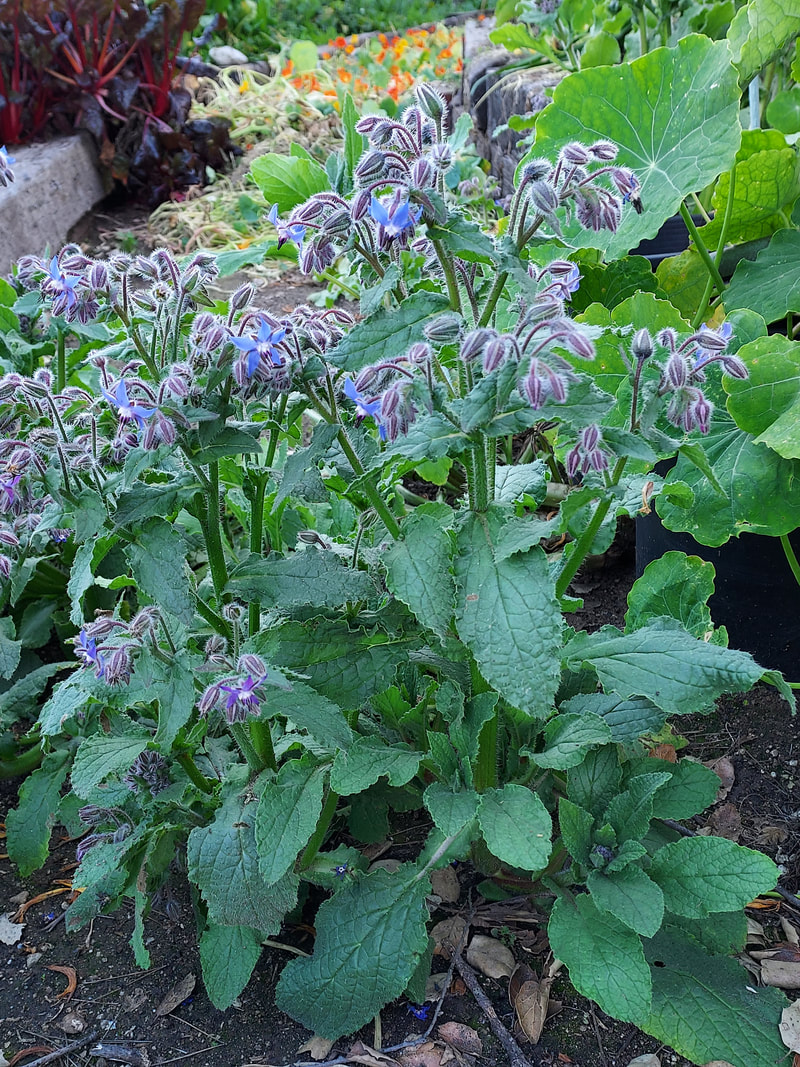
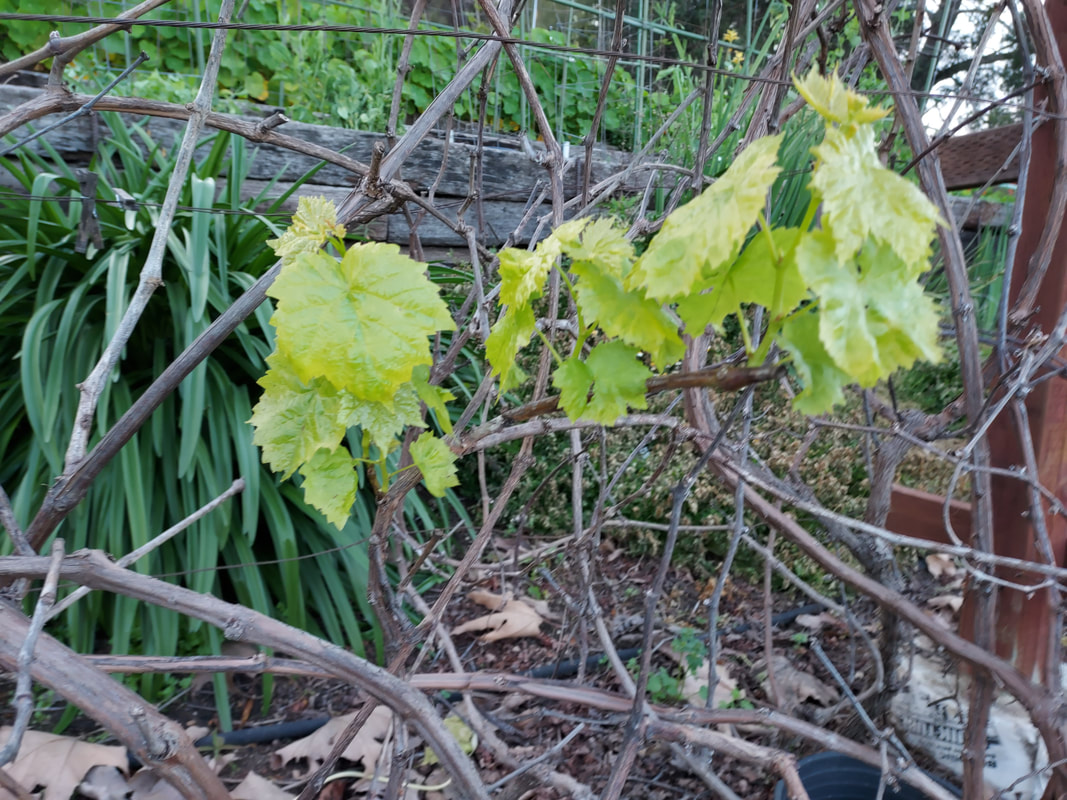
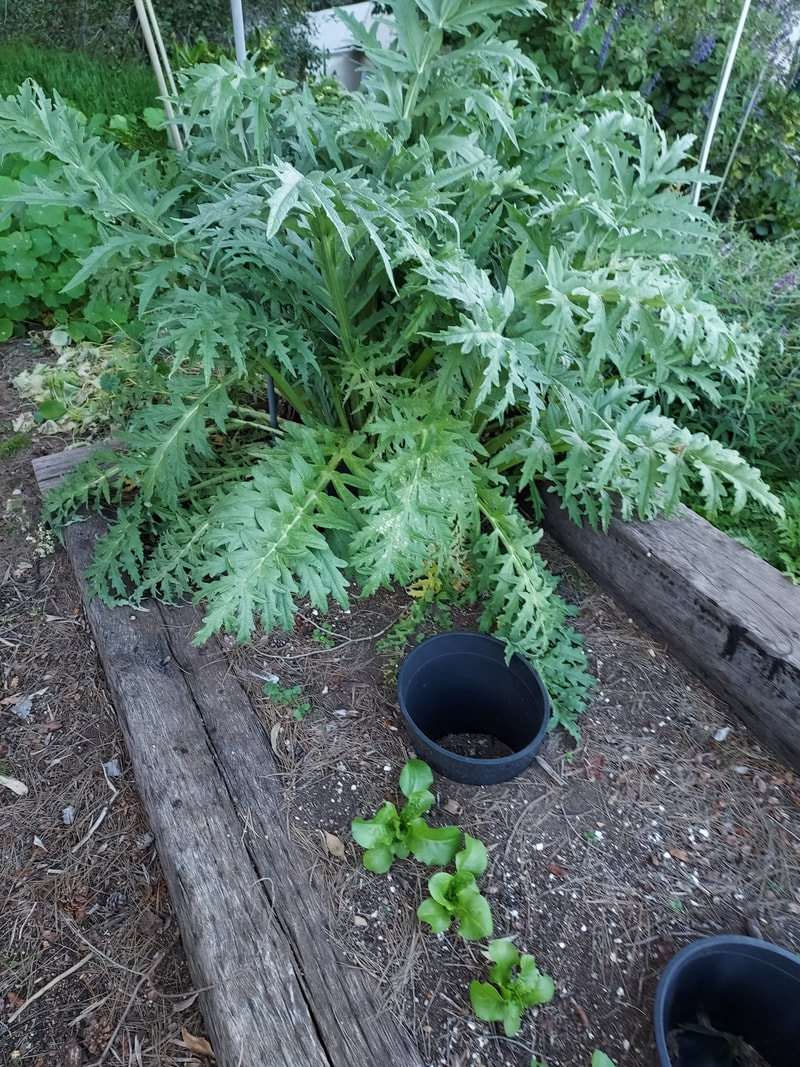
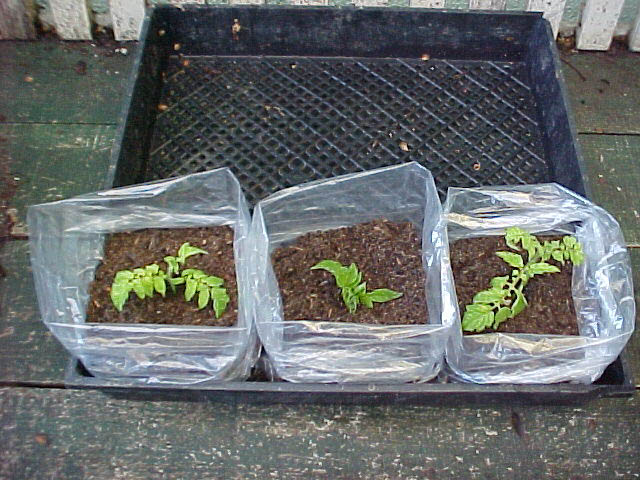
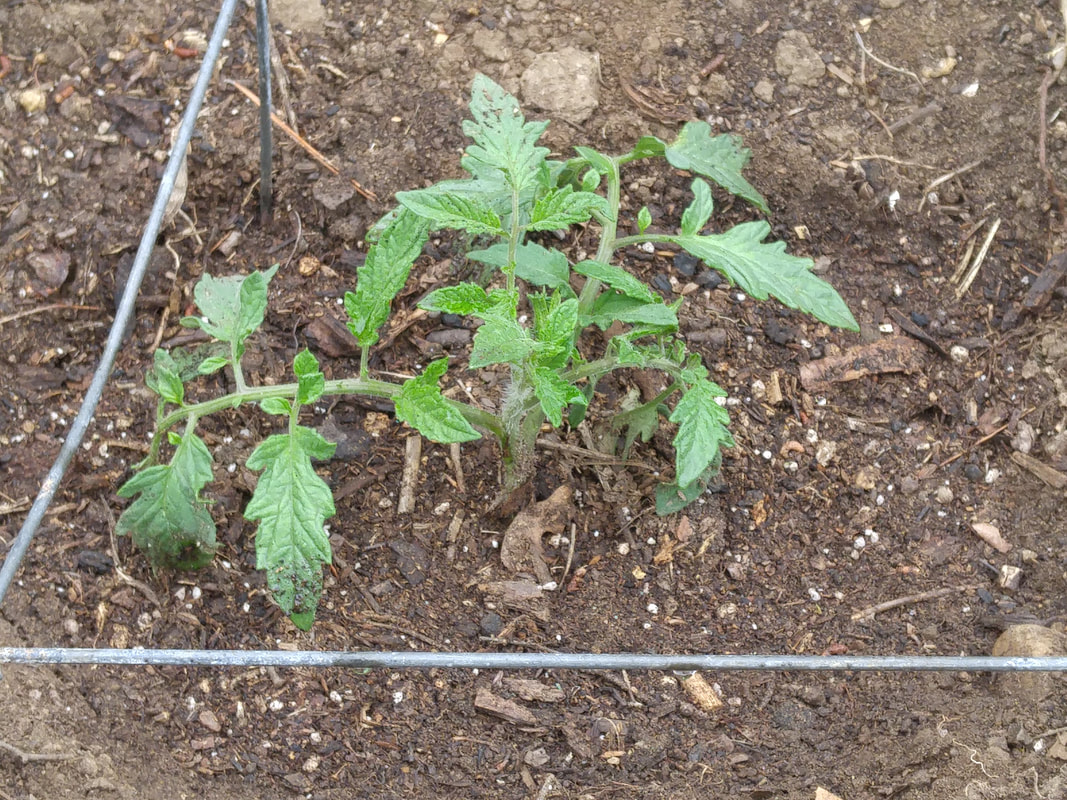
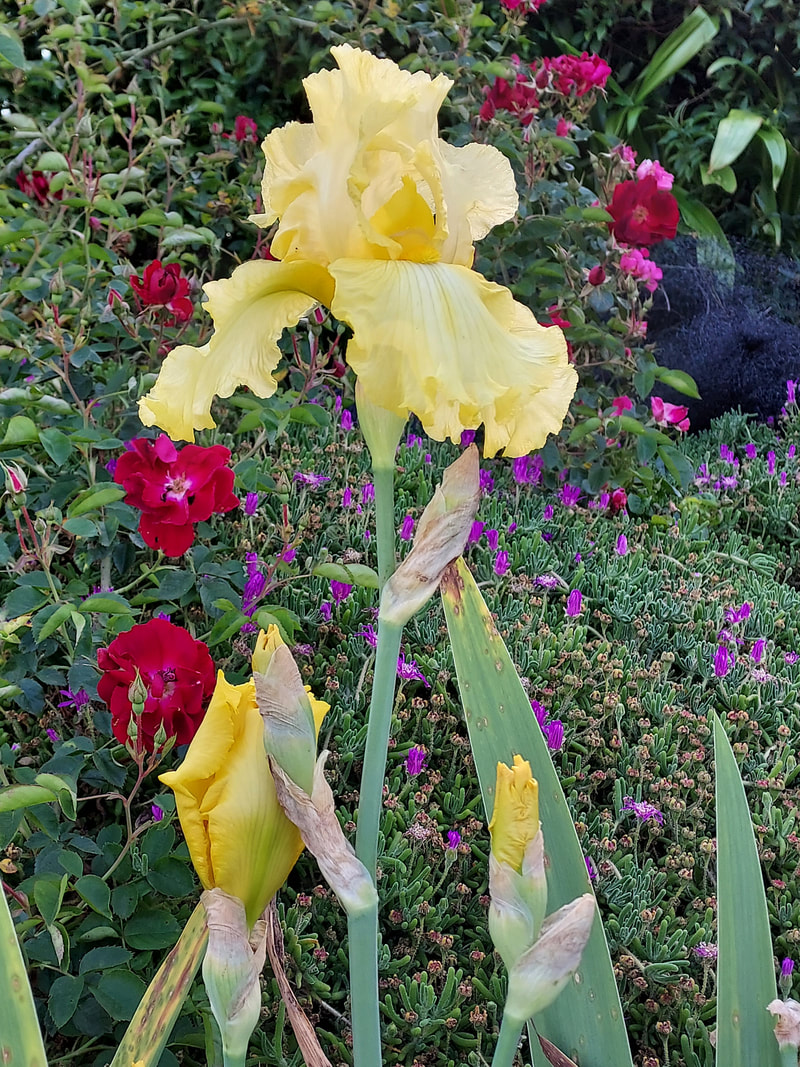
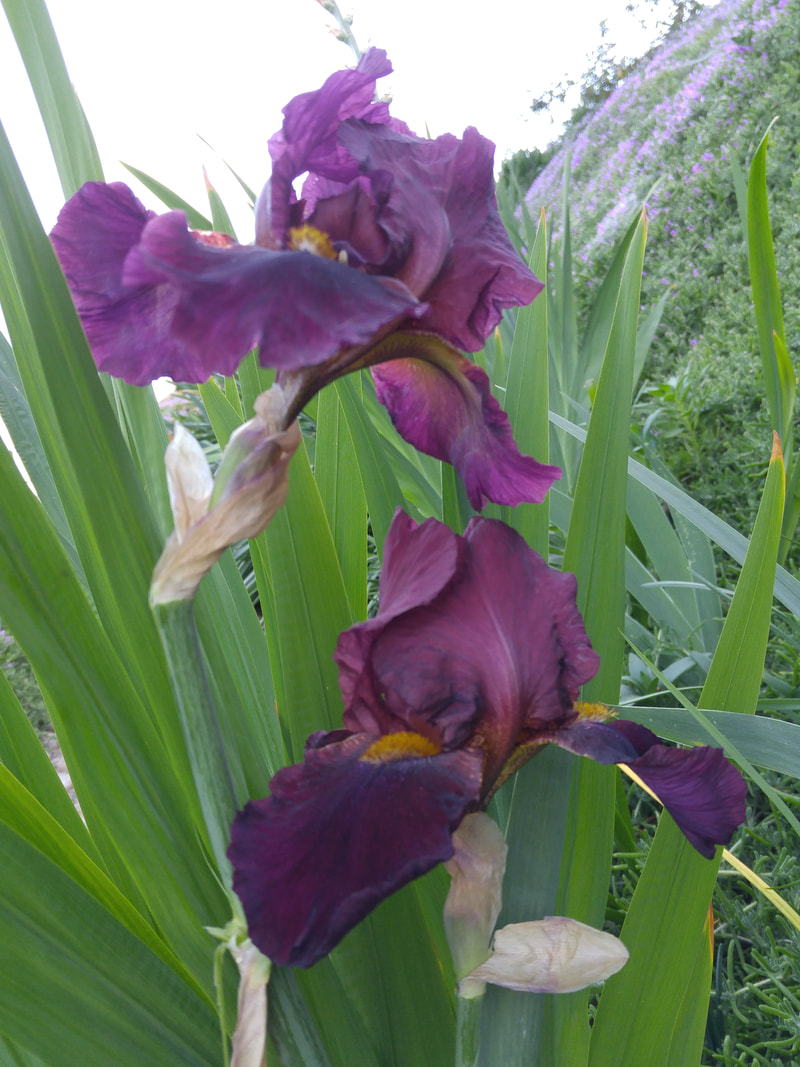
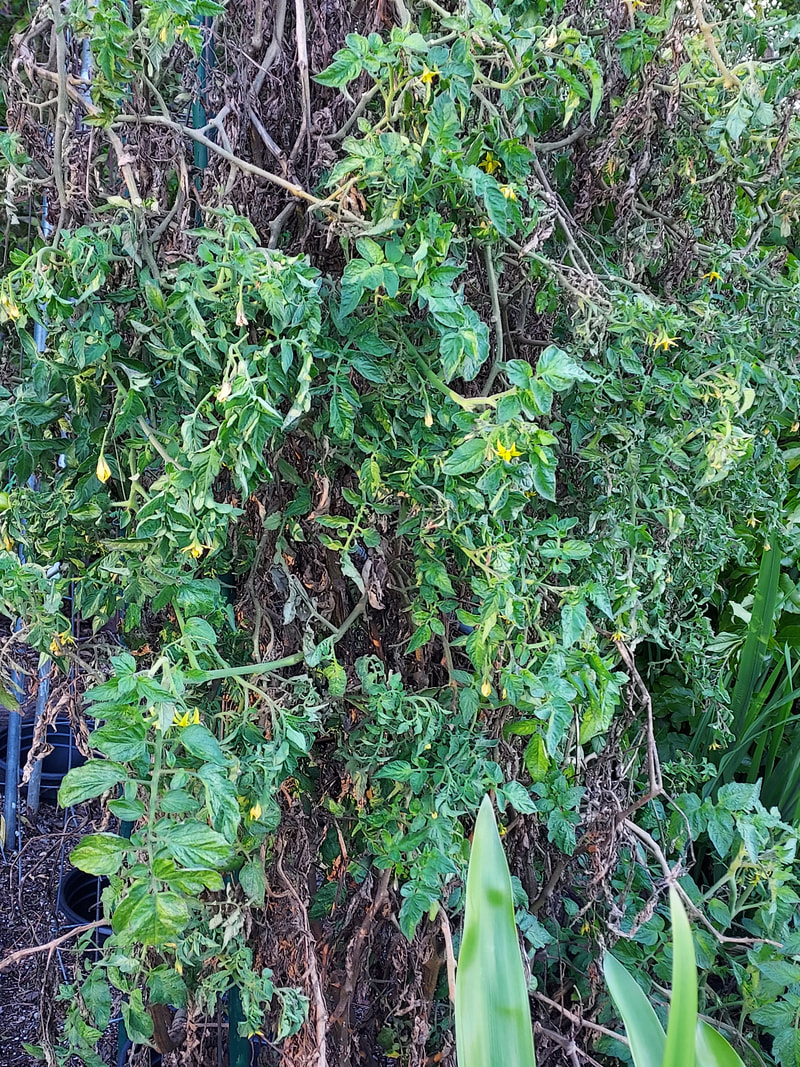
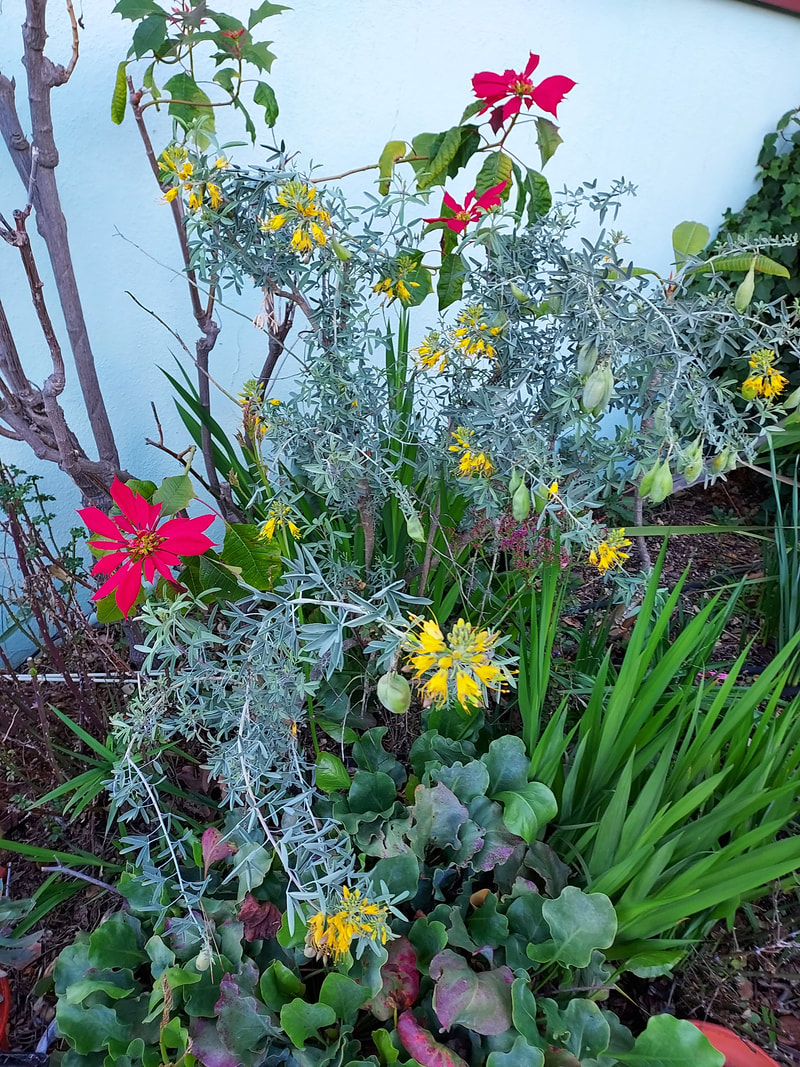
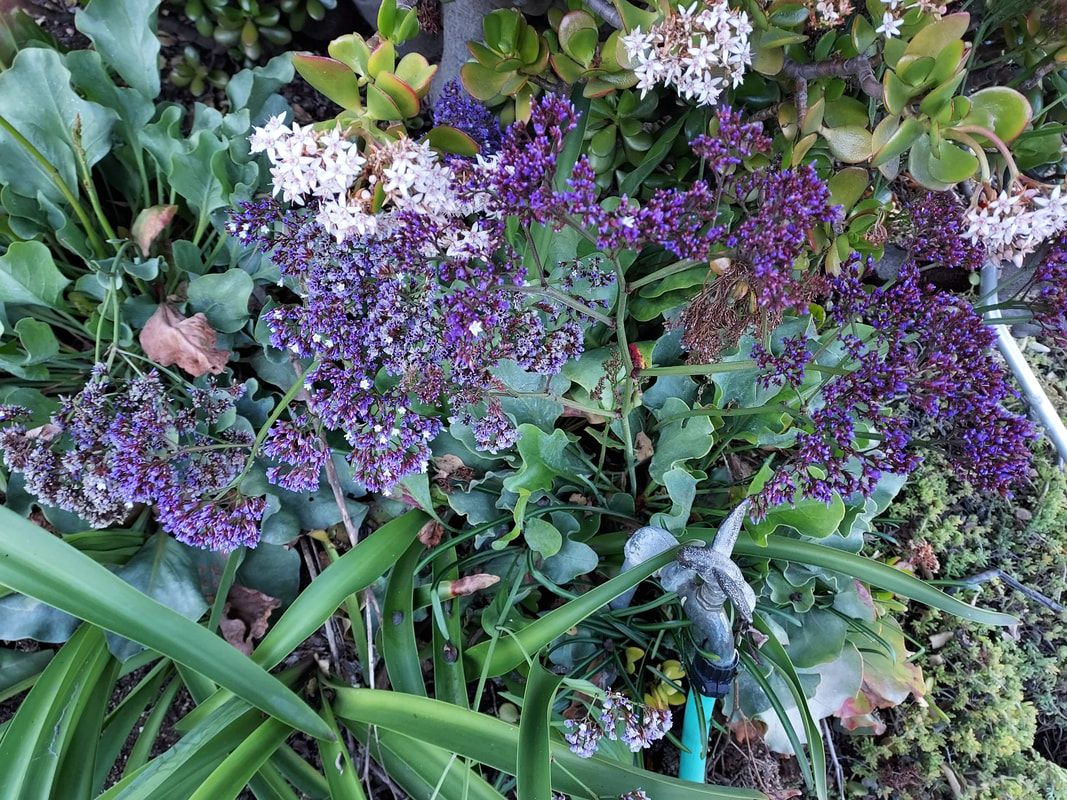
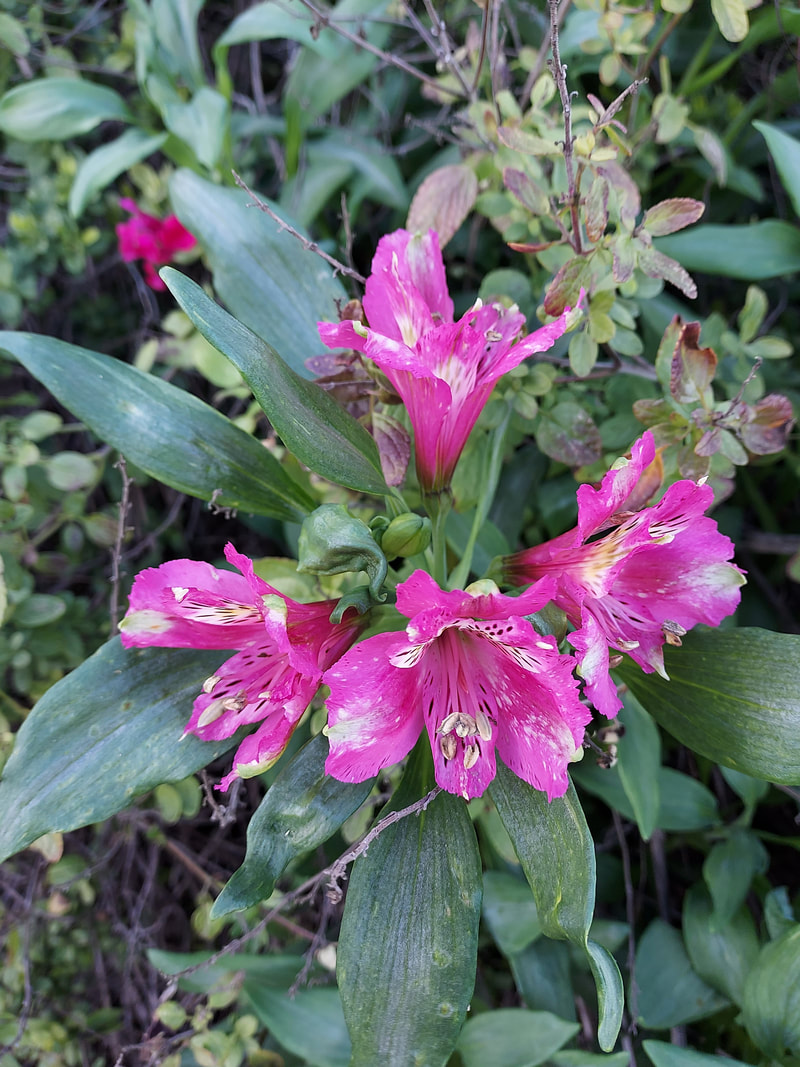
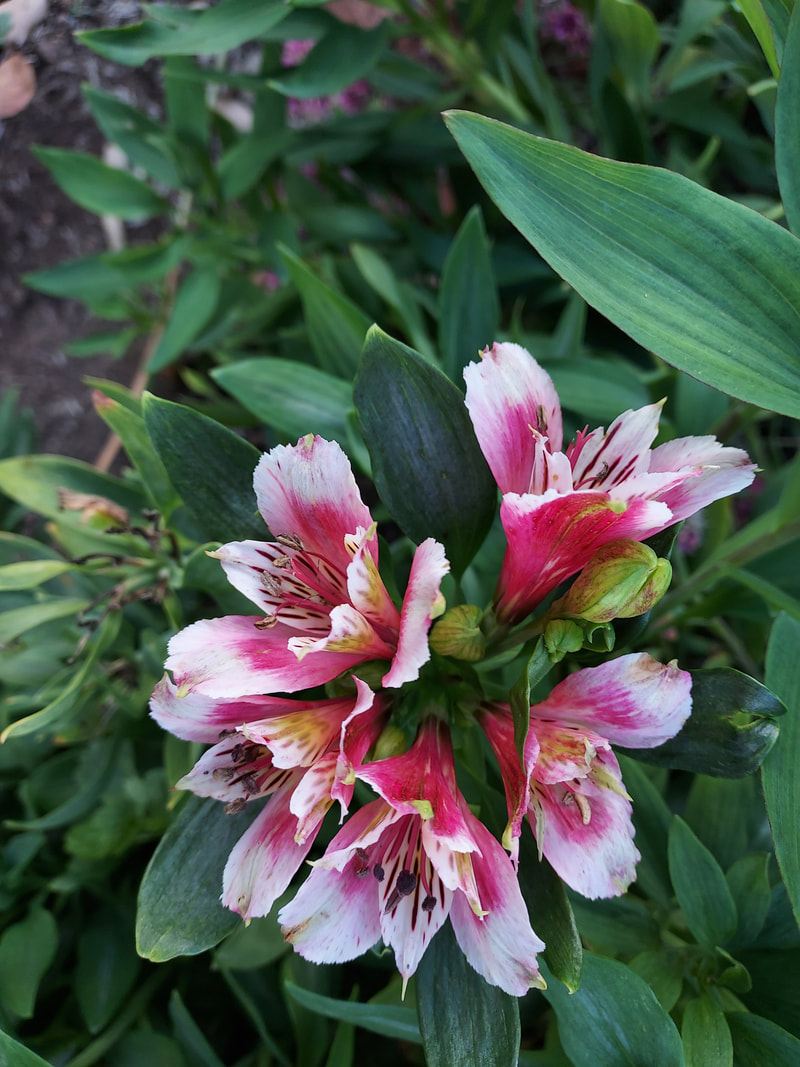
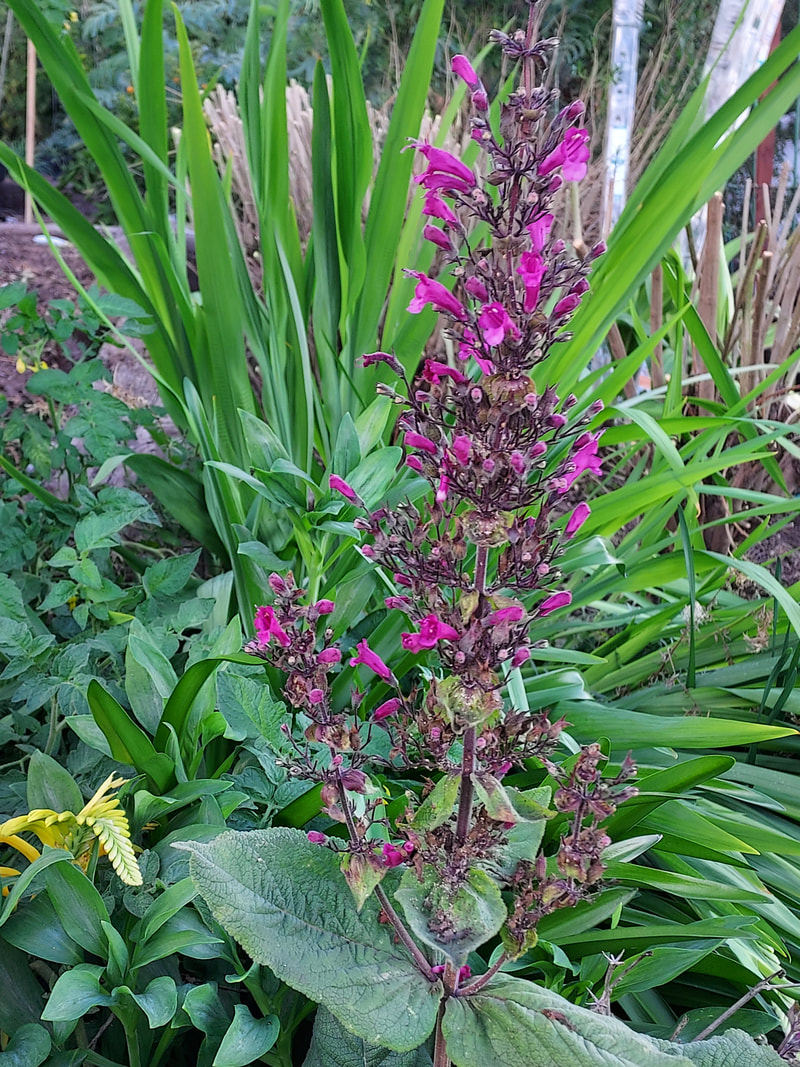
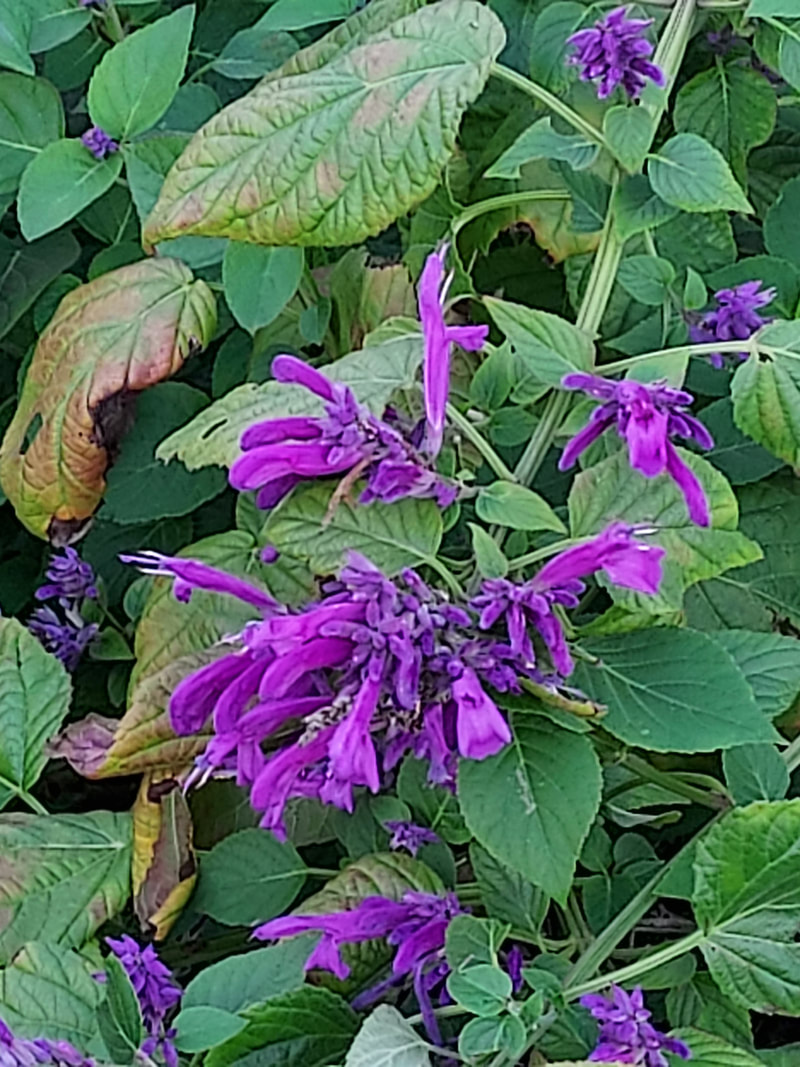
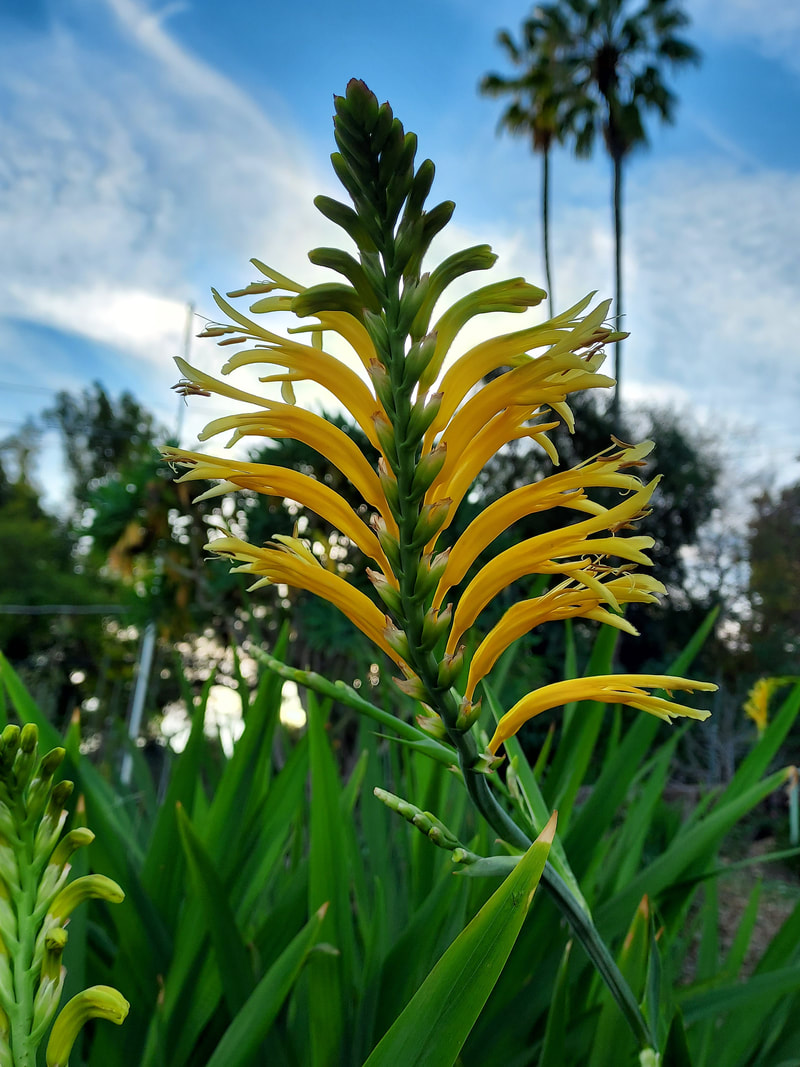
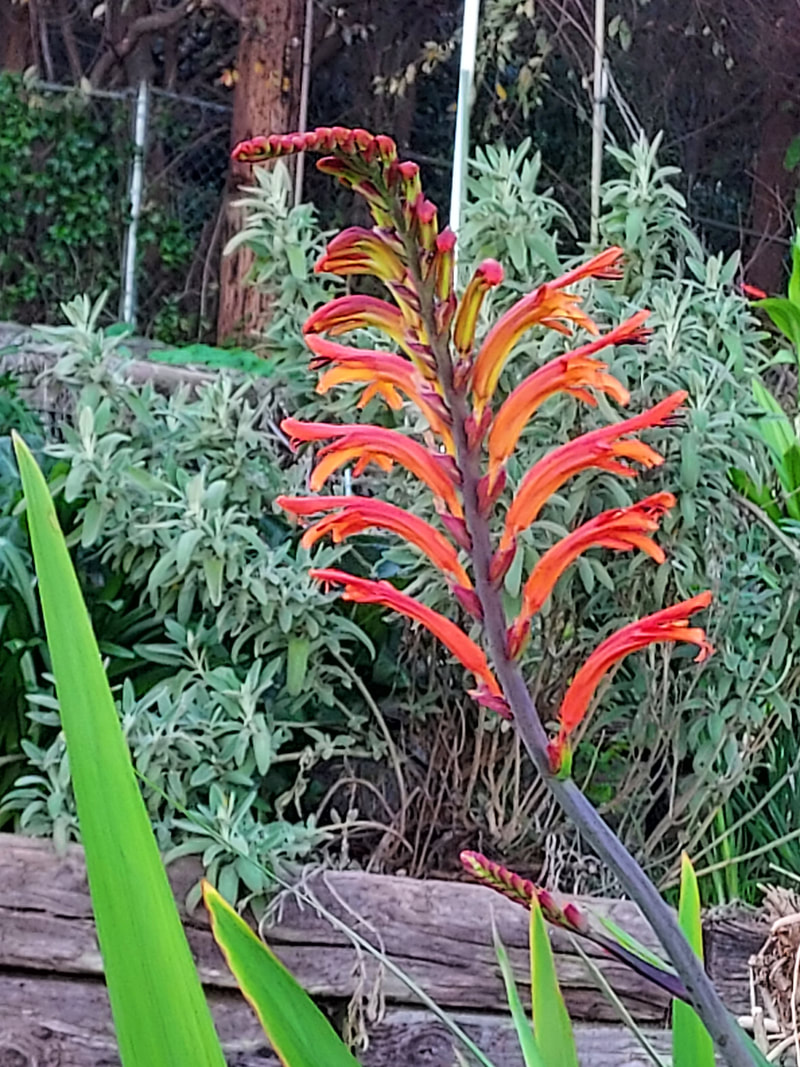
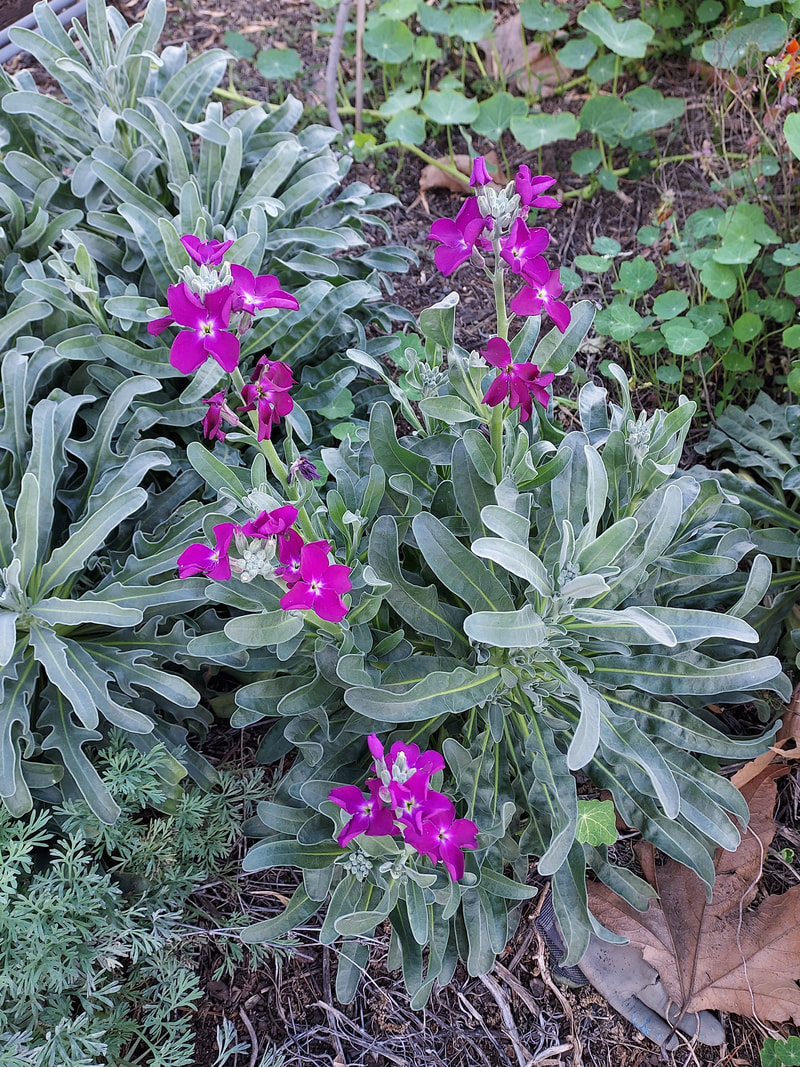
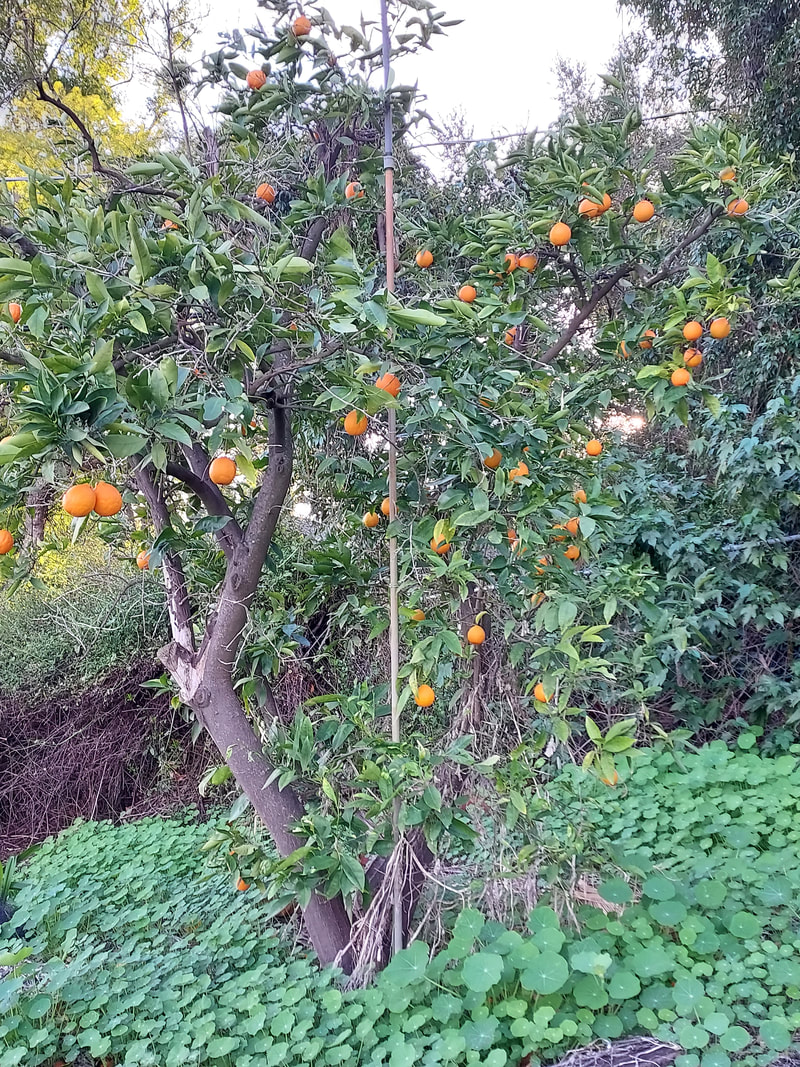
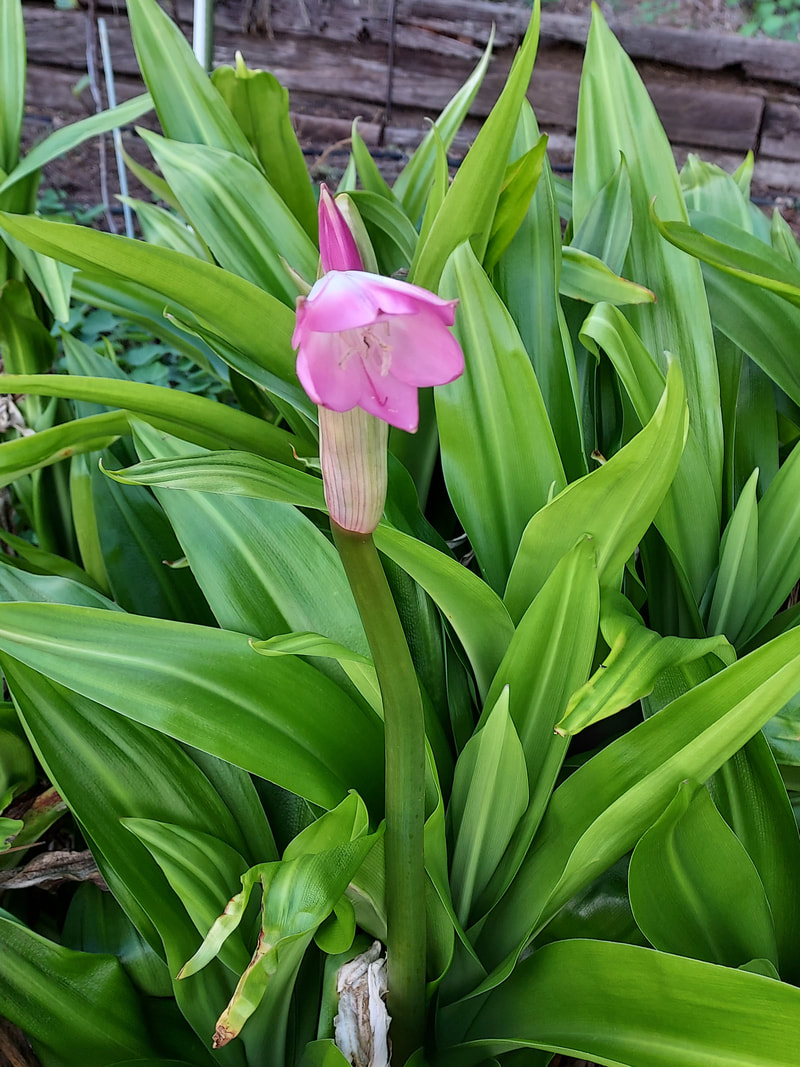
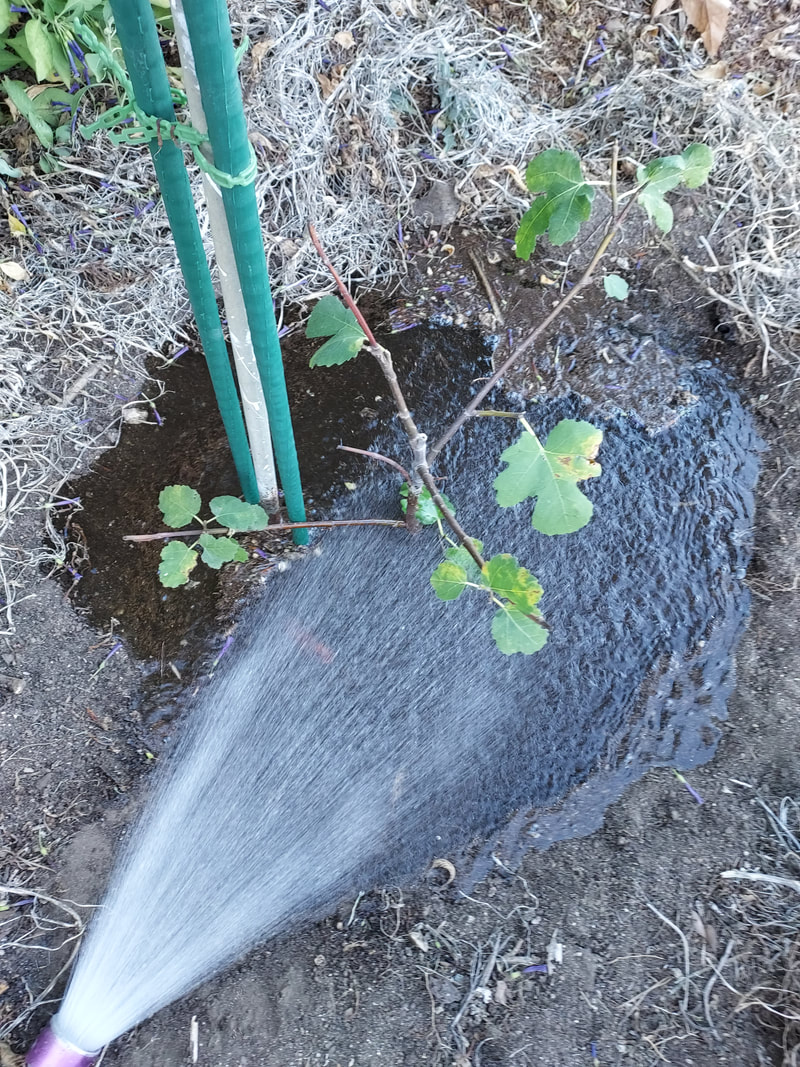
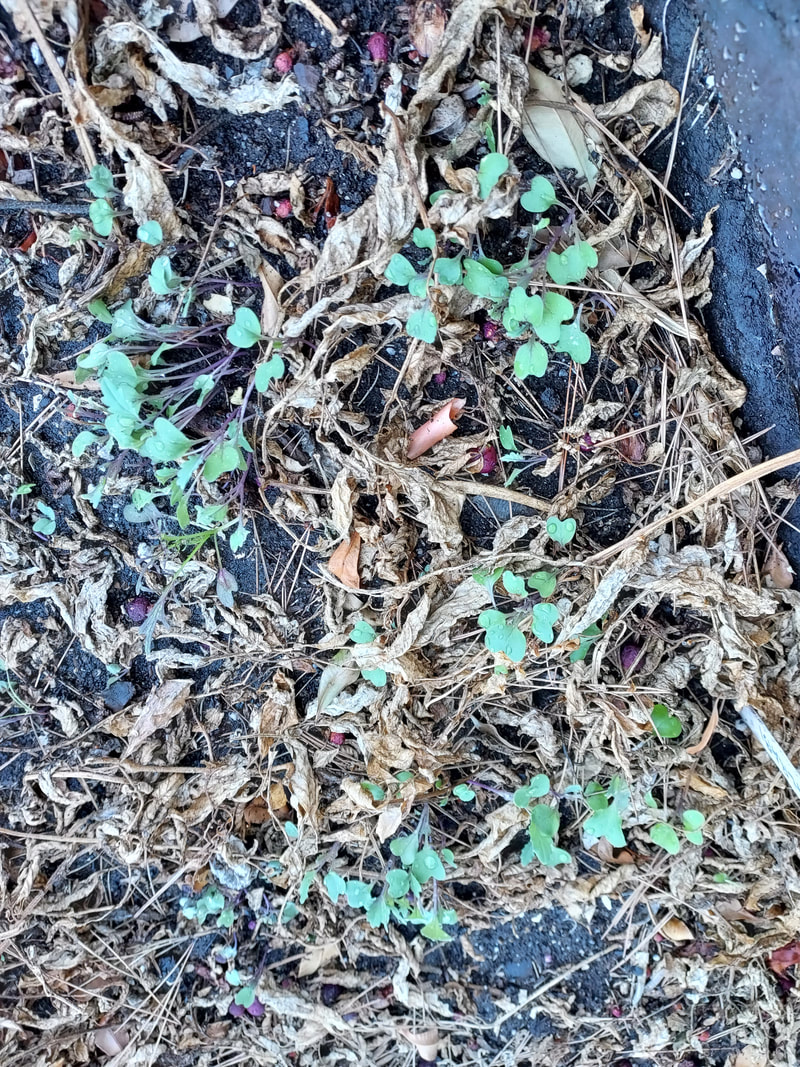
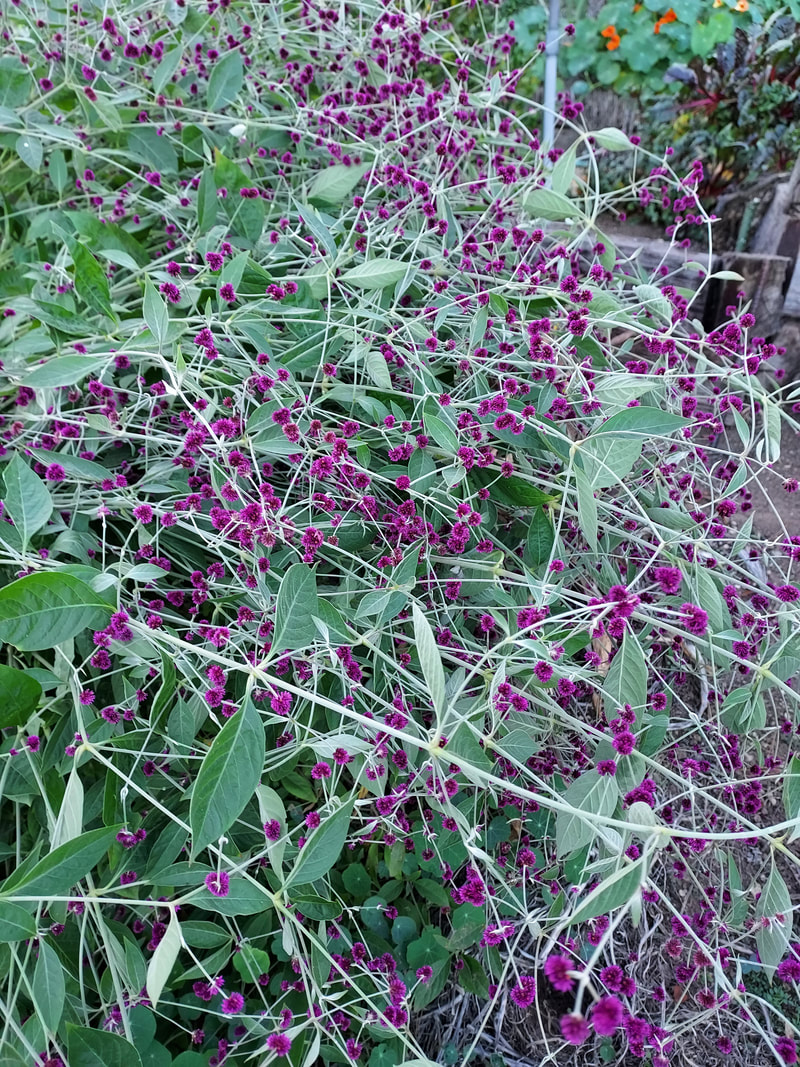
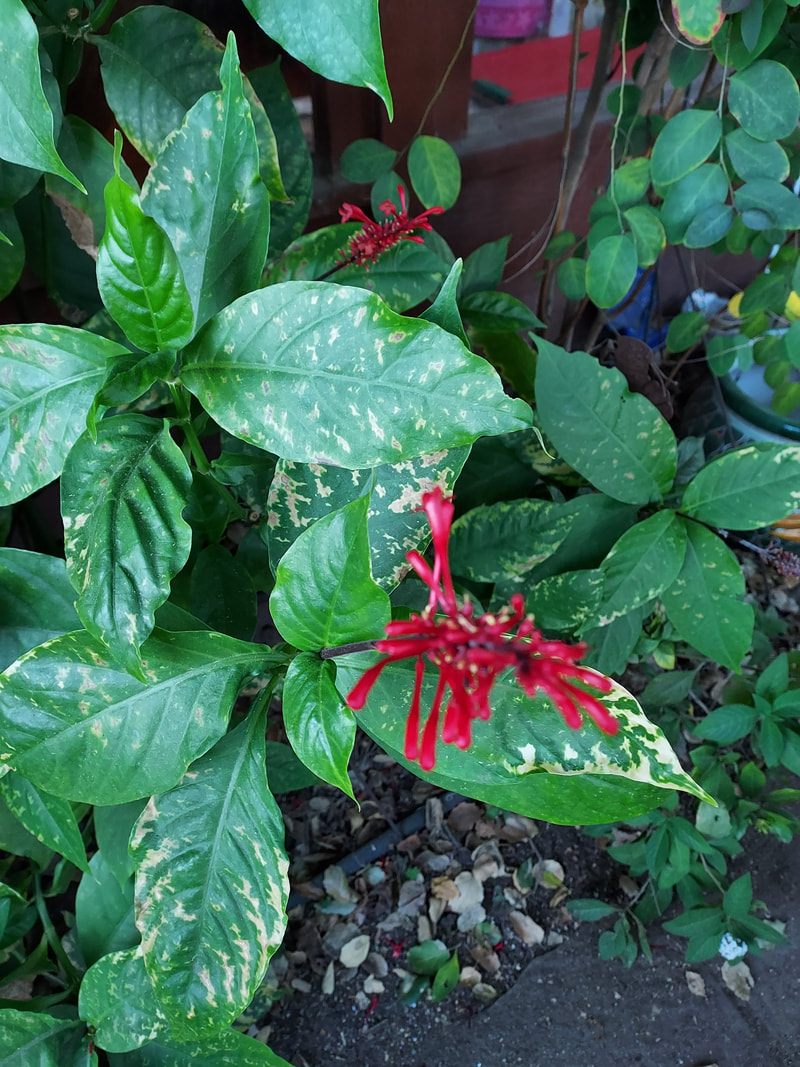
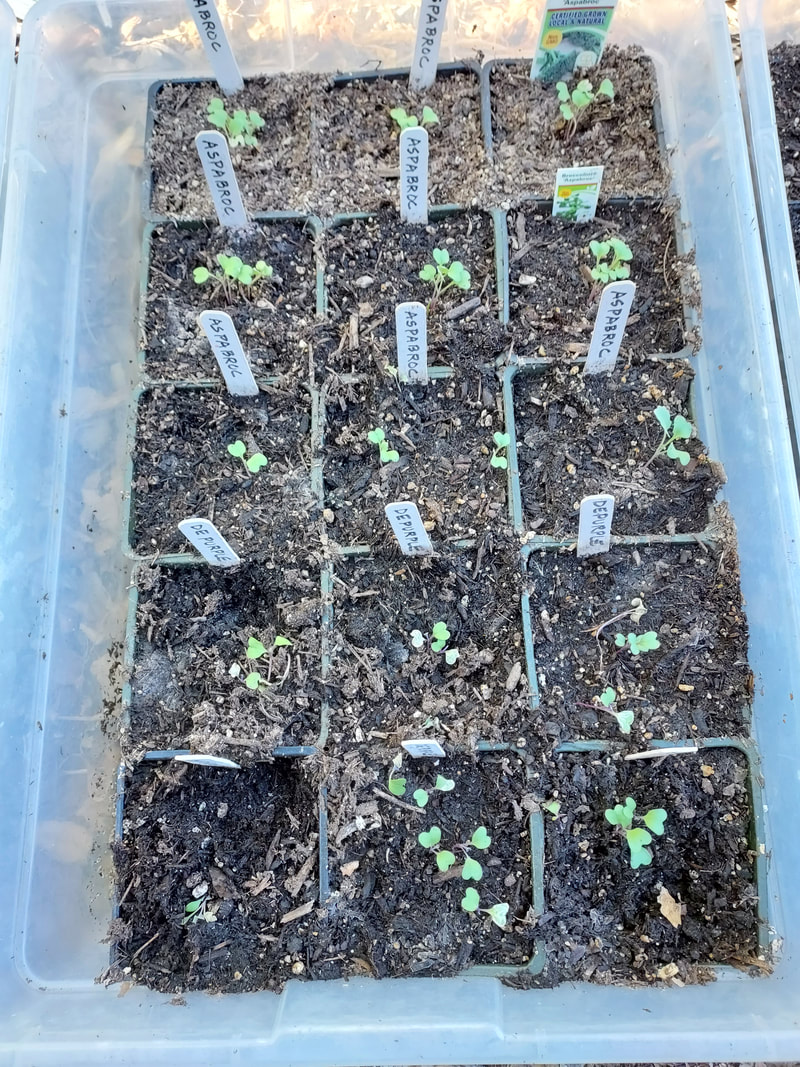
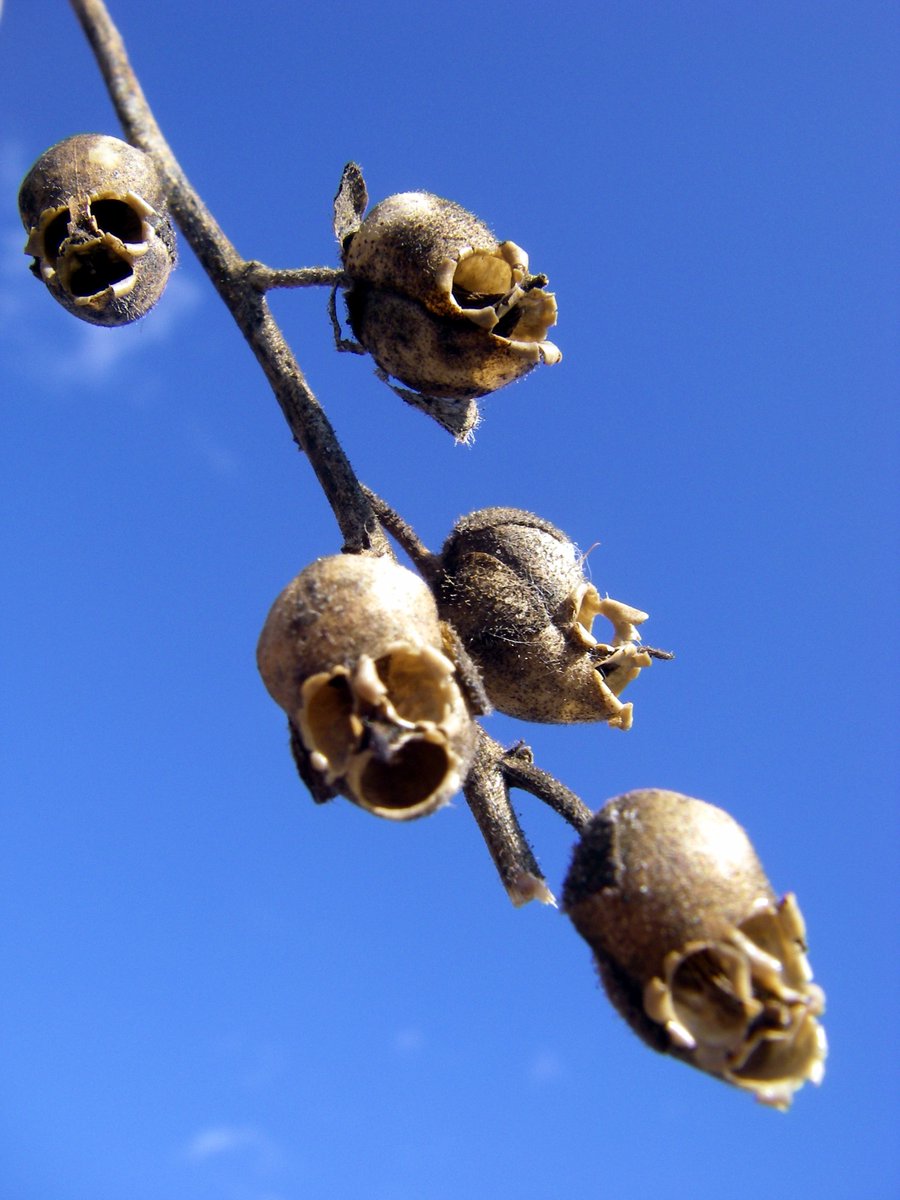
Gardening In LA
  • Home
  • About
  • Services
    • Garden Coaching
    • Speaking
    • Photography
    • Writing >
      • List of Articles
  • Blog
  • News
  • Monthly Tips
    • January
    • February
    • March
    • April
    • May
    • June
    • July
    • August
    • September
    • October
    • November
    • December
  • Events
    • Submit Your Garden Events
    • Botanical Gardens' and Other Organizations' Garden Events
  • Jobs
  • Web Links
  • Newsletter

Too Hot To Plant

8/14/2022

1 Comment

 
Picture
Brilliant red Rhodophiala phycelloides brightening up some shade.
Picture
Orchid's long-lasting bloom stalk brightens up shade for summer into fall months.
Picture
Long draping branches of Begonia boliviensis 'San Francisco' (pink) and Begonia boliviensis 'Santa Cruz' (red) should be elevated for best viewing.
Picture
Begonia 'Mistral Pink' makes an attractive clump of foliage.
Picture
Blue-highlighted white blooms of African violet.
Picture
Fragrant white heliotrope is perfect right by my door.
Picture
Yellow epidendrum.
Picture
Snowbush - Breynia disticha - resprouts color after trimming long upright branches.
Picture
I moved my epiphyllums from all-day sun and too little water where they were struggling to next to my happier bromeliads where they'll get morning's bright light and afternoon's bright shade, and where they're easier to water and fertilize.
Picture
Repotted begonia resprouting from the center, so now I'll clip off the lanky branches, clip them into separate pieces, and root them all for more baby plants to share.
Picture
Brugsmania prunings now rooting: 3 nodes below the soil, and 3 nodes above the soil, with 2 or three smaller leaves at tips to continue photosynthesis until roots develop and I can transplant each into its own pot.
Picture
Brugsmania trimmed down after bloom finishes from 10 feet tall to 4 feet tall. Pruning could be all the way down to the bottom-most new growth emerging.
Picture
Jimson weed - Datura stramonium - ripened seed pod opening to spew its seeds.
Picture
My potting-up table facing northwest that gets only a bit of direct sun in the late afternoon.
     It’s just too hot to plant, for both me as a person and also for the plants.  Anything over 85 degrees is too much.  For me, it’s my comfort-level cut-off point, but for the plants it bodes a struggle-to-survive issue.  Even if you enjoy working outdoors in the warmth, the plants have more important concerns like reconnecting and extending their roots into the new soil so they can absorb water and nutrients – before they keel over due to the heat even if their rootballs are kept sufficiently moistened.  For a week or two, they’re still depending on their original root systems and subject to whatever new bright sun and heat may characterize their new homes, differing from their coddling shade and everyday watering at the nursery.  This more-than-85-degree weather makes that process difficult.  So, if you can, put off the planting tasks until temperatures lower.  If you can’t put it off, then be very solicitous to prepare soil,  water well, and shelter from late-afternoon direct sun.
 
     So, what to do in the garden, instead of planting? 
 
Keep Harvesting
Continue to keep vine vegetables (especially beans, cucumbers, squash, and tomatoes) picked, whether or not you will use the harvest that day. If many fruits are allowed to overmature on the plant, production will slow and then cease because the plant “thinks” it’s accomplished its reproductive job.
 
Reinvigorate Veggies
Prune vegetable plants of their leaves that have become ragged from age, disease, or insect attacks. Then water plants well. Healthy new leaves will appear, and blossoms once the temperatures go below 85 degrees so fruit set will begin again. This is especially the case with beans, cucumbers, and squash.
 
Encourage New Strawberry Plants
Allow strawberries to root their runners after they've set their last crop. Strong new plants will be ready to transplant by October or November, which is the best time to establish new plants so plants bear well next Spring.
 
Last Fertilizing of Summer Crops
Fertilize tasseling corn and other vegetables that are setting fruit – including beans, cucumbers, eggplants, tomatoes, squash -- for increased yields. Plants appreciate this extra boost in food to use immediately in maturing their fruits. But during our extra-hot weather, be sure to water the plants well before incorporating fertilizer so it won't "burn" the roots.
 
Propagate Cuttings
  • Trim and propagate some of the maturing stem cuttings of plants like brugsmania and begonia and woody herbs that are actively growing through the summer.  Prime cuttings are those that are sturdy and partly but not fully mature.  Not too tender, and not too hard.  For most plants, the best place to make the cutting is where the stem color is transitioning between the new green foliage and the tannish-brown firmer wood.
  • See my 10/29/16 Propagating Begonias From Cuttings blog for specific steps to take.
 
Wait to Start Cool-Season Seeds
One thing to NOT do while it’s still so hot – consistently over 85 degrees – is to start seeds.  Hold off on starting both your first cool-season seeds and also your last crops of warm-season seeds, unless you can accomplish the task indoors in temperatures that are much lower than that.  If you tried to start them outdoors in the heat, the natural hormones in many types of seeds will result in unsuccessful germination because they’re programmed to not germinate until temperatures are more desirable.  Starting them indoors in cooler temperatures is a possibility you may want to pursue.
 
For more tasks to consider, see August Tips

1 Comment

Propagating Plumeria

7/24/2022

3 Comments

 
Picture
My first plumeria, which I call Rainbow for its many stripes of color and powerful fragrance.
Picture
Bright pink plumeria
Picture
Mainly white with delicate nuances of pink and yellow.
Picture
Brilliant yellow.
Picture
Time to prune, when I can see the bloom color only from below.
Picture
Possible cuts: each of the single branches, 1 foot below the "Y" joint, just above the previously-cut branch scar (barely visible on the right side of the trunk about 1 foot up from the soil level).
Picture
Laying the cuttings flat after the sap no longer runs. Also, avoid confusing cutting colors by rubber banding a photo onto the trunk.
Picture
Original plant cutting calloused over and new shoots emerging.
Picture
Lots of new shoots for future cuttings once they get to at least 1 foot in length.
Picture
Nicely branched plumeria that fell over, braking some branches, so I "evened out" the remaining ones, added supports, and calloused-then-potted-up the trimmed pieces.
Picture
Bamboo stakes tightened with plastic ties stabilize the potted cutting.
Picture
Shorter cuttings don't need additional staking.
Picture
Collection of potted-up-and-hopefully-rooting cuttings.
​     I purchased my first plumeria “stick” many years ago at one of those big fairs.  I was seduced by the many colors on the posters adorning the booth’s walls, and the promise that this mere leafless stick could become a real live plant with exquisite blooms and fragrance.  At only $5 each, I decided to splurge and give one a try.  I asked the vendor which might be the easiest to grow and have the most fragrance. I went home with the one that ultimately produced multi-colored blossoms and intoxicating fragrance that I call Rainbow. 
     Over the years, it’s branched many times and I’ve enjoyed its many yearly blooms and fragrance.  I also was pleased that it thrived in my garden’s all-day direct sun and needed very little water. 
     But when it grew so tall that I could see only the bottoms of the bloom clusters, I knew I’d have to trim it back.
     Although I’d propagated many kinds of plants over the years, I didn’t know whether I had to cut the plumeria branches at the base of their branching, or whether I could also cut in the middle of their 2-foot-long branches – whether they’d resprout or die back completely.  So I did both.  Luckily, both techniques worked.  So, I “evened out” my trimmings on the original plant so the branching would produce blooms on each of its remaining branches at about the 4-foot height, guaranteeing many more years of enjoyment and more cutting possibilities for future “sticks” to pass along to gardener friends and at plant sales.
     Cutting the branch straight across is necessary for a clean cut.  This will enable the main plant to resprout new leaves from the top surfaces.   Even with some dieback, the new leaves covered the unattractive spots.
     The base of the cut branch must be allowed to callous over completely before potting it up to root. Keep it in the shade, laid flat so the cut edge is completely open to the air so it can callous completely, and leaves are allowed to have their upper surfaces upright so they can continue their limited photosynthesis.  The sap will continue dripping for an hour or so, so you may want to put some newspaper or soil to catch the drips where they fall.
     It may take up to three weeks for the callous to completely dry and form a seal that’ll be impervious to water.  So don’t try to rush the process or pot it up too soon.
       I did initially pot up some branch cuttings as soon as I’d cut them, and while the leaves stayed perky for a couple of weeks, ultimately the branches did shrivel and rot without forming any roots.
      Once the branches are fully calloused, pot up the branches so the base – from which the roots will emerge – is about 2 inches above the bottom of the container.  I use gallon-size pots for short branches perhaps a foot or so long.  If the branches are multi-branched like in the shape of a “Y”, then I use a 5-gallon container and fill the potting mix to within an inch of the top.  While the roots will develop only from the bottom calloused area, having the rest of the multi-branched trunk buried in potting soil stabilizes it.
     I’ve found that staking and tying the branch will help keep it stable through waterings and moving the container until sufficient roots develop to anchor the plant.  Before I provided this support, even minor movement dislodged larger unbalanced Y-shaped branches, and I had to repot them up.  So, now I provide this support at the very beginning when I pot them up initially.
     Once potted up, place the container in a location in bright light but out of direct sun.  Water it several times to thoroughly moisten the potting mix and make sturdy contact holding the cutting in place.  Water again perhaps once a week just to keep the potting mix barely moist so roots can get well established.  
3 Comments

Summer Gardening

7/6/2022

3 Comments

 
Picture
Artichokes that you missed harvesting turn into beautiful blue-purple blossoms that bees love.
Picture
This bounty of tomatoes are too small to truly be the Stupice that their label proclaims.
Picture
Boysenberry tips can easily be rooted while still attached to their mother plant. Anchor the vine (see the peg at the right next to the buried watering bin), and submerge an inch or two of the tip under the soil, and water in. The leaves on the vine will continue their photosynthesis since they're attached to the mother plant, and the moisture at the buried tip will initiate rooting at the buried nodes. It may take through the summer, but you'll be able to transplant the newly-rooted plants in the fall to get the roots established in their new home before going dormant over the winter.
Picture
Bits of succulents are easy to root.
Picture
Place melons on containers to keep them away from moist soil or crawling critters. Direct sun will help them sweeten up, as well.
Picture
Oro Blanco grapefruits ripening - the yellow one from last year will fall of its own accord when it's ripe, and the green one from this year's set will take just as long.
Picture
First Conadria fig ripening. Green skin when ripe provides "camouflage" to critters who are attracted to colorful fruit.
Picture
Jimson weed - Datura stramonium - pure white blossoms are attractive.
Picture
Jimson weed seed pod is equally attractive.
Picture
Plumeria blossom, first of the season.
Picture
Plumeria blossom that's more colorful.
Picture
Sweet Pea Shrub - Polygala myrtifolia - blooms much longer than the annual sweet peas, but only in this nice pinky-purple.
Picture
Brilliant bougainvillea continues blooming.
     We’ve been lucky so far this summer, with only a couple of uncomfortably hot days.  Most days have been thoroughly pleasant to work in the garden, especially after the direct sun leaves.  I’ve appreciated even the really hot over-90-degree days since I know the tomatoes are ripening and the summer bloomers are coloring up. 
     But I must admit that I’m waiting – as the saying goes – “for the other shoe to drop,” with more of those over-100-degree temperatures, to say nothing of the unwelcome possibility of a repeat of that 116-degree July several years ago that scorched everything and cancelled harvests for the rest of the summer. 
    And with the addition of water restrictions, planting anything new in the garden doesn’t feel like a good choice, at least for me in my “inland” Pasadena garden.
     So, what to do in the garden?  Here’re several possibilities:
 
Harvesting
  • Harvest beans, cucumbers, squash, and tomatoes at least every other day to encourage further production. If too many fruits are allowed to remain on the plant, the hormones will change so there will be fewer new blossoms to set new fruit.
  • Pinch back herbs to encourage branching, and use the clippings either fresh or dry.
  • My tomatoes have been bearing very nicely, with a total to date of 395 individual tomatoes, 325 cherry-size and 70 larger ones.  Yesterday’s haul was 148, 128 cherry-type and 20 larger ones.  Interestingly, a couple of the Celebrity and Cherokee Purple and Black Krim are producing nicely while the other plants aren’t.  Just as well that those will perhaps wait until after the currently-producing ones are close to done, to spread out the yield.  Of the cherry types, Sungold is the winner so far with 42, but Chocolate Sprinkles has 29 and two red cherry volunteers have 30 and 22.  All yummy!
 
Propagating
  • Tip-root boysenberries by anchoring vine tips under an inch of soil and water in.  The tip will root, and you can transplant them in the late fall or early winter.
  • Pot up succulent cuttings by removing “leaves” off an inch or so of stem, stick into potting mix or soil, and water in.  Roots will form, and you can transplant them later.
  • Root cuttings of azaleas, fibrous begonias, camellias, carnations, marguerite daisies, fuchsias, gardenias, geraniums, hollies, hydrangeas, lilacs, marguerites, mock oranges, mums, and verbena.  Bare about 3 inches of stem, leave about 4 leaves on top, put stem into potting mix or soil, water in, and place in indirect light.  Transplant later.
 
Maintenance
  • Encourage repeat blooming by pinching or cutting back alyssum, coreopsis, crape myrtles, dahlias, delphiniums, dianthus, fuchsias, gaillardias, lobelia, marigolds, penstemons, petunias, rose of Sharon, salvias, and verbenas.
  • Dig and divide bearded iris clumps if they're crowding each other or didn't bloom much last spring.
  • Strongly rip off - don't just trim - rose suckers off at their base with a harsh downward and outward pull. Also bash the base to further dissuade resprouting.  For more detail, go to Trimming and Rooting Blooming Plants - 7/13/16
  • Rinse the undersides of leaves with water to discourage spider mites.
  • Enclose whole grape clusters in paper bags or old pantyhose for protection from birds and wasps.
  • Hold off irrigating melons about a week before you'll harvest them so their sugars will concentrate.
  • Place ripening melons onto upside-down aluminum pie pans or cans to keep them off the damp soil and reflect the sun’s heat back onto the melon to help it develop more sweetness.
  • If onion and garlic foliage has not yet slumped and dried, stop irrigating, and bend the stalks to the ground. You want the outer layers to thoroughly dry so they protect the flesh underneath.
 
Planning for your cool-weather garden
  • Can you believe that the heat of summer is the time to start thinking about the cool of winter?  In fact, I prefer gardening through the fall, winter, and early spring because there are so many goodies to be eating, and they continue developing through the cool weather to provide many months of freshly-picked delectable produce without being hassled by summer heat.
  • At the end of the month, sow carrots, celery and cole crops - broccoli, Brussels sprouts, cabbage (especially red and savoy types, which resist frost better), cauliflower, and kohlrabi. Keep the soil moist and shaded until they're up, and then gradually allow them more direct sun over a week's time.
 
What NOT to do
  • Don’t prune tomato foliage.  In our bright-sun area, plants need all that foliage to accomplish their photosynthesis and to shade fruits from the burning sun.  In addition, our breezes keep foliage free of disease.  For more details, go to Why NOT to Prune Tomato Plants - 7/13/15.
 
For more monthly tasks, go to July.
 
For past blogs on many major seasonal topics, go to Home.

For many problems, go to Warm-Season Plant Problems and Solutions - 3/28/21

For specifically tomato problems, go to Tomato Growing Problems & Solutions - 6/17/20

3 Comments

Planting in June?

6/19/2022

0 Comments

 
Picture
Nematanthus wettsteinii "Goldfish" swim amongst glossy dark greenish-blue foliage. Cuttings are easily rooted.
Picture
Volunteer Jimsonweed - Datura stramonium - blooms start as greenish-yellow roll-ups that unravel into bright white blooms.
Picture
Begonia bonariensis in two colors - San Francisco is pink, and Santa Cruz is coral. Both cuttings root easily.
Picture
Tall impatiens resprouting following pruning from 4 feet tall.
Picture
Plumeria bloom stalk arises.
Picture
First blossom on my plumerias.
Picture
Three new branch shoots arise below cut surface of branch that rooted separately.
Picture
Fuchsia procumbens 'Creeping Fuchsia' bloom is barely 1/2 inch long, but definitely cute, arising from the delicate foliage in a hanging pot. I purchased mine from https://www.anniesannuals.com/
Picture
Lemon Verbena flower clusters form beige-colored clouds among fragrant foliage. Woody plants can be pruned severely as far down as the bottom-most shoots appear, to develop into bushier plants.
Picture
Small euphorbia is very hairy and only 4 inches tall.
Picture
Daylily blossoms last literally only one day, but are followed by many more.
Picture
Corn "smut" or "huitlacoche" are hated or prized depending on cultural and culinary appreciation or not.
Picture
Ancient corn mounted on an exhibit board. The tiniest are barely 1 inch in length. At the Antelope Valley Indian Museum east of Lancaster, https://avim.parks.ca.gov/ . Quite a drive, but definitely worth a couple of hours' visit!
Picture
Chocolate Sprinkles are my new favorite cherry-size tomato, with "full" flavor and texture. I picked my first on June 1, and have had 16 since then, keeping pace with my Sungold (15) and a volunteer red cherry (25).
Picture
Sungold cherry tomatoes continue their plentiful harvest. I make a point of immediately eating the ones that have split after I wash them -- what a treat!
​     Years ago, before our continuing drought forced itself into our every-day consciousness, I used to look forward to June as the time to transplant a last group of tomatoes to provide fruit through the fall cool-down and sometimes into the new year.  But, some five to seven years ago, I started noticing that those last group of plants weren’t establishing themselves well, I was having to water them more just to assure their survival, and I wasn’t getting my reward of many tomatoes setting and ripening up before they gave up due to the extreme stress of the summer heat.  So I stopped planting that late.  It turned out that even May plantings were at risk.  Instead, mid- to the end of April planting was the latest that’d result in vigorous plants and a good yield – even when we had our “usual” week of over-100-degree temperatures.  So I concentrated in choosing varieties that ranged broadly in maturity dates to assure that I benefitted from a long bearing period; and usually cherry tomatoes kept producing through the heat and into the fall. 
     Ditto for planting beans, cucumbers and squash that late. 
     And corn planted this late perhaps will develop “smut” or “huitlacoche”, a fungus that’s despised or prized according to cultural culinary appreciation or not.
     Of course, your garden may still do well planting any of these veggies now, especially if you’re in more coastal climes.  And experimenting is always fun and results in at least some goodies. 
     I’m just bringing this issue up so you’ll not be too disappointed if and when your upcoming summer pattern follows mine, especially with the water restrictions that are being mandated throughout Southern California.  And to hope that you’ll also change your soil-preparation and seeding and plant-planting practices to concentrate on our cooler-season fall, winter, and spring to get everything happily developing and bearing!
 
Maintaining Growth and Harvests
     For your tomatoes that are already nicely set with ripening fruit, keep them well-watered especially during over-90-degree temperatures to encourage them to continue setting new blossoms. As air temperatures rise and stay high consistently, fewer blossoms will set due to the shift in hormones.  So you want to have as much fruit already set while temperatures are below 90 so they’ll ripen until blossoming starts again once the temperatures settle down below 90 for a couple of weeks.
     After watering tomatoes, scatter a bit of general-purpose fertilizer (with all 3 NPK numbers about the same) and then water again to melt it into the moist soil.  This will provide plants with some additional nutrition for their continuing exertions in blossoming, setting fruit, and ripening the fruit.
     Hormones stop producing blossoms similarly if too many fruits are left ripening on beans, cucumbers, eggplants, and squashes.  Vegetables that are left to continue maturing too long will produce a chemical that inhibits further blossoming.  So, keep the fruits harvested every other day or so as they achieve the size you want, so the plants keep putting out more blossoms for more fruits to mature later.
     Keep harvesting herb foliage.  Nip off the tips to encourage more bushy delicately-flavored greenery.  Remove blossoms whenever they appear so the plant won’t get “side-tracked” into producing seeds instead of more tender foliage.  For tips on drying herb foliage, see my 4/26/16 blog, Harvesting Herbs for Fresh and Dry Use.
     Lift vine vegetable fruits like squash and pumpkins and melons up onto cans or berry baskets to put them out of reach of snails, slugs, other critters and soil-borne diseases, and up into the air so they’ll absorb more of the sun’s heat and therefore ripen more. 
     Planting flower bulbs can be done any time of year since they contain their own “fertilizer pack”.  However, choose to purchase and plant bulbs according to their growing and blooming seasons, and whether or not they need to have the soil where they’re planted completely dry out during their dormant season, whether this is summer or winter.  Late-summer-color bulbs to plant now include tuberous begonias, cannas, gladiolus, montbretias, and tigridias.
     Mulch, Mulch, Mulch!  Organic matter such as compost, leaves or grass clippings will temper the drying and heating effect of the sun, and irrigation will be more effective with less frequency and quantity.
 
For more garden tasks, see June and July.
 

0 Comments

Spring Is Still Springing

5/28/2022

2 Comments

 
Picture
The variety in summer harvesting begins among the last artichokes, with Tomcot apricots, Arctic Star nectarines, several varieties of beans (Contender, Emerite, Roc d' Or, Royalty Purple Pod, and Early Spanish Musica), and tomatoes (Stupice and Chocolate Sprinkles). Over the years' trying different bean varieties, I've made sure to choose only stringless varieties since I gather a few of every variety as it develops and don't want to have to keep "string" and "not string" varieties apart when preparing for cooking. My husband prefers some of the bean varieties raw to cooked. Purple-pod varieties are handy for the beginning cook, since the purple turns green at the moment that they're ready to stop cooking!
Picture
This volunteer tomato came up after watering the Kishu tangerine, so as I'll continue watering the Kishu, we'll see how delicious or not the volunteer tomato is!
Picture
Swiss chard is definitely a year-round grower. Snapping off the elongated stem encouraged lots of new side shoots of tender foliage that'll keep producing as long as I keep watering (easy since I'm "really" watering the tomatoes I planted on either side of it) and harvesting.
Picture
Violette de Bordeaux fig bears its first fruit in clusters.
Picture
Conadria fig is a heavy producer.
Picture
This is an "on" year for my Fuyu persimmon, following last year's sparse fruiting.
Picture
Some of the last carrots. Unless you keep them well watered, the coming heat will concentrate the "turpentine" essence of carrots, making them unenjoyable for eating.
Picture
New shoots emerging from nodes below where I'd trimmed an over-extended plant.
Picture
Clear red alstromeria got a bit sunburned (those white swaths at its petal edges).
Picture
Bean blossoms and young beans.
Picture
Limonium - Statice, Sea Lavender makes a long-lasting dry-flower bouquet.
Picture
Grapes enlargening from my previous blog.
Picture
Stock - the original single-petal and very fragrant - self-sows freely which I love in my garden along with the also-free-seeding feverfew.
     When I was a kid, I hated “May Gray” and “June Gloom” because it was so dreary, and I wanted “Summer Sun” to brighten and heat up my days so I’d have the excuse to go to the beach or at least lay out on my dichondra lawn listening to my favorite pop tunes on the radio. 
    Now that I’m an “experienced” gardener who prefers to not endure the heat and brilliance while playing in my garden, I appreciate the still-cool temperatures and overcast skies that mean I can do some additional sowing and transplanting and watering and harvesting and trimming and weeding – all the while knowing that the plants are also thriving because the weather is mildly warm enough to spur growth but not blazing hot enough to stress them.  Of course, that scenario is yet to come. 
​     So, enjoying being in the garden now is all the more precious.  Especially when I come into the kitchen with a bucketful of edible treasures.  Yum!
     With this year’s additional mandates of lessened water supplying our gardens, the resulting stresses for both plants and people aren’t welcome in addition to the uncomfortability of the too-hot blazing sun during our summer. But we can shift our timing and techniques to better serve ourselves and our plants:
  • Provide soil and amendments with lots of nutrition and organic matter to enable plants to develop extensive root systems and bear plentiful flowers and fruit.
  • Sow seeds and transplant growing plants only when air temperatures promise to stay below 90 degrees for at least a week and preferably longer.  As we move into summer, this window of opportunity lessens, so do this as soon as possible.  Coming weeks may put too much of a strain on plants trying to get established during those stressful times – and even if they do start thriving in the next couple of weeks, they may not ultimately mature and produce much fruit and flowers if the weather turns so extreme.  Because of this, planting in June is really a hit-or-miss prospect based on hope that the weather will stay satisfactory.  In gardening, there’s always hope – and also the realization that the magic may or may not work!  But then, at least, you've learned something new about trying to push the seasons!
  • Group plants according to their needs for water.  For example, tomatoes need lots of water, but lavender and rosemary need very little water.  If you plant them together, everyone will be unhappy.
  • Water in the evening through early morning to lessen evaporation due to breezes.
  • Provide water through soaker hoses or drip irrigation systems that release water at soil level, or buried containers with holes that release it underground directly into the rootzones.
  • Water long enough for the water to reach down to the bottoms of the individual plant rootzones.  For example, beets and Swiss chard roots can go down 1 foot, but tomato and cucumber and squash roots can extend to 2 feet deep.
  • Water again when soil is only slightly moist 4 inches down.  When air temperatures get above 95 for several days running, you may have to water more frequently.
 
For more to do in the garden, see June’s Monthly Tips
 
For more June gardening in years past, see my previous archived June blogs since 2015
 
For specific major topics on summer gardening, see my homepage links
 
For tomato problems and solutions, see Tomato Growing Problems & Solutions - 6/17/20

2 Comments

Watering “Only” Once A Week Is Doable!

5/12/2022

0 Comments

 
Picture
Leonitus leonurus and Salvia canariensis thrive on rain only!
Picture
What a great harvest all at once! A real taste test of seven different varieties. I purposely don't grow any that have thorns!
Picture
Asparagus transplants settling in.
Picture
Bush and pole beans beginning to blossom.
Picture
Boysenberries ripening a bit late for Mother's Day.
Picture
Chard bolting, but small leaves are still tender.
Picture
Cilantro bolting. I tuck the stalks inside the bed borders so the scattered seeds will germinate later this fall for a continuation of cool-season eating.
Picture
Grapes setting unevenly so I won't have to do much thinning as they enlargen.
Picture
Arctic Star nectarine fruit set is protected with bird netting tied securely around the trunk. As ripe fruit falls into the netting, I punch as small a hole as I can manage to remove the fruit.
Picture
Beautiful purple breadseed poppy and seed pods developing.
Picture
Wait to harvest poppy seedheads until they're completely dry and crispy. Hold a pan underneath each pod as you snap it off, to catch the seed coming out of the "salt shaker" tops.
Picture
Volunteer tomato that I dug a hole on the uphill side so I could insert a plastic bucket with bottom holes to serve as a watering bin. We'll see what harvest results and what they taste like!
Picture
Celebrity tomato fruitset.
Picture
Crookneck squash set. When this batch of plants begin setting their fruits, I plant another batch of seeds that will begin bearing when this bunch finally quits. I'll repeat that two more times through the summer for a perpetual harvest through fall.
Picture
Beautiful pinky peachy rose.
     With all the hubbub and gnashing of teeth about pending water restrictions to once a week, I’m blasé about the issue because my productive edible garden has always done well with far less.  I’ve always conducted my watering timing as an only-when-imperative operation.  Yes, I’ve lost some plants because I did indeed wait too long, but by far my successes have taught me that generally recommended frequency and amounts of water have been way beyond what the plants needed to thrive.
      But it does take training the plants and trees from the moment they’re seeded or transplanted to grow deeply to retrieve the water that you’ll make available less frequently.  And that means now.  Even if you’ve already planted your summer garden, in the several weeks before the June 1 reduction start, you can get those plants to stretch further downward in search of the water you provide, so the once-a-week restriction will be nary a change.
 
Some guidelines:
  • Water deeply – just below the genetically-determined length of the specific plant’s roots – such as 6” lawn, 1’ lettuce and ornamentals, 18-24” beans and peppers and squash, and 30-36” asparagus and tomato.  The point is to always provide those bottommost roots with the water they need so they’ll withstand the frying heat in the top 1-2 inches of soil.
  • Water infrequently – only when the soil 3” down is dry.  Again, you want the water to keep the soil moist further down, where you’ve taught the plant roots to establish the bulk of their rootsystems.
  • Keep soil surfaces covered with 1-3 inches of mulch to shade the soil from the beating heat of the sun and therefore lessen evaporation of moisture from the soil.
  • Incorporating organic matter like compost into the growing beds will help all soil types stay both moist and well-drained.  It’s the magic for both sandy soils (holding the moisture from draining too quickly) and for clay soils (providing miniscule air pores for better drainage) that will enable plant roots to remain well-moistened like a wrung-out sponge.
  • What’s the best method to water my garden?  Choosing which of the many modes of delivering water to your garden depends upon your time and effort and can be a combination.  Several options include hand-help hoses, overhead sprinklers, mini-tube drip emitters on timers, soaker “leaky” hoses under mulch, and buried 5-gallon plastic containers with bottom holes.
  
See my previous blog articles where I’ve described these specifics in more detail –

Start Watering The Garden - 2/7/22

Watering -- When, How Much, and Methods - 3/19/22

​How Deep Is “Watering Deeply”? - 7/21/18
 
For more monthly garden tasks, go to May

For other major-topic blog articles, go to Homepage

0 Comments

The Bloomers Are Loving Our Weather

4/25/2022

0 Comments

 
Picture
Stupendous sweet peas!
Picture
Beautiful breadseed poppies
Picture
Albuca
Picture
Single-petal rose
Picture
Leonitus Leonurus - Lion's Tail, Lion's Mane
Picture
Hollyhock
Picture
The rainstorm knocked down the white nicotiana, so all the stems just turned to face upward.
Picture
Purple variations of Brunfelsia - Yesterday, Today, Tomorrow - and pink alstroemeria and orange nasturtium and yellow/orange bulbine
Picture
Pink crinum
Picture
Blue-purple Iochroma, beloved of hummingbirds
Picture
Euphorbia
Picture
Spuria iris
Picture
Tatsoi bolting - going to seed - but the foliage is still nicely mild tasting and perhaps a bit sweeter
Picture
Amazingly, harvesting when the outer petals are standing a bit far out still results in a minimal - if any - choke, and a good deal of flesh!
Picture
The purple variation is just beginning to enlargen enough to harvest.
Picture
First tomatoes set on Celebrity plant
Picture
Crookneck squash is starting! When these first appear on my first planting, I sow another batch so that when these quit I'll have the next batch beginning to harvest! I'll repeat this through the summer for a continuous harvest through fall, unless the heat makes them quit sooner.
Picture
Bush and pole beans are starting to come up. Bush beans on the east side of the trellis, and pole beans on the back side.
Picture
Peter's Honey fig setting fruit.
Picture
Mulberry fruit set. To harvest only the ripest ones, I "tickle" the fruit, and whichever automatically falls into my hand is ripe.
Picture
First harvest. Yum!
Picture
Arctic Star nectarine fruit set. Time to tie up the fruit with netting to deter the birds and squirrels!
     The flowers are blooming their hearts out in my garden.  Everyone is providing its own version of color and pattern and height and spread.  It’s truly glorious to walk around and relish everyone doing their part in beautifying our gardening world.  That brief but intense downpour of rain a couple of nights ago really enthused the plants to perk up and unleash their colors.  And the again-mild air temperatures during both days and nights certainly helps them expand their delights.
 
Keep Sowing and Transplanting
     The mild weather continues to bode success for both sowing seeds and transplanting seedlings. 
  • Make sure seedbeds are moist before and after sowing. 
  • Fill planting holes with water and let it sink in before inserting the plant.
  • Massage rootballs to gently loosen the root system, and combine the loosened soil and container’s potting medium to provide a soil mix that combines them both – so the roots will have some of each as they extend into native soil.
  • Water transplanted plant three times right then to make sure that the surrounding soil a foot beyond the plant is equally moist.  This also encourages roots to reach out into the native soil to establish extensive root systems.
 
Establish Watering Patterns For Summer
      Keep plants thriving into our coming hot weather by matching your watering practices to plant needs and the weather.  All plants will need more than an evening sprinkling when you come home from work – it’ll satisfy you but potentially be a problem for plants that they won’t be able to overcome when our summer heat blasts our gardens.  So start “teaching” your plants now to be able to withstand the heat onslaught that will surely come.
  • Water each plant to just below its natural root zone, depending on variety and your soil. 
    • Some plant roots are naturally shallow, going only to 1 foot in depth – like lettuce, radish, celery.  Others go to 2 feet deep – like beans, cucumbers, peppers, squash.  The deep growers, to perhaps 3 feet – include asparagus, artichoke, tomato. 
    • You’ll water this deeply every time you water, regardless of what time of year it is or how hot or cold the weather is – the point is to get the water to satisfy the needs of the plants’ entire root systems.
  • Weather will determine how frequently you water. 
    • Mild weather like during our spring and fall means watering perhaps every other week.  Warmer weather, like that week of above 85 or 90 degrees, requires watering just before the heat hits and again after. 
    • Consistently hot weather like during our summers where the temperatures are consistently above 90 or 95, requires watering perhaps once a week – and more for large plants like tomatoes that do a lot of transpiring. 
    • Of course, you’ll water individual plants more that appear to be struggling.  But be aware that – like people – plants may be droopy at the end of a long hot day.  Best to check the soil moisture before automatically watering, since they may recuperate overnight.  If the soil is dry 3 inches down, or the plants are still droopy in the morning, then water immediately.

For more monthly tasks, go to May.
 
For major-topic articles by season, go to Homepage.
0 Comments

More Flip-Floppy Weather

4/9/2022

1 Comment

 
Picture
Exquisite wisteria blossoming at the Sierra Madre police station.
Picture
Wonderful artichokes.
Picture
Ladybug and larvae taking care of the aphids.
Picture
Dutch iris.
Picture
Double Delight rose.
Picture
Tomatoes and chard. "Fried" leaf at bottom left is from a breadseed poppy plant following last week's heat.
Picture
Amaryllis.
Picture
Peach bearded iris.
Picture
Mulberry fruits...yum!
Picture
First sowing of beans, some coming up.
Picture
Sweet pea blossoms starting to take off.
Picture
Boysenberry blossoms.
Picture
Hollyhocks.
     After this past week of high-90s temperatures, which are certainly beyond my pleasure level to be in the garden, this coming week promises to be back in the mid-60s during the day and mid-40s during the nights.  I’d watered my garden two weeks ago, before the heat, and again last night to help it recuperate from last week’s extremes.  Now it’ll be able to mellow out this next week.  Being well-watered is always the crux enabling the garden plants to be able to deal with extreme temperatures, or to fall victim to them.
     And this is only the beginning of April, which should be mild-weathered.  But maybe this is another example of what used to be as opposed to what is and will become, due to climate warming. 
     My mesembryanthemum (whose botanical name has changed several times since I learned the name, but I don’t bother keeping up with them) always used to bloom from mid-April through Mother’s Day in May.  The last several years, its prime bloom has shifted to mid-March, with only a few stragglers now.
     Daffodils are long gone, freesias came and went, as did grape hyacinths, and bearded irises and Dutch irises are just starting nicely now. 
     Lettuces have long-ago bolted, and peas had their last picking and the plants were pulled and added to the compost pile.
     Artichokes are starting – we’ve had three meals’ worth already.  I’ve picked them when the tips of their scales are barely standing out from the globe, and have been amazed that there was no choke at the base, even though the scales were sufficiently fleshy.  I’ll continue this practice with the other plants to see if this was just a peculiarity of that one plant, or is consistent with all the plants that I’d started from that same “Green Globe” seed packet.
     Before the heat, I’d picked a bunch of “Little Finger” carrots, and they were nicely crunchy and sweet.  With last night’s watering following the week’s heat, I’ll wait several days for the roots to again be full of water and hopefully sweet after their stressing out with the heat.
     Sweet peas blooms are becoming bountiful with my being able to pick a vaseful every third day. 
     I’d also sown another batch of edible peas – the same varieties that I’d sown last fall and we’d finished eating two weeks ago – on the opposite side of the ornamental peas, and about half of them came up.  I’ll sow more in the gaps.  We’ll see whether we get much of a crop with this planting since it’s been so much warmer than for the overwintering batch.  “Wando” peas, especially, are supposedly tolerant of both cold and heat, so we’ll see how they deal with this heat end of the season, especially since they’ll have at least this coming week of comfortable weather. 
     While sweet pea flower pods are poisonous, there’s no problem growing edible peas together with them, since their pods are so visually different.  Sweet peas are grayish in color and very fuzzy.  Edible peas are bright green (or purple in the case of “King Tut,” “Royal, or “Sugar Magnolia” which I grew this year), smooth and glossy, and much larger and filled out.
     My crookneck squash plants are up and stretching out, and some of the beans are up as well.  I already sowed more seeds in the gaps, and watered them well, at the beginning of the heat spell. 
  The asparagus that I’d started from seed and transplanted last fall are now five inches tall and bushing out.  They’ll continue to develop their root systems this summer, so I’ll make sure to keep them well watered as I replant something in the spaces where the fall peas used to be – perhaps another batch of squash and beans and more pepper plants.
     Cilantro and parsley are still producing nicely but may be toward their end due to this heat.  I’ll sow some more during this coolish weather this week just in case it’ll continue so they’ll germinate.
     Beets and kohlrabi are still small so am keeping them moist until they get to my preferred size of one and one-half inches.  The beets I’ll pickle for summer-long salads.
     Chard continues to be a mainstay of my “greens” plants.  Between my 4 plants in different colors that’re more than a year old, I toss the stems and more mature larger outer leaves into the compost pile, and harvest only the tender mid-size leaves, raw in salads and sandwiches, stir-fried, and cooked in soups and stews, burritos and quiches.
     I didn’t have much luck with several varieties of bok choy and broccoli raab this year, seeding every two weeks into both nursery packs and into the growing beds and getting decent germination but having most bolt (go to seed) shortly after transplanting before producing much foliage for me to harvest.  I guess I’ll blame that too on the flip-flopping weather.
     My several tomato plants that I’d transplanted almost two months ago are all doing nicely and have sorted themselves into different rates of growth due to some of them being shaded by the breadseed poppies that had germinated from last year’s crop.  I can’t bear to remove the poppies before they bloom, so I’ll just have to let the tomatoes fend on their own until the poppies are done.  This’ll give the tomatoes lots more time to develop really extensive root systems, which will ultimately enable them to produce even more tomatoes!  At least that’s what I’m telling myself….

For more garden tasks, see April.

For my main topic blogs, see Homepage.


1 Comment

Watering -- When, How Much, and Methods

3/19/2022

1 Comment

 
Picture
Picture
Last year's tomato bush fully branched and leafed out means high respiration rate and evaporation, so much more water is needed, especially above 90-95-degree days.
Picture
Lettuce roots are shallow, going down to maybe 1 foot.
Picture
Potato roots are shallow, going down to 1 foot.
Picture
Beans roots grow to a moderate 2 feet deep. These are from last year.
Picture
Carrot roots, depending on variety, can grow down only a couple of inches (great for clay soil) or to 2 feet (great for sandy soil).
Picture
Asparagus roots can grow down to 3 feet and need a lot of manure added each year to thrive up to 15 years.
Picture
Last year's Celebrity plant grew roots down to 3 feet.
Keep lavender and rosemary in a dry garden space away from other plants that want lots of water.
Picture
Hand-held hose with fine-spray wand fills 4-foot-wide basin of apricot tree. Also, pointed upward to wash undersides of foliage.
Picture
Hand-held hose with bubbler attachment fills basin of cauliflower plants.
Picture
Soaker hose strung around tangerine tree about 9" apart to beyond the drip line. Cover with mulch to lessen evaporation. But be careful if digging in the area so you don't puncture the hose!
Picture
5-gallon nursery containers with bottom holes buried almost up to their rims, leaving space for more mulch applied on top of the soil. Adding a small shovelful of manure or compost into the container provides manure tea or compost tea with every filling of the container.
   One of the more frequent questions beginning gardeners ask is “When do I water, and how much?    To which experienced gardeners respond, “It depends”.  Frustratingly unhelpful for everyone!  But, it’s true – it depends on many factors specific to each garden in each season, each plant and each gardener.  What extent of direct sun and shade does the garden get during each month of the year?  What kind of soil is in each garden, and are there different kinds in different places? What plants are growing, how deep are their root systems, and are they drought-tolerant or water-needy?  How attentive is the gardener – walking through the garden daily or weekly or only when there’s something to harvest? 
     Each of these elements balanced together provides a list of possible answers to that basic question of when and how much to water and what methods to use.  Now’s the time to fit these pieces together to get plants growing well as we move into our warm summer season.
 
When Do I Water?
   Frequency changes depending on the weather.  Mostly to this point, we’ve had a coolish spring, so that wonderful quantity of November and December rains that soaked into the soil has not evaporated beyond the surface inch-deep or so.  But, those couple of days of 90-degree air temperatures weeks ago, combined with the current high-80-degree temperatures means that established plants have begun actively growing and pulling moisture from the soil.  Which means that gardeners need to begin consistently replacing that moisture as the air warmth continues and new plants are added.
     A basic timing schedule for watering during each season is:
  • Spring = Once every 3 weeks.  Soils are still cool, and roots are just beginning to actively grow.
  • Summer = Once a week, with more according to the plants’ specific foliage bulk and respiration rate – like fully-branched-out tomatoes when air temperatures are above 90-95 degrees.  Above these temperatures, plants shut down to wait until cooler temperatures return, so more water will run the risk of drowning them.
  • Fall = Once every 2 weeks.  Soil temperatures are still warm, but air temperatures and direct sun are lessened, so plant roots are more comfortable and growing.
  • Winter = Once a month if there’s no rain. As cool as we get – perhaps into the low 40 degrees, plant roots basically go dormant and stop growing, so more watering than this will run the risk of drowning the plant.
     You may be surprised at how infrequent this schedule is.  But, it leads directly into our next element.    

How Deeply Do I Water?
    Watering depth stays the same year-round for each group of plants so their entire root zones remain evenly moist.  Each time you water, you apply enough water to reach each plant’s bottom-most roots.  This is why it’s important to grow together those plants that have similar root depths and moisture needs.
  • Shallow – to 1-foot depth – carrot (depending on variety), celery, lettuce, onion, radish, potato
  • Moderate – to 2-foot depth – bean, carrot (depending on variety), cucumber, eggplant, pepper, squash
  • Deep – to 3-foot depth – asparagus, globe artichoke, melon, pumpkin, tomato
 
  • Water needs of individual plants are another consideration when you plant.  For example, keep lavender and rosemary (which want little water) separate from basil and cilantro (which want more water). 
      When you water more frequently and not as deeply, as I’ve specified above, plant roots stay close to the surface since that’s as far down as the water goes.  When hot weather bakes the soil, these roots also get baked, and the plant dies or becomes so weak from heat stress that it succumbs to pests. 
     I used to have a neighbor that loved to sprinkle her garden every evening when she came home from work.  It gave her great pleasure to be in touch with her garden and its plants. This worked fine during the mild spring weather.  However, once the daily air temperatures rose above 85 and 90 degrees, her plants were perpetually droopy, even when she took to sprinkling everything before she left for work in the morning as well as when she returned home in the evening.  Within two weeks, the plants died – the shallow roots never had the relief of growing deeply into the cooler soil, and they rotted out due to drowning from being watered twice a day that pushed out all the air pores.

What’s Soil Got To Do With It?
   The soil in the garden determines how quickly water is absorbed and how widely it spreads underground.  Sandy soil drains quickly and mostly downward.  Clay soil is the opposite, draining more slowly and sinking broadly but shallowly.  Loam soil, the middle type, spreads somewhat and goes down somewhat. 
     Incorporating more organic material in the soil – no matter which type of soil – will help the soil both drain and hold water while providing lots of air spaces for roots to develop.  
 
Which Methods Do I Use?
   Depending on how often you like to wander through your garden, and how much time you’d like to spend communing with each plant – or not – there are several watering methods that may satisfy both your needs and the plants’ needs.  In my garden, I employ all five of these options in different locations and at different times under different conditions.
  • Hand-Held Hose – Deal with specific plant needs like needing more water than its neighbors or washing down foliage undersides to get rid of pests.
  • Overhead Sprinkler – Wash off dust on foliage for more effective photosynthesis. My father installed an overhead sprinkler for each fruit tree 60 years ago and left the water running overnight for deep watering.  This is impractical now, so I now use it once a month to wash the foliage.
  • Mini-Tube Drip Emitter On Timer – Especially good for individual plants spaced far apart so water isn’t “wasted” in between plants. Make sure entire root zone gets moist, not just one limited spot due to the type of emitter.
  • Soaker “Leaky” Hose Under Mulch – Made of recycled tires, it drips along the entire length of the hose.  Lay it about 9” apart to achieve moisture going to the entire root zone, especially on fruit trees and intensively-planted raised beds.
  • Buried 5-Gallon Nursery Container With Bottom Holes – Fill with water to gradually release into soil 9-11” deep, directly to plant root zones.  Adding a small shovelful of manure or compost into the container will enable each watering to add fertilizer as manure or compost “tea”.  Because water is released so deep into the soil, evaporation is minimal and roots remain consistently moist however hot the summer temperatures are.
 
For more monthly tasks, go to March and April.
 
For major-topic articles by season, go to Homepage.
 
1 Comment

Back to Winter

3/5/2022

0 Comments

 
Picture
Succulent blooming
Picture
Daylily blooming.
Picture
Grape Hyacinth blooming.
Freesias' first blooms
Picture
Succulent blooming.
Picture
Succulent blooming.
Picture
Succulent blooming.
Picture
Ferraria crispa bloom.
Picture
Sweet pea's first bloom.
Picture
On the other side from the blooming sweetpea, a second crop of edible-pod peas seedlings comes up.
Picture
Apricot first bloom and foliage.
Picture
Ladybugs mating on an artichoke leaf.
Picture
Mulberries ripening.
Picture
Fuji apple blossoms.
Picture
Peach blossoms.
Picture
Mandarin fruit set and blossoms.
Phlomis purpurea on left, Phlomis fruticosa on right.
Picture
Rose blooming.
Picture
Snowbush, Breynia disticha, displays its colors.
What crazy weather, huh?  Tons of rain in November and December – totaling our “normal” annual amount of 11 inches.  Then no rain at all, not even a dribble, during all of January and February, which are usually our rainiest months.  Indeed, not only no rain, but into-the-90-degree temperatures which made us all (including the plants) think that Spring had sprung and resulted in some fruit trees blossoming and lettuce bolting (going to seed).  But no, that weather didn’t stick either, and now we’re back to Winter temperatures of 40s at night and merely 60s during daytime.  At least for last week and this week.  We can’t tell what’s coming next, and the garden’s trees and plants just mellow along with whatever is happening at each moment.
 
A walk through my garden an hour ago – see the photos -- revealed that not only is nobody suffering -- quite the opposite – everyone is robustly growing, probably in part to the brief torrent of rain we got yesterday evening that sank well into the plants’ rootzones. And the coolness that they’ve gotten used to both in the air (despite that week’s hot spell we had) and in the soil (which probably stayed cold through that hot spell). 

​And now, as I post this, it's raining again.  Yay!
 
An added bonus is that so many of my succulents are blooming their heads off.  I’m glad that over the years I have inadvertently chosen succulents that color up and bloom and multiply at different times of the year – some with winter’s cold and low sun, and others with summer’s heat and brilliant sun.  So something’s always looking good.
 
At the beginning of our cool season in November and December, we were justifiably concerned with air temperatures dipping into the 40s and 30s because of the potential damage to our tree and plant foliage since they hadn’t yet acclimated to the coolness.  But, by this time of year, even with that hot spell seemingly disrupting their dormancy, most plants are doing just fine because they’re used to the lower temperatures so aren’t shocked by the even-lower temperatures.  And, the rain did help remind the plants that they should continue growing well. 
 
This should be YOUR reminder to make sure that plants – especially those in containers – should be kept watered sufficient to keep the soil or potting mix moist so that roots are kept hydrated.  Not wet, since plants do grow so much more slowly during low temperatures and in many cases – like deciduous fruit trees -- are dormant or close to it so you don’t want to literally drown them.
 
Still Time for Growing Peas
If you’ve not grown edible peas before, you still have through the end of April to get seeds into the soil, although earlier sowing will produce a larger harvest.  Peas, I think, are the cool-season version of must-grow plants like tomatoes are for the warm season.  The flavor and crunch of munching the just-picked raw pea is beyond delicious delight.  And I think this is the case perhaps especially if you don’t like cooked peas.  There’s just no similarity.  Even purchasing them at the grocery store means they’re at least several days old.
 
If you’ll be planting peas soon, I suggest that you purchase the Wando variety because it is more heat-tolerant than other varieties, since the plants will be developing as the weather warms. 
 
I grow three different types:
  1. Flat-podded when mature, with small actual interior peas, and the entire pod is edible.  This year, I’m growing Mammoth Melting Sugar, Oregon Sugar Pod, Sugar Magnolia.
  2. Full-podded when mature, with large interior peas, and the entire pod is edible.  These are my favorite.  This year, I’m growing Royal II Sugar Snap, Sugar Snap, Super Sugar Snap.
  3. Full-podded when mature, with large interior peas, and the pod isn’t completely edible.  These are my husband’s favorite.  After enjoying pulling apart the pods and eating the peas, he chews the empty pod, extracting all of its crunch and juiciness, before throwing the remaining mess of strings into the compost pile.  This year, I’m growing Alaska, Cascadia, Frosty, Green Arrow, Kelvedon Wonder, King Tut Purple, Laxton’s Progress #9, Lincoln, Little Marvel, Wando.
 
For more timely tasks, see March.
 
For major topics from previous blogs, see seasonal listings on Homepage.

0 Comments
<<Previous

    Archives

    August 2022
    July 2022
    June 2022
    May 2022
    April 2022
    March 2022
    February 2022
    January 2022
    December 2021
    November 2021
    October 2021
    September 2021
    August 2021
    July 2021
    June 2021
    May 2021
    April 2021
    March 2021
    February 2021
    January 2021
    December 2020
    November 2020
    October 2020
    September 2020
    August 2020
    July 2020
    June 2020
    May 2020
    April 2020
    March 2020
    February 2020
    January 2020
    December 2019
    November 2019
    October 2019
    September 2019
    August 2019
    July 2019
    June 2019
    May 2019
    April 2019
    March 2019
    February 2019
    January 2019
    December 2018
    November 2018
    October 2018
    September 2018
    August 2018
    July 2018
    June 2018
    May 2018
    April 2018
    March 2018
    February 2018
    January 2018
    December 2017
    November 2017
    October 2017
    September 2017
    August 2017
    July 2017
    June 2017
    May 2017
    April 2017
    March 2017
    February 2017
    January 2017
    December 2016
    November 2016
    October 2016
    September 2016
    August 2016
    July 2016
    June 2016
    May 2016
    April 2016
    March 2016
    February 2016
    January 2016
    December 2015
    November 2015
    October 2015
    September 2015
    August 2015
    July 2015

    Categories

    All

    RSS Feed

© 2015 Yvonne Savio. All Rights Reserved.                                                                                                                                                         Web Design by StudioMAH.