
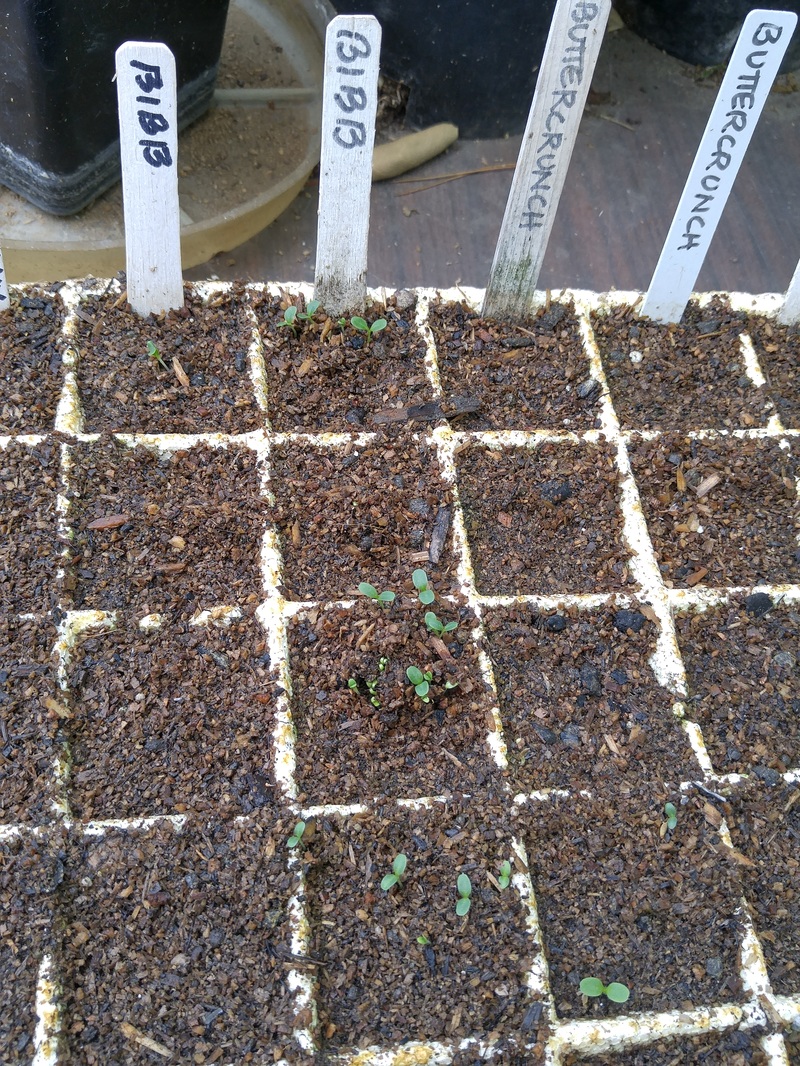
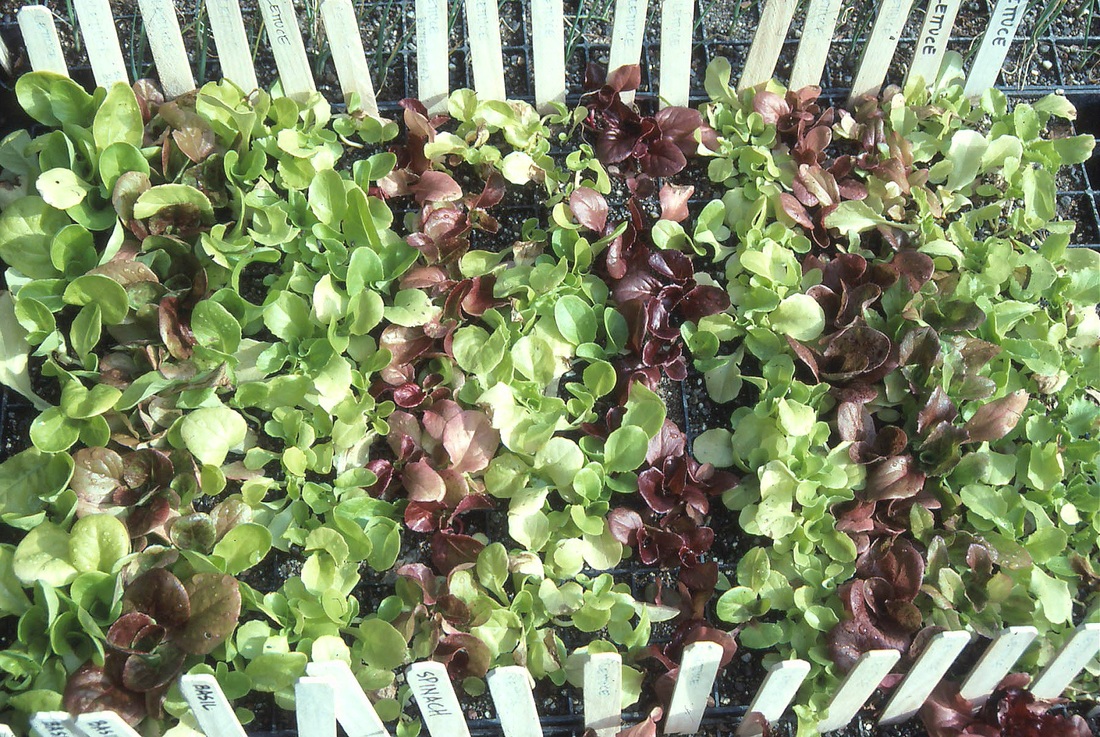
 The first seedlings are up! 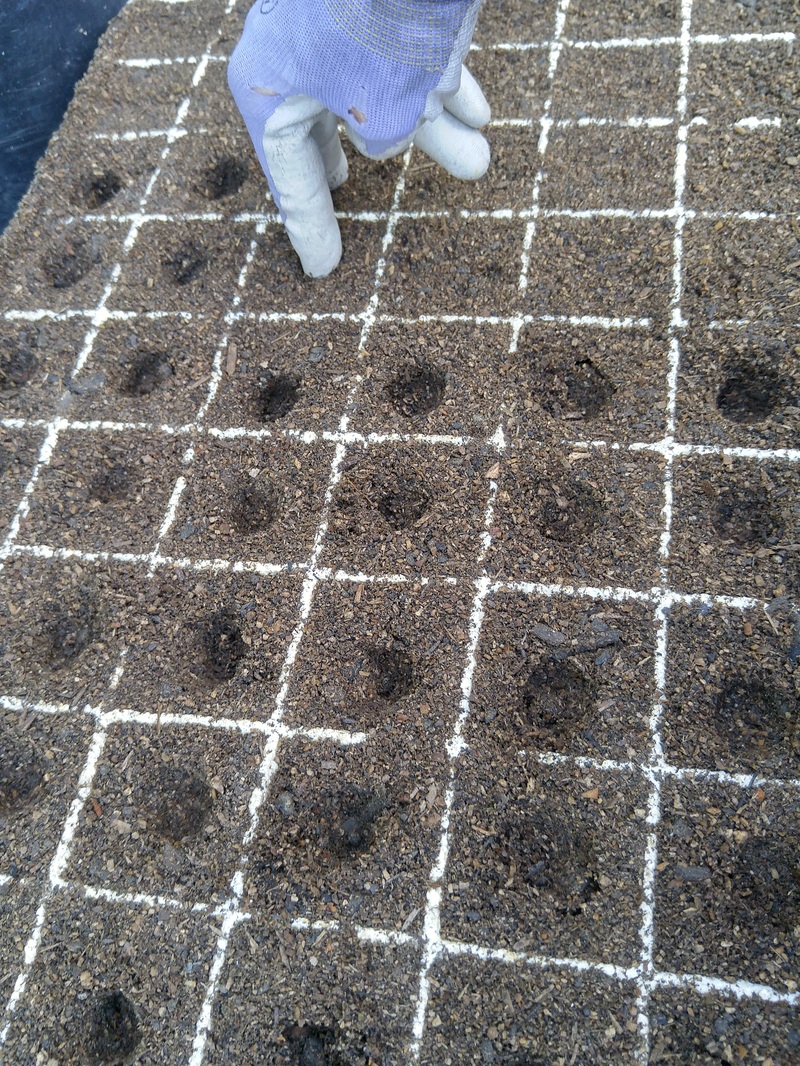 Seeding process #1: fill cells with potting mix - I prefer Supersoil for its consistently medium-fine grain. #2: punch holes 1/2 inch deep with fingers. 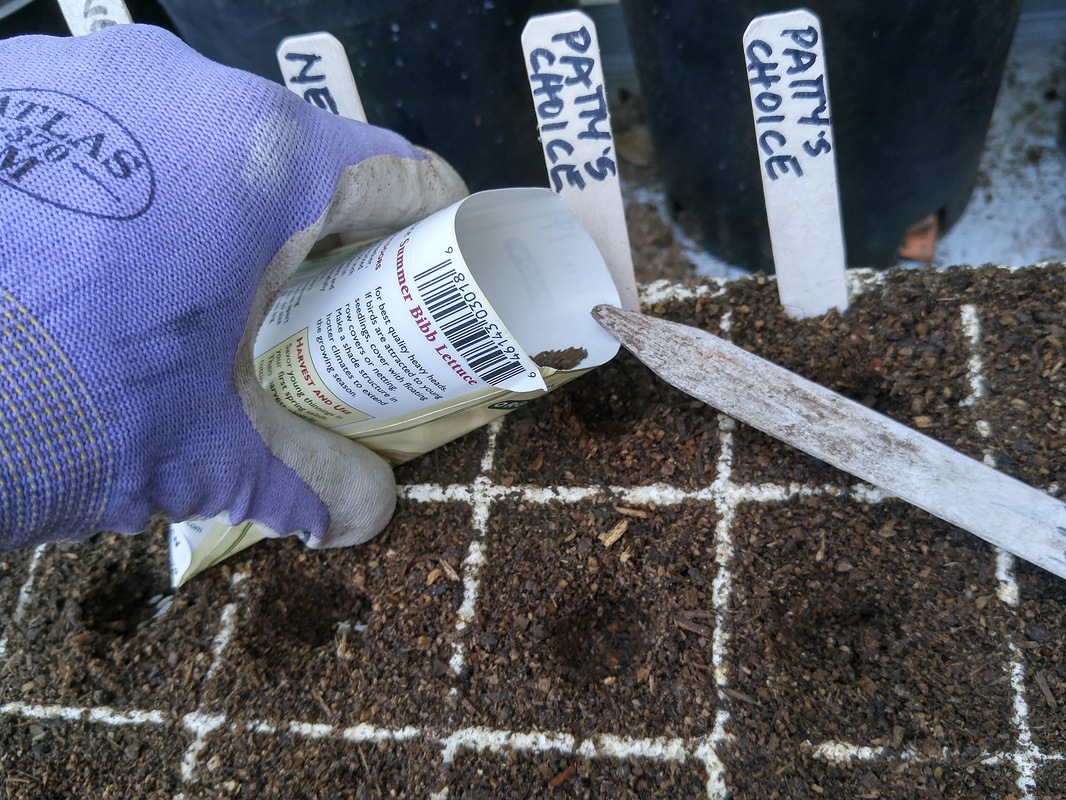 #3: gently nudge a couple of seeds from packet into each hole. 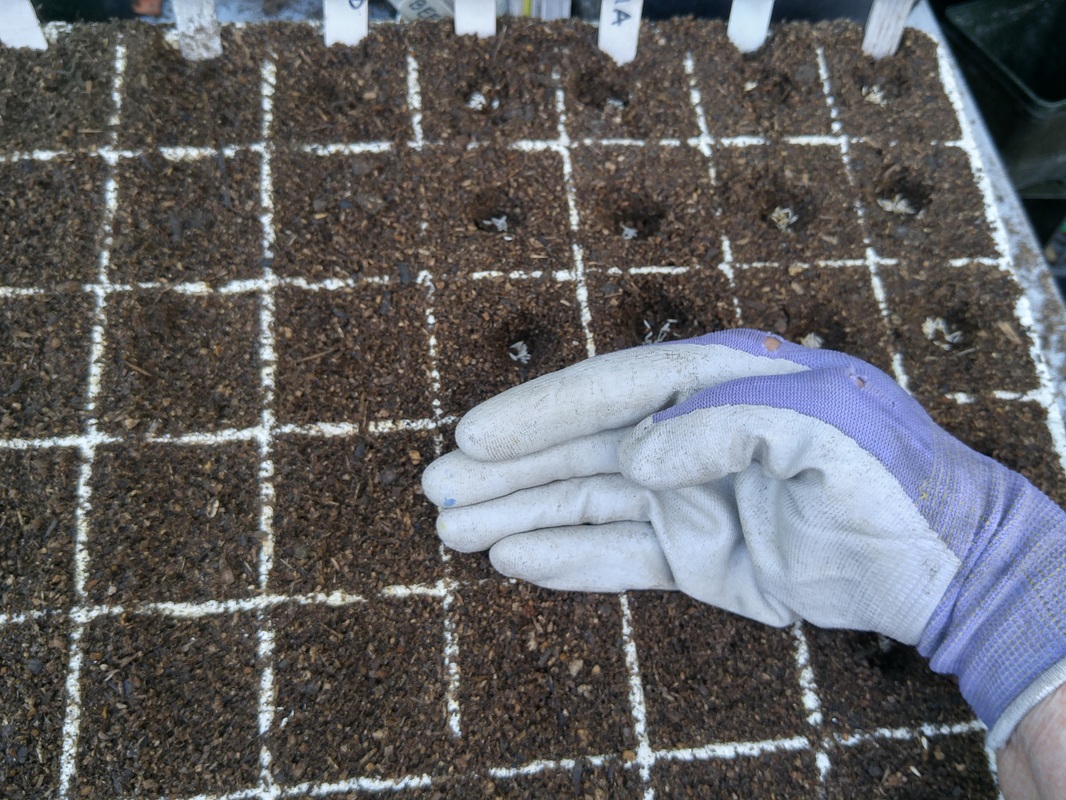 #4: with the back of your hand, gently move up the row to cover seeds with the potting mix already in each cell. Stay in the row so any seeds that move will still be in their variety's row. 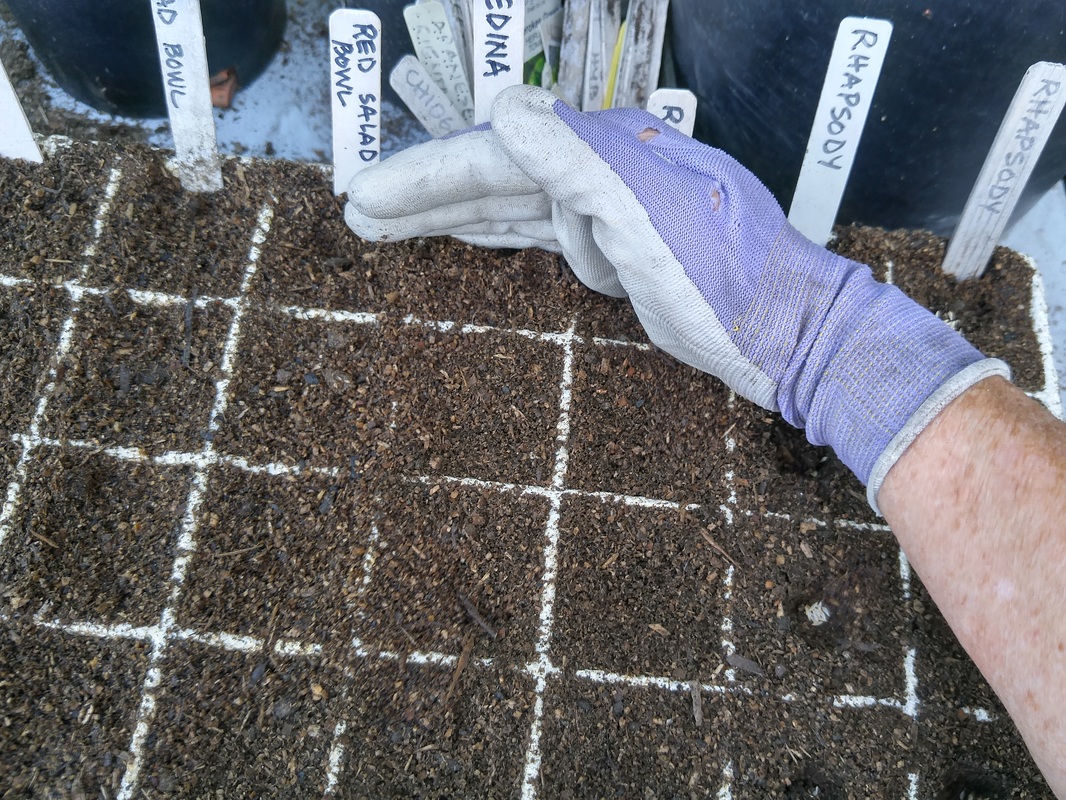 #5: with the front of your hand, draw down the same row to make sure all seeds are covered.  #6: place tray in water drip tray. Gently sprinkle from top up and down in each variety row so seeds don't move out of their rows. Water will run through each cell, moistening all of the potting mix, and into the tray. Keep this water in the tray to be reabsorbed from the bottom of each cell as it's needed by the soil mix. | Yeah, well, 100 degrees isn’t fun in the garden, for people or plants. Hopefully you kept track of the forecast, and watered before the temperature bolted. The trick is to get the moisture into the soil before the heat, not during the heat, just in case any phytophthora fungal organisms exist – they’ll go crazy when in both heat and moisture, and your plants may then be goners. When you water ahead of the heat, the soil moisture stays cooler in the root zones, so any existing phytophthora won't as readily affect your plants. The first lettuce seeds germinated! The first of the 24 varieties of lettuce seeds that I sowed last weekend are coming up – Bibb, Kagraner Sommer, and Tom Thumb. 21 varieties to go! See the picture sequence at left for the seeding process, using my 30-year-old Speedling (R) trays that I purchased from Peaceful Valley Farm Supply (www.groworganic.com). The drip trays became available a couple of years ago, too. Yes, the set is relatively expensive with shipping, but mine are still serving me well after all these years! I use the 2" cell size. In the past, I’ve been careful to let only two or at most three seeds fall into each cell, so I could snip the less-vigorous ones when transplanting them. This time, since many of my seed packets were 2 years old, I was more generous to make sure I got good germination. The Bibb especially seems to have germinated all of the dozen-or-so seeds in each cell. When transplanting these, I’ll either snip all but two seedlings, or separate the seedlings into separate plants. The reason to snip instead of pull extras out of the cell when allowing the remaining ones to develop further is so you don’t disturb the root of the couple you want to develop, which would set back the seedling a week or two. Other “Seedy” Notes As some herbs reseed themselves, transplant them for overwintering in the garden. Dill, especially, seems to germinate better this way, so take advantage of it. Problems with seed germination may be due to old seed, soil that is too warm or has been allowed to dry out, or seeds that were sown either too deeply or not deeply enough. Keep seedbeds moist and shaded from hot afternoon sun until the seedlings develop two to four true leaves. When sowing cover crops for the fall and winter, consider edible ones. Kale and rocket (roquette, arugula) are full-flavored leafy vegetables that withstand freezing. Both germinate in cool weather and are welcome fresh greens for stir-fry and soups all winter long. In the spring, they can be easily turned under as "green manure" when preparing the soil for the main spring and summer crops. |
|
0 Comments
 These $4 trays keep seedlings corralled for easy watering and moving, including enabling reabsorption of water that initially ran through potting mix. These $4 trays keep seedlings corralled for easy watering and moving, including enabling reabsorption of water that initially ran through potting mix. Ah, September’s flip-flopping weather! Two weeks of mildness got me into a mindset of cool weather coming. Then, this week of heat – yesterday’s venture into town registered 103 degrees!
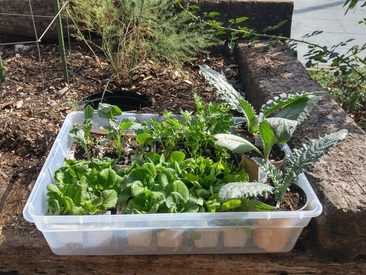
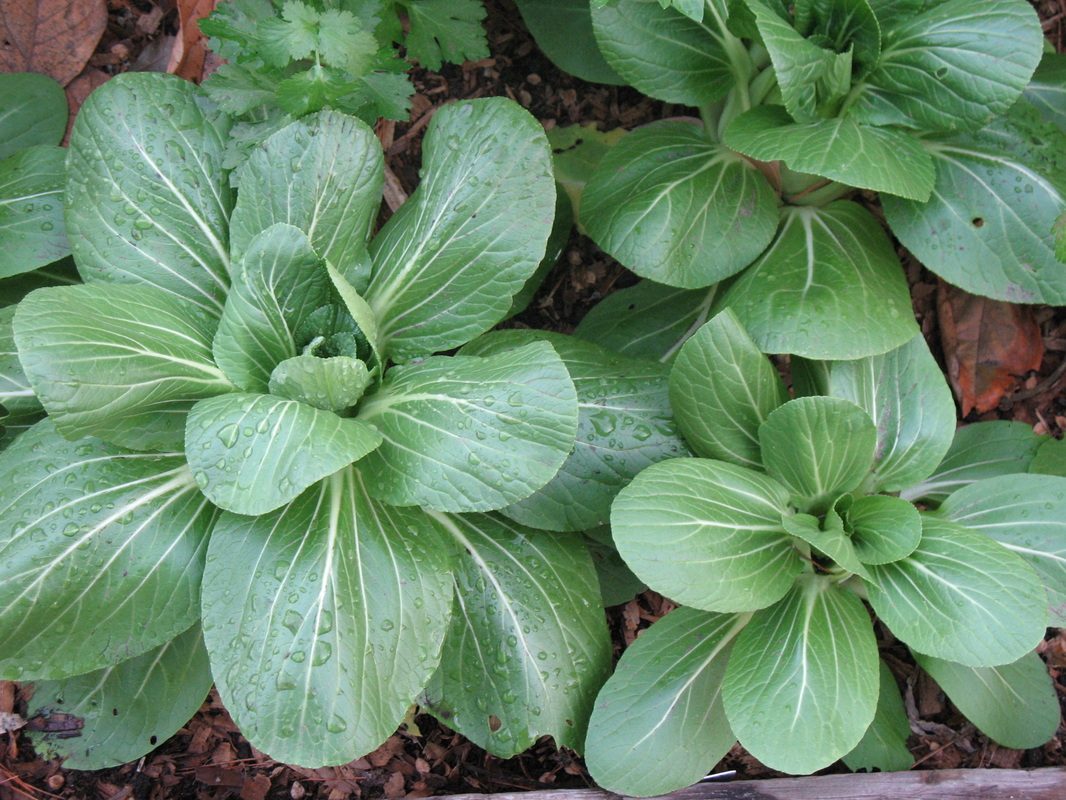
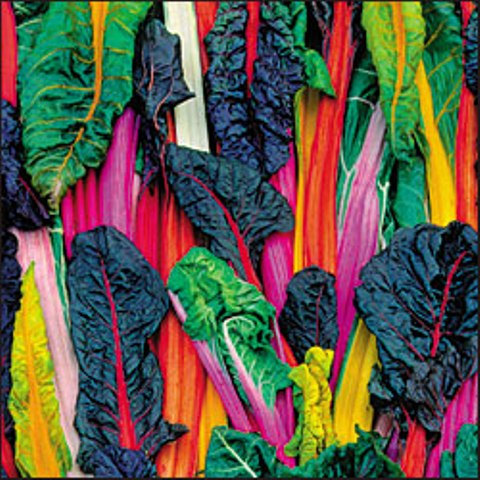
I’d just purchased a batch of tiny lettuce, spinach, chard, kale, cilantro, parsley, and artichoke seedlings from my favorite provider, San Gabriel Nursery, a couple of days ago. But by about noon yesterday, they were all drooping, so I had to move them into afternoon shade and water them again. I’ve found plastic storage trays to be ideal for grouping six-packs and 4” pots, keeping them watered and easily moved in bulk between locations as needed. They’re about $4 from Target. After another two weeks of acclimation to my garden and their new home, I’ll transplant them. In the meantime, I’ll prepare the soil in the bed where they’ll mature. I’ll pile on about an inch of manure, another inch of compost, some coffee grounds, and a scattering of Dr. Earth fertilizer with about even numbers of N-P-K. Then, using a hand trowel, I’ll turn it all in with the top inch of original soil in the bed. I don’t want to dig deeper so I don’t disturb the understory soil that’s become full of microorganisms that’ll help the new transplants connect with their established supporting networks. This is done two to three weeks before I’ll sow seeds or transplant seedlings there so the heat-up of the new mix can be accomplished and cooled down back to regular temperature before adding the new plants. If you don’t wait, chances are the new roots will be burned, and seeds sown may not germinate. Why Sow Seeds and Transplant Seedlings Now? Seeds sown now for winter and spring blooms and crops – especially edible peas and flowering sweet peas – and transplanting perennials like artichokes, asparagus, rhubarb, strawberries, and California natives – will encourage strong root and foliar development that will survive most frosts, thrive, and bear food and flowers sooner. Especially during our continuing drought, best establishment practices will assure long productive plant life! Sow or transplant two or three times the amount you would in spring, as these overwintering crops will grow very slowly. For salad greens like lettuce and spinach and bok choy, you’ll harvest only a couple of leaves a week from each plant, so you’ll need many more plants to result in frequent salads. Thanksgiving is my area’s average first frost date, although it’s been several years since my garden has had any frost at all. Plants that have developed deep root systems and mature leaves are more tolerant to the cold. When these plants are three or four inches in size before the first hard frost, they're mature enough to be harvested throughout the fall, winter, and early spring. These will bolt at the first real warmth of early spring, though, so they can't be counted on to provide a crop after that. But, by then, you'll have made the first spring plantings, so the gap between harvests won't be too long. When sowing cover crops for the fall and winter, consider edible ones. Kale and rocket (roquette, arugula) are full-flavored leafy vegetables that withstand freezing. Both germinate in cool weather and are welcome fresh greens for stir-fry and soups all winter long. In the spring, they can be easily turned under as "green manure" when preparing the soil for the main spring and summer crops. 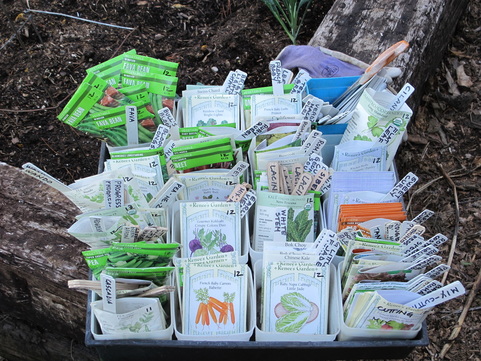 I do love starting seeds. The process promises such a bounty of edible veggies and beautiful blooms that’ll last for months and months, especially as cool weather lengthens the harvest. It really is an investment in the future, from short-term to long-term.
Short-term lettuce and radishes come up in less than a week, and we’re eating them a month later. However, the many lettuce varieties will produce all through winter and spring into early summer; some even resist bolting beyond that in my hot-summer Pasadena garden. Long-term broccoli keeps sending up bitesize shoots through June and sometimes longer; and cabbage and cauliflower take several months to form their heads, but what a great amount of food! One of the great delights of growing our own veggies and bloomies is the reinforcement we get from checking the prices at the groceries and florists – and feeling so virtuous that we’re eating much greater quantities of healthy produce and enjoying our beautifully blooming gardens at considerably less cost than if we had to purchase them commercially. But this really holds only for the specific items that are easily grown and produce a lot in our individual gardens. For example, years ago, I grew corn and melons and annual flowers, but the amount of space and length of time it took to get a couple of incompletely-set cobs and unsweet fruit and 3-week bloom just wasn’t worth it. Now, I’d also add the cost of water to keep those plants producing! While growing them did provide the experience of knowing what was required, since then, I much rather grow just about any other summer crops because I get so much more food and flower value. And I prefer growing cool-season vegetables because they produce for so many months longer – and don’t take the amount of water needed during hot weather! How I organize my seed packets
How I prepare the packets and labels
|
Categories |
 RSS Feed