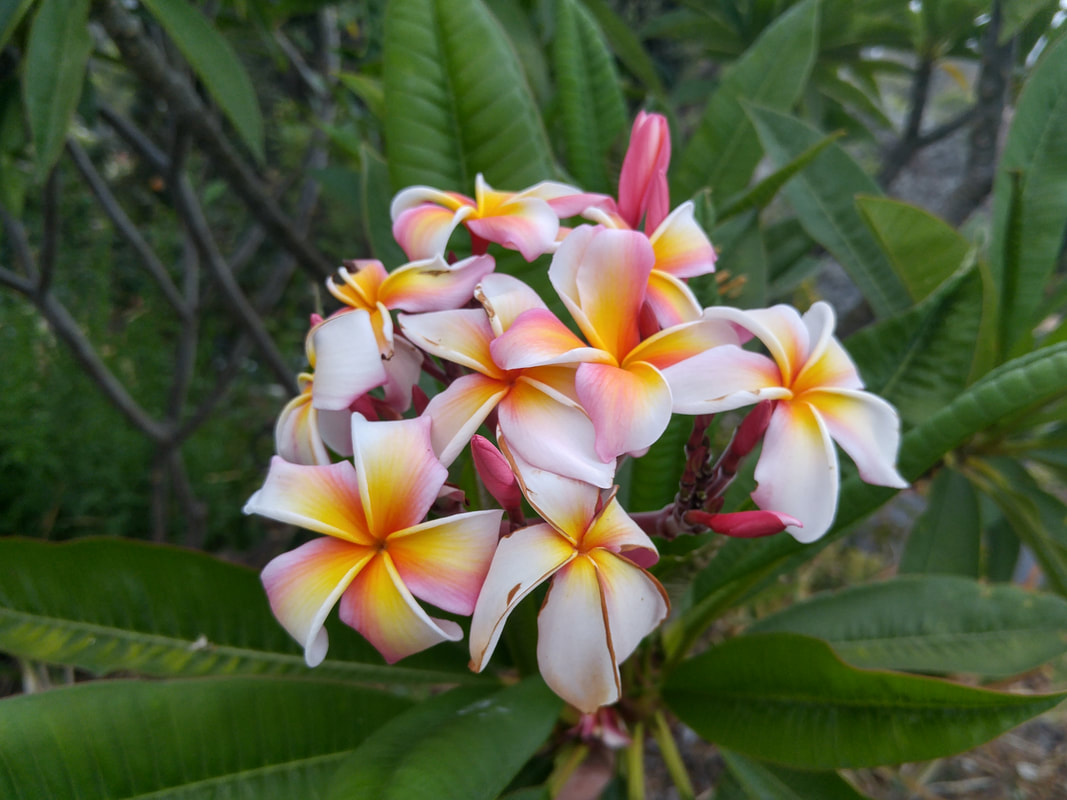
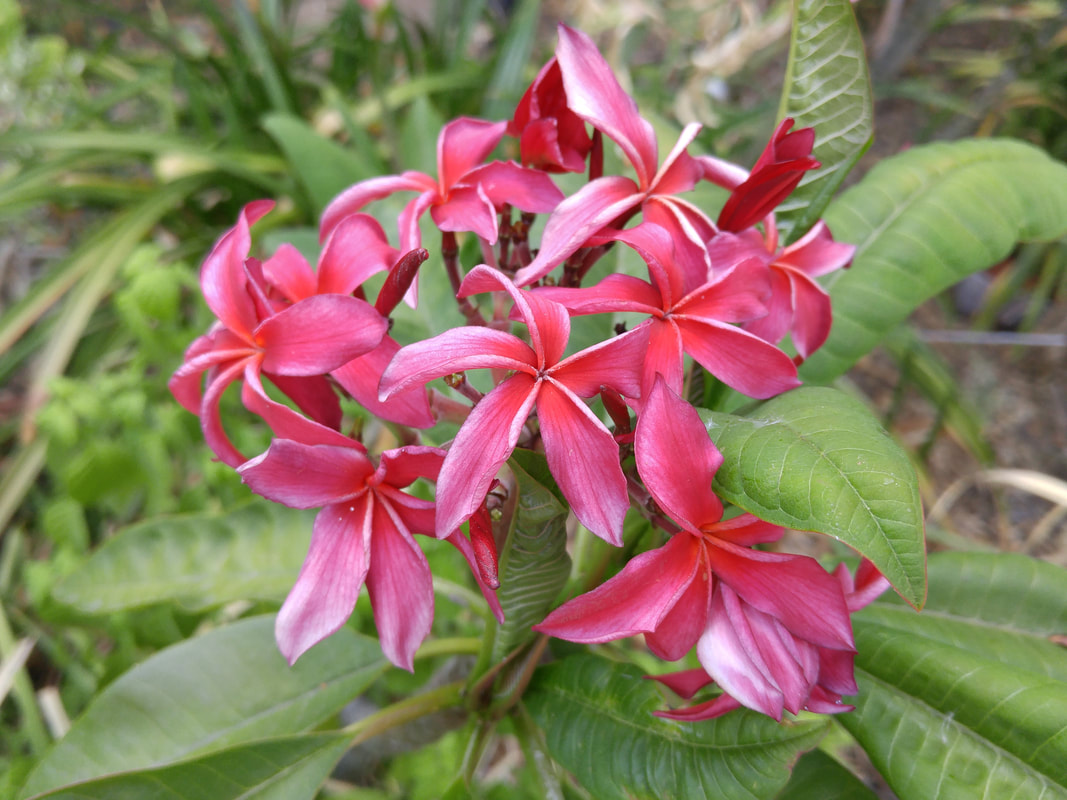
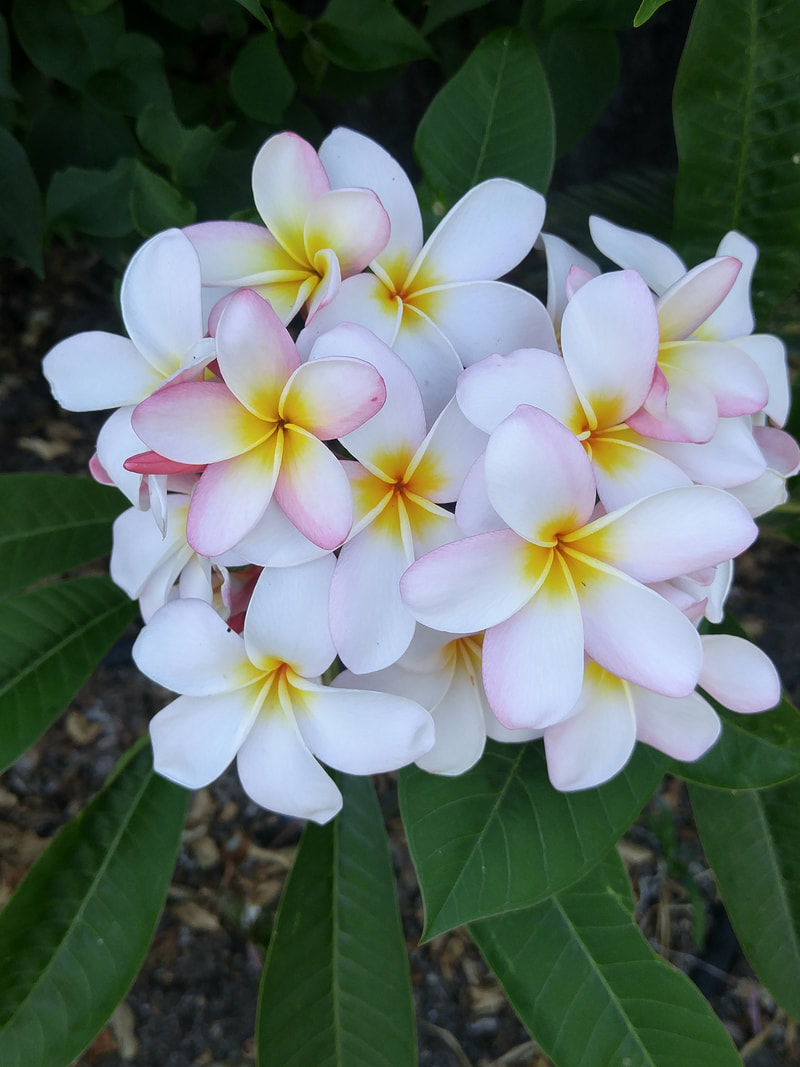
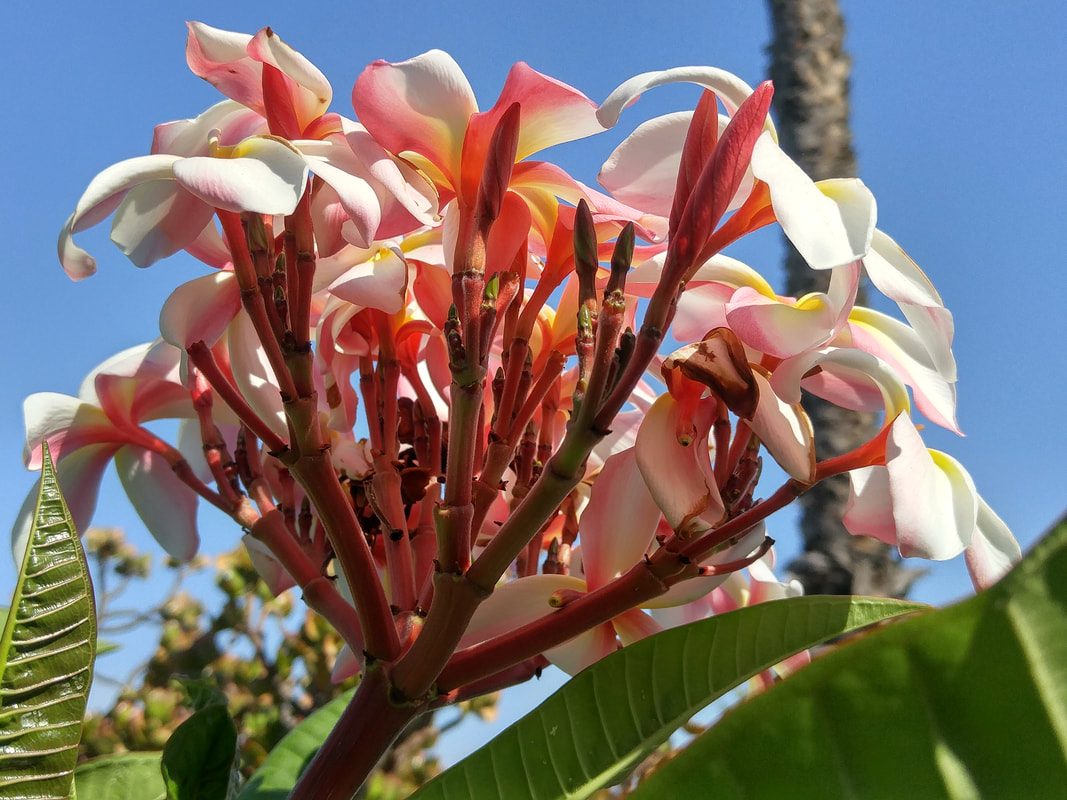
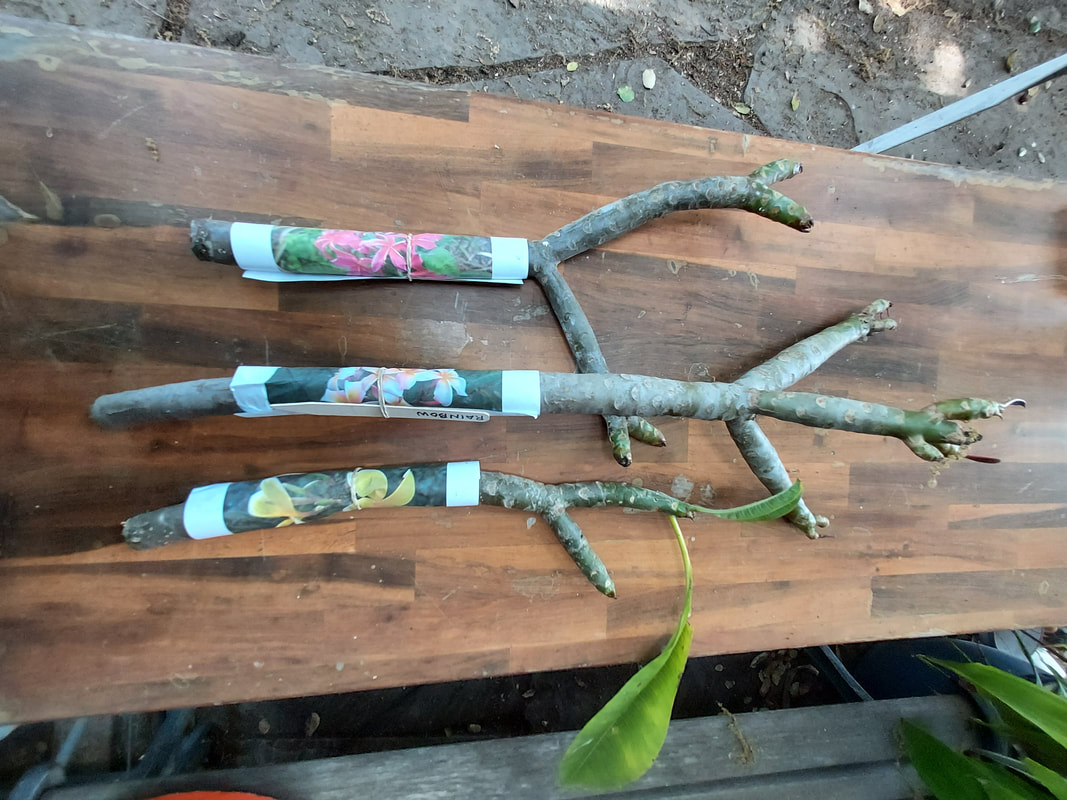
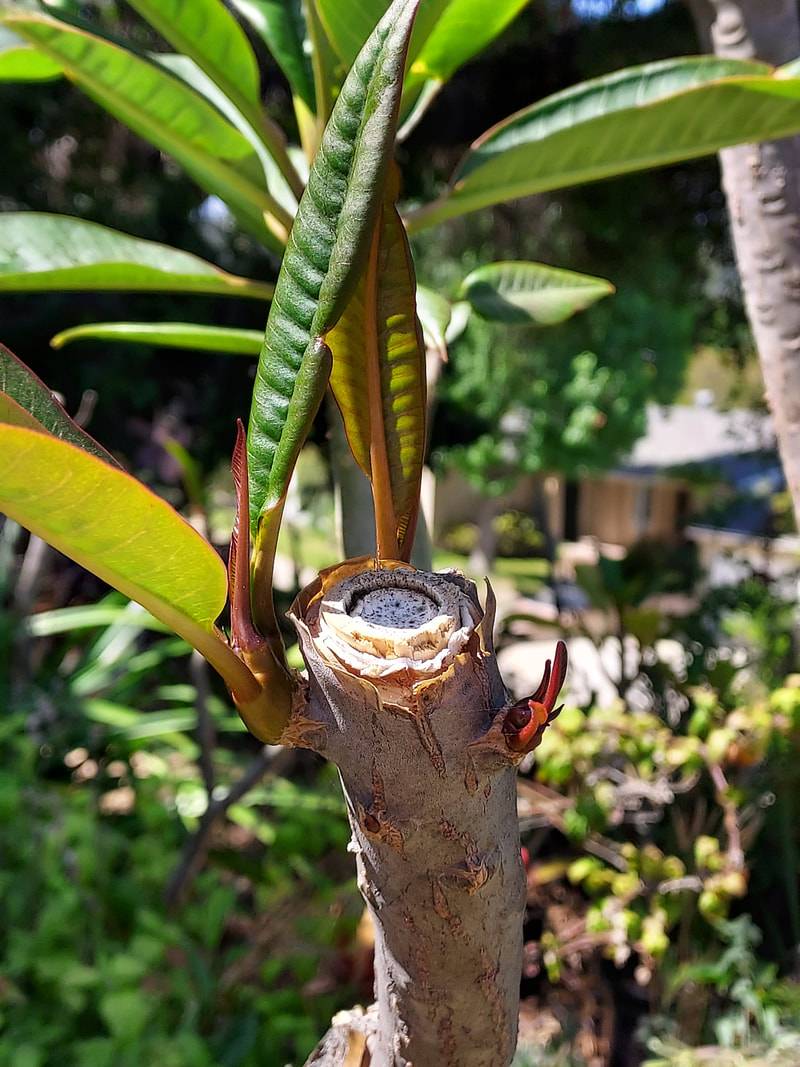
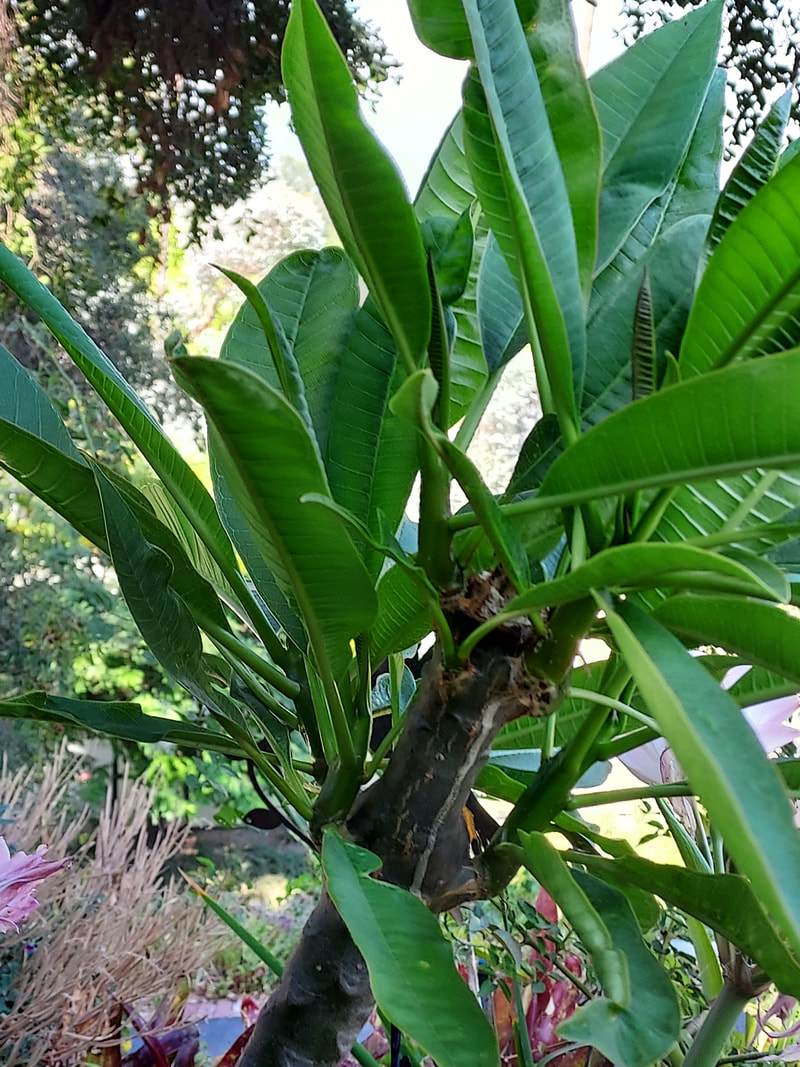
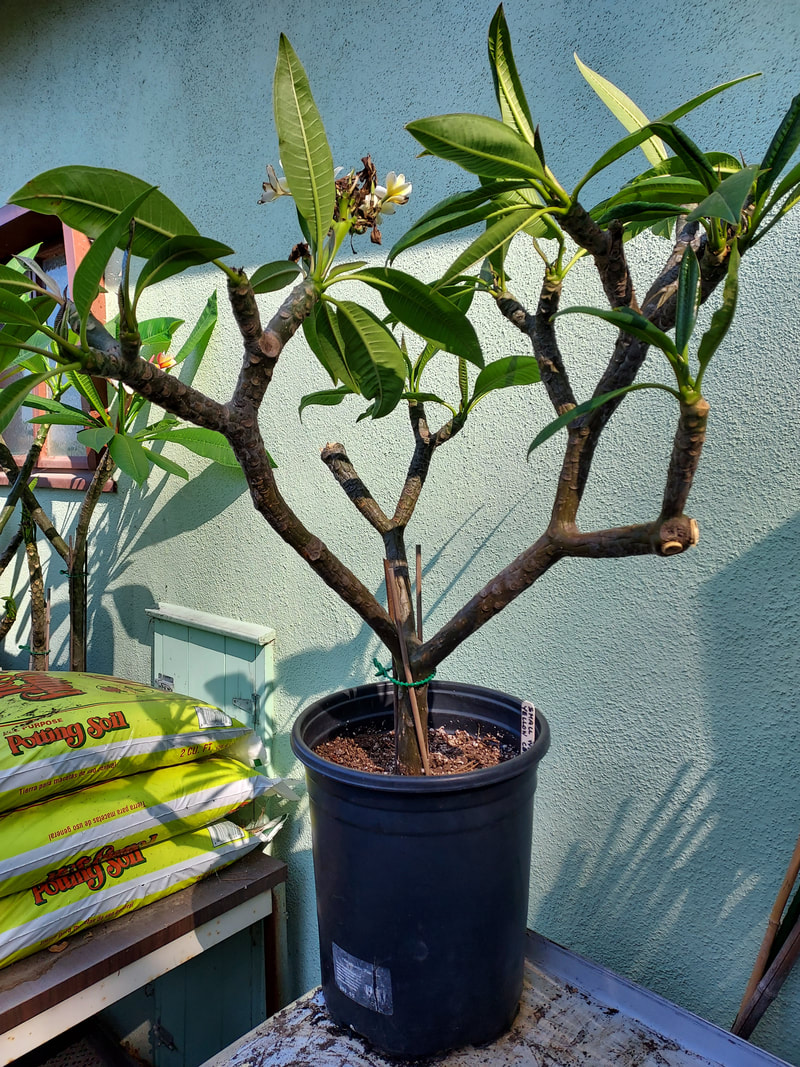
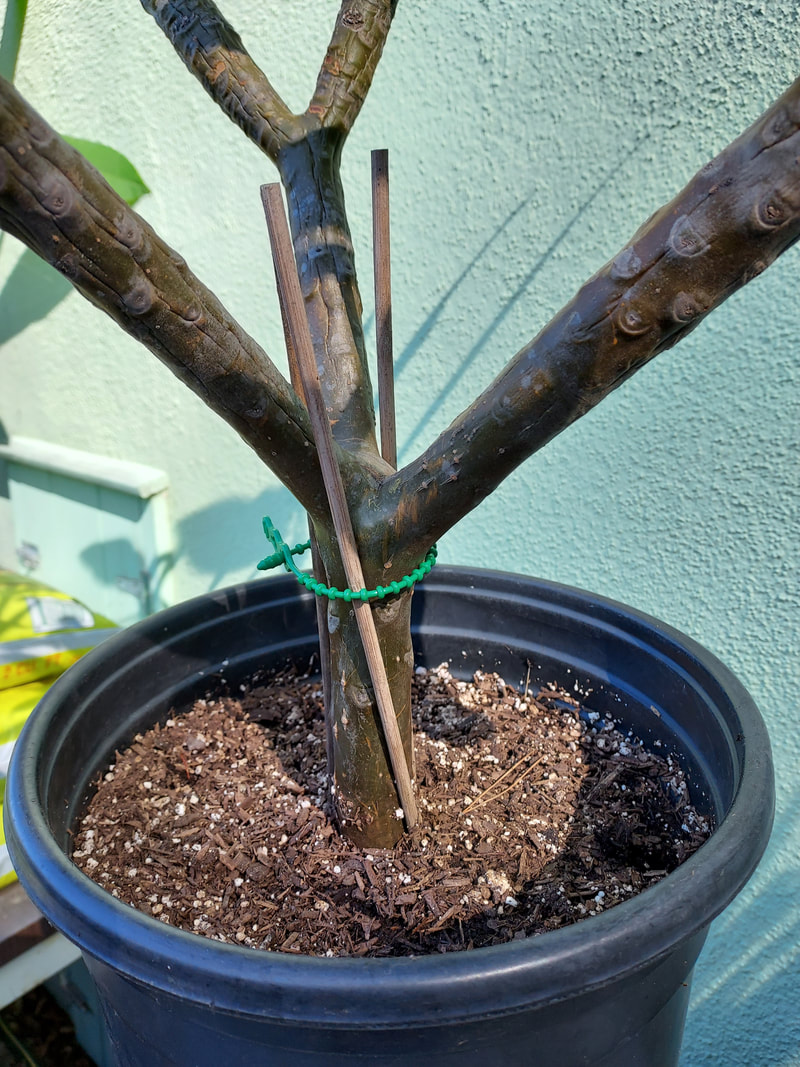
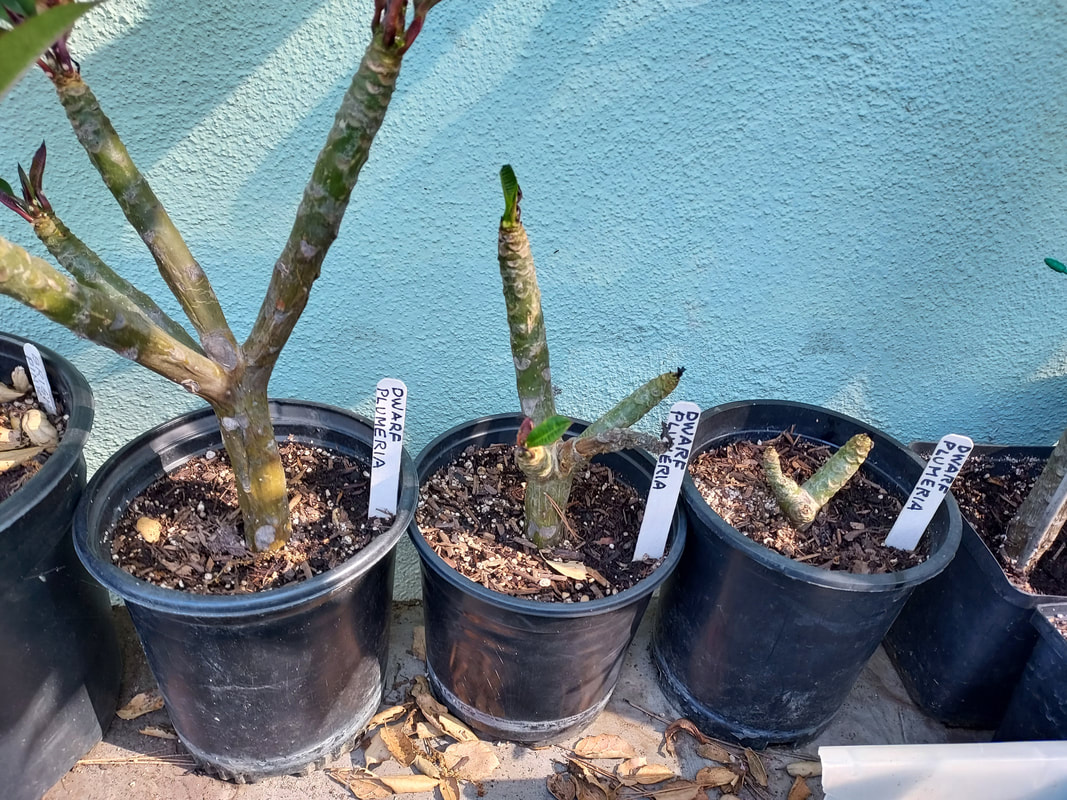
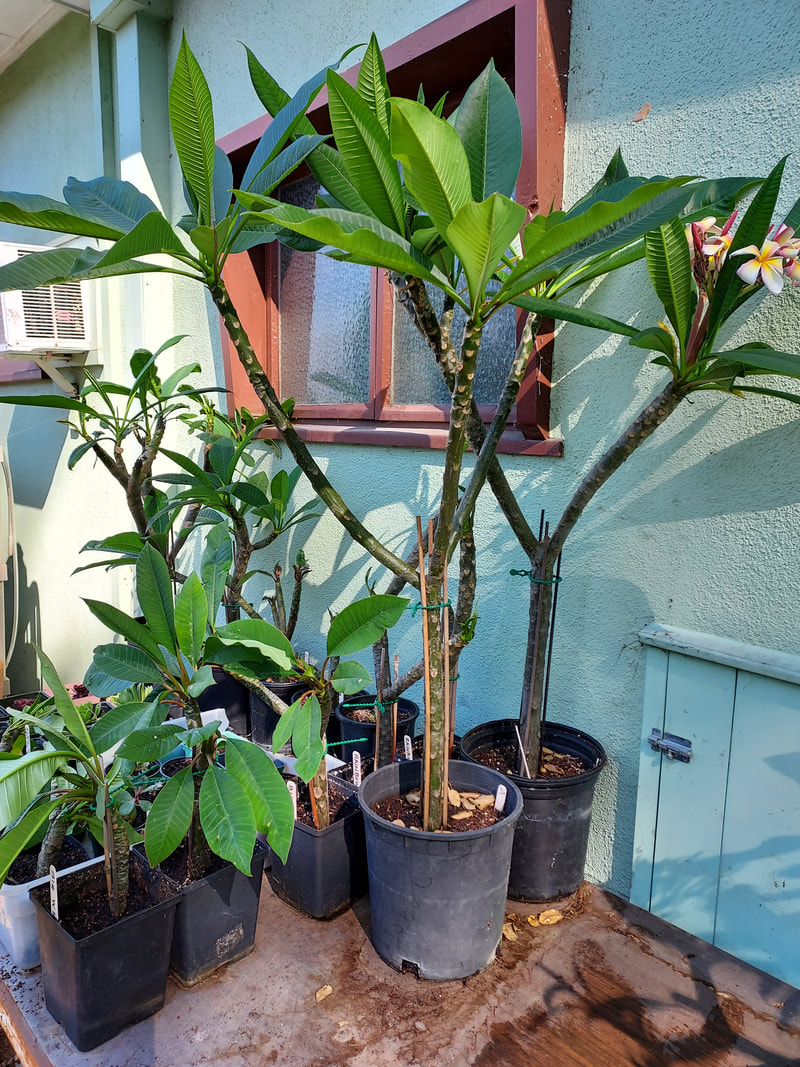
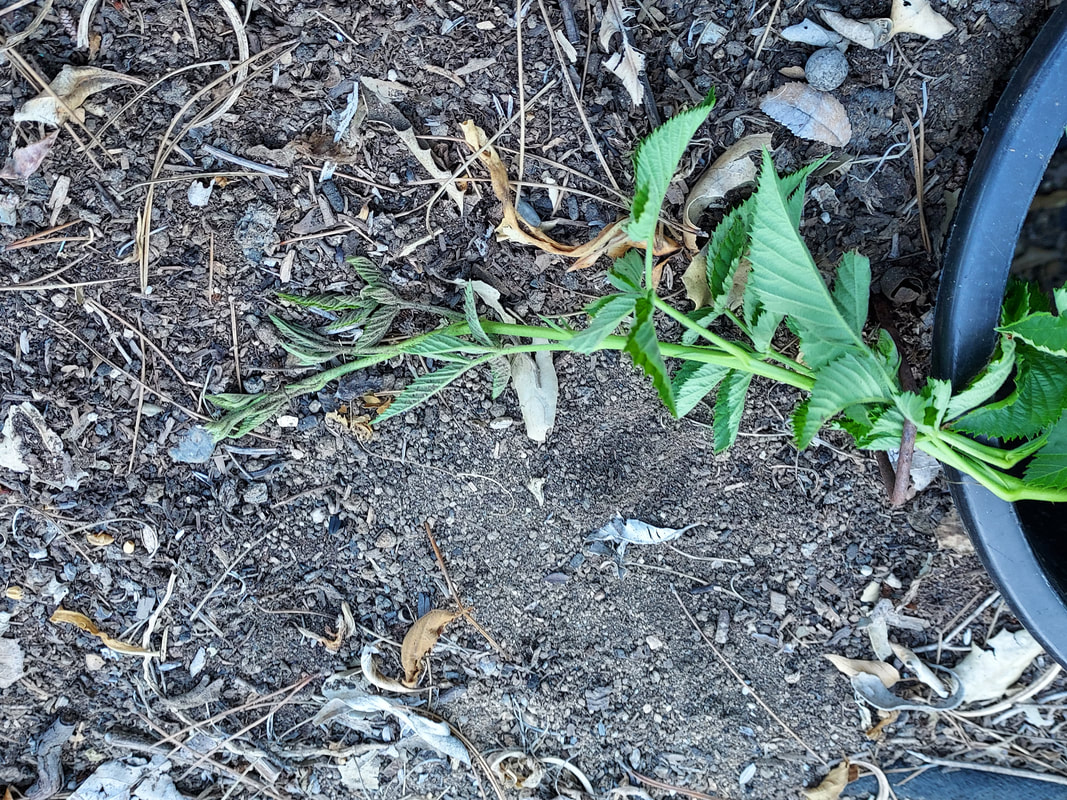
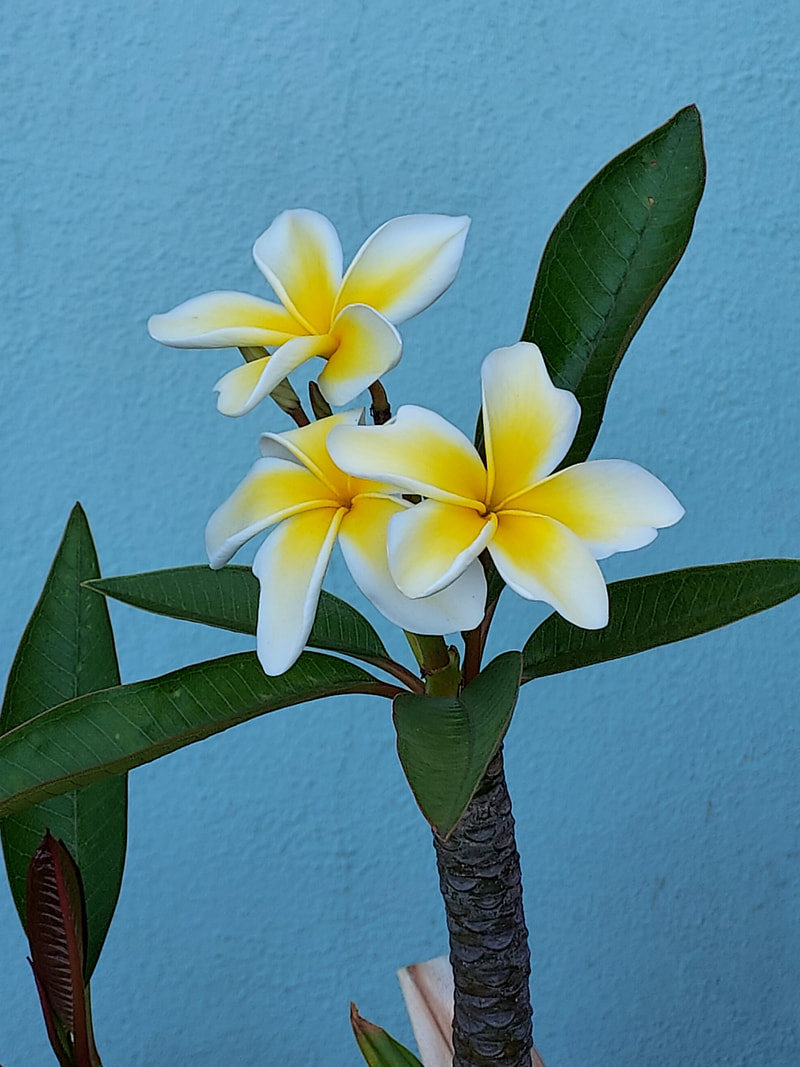
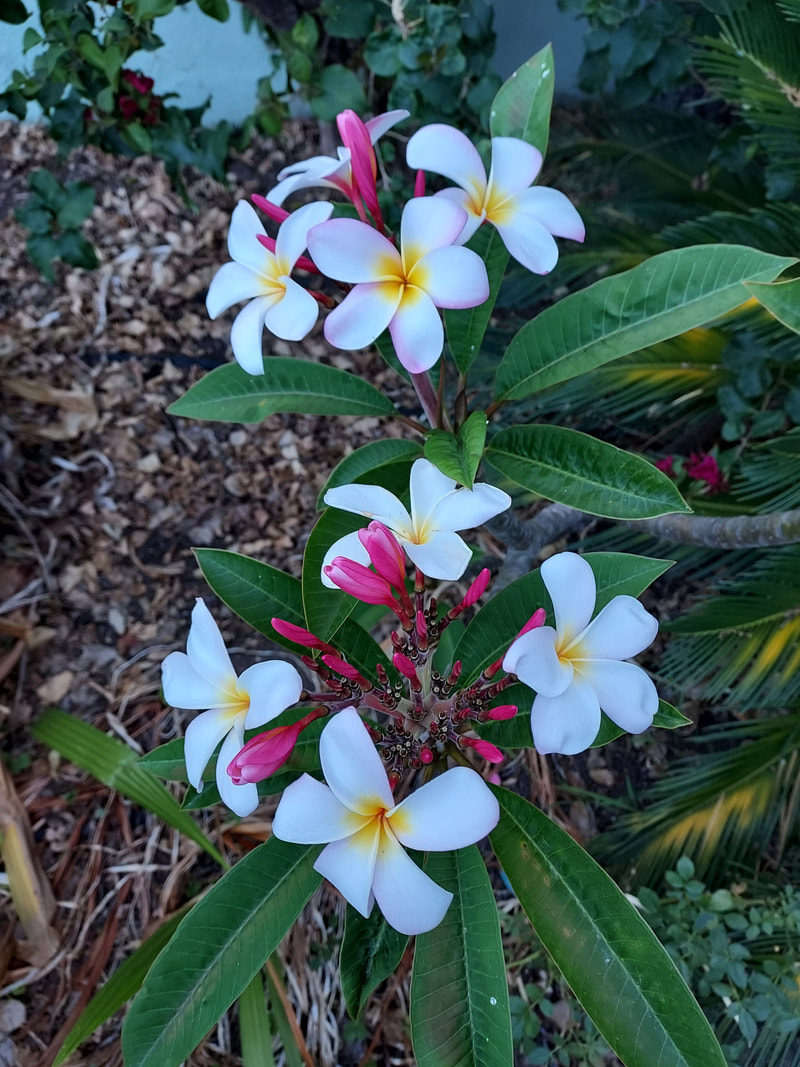
| | I purchased my first plumeria “stick” many years ago at one of those big fairs. I was seduced by the many colors on the posters adorning the booth’s walls, and the promise that this mere leafless stick could become a real live plant with exquisite blooms and fragrance. At only $5 each, I decided to splurge and give one a try. I asked the vendor which might be the easiest to grow and have the most fragrance. I went home with the one that ultimately produced multi-colored blossoms and intoxicating fragrance that I call Rainbow. Over the years, it’s branched many times and I’ve enjoyed its many yearly blooms and fragrance. I also was pleased that it thrived in my garden’s all-day direct sun and needed very little water. But when it grew so tall that I could see only the bottoms of the bloom clusters, I knew I’d have to trim it back. Although I’d propagated many kinds of plants over the years, I didn’t know whether I had to cut the plumeria branches at the base of their branching, or whether I could also cut in the middle of their 2-foot-long branches – whether they’d resprout or die back completely. So I did both. Luckily, both techniques worked. So, I “evened out” my trimmings on the original plant so the branching would produce blooms on each of its remaining branches at about the 4-foot height, guaranteeing many more years of enjoyment and more cutting possibilities for future “sticks” to pass along to gardener friends and at plant sales. Cutting the branch straight across is necessary for a clean cut. This will enable the main plant to resprout new leaves from the top surfaces. Even with some dieback, the new leaves covered the unattractive spots. The base of the cut branch must be allowed to callous over completely before potting it up to root. Keep it in the shade, laid flat so the cut edge is completely open to the air so it can callous completely, and leaves are allowed to have their upper surfaces upright so they can continue their limited photosynthesis. The sap will continue dripping for an hour or so, so you may want to put some newspaper or soil to catch the drips where they fall. It may take up to three weeks for the callous to completely dry and form a seal that’ll be impervious to water. So don’t try to rush the process or pot it up too soon. I did initially pot up some branch cuttings as soon as I’d cut them, and while the leaves stayed perky for a couple of weeks, ultimately the branches did shrivel and rot without forming any roots. Once the branches are fully calloused, pot up the branches so the base – from which the roots will emerge – is about 2 inches above the bottom of the container. I use gallon-size pots for short branches perhaps a foot or so long. If the branches are multi-branched like in the shape of a “Y”, then I use a 5-gallon container and fill the potting mix to within an inch of the top. While the roots will develop only from the bottom calloused area, having the rest of the multi-branched trunk buried in potting soil stabilizes it. I’ve found that staking and tying the branch will help keep it stable through waterings and moving the container until sufficient roots develop to anchor the plant. Before I provided this support, even minor movement dislodged larger unbalanced Y-shaped branches, and I had to repot them up. So, now I provide this support at the very beginning when I pot them up initially. Once potted up, place the container in a location in bright light but out of direct sun. Water it several times to thoroughly moisten the potting mix and make sturdy contact holding the cutting in place. Water again perhaps once a week just to keep the potting mix barely moist so roots can get well established. |
|
14 Comments
|
Categories |
 RSS Feed