
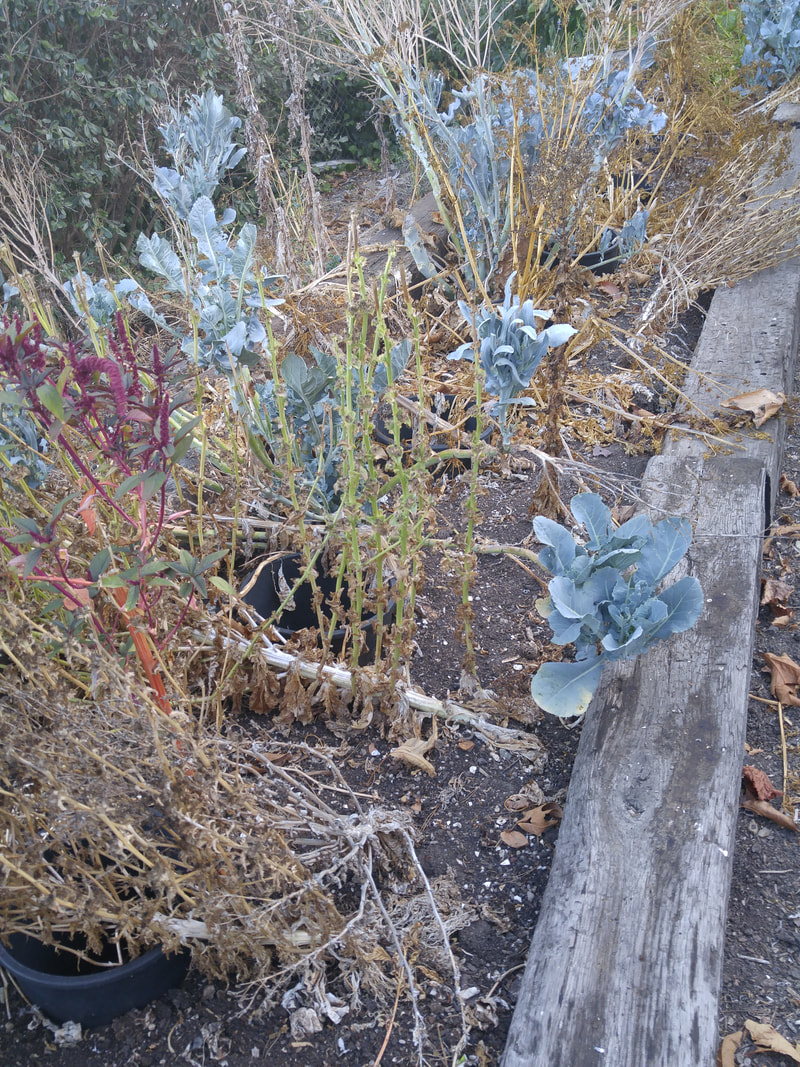
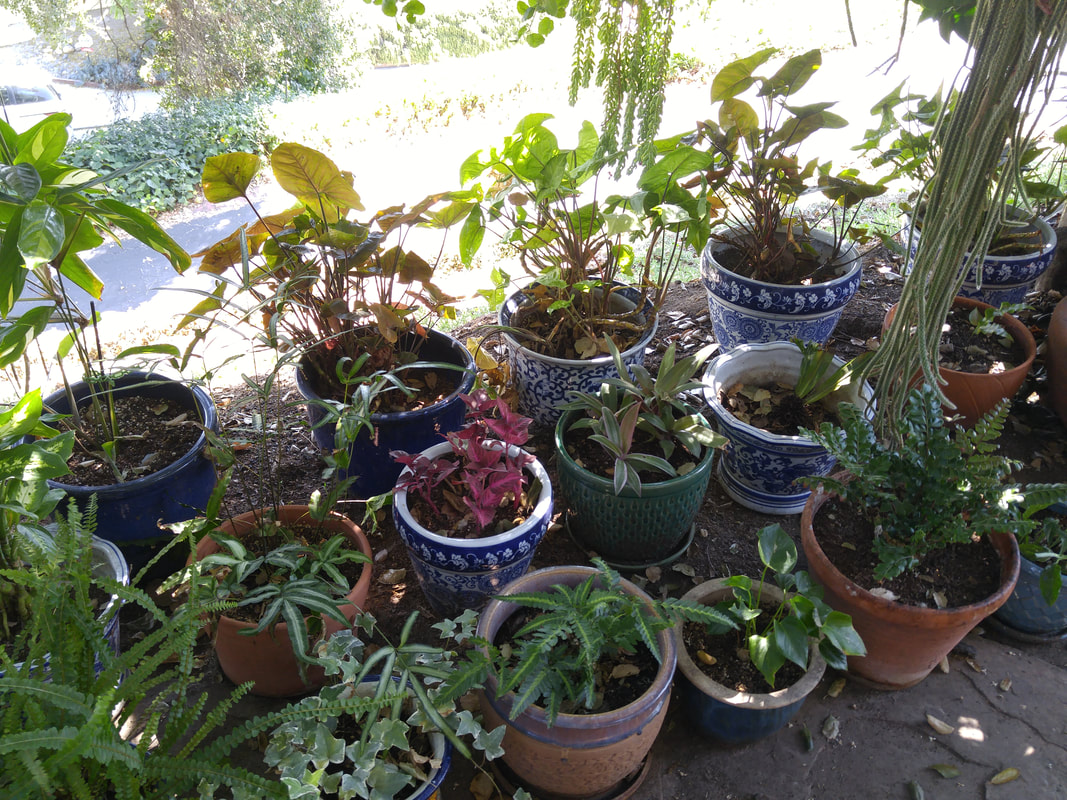
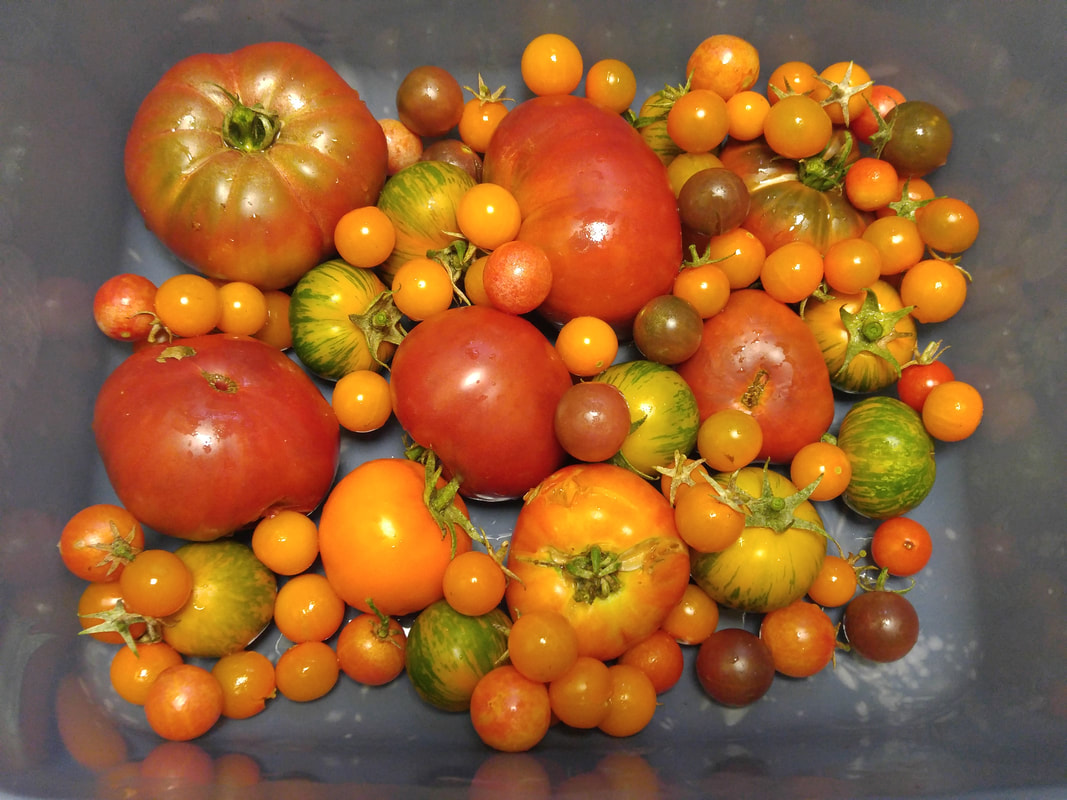
 This bed of cool-season crops is dry enough to harvest seeds to resow and share. 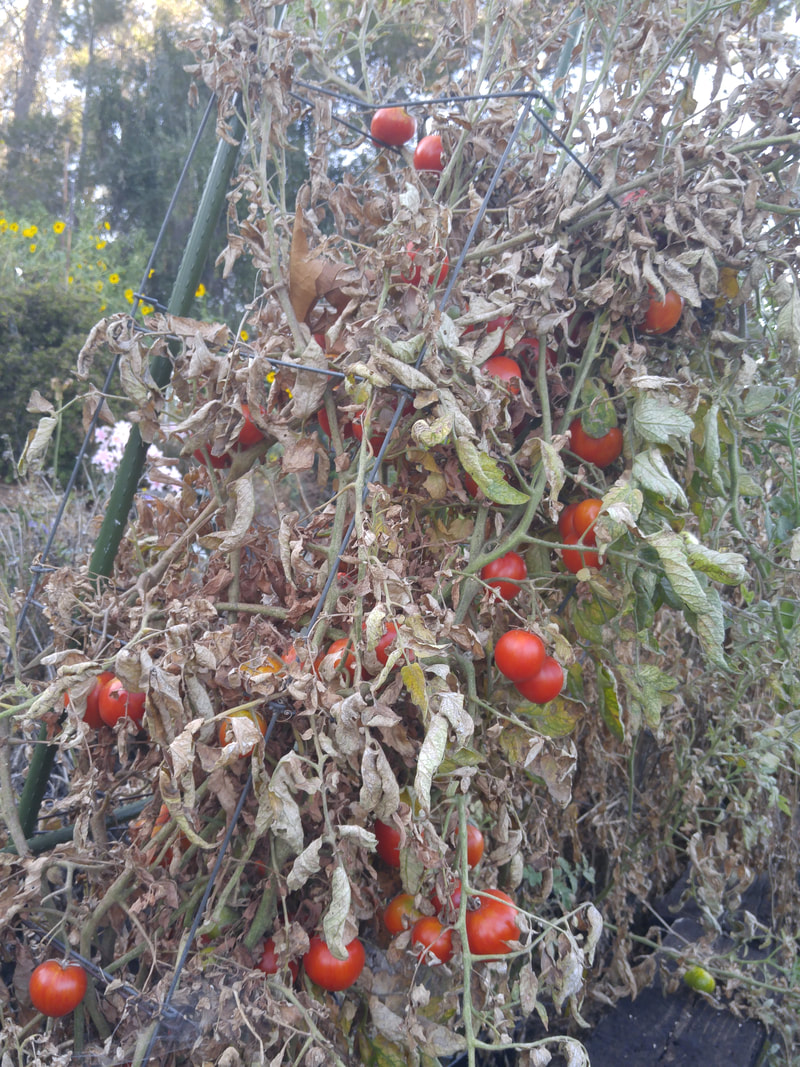 Red Zebra still have a couple dozen fruits ripening, even though the foliage is pretty dried out. 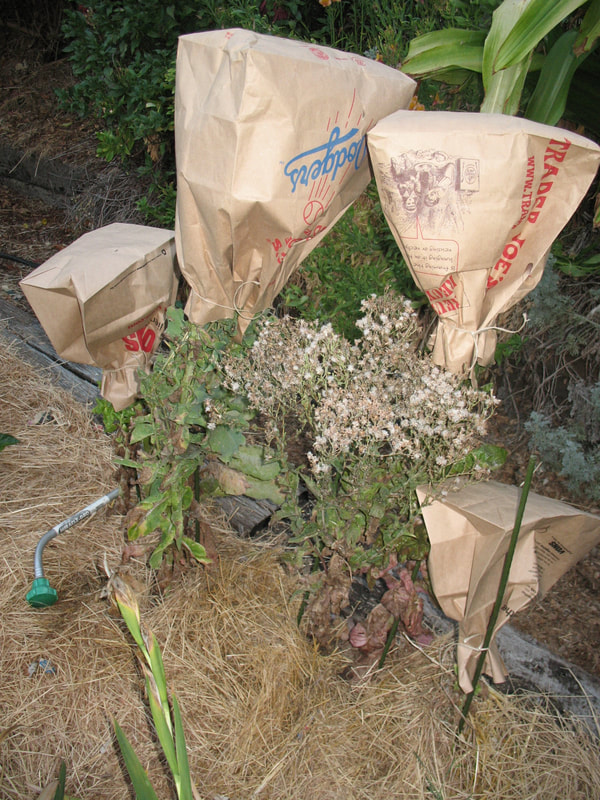 Lettuce with large paper bags tied over the seedheads to contain all the seeds as they dry over several weeks' time. When the stem below the bag becomes brittle, it'll snap off for storage. When ready to sow into the garden, take handfuls of the seeds and chaff and scatter onto soil surface, then water. The chaff will help the seeds germinate. 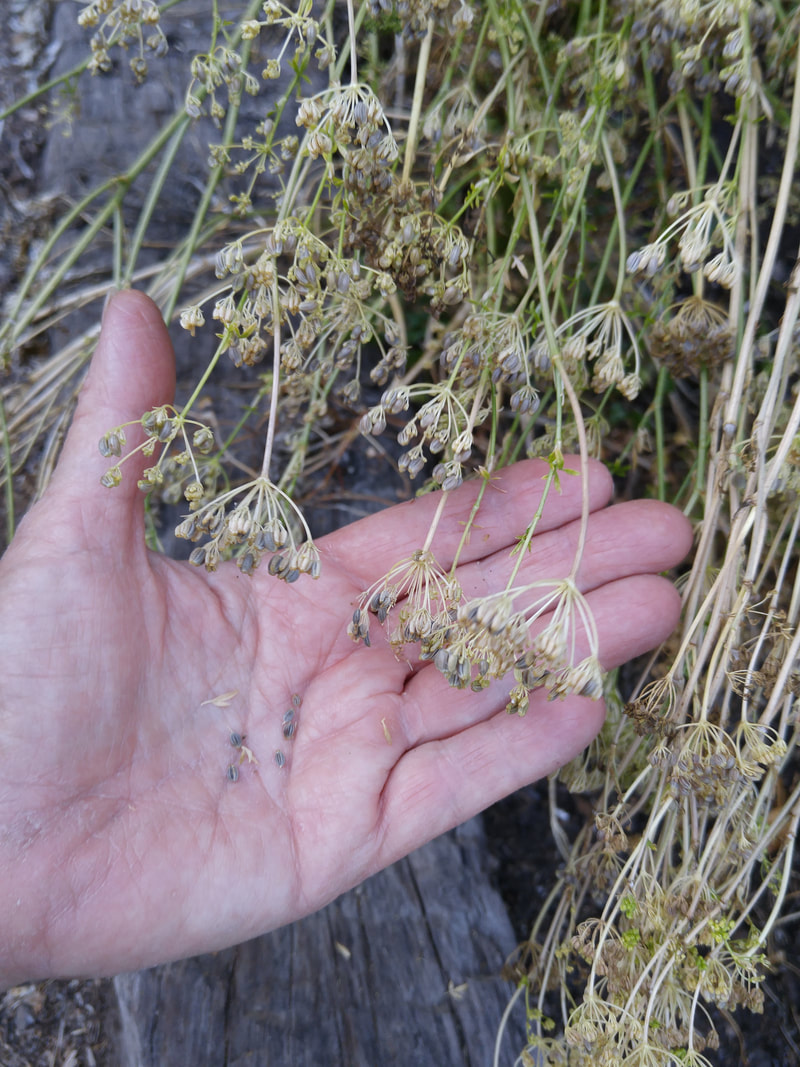 Parsley falls into my hand when thoroughly dry. Don't pull off of the stem since this means the seeds aren't dry enough. 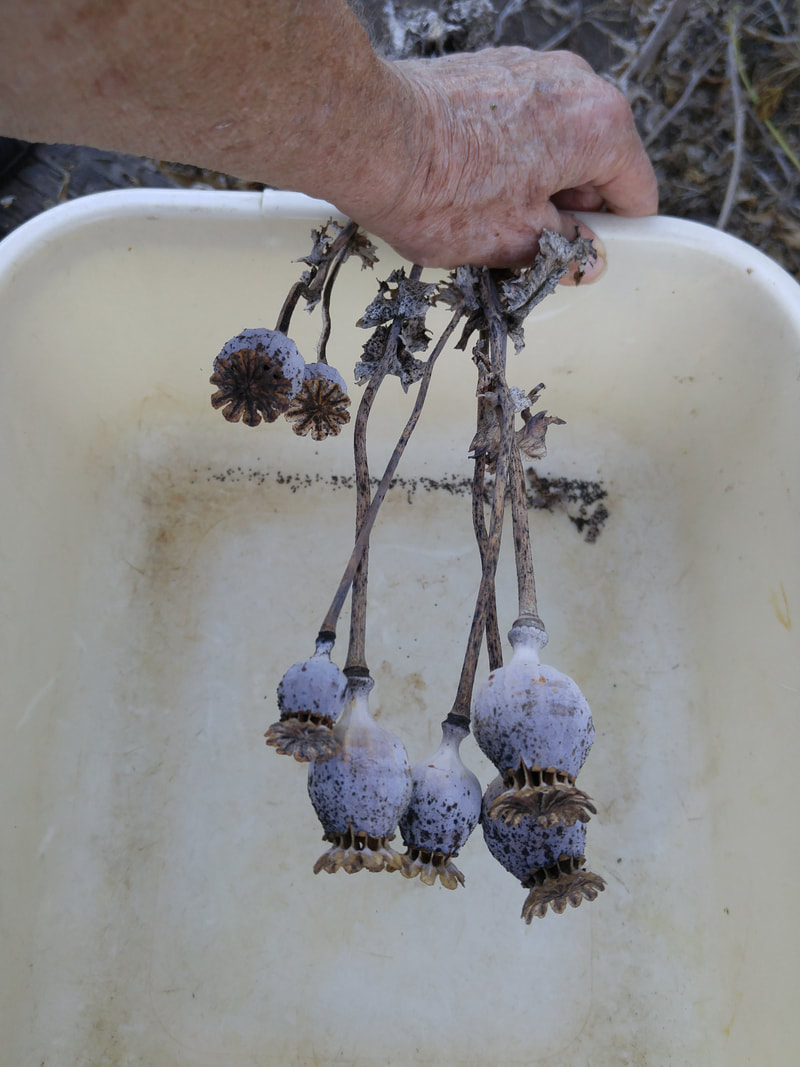 Hold a bin under the breadseed poppy pods. The seeds easily fall from the "salt shaker" holes under the top cap at the merest tilting of the pod. 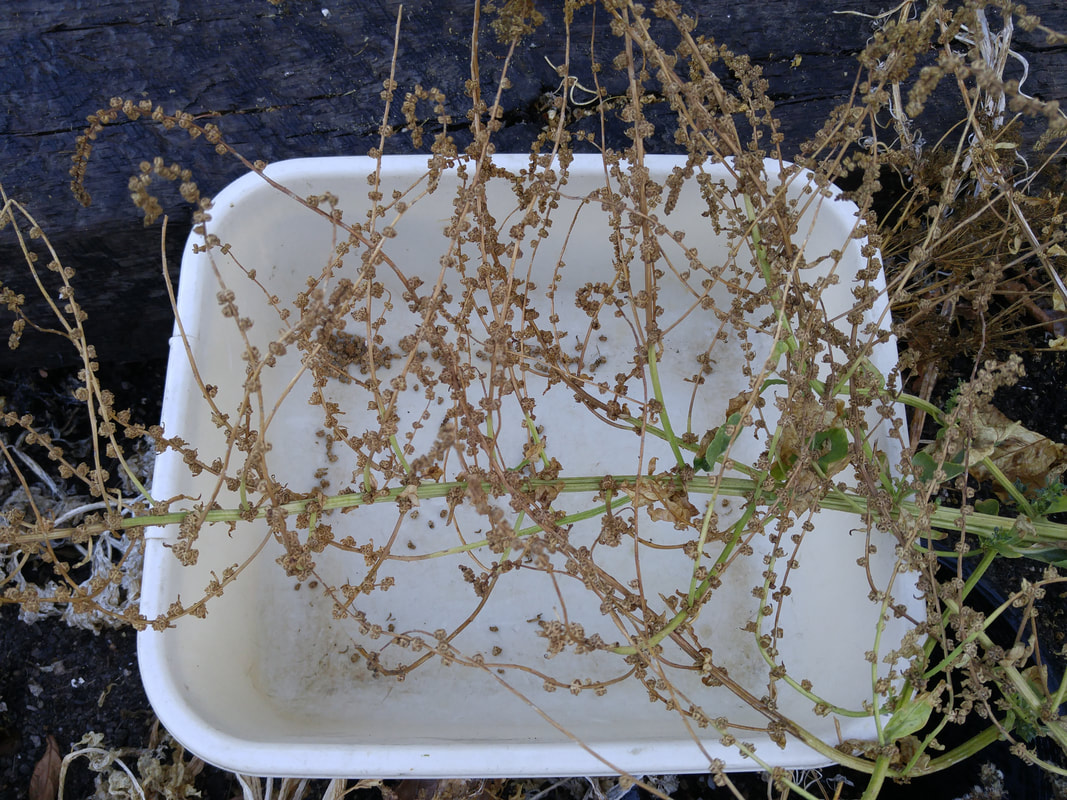 Swiss chard seed branch is quite large, and the seeds will fall readily when they're dry enough.  Celery seed held over the bin before brushing off the seeds into the bin.  Asparagus seeds are ripening.  Several kinds of potatoes ready for harvesting in my "potato tower" of stacked tires. Huell Howser got a real kick out of this technique. See the video of his visit -- see "Green Gardener" under "Yvonne's Web Appearances" on the Web Links page 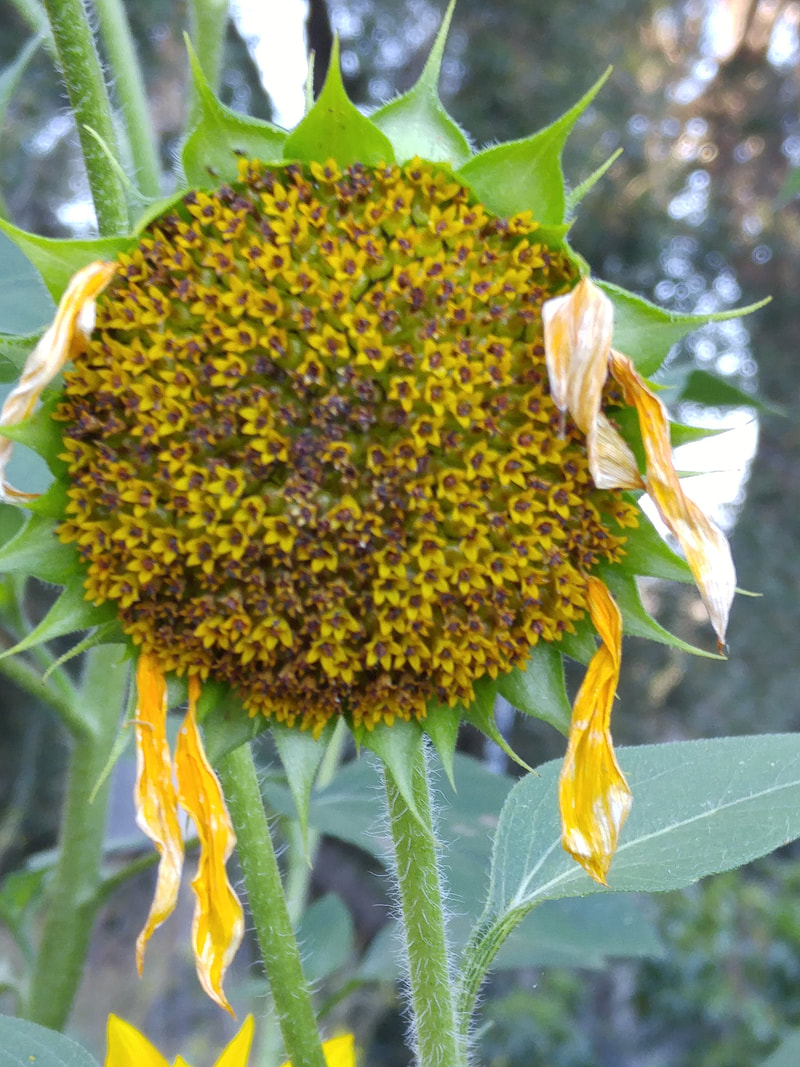 Sunflower seedhead 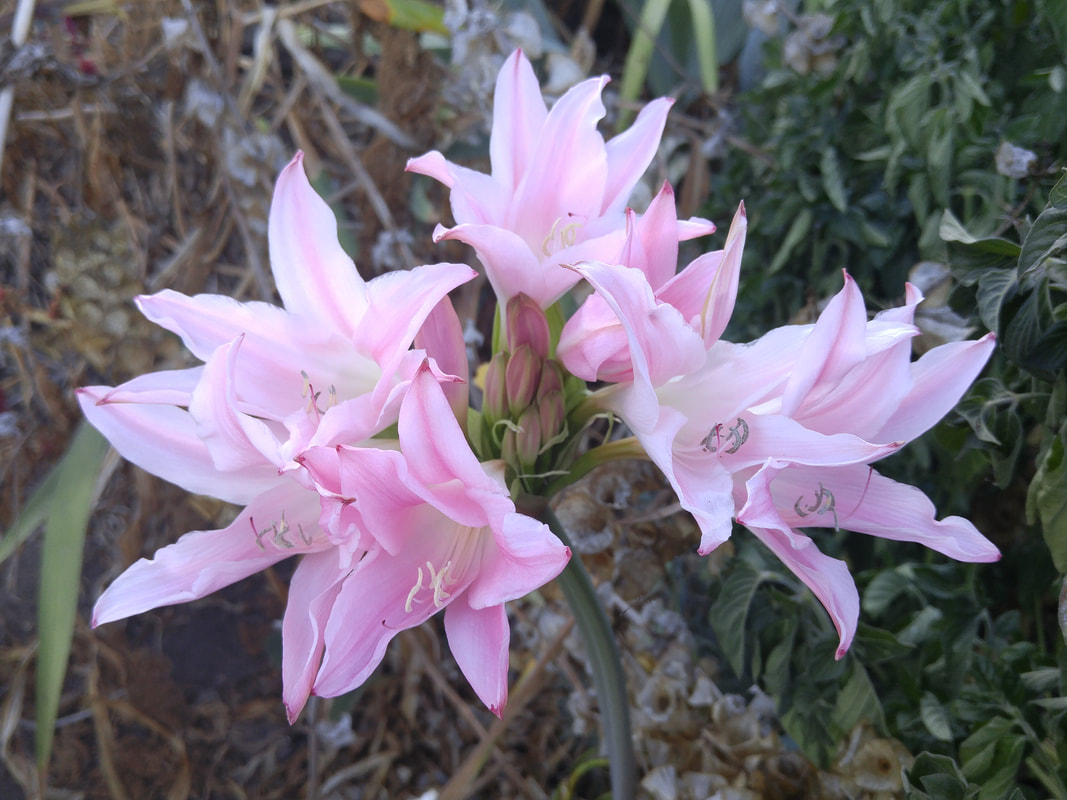 Amarcrinum blooms 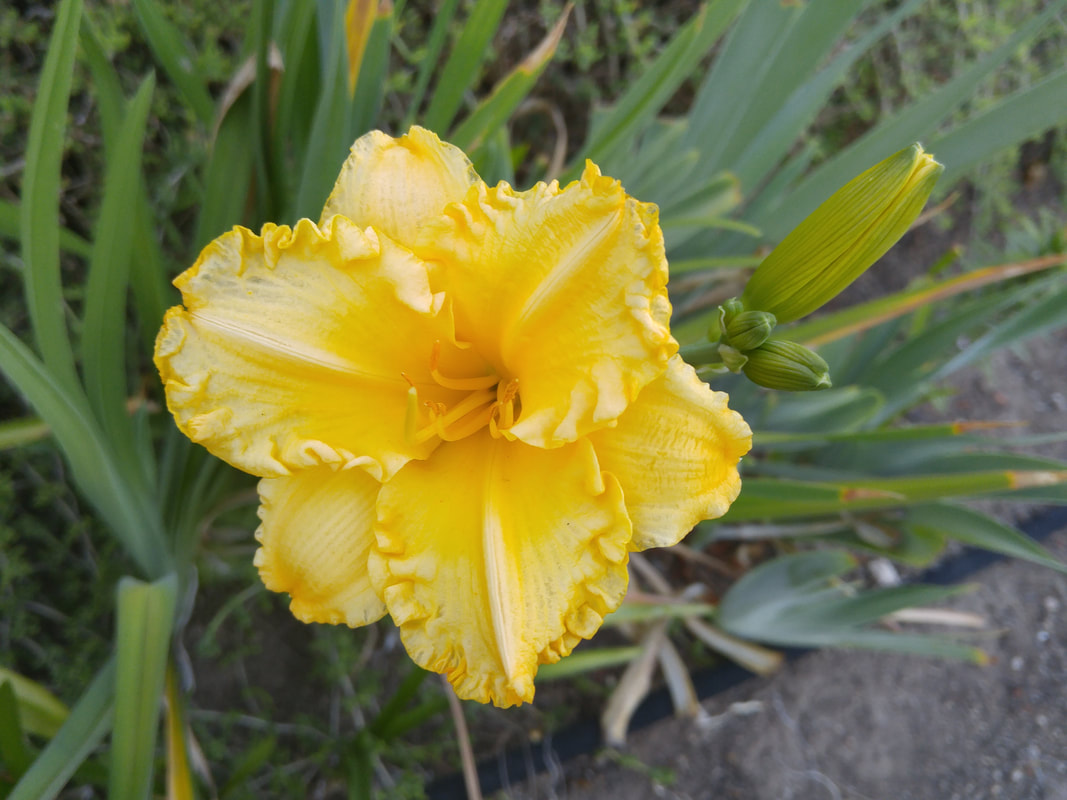 Stella d'Oro reblooming daylily | While summer crops are still producing but plants are getting tired (my first-planted tomatoes are pooping out and some have died), the heat has been accomplishing another unnoticed task – maturing seeds of non-hybrid veggies and flowers that we can harvest to save for next year’s gardens and share now with other gardeners. These are the “dry” seeds, unlike the “wet” seeds like tomatoes and cucumbers and squash which have their seeds embedded in flesh that must be fermented off. For drying those kinds of seeds, go to my blog article -- http://www.gardeninginla.net/blog/saving-seeds-from-non-hybrid-vegetables Dryness and crispiness are required in determining when to harvest these “dry” seeds. This means REALLY dry! If plant stems are even a bit still green and wiggly, they need to dry further. Let the foliage dry naturally – don’t pull the plant and set it aside to dry, since this won’t allow the seeds to fully mature as they dry. This waiting process can take up to two or three full months after the fruit or blossom has looked its best, and the plant looks progressively disheveled. The gardener must consider this area out of bounds for continued watering or further planting to allow the plants to fully mature and dry completely till they’re crispy. So, my bed where I grew cool-season crops last winter – lettuce, spinach, bok choy, chard, kale, celery – is now ready for my harvest of its seeds. Here’re a couple of supplies that’ll help. Large paper (not plastic) bags Tied over lettuce stalks when the first blossoms dried up months ago, the paper bags “breathe”, allowing moisture to escape. Plastic bags don’t allow this, so moisture is retained and the seeds can’t dry thoroughly. The paper bags also keep the seeds captive as they dry, avoiding having all the seed scatter. If the seed had scattered, later in the season when watered or rained upon, at least some of the seeds would germinate. But, collecting them in the paper bags enables sowing in other more contained locations. However, when any of those self-sown seeds do germinate, consider this your cue to sow the ones you’ve saved, since environmental conditions are apparently perfect! Plastic bins A dishpan or other wide container is helpful when held under the seedy branch or tilted seedpod as it’s snapped off its stem. Chard has really long shoots with many seeds, and breadseed poppy pods have little holes just under their caps so the seed shakes out with the merest movement. Newspapers or paper toweling on a cookie sheet or other rimmed flat sheet Once you’ve collected the seeds, spread them onto paper on a broad pan set in a dry place out of sun for a couple of weeks to ensure more evaporation and complete the drying process. For seeds like lettuce and parsley and cilantro that may have lots of dried foliage along with the seeds, there’s no need to separate them since when sown later the extra chaff just helps provide some accompanying mulch that’ll aid germination. Paper envelopes Store collected seed in paper – not plastic – envelopes to allow “breathing” and preclude any spoilage from any remaining moisture. However dry you think you’ve gotten the seeds, never use plastic for storage since any bit of remaining moisture will potentially spoil the whole batch of seeds. Indoor Interior Closet Store seeds in a location that has the least change of temperature and moisture, such as an interior closet in the house. You want the seeds to go into a bit of a suspended animation by not being stimulated by any environmental changes. Now you have a wealth of seeds to resow into your garden, and to share with other gardeners! And, just think -- after seven years of resowing and saving seeds, you’ll have them acclimated to your locale! Why Do This Now, Instead of Waiting Even Longer? Once you’ve moved all the dead foliage to the compost pile, you can incorporate nutritive amendments like compost, manure and coffee grounds into the beds and water them in so the soil microorganisms can do their thing prepping the soil for new sowings and plantings. This heating-up and cooling-down process takes two or three weeks. If you sow seeds or transplant seedlings too soon, the soil will be too warm and the new seeds and seedlings will literally burn up with the soil heat. While you’re waiting for the microorganisms to do their magic, purchase your new seedlings so they can use those two weeks to acclimate to their new location. Place the seedling containers in a bin that you’ll keep a quarter-inch of water in to keep the containers’ soil consistently moist, and gradually move it more and more into the full-day sun. By the end of the two weeks, when the soil has cooled down to being barely warm when you stick your hand into it, the container plants will also be acclimated so you can plant them. |
|
0 Comments
|
Categories |
 RSS Feed