
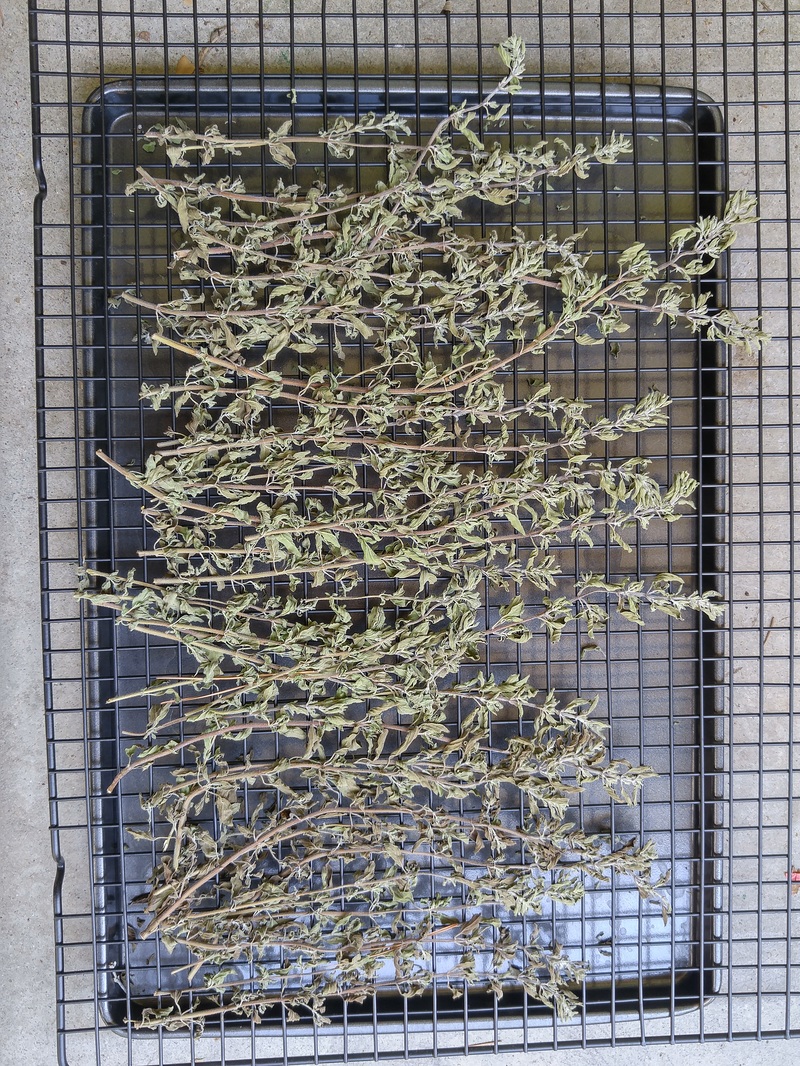
 Arrange washed stems closely but not overlapping for drying. 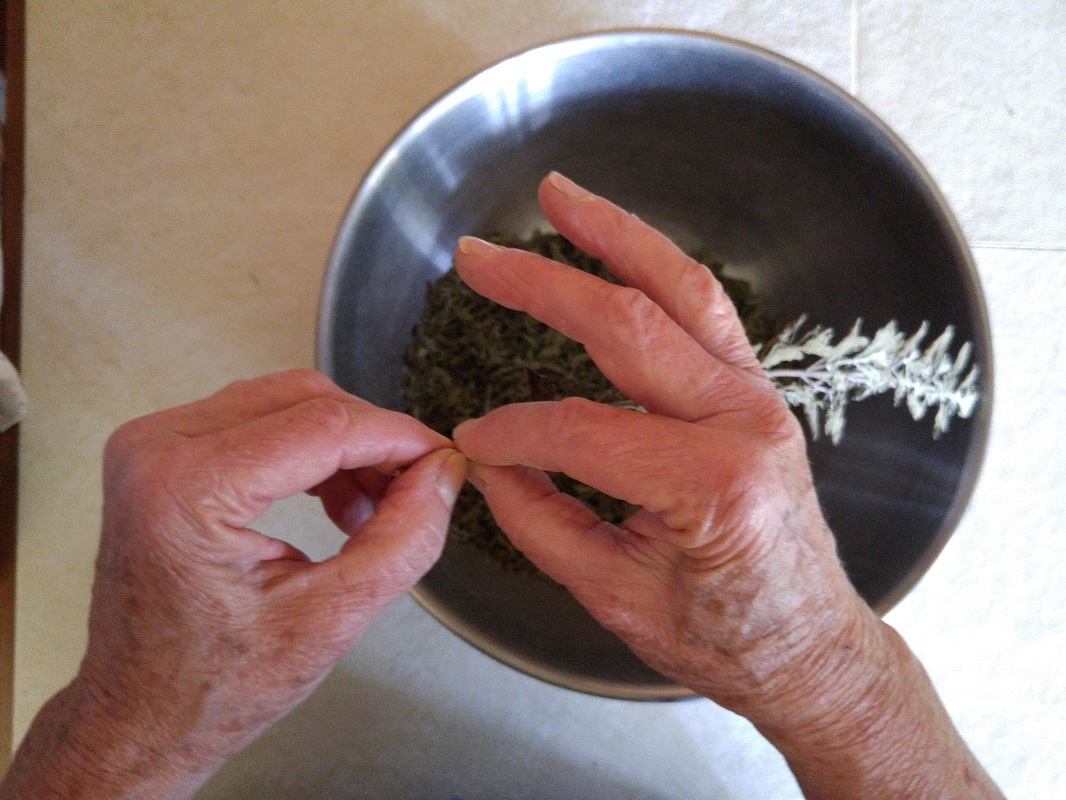 Remove dried leaves from stem by grasping stem in one hand (my left hand) and pulling to end of stem with thumb and first finger (my right hand). 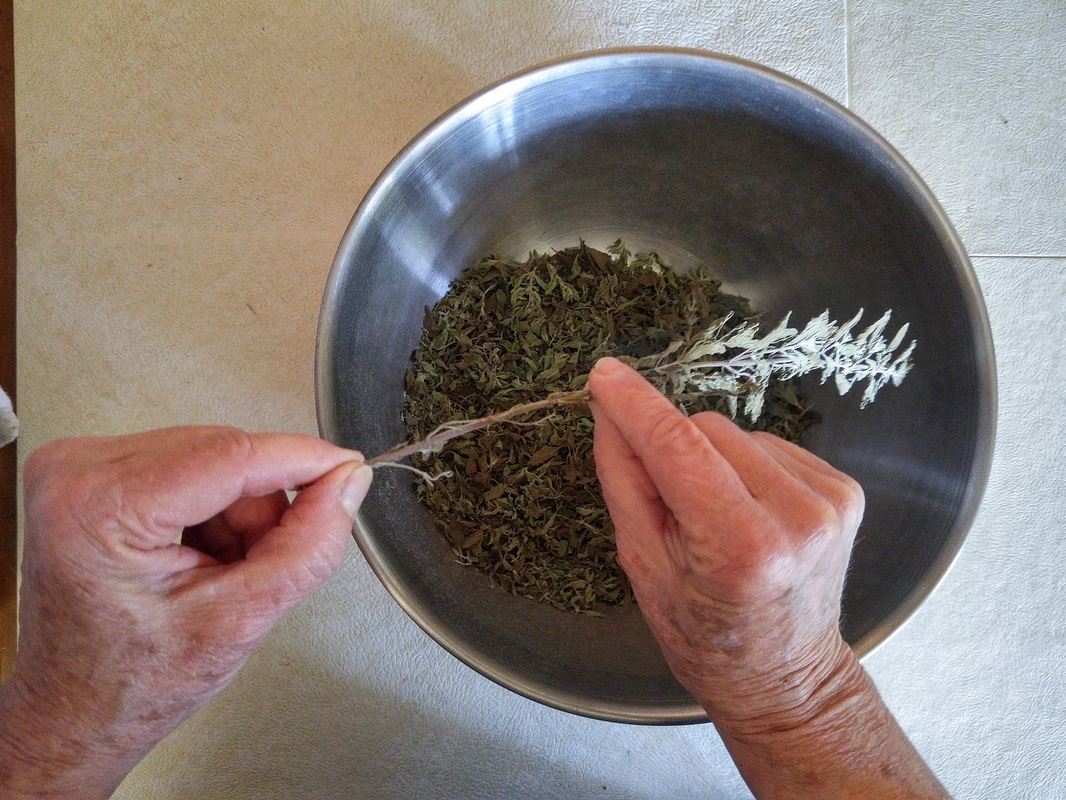 Dried leaves will snap off stem - if they don't, the stem isn't dry enough. 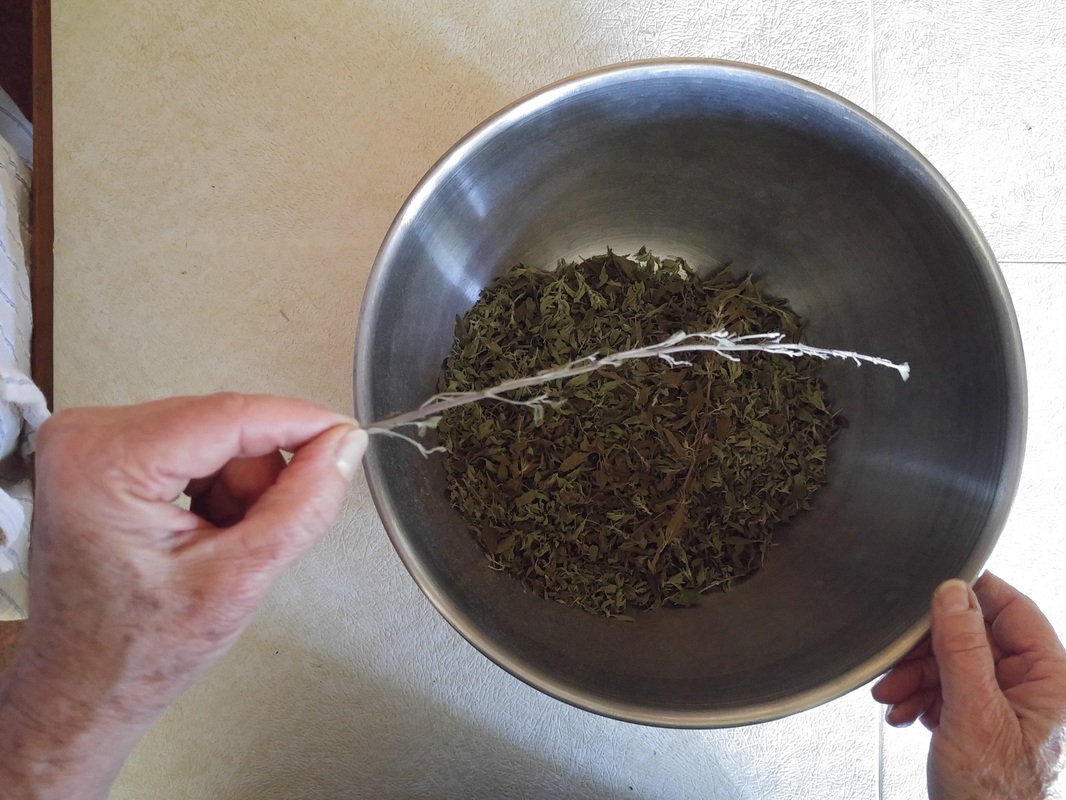 All the leaves removed from the stem. 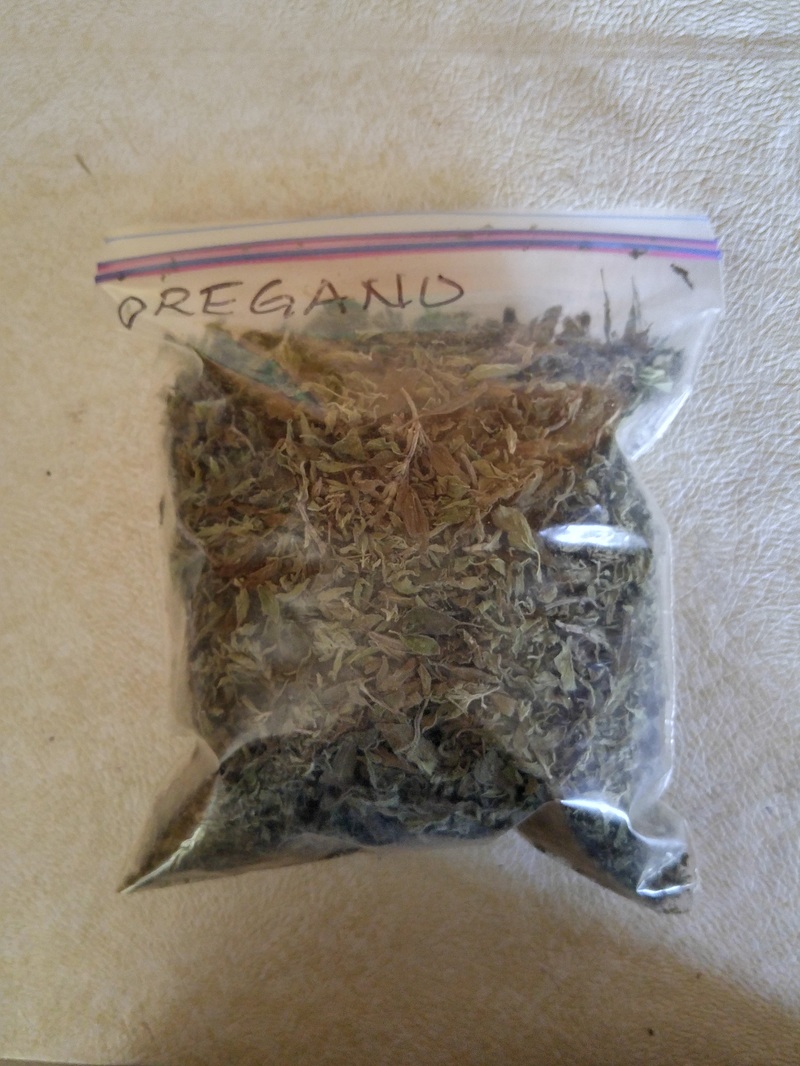 Transfer leaves into ziplock bag. Without crushing them, remove as much air as possible. Store in a dark, coolish place. Keep only a small amount for quick access near your food-preparation area. A wealth of oregano for very little expense and effort! 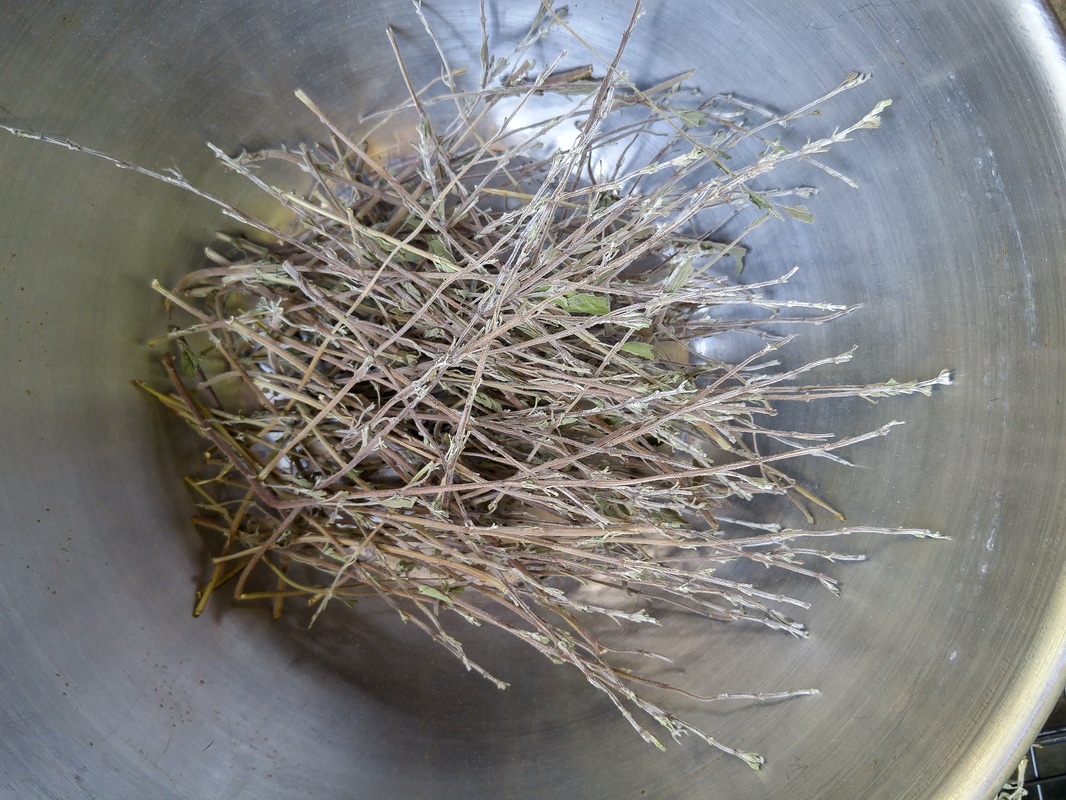 The remaining stems destined for the compost pile. If sturdy like rosemary, use for shish kebab skewers! 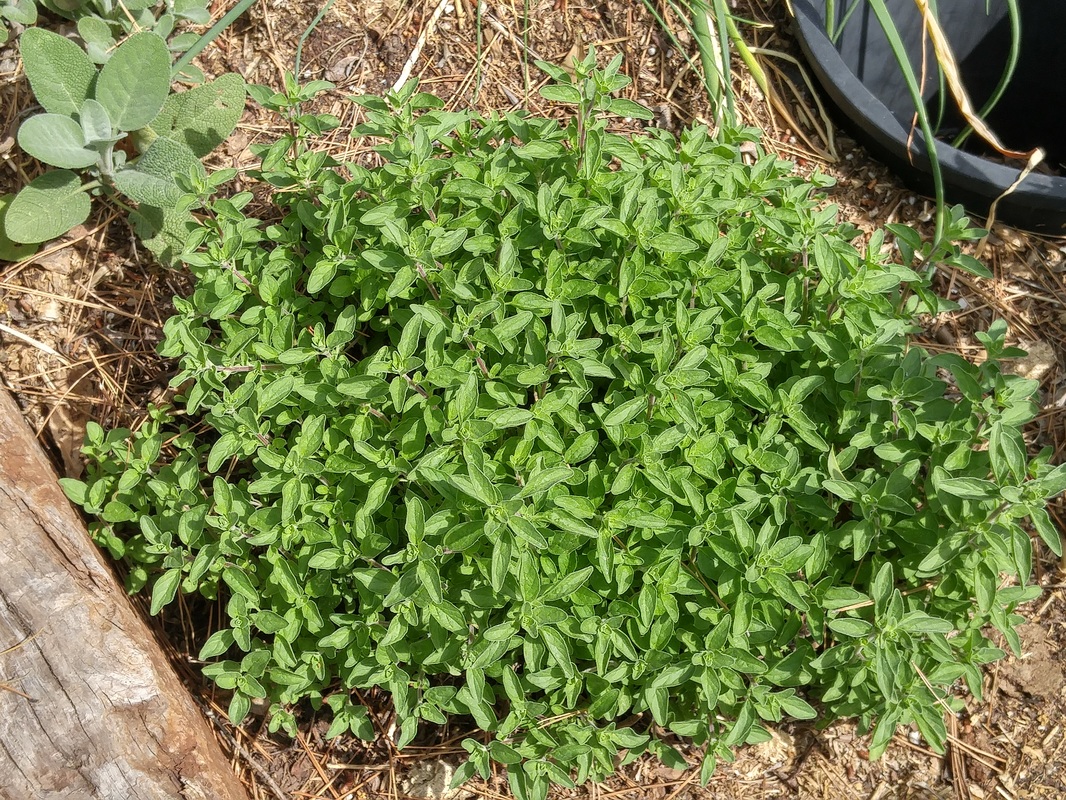 One week after harvesting down to the lowest green leaves, new oregano growth is two inches long and could be harvested again for fresh use, or wait until stems are longer for drying later. | Herbs you use frequently either fresh or dry are definitely worth growing and harvesting for their excellent-quality essential oils and economy. With even only a small space for growing and then harvesting in a timely manner, you can get several or more harvests per growing season that will provide many times the quantity that would cost $5-10 each time if purchased - to say nothing of actually using that quantity of herbs in a greater variety of culinary and aromatic uses than you would if you had to spend the money! We use a lot of herbs in salads, soups, stews, sauces, and other combinations – just about everything I cook starts with my homegrown garlic, leeks, parsley and cilantro; from there, additions include my basil, oregano, marjoram, rosemary, sage, savory and thyme. Harvesting for Fresh Use For parsley and cilantro, I harvest a batch an inch in diameter twice a week for fresh use, cutting swaths an inch above the growing point with a paring knife. When cutting, I try to gather all the stems close by so I don’t leave any stragglers to yellow and die by the time I recut that batch when they’ve resprouted several weeks later. I hold the stems together with a thick rubber band. I swish the rubber-banded batches in a basin of water to rinse the leaves of dust, and refrigerate in ziplock bags. To use, I just chop the amount I need - usually at least half of the bunch. I did say we used a lot, since we always have more waiting to be harvested! For fresh basil, I nip off with my fingernail the individual leaves that are succulent and bright green. Older leaves I allow to remain on the bush to continue their photosynthesis for continued plant development. I encourage branching by nipping out the center stem at each node, which results in two more new tiny leaf clusters. Repeating this at each node keeps the bush short and full of new succulent foliage. If any flowers begin to develop, I remove them immediately at their bases to redirect energy into more foliage growth. Harvesting and Drying and Storing For herbs I’ll dry, like marjoram, oregano, rosemary, sage, savory and thyme, I cut individual stems while they’re still growing straight up and have only young succulent leaves. After I’ve cut the straight stems, I trim back any lower remaining growth just to provide an uncluttered and uncurly base for future straight-stem growth. Be careful, however, to not cut lower than the bottom-most green leaves, as doing so may result in that branch dying back. As you gather the cut stems together, be sure to keep them all facing in the same direction – stem ends together, and tips together. After sloshing the straight stems in a dishwashing-size-pan of water to remove ambient dust, I arrange individual stems close together but not overlapping on a cake-drying rack. Cutting them when they were straight avoids curly stems that make removing their tiny leaves difficult without crushing them and releasing their essential oils. As they dry, too-close stems’ leaves may “stick” to others nearby, and I want to be able to retrieve each stem separately in order to remove the oil-containing leaves whole and uncrushed. You want the essential oils to remain within the dried leaves until you crush them as you add them to your food, not before! I place the rack onto a cookie sheet and then into my oven, which has a pilot light that provides sufficient low heat to dry the leaves overnight. When the leaves crumble and the stems snap, they’re completely dry. If the least wiggle is still apparent, more drying is necessary. To remove the oil-bearing leaves from the stems, grasp one stem at its base, and use the thumb and first finger of your other hand to pull down the stem to its tip so the leaves fall into a bowl. Try not to crush the leaves, just remove them from their stems. Put the woody stems into another container for the compost pile. For really sturdy stems like rosemary, which also contain the essential oils, save for use as skewers for your next shish kebab! To dry basil’s larger and more tender leaves, I gently rinse the individual leaves I’ve harvested and then spread them in a single layer onto the cake rack so they don’t touch. When dry, I gently transfer them into a ziplock bag, trying to not crush the leaves as I press out as much air as possible. Store dried herbs in their ziplock bags in a dark, coolish place. While general culinary advice is to replace dried herbs after six months, but I expect that homegrown and properly stored herbs will retain their vitality longer. Test by crushing and smelling and tasting – if it smells and tastes like dust, it’s lost its essence! But hopefully this isn’t before you’re already growing and harvesting more of those wonderful herbs! |
|
4 Comments
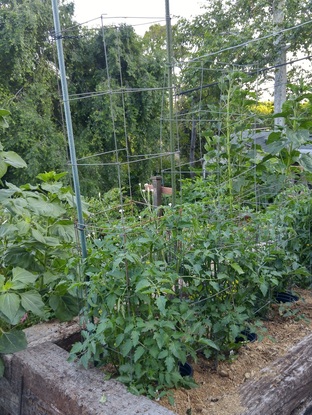
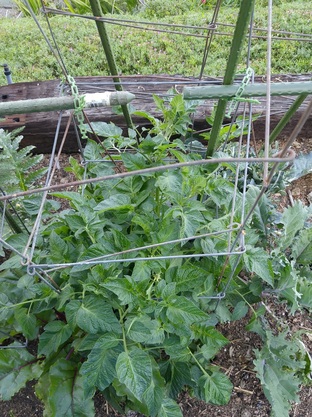
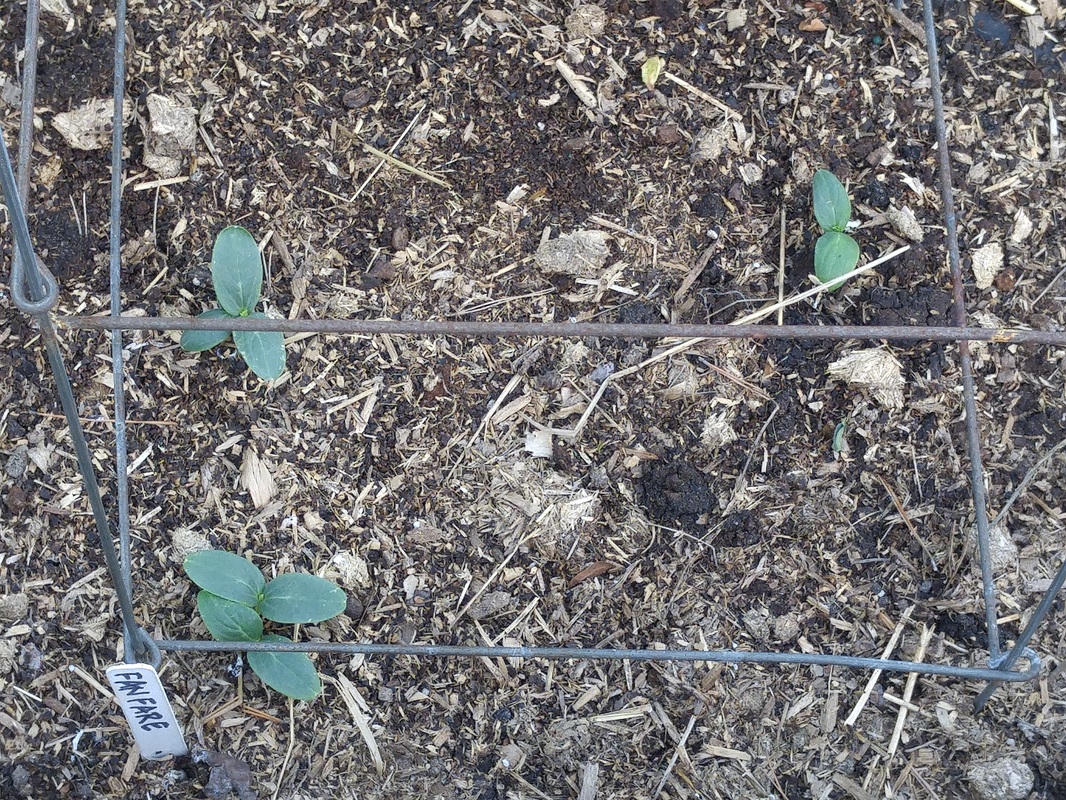
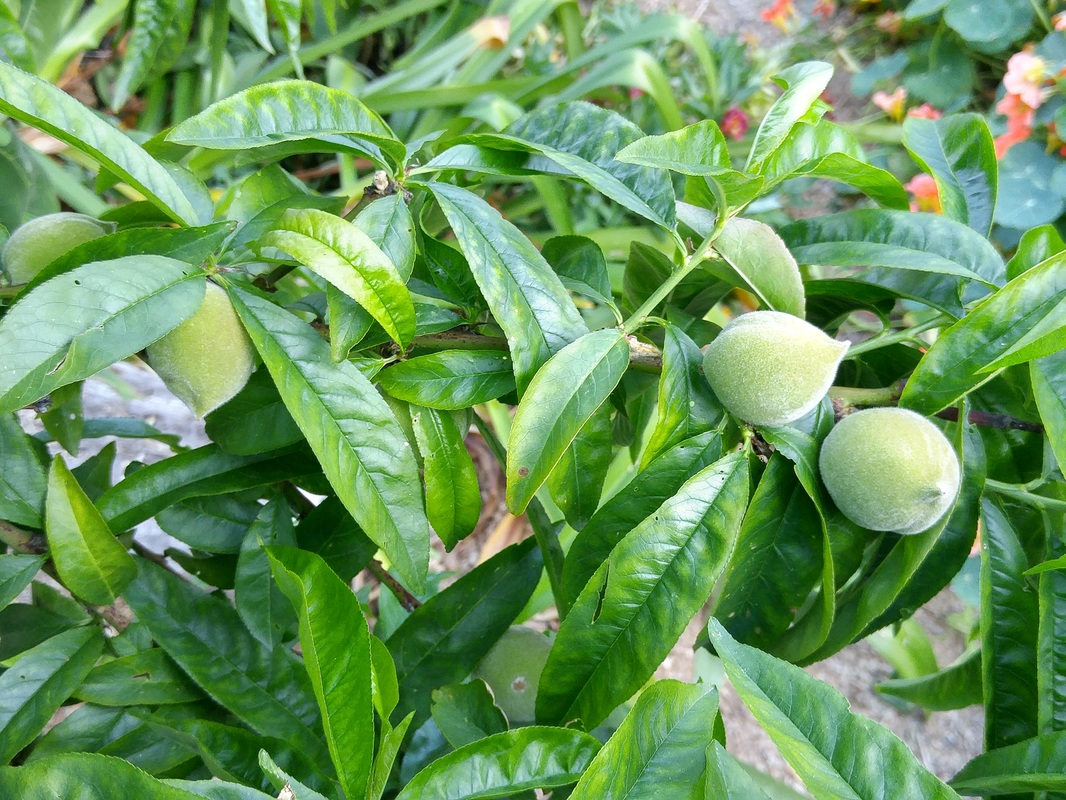
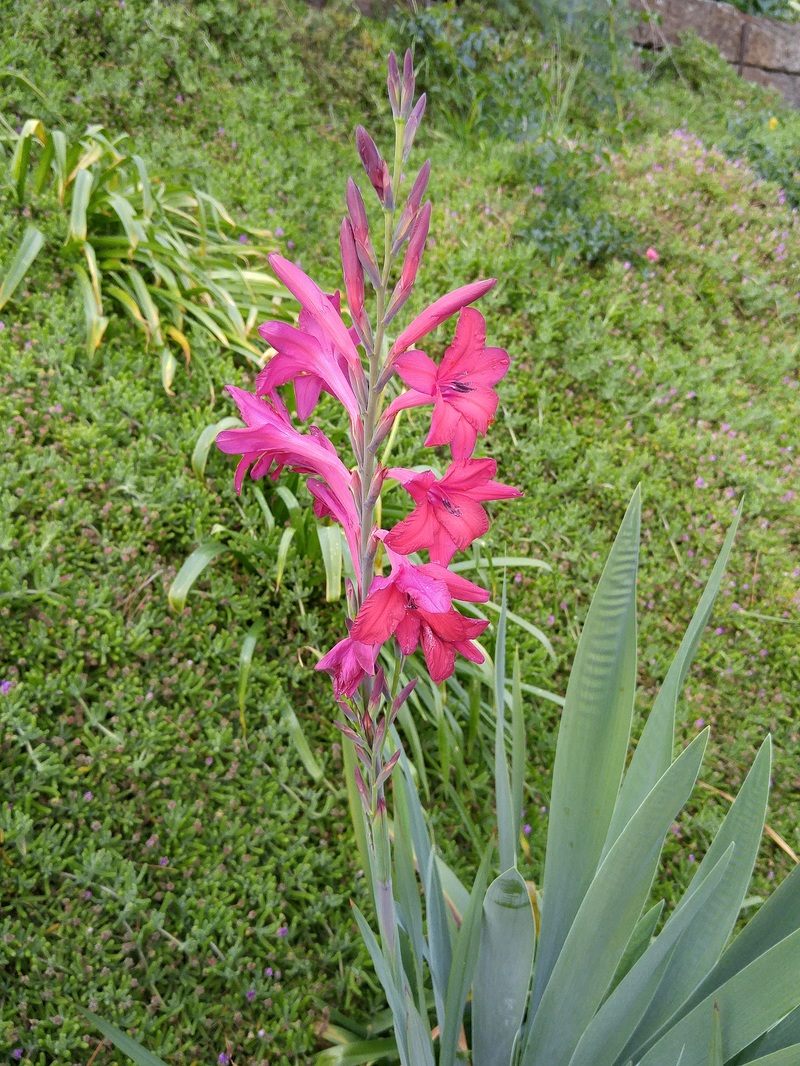
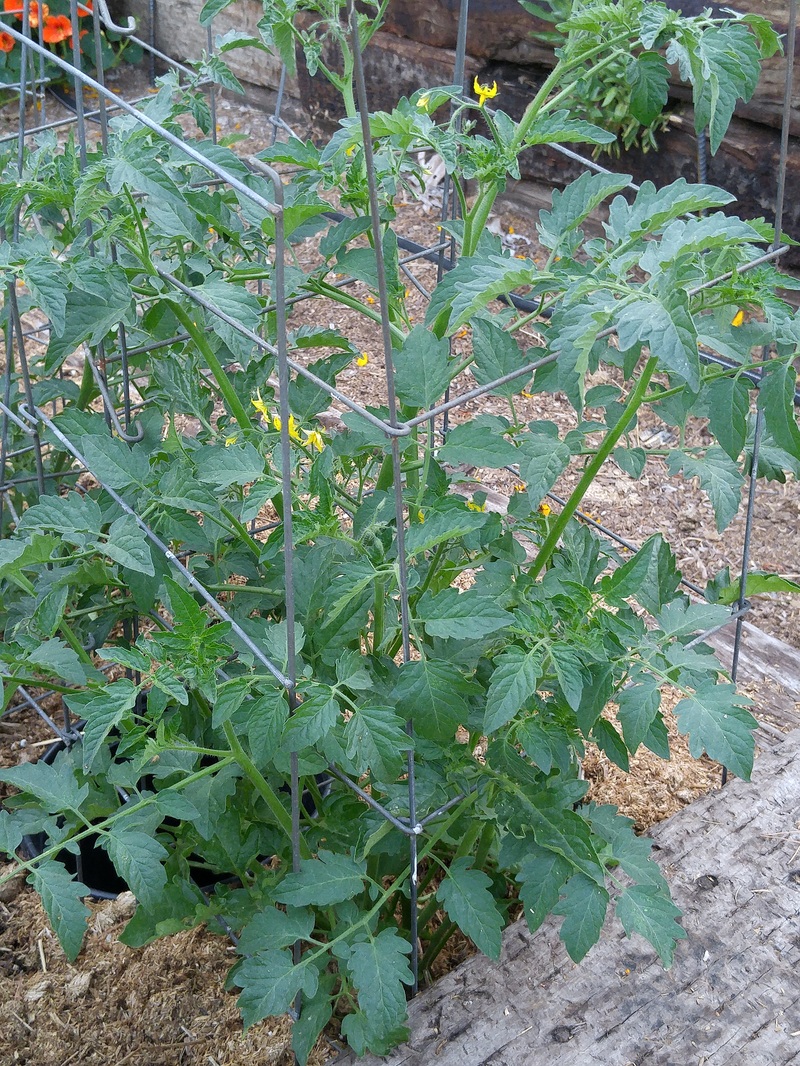
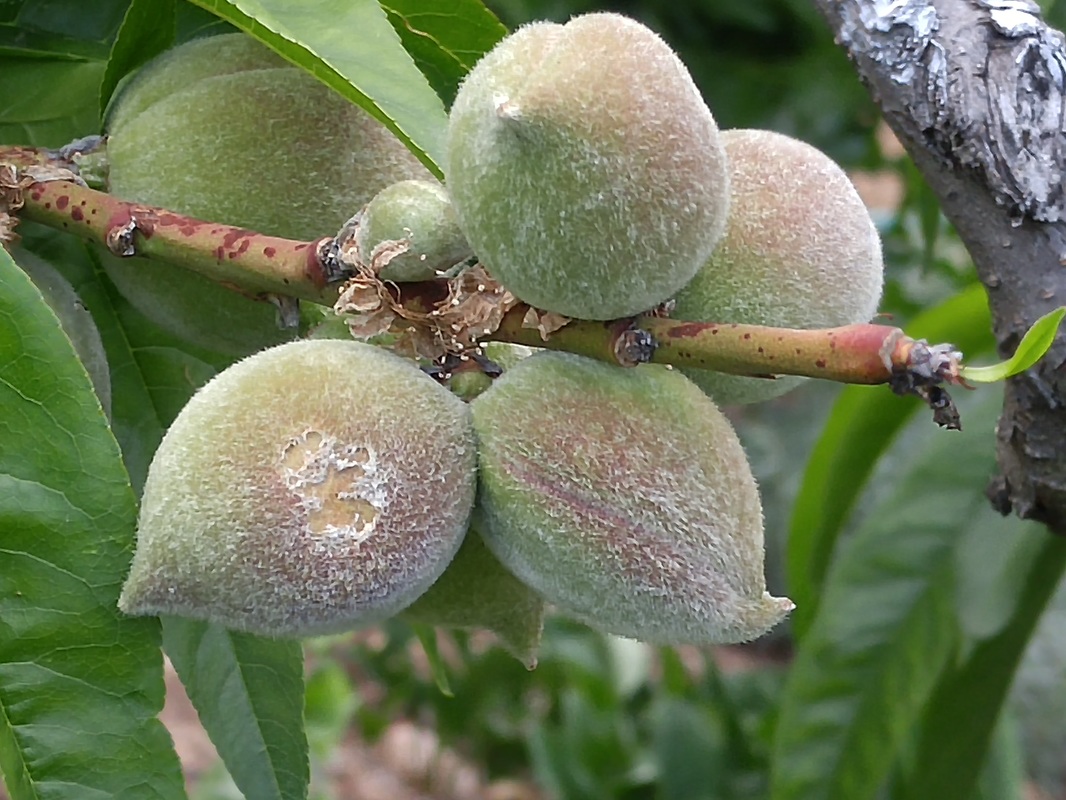
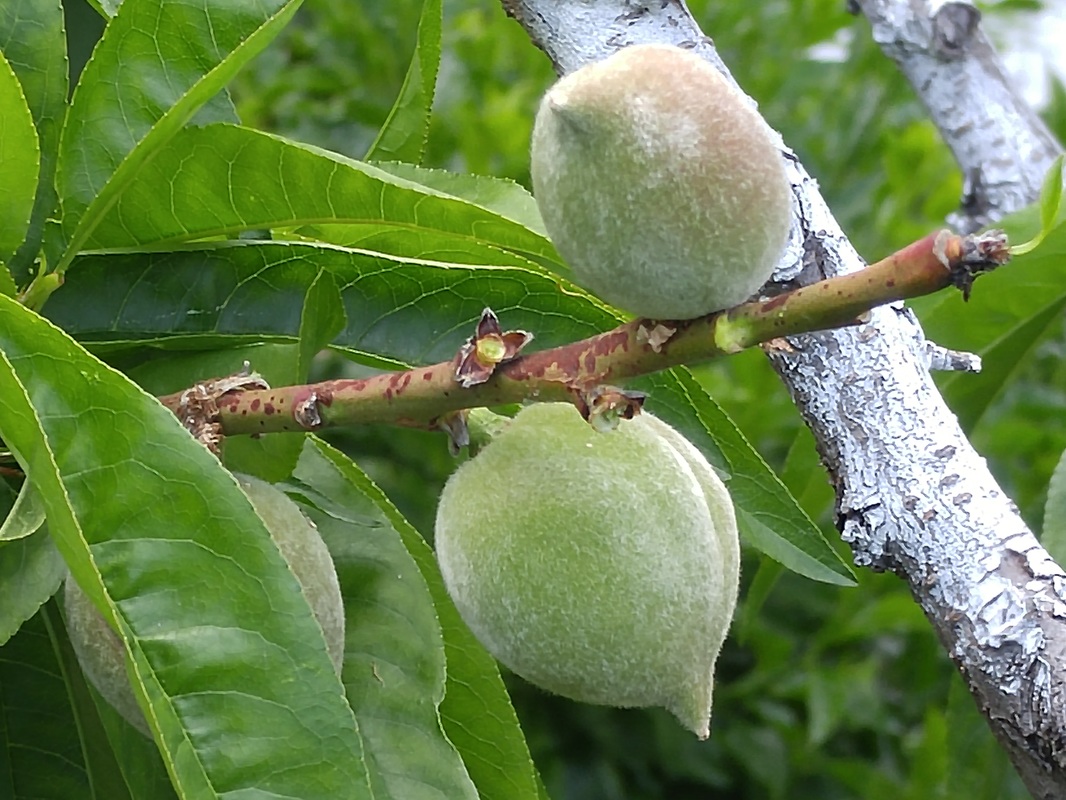
I provided my tomatoes with their “second story” cages of the indeterminate varieties before their foliage reached up and over the first story. What a concept – planning ahead! In addition, I drove upright stakes at the back corner of each cage before adding the second story, and then anchored horizontal stakes along the whole row of tomatoes. This stabilized the entire row in anticipation of late-summer Santa Ana winds. Years ago, I’d planted more than a dozen tomato varieties that I knew would grow way taller than the single cages, so I’d also added the second story cages, but not the upright stakes or the horizontal ones. Late in August, when the plants were massive and heavily set with fruit – and I’d just watered them – we had a huge windstorm that resulted in many of the plants being blown horizontal. All that weight and the loose moist soil just couldn’t withstand the wind. Consequently, each year since then, I’ve created this Jungle Jim of stability, and the magic has worked – no more blown-down tomato plants, despite however tall they’re grown! And some of those Sungolds have indeed grown up through the two cages, over the sides, and back down to the soil – all the while bearing their luscious golden orbs – by the time October and November chill arrived. Keep Sowing and Transplanting Our mid-70s and low-80s air temperatures continue to be perfect weather for prepping soil and sowing seeds and transplanting seedlings of summer edibles and bloomers. If you’ve already planted determinate tomatoes – that’ll grow, bear, and quit – then make a point of purchasing and planting another batch so you’ll continue having tomatoes after those first plants give up. Repeat sowing seeds of beans, cucumbers, and squash – best done where they’ll grow, now that air and soil temperatures are perfect. I don’t bother starting these big-seeded veggies in seed trays earlier, since at best the transplants may or may not thrive once in the garden compared with starting them in the garden where they’ll mature. Instead, I wait to plant my first seeds in the garden when I see volunteers from last year – then I know the soil’s the perfect conditions and so I sow mine. I learned this years ago when I’d had difficulty getting dill to germinate – when I saw some volunteers, I went ahead and sowed my seed with great success. When uneven germination occurs, I just sow more seeds where the original ones didn’t. By the time the first-sown ones reach the second tier of the cages, the second-sown ones have reached there as well due to quicker growth because of warmer weather and soil. Keep Thinning Fruit Trees Even though the optimum time to thin fruit trees is when fruits are dime-size, any time you can manage is fine. Every week or so I gently push away leaves to see how the fruits underneath are progressing, and I always find some more that I need to remove to prevent their rubbing when they achieve full size. I also remove fruits that are on the tops of the branches, more obvious to birds because they’re not fully covered by the foliage – I don’t want the birds to see any bit of fruit as they fly overhead that will encourage them to land and search for more to peck!
 Epiphylum
|
Categories |


 RSS Feed