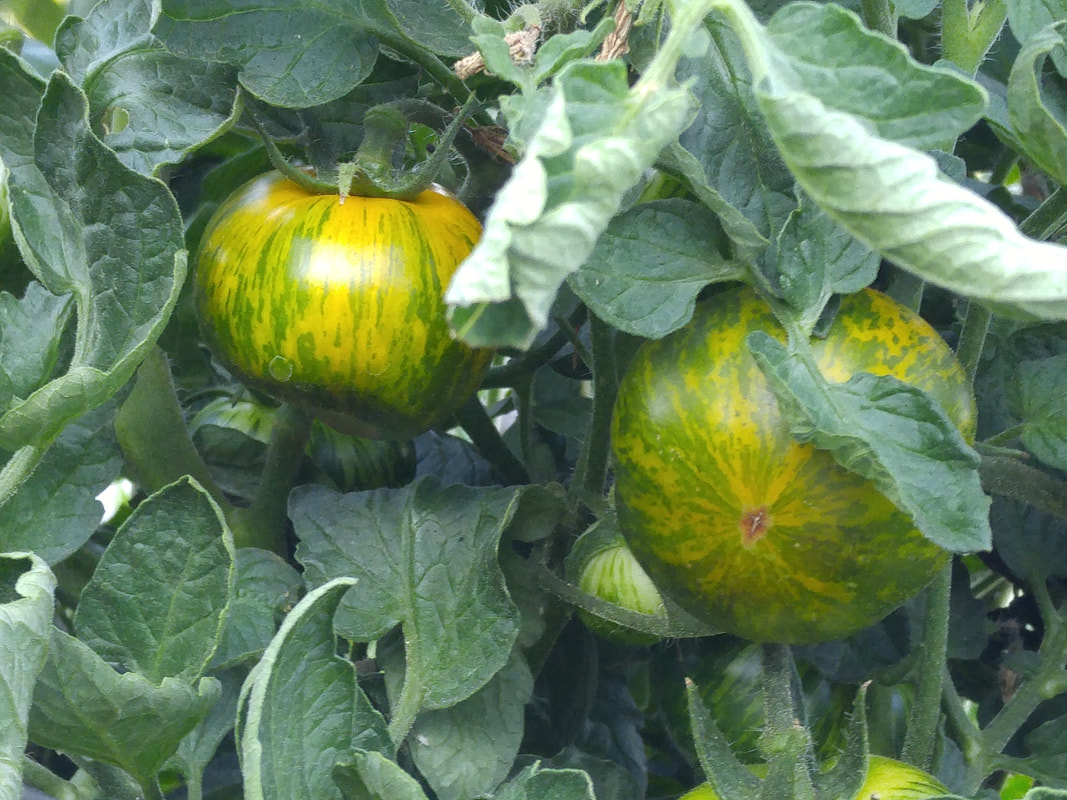
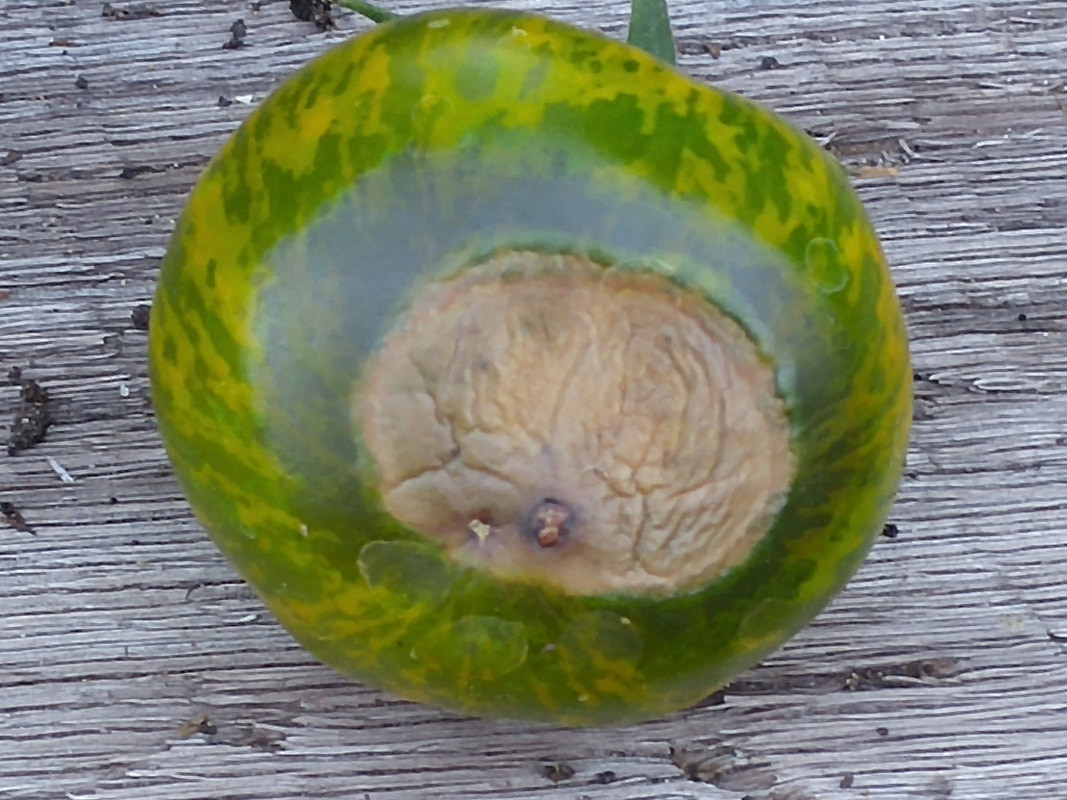
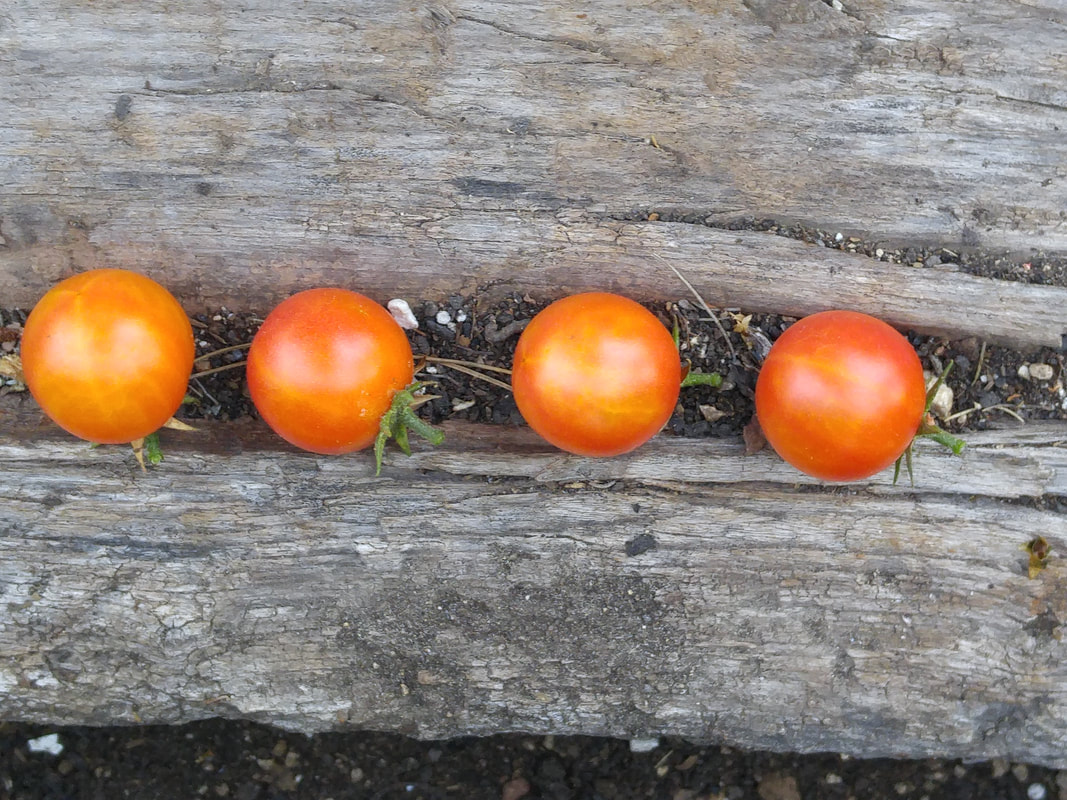
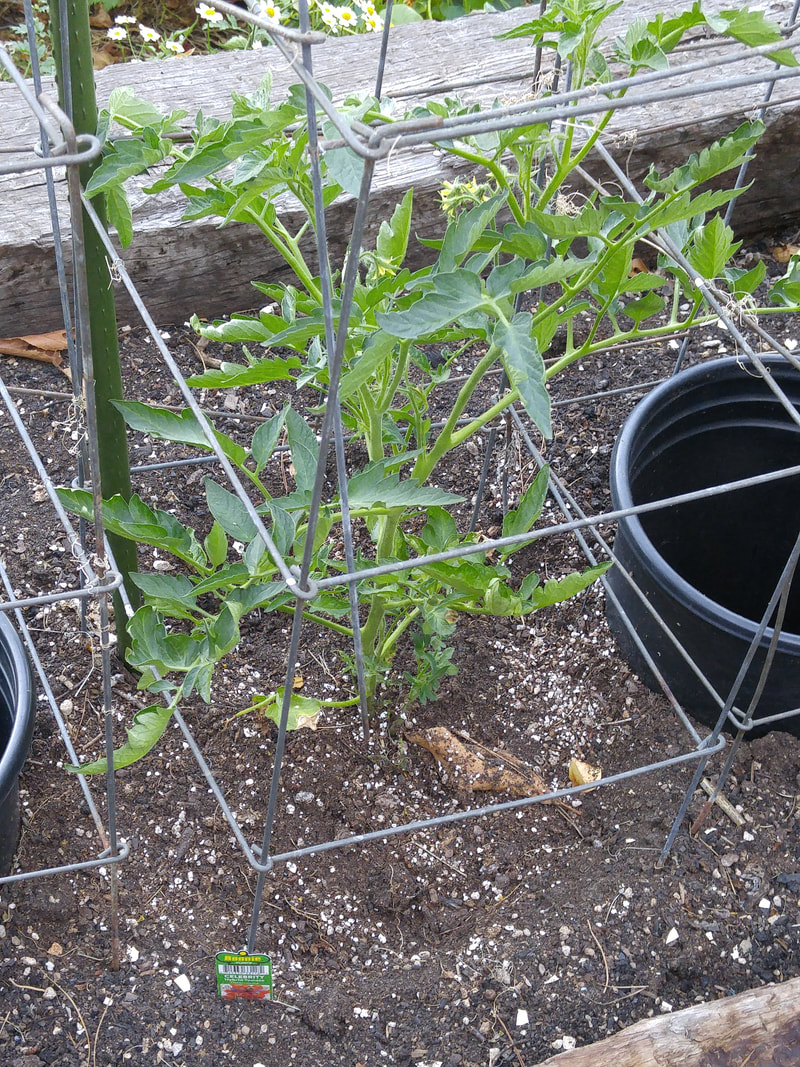
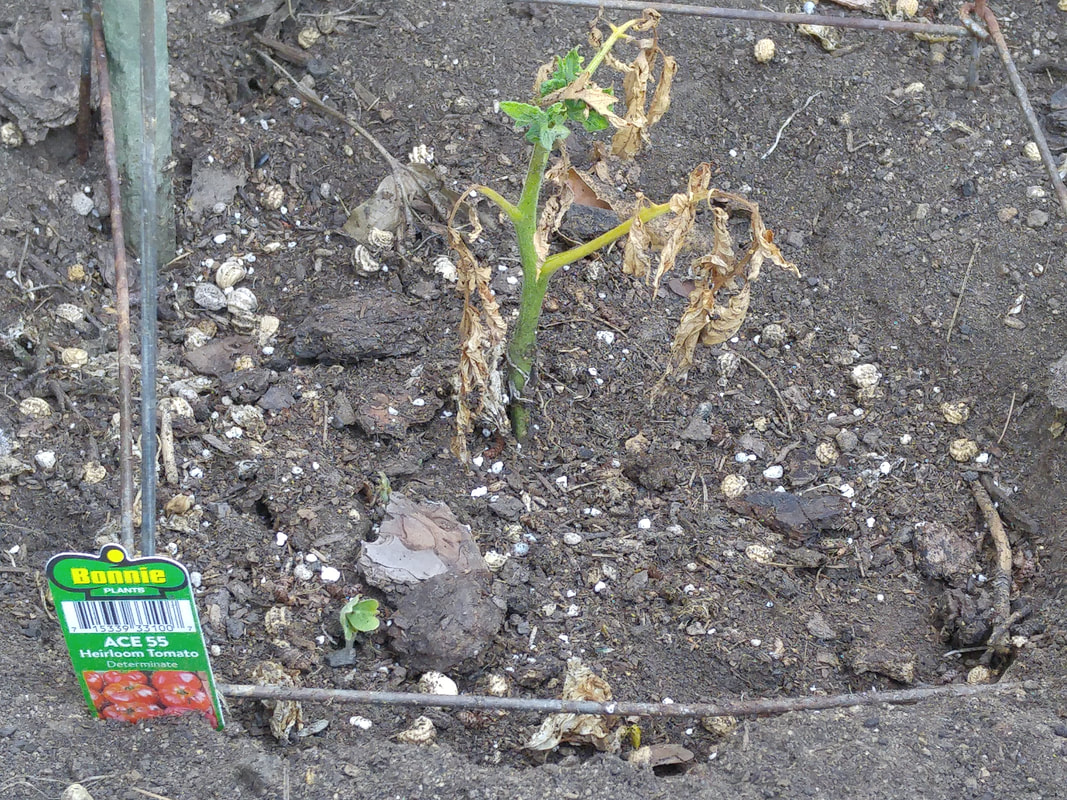
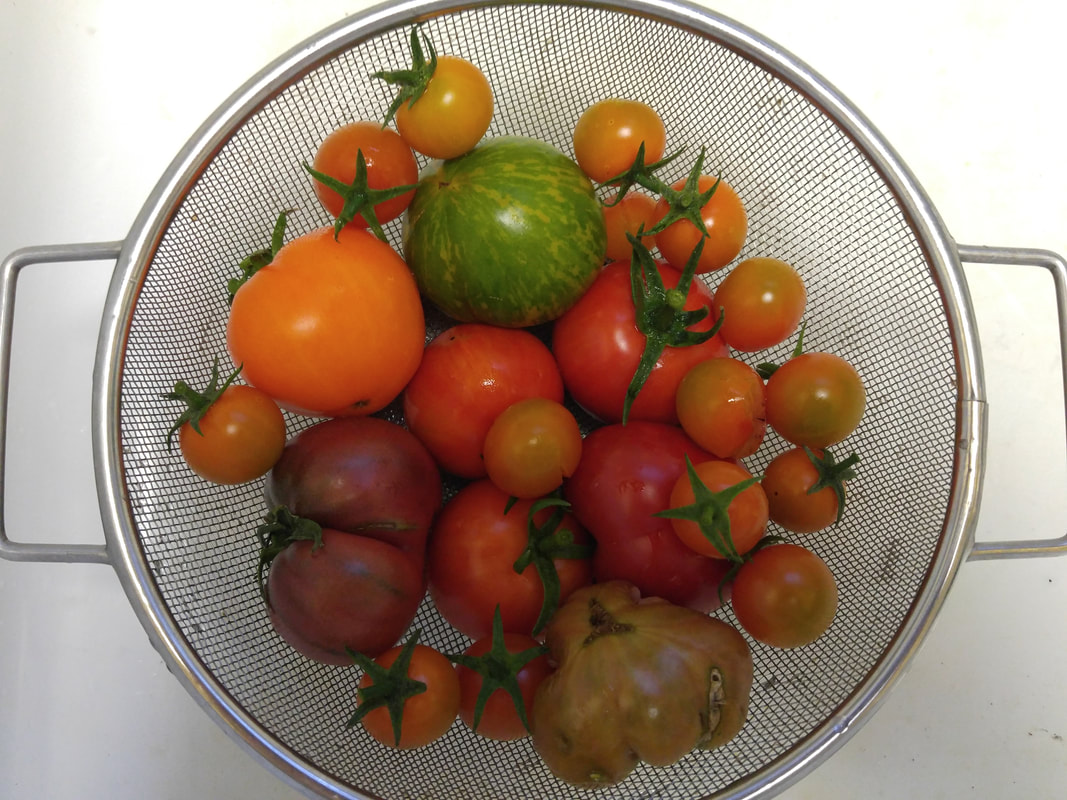
| | Summer has definitely arrived, thankfully without the 116-degree vengeance that tortured us a year ago! From the first tomatoes I picked on June 27, we’ve now reached the 300 mark, although three quarters of them were from cherry tomatoes - Sungold, Chocolate Cherry, and a volunteer cherry that came up on its own and I have no idea who it is, but it is delicious and beautifully striped. These were all from 4” plants that I’d transplanted on March 18. So, they took a bit more than 5 weeks from transplanting to bearing – augmented I’m sure by our blissfully cool spring during their establishment. The tally so far: 162 Sungold, 34 Chocolate Cherry, 22 volunteer cherry, 21 Red Zebra, 13 Black Krim, 21 Sweet Tangerine, 11 Black From Tula, 9 Green Zebra, 3 Berkeley Tie-Dye, 3 Cherokee Purple, and 1 Momotaro Gold. Taste-wise, here’re some of my observations: Sungold – wait until they turn from orange to orangy-gold, very sweet, prone to split. I always grow. Chocolate Cherry – nice color and taste, less sweet than Sungold but not tart either. Volunteer Cherry – nice stripey variegation, sweet. Red Zebra – smallish size similar to Stupice, haven’t observed any “zebra” patterning, very susceptible to blossom-end rot. Black Krim – wonderful flavor and color. An “always grow.” Sweet Tangerine -- Brilliant color, firm flesh, moderate flavor. Black From Tula – similar to Black Krim; can’t tell them apart. Green Zebra – wait until the green background turns golden. Beautiful “zebra” patterning. Nice flavor, slightly tart. Berkeley Tie-Dye – Nice coloring, ok flavor. Cherokee Purple – wonderful flavor and color. Another “always grow”. Momotaro Gold – with experiencing only one fruit so far, it seems ok but not special. How to Harvest Tomatoes Remember to harvest tomatoes by snapping them from their stem at the elbow just above the stem’s connection with the tomato. Some varieties are easier to snap than others. For these less-easy-to-snap ones, cut them off their stem. This enables the fruit to stay “whole” with no potential entry spots for spoilage. Or, just eat those damaged ones first! Later-Planted Tomatoes The 9 plants I transplanted on April 20 are thriving, with vigorous plants and most beginning to set fruit. These fruits I will depend on once the determinate varieties of the March-planted bushes give up. The indeterminate varieties, of course, will continue bearing through Fall or frost if we get any. Of the 5 plants – 3 Celebrities and 2 Ace 55s – that I’d planted on June 9, one Celebrity has died, one Celebrity has thrived (reaching the first rung of its cage and blossoming), and the other Celebrity and two Aces looked pretty shrively when that heat first hit a bit more than a week ago, but with several concentrated days of watering, they’ve put out some new growth since then. So, we’ll see whether they can surmount the upcoming stresses of life in the consistently hot summer garden. No Blossoms on Tomatoes and Other Veggies? Speaking of the hot garden, plants that are mature enough to set blossoms will not set them when daytime temperatures are above 85 degrees and nighttime temperatures are above 60 degrees. To make this no-bloom period even worse, the plants won’t start setting blossoms again until 2 weeks after the temperatures stay below 85 and 60, respectively. Which, given the time of year and “depth” of summer that we’re heading into, may be a while, if not months. This is why it’s so important to get our tomatoes established in the garden as early as we possibly can so they develop sufficiently to set blossoms early and set fruit before we get our first lasting heat. Spider Mites and Blossom-End Rot Hot, dry temperatures are another impetus for pests that both thrive in these conditions and on the plants that are stressed by the heat and dust. Teeny Spider Mites love the heat and dusty conditions. If you see the beginning of a colony’s webbing, immediately dislodge them with a forceful spray of water, especially on the undersides of the leaves. If they continue to thrive, pull the plant and discard in the trash – not into the compost pile – so they won’t spread to and other neighboring plants. See the article on spider mites on the University of California Integrated Pest Management Pest Notes -- http://ipm.ucanr.edu/PMG/PESTNOTES/pn7405.html Blossom End Rot appears as a grayish-brown leathery spot covering the bottom of the tomato fruit. It results when the plant hasn’t received enough water to continue hydrating the furthest-out growth (the fruit). This occurs mostly when the weather suddenly got hot and we as gardeners didn’t notice that the plant needed more water until the appearance of the scabby growth. Some varieties are more susceptible, and of all my varieties that I’m growing this year, only the Red Zebra exhibited this. Other Garden Nasties For help in identifying and dealing with assorted garden nasties, rely on University of California Integrated Pest Management Pest Notes Library -- http://ipm.ucanr.edu/PMG/PESTNOTES/ For More Garden To-Dos See July tasks. |
|
0 Comments
|
Categories |
 RSS Feed