
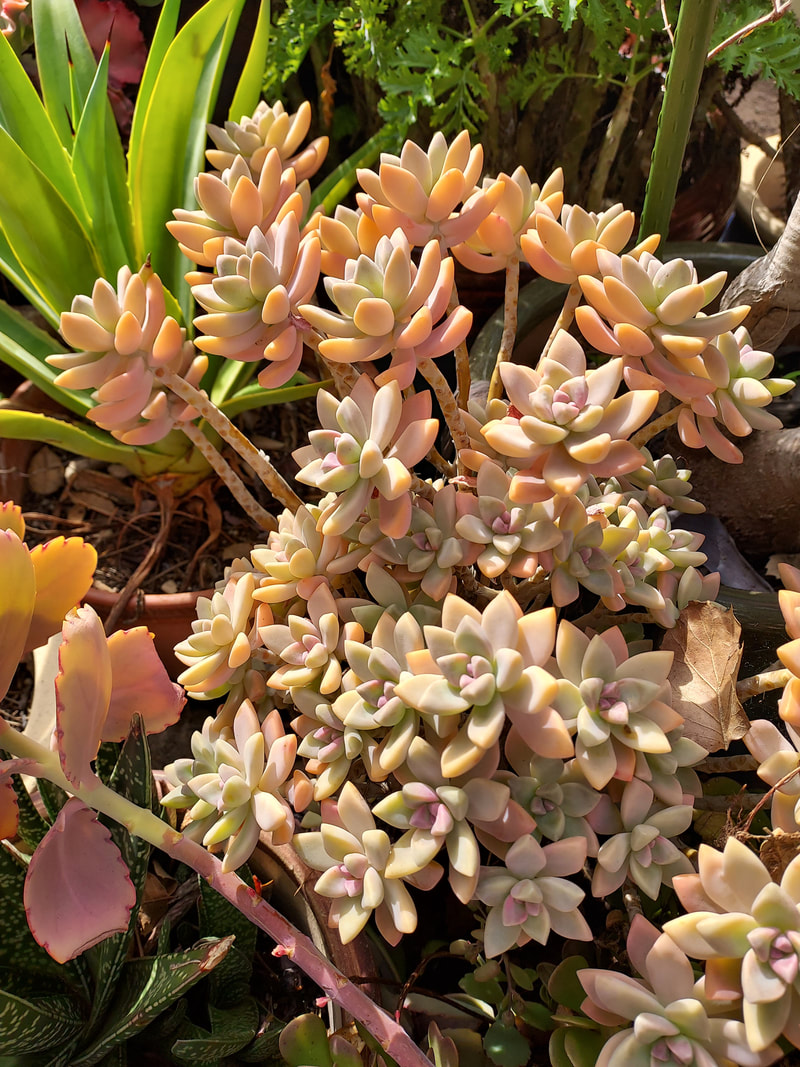
 Trim stems from a clump of healthy succulents to even out growth. 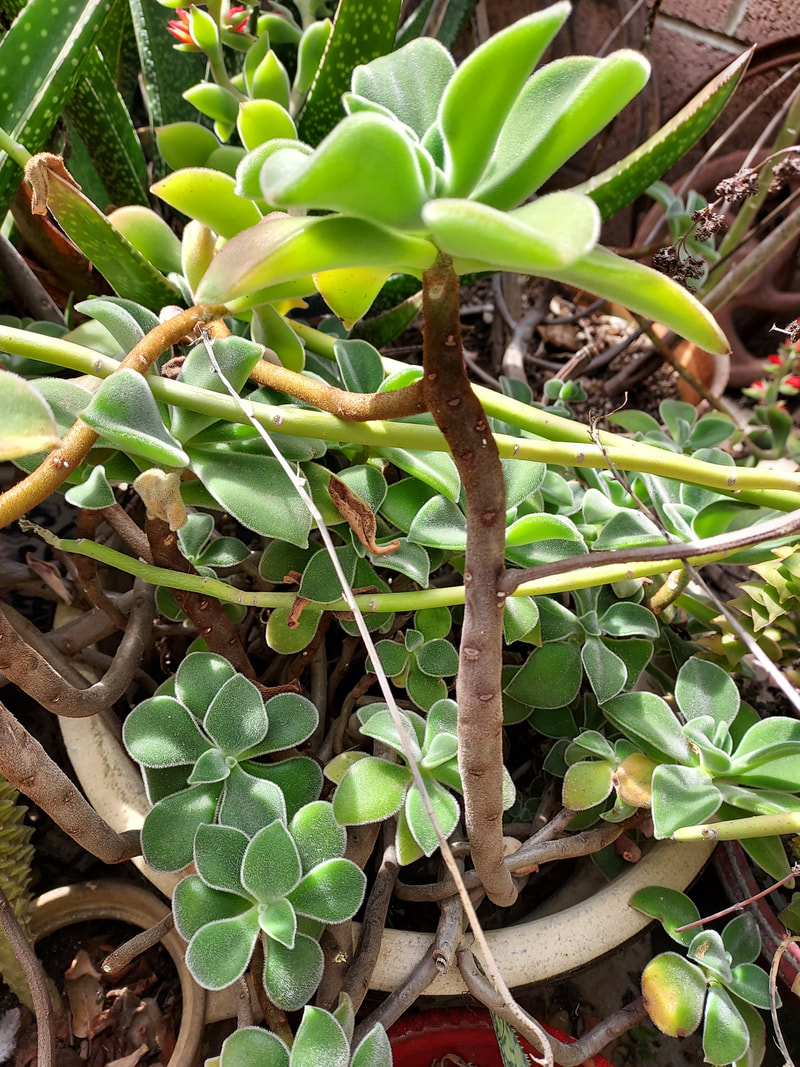 Trim long stems to encourage new shoots from the base. 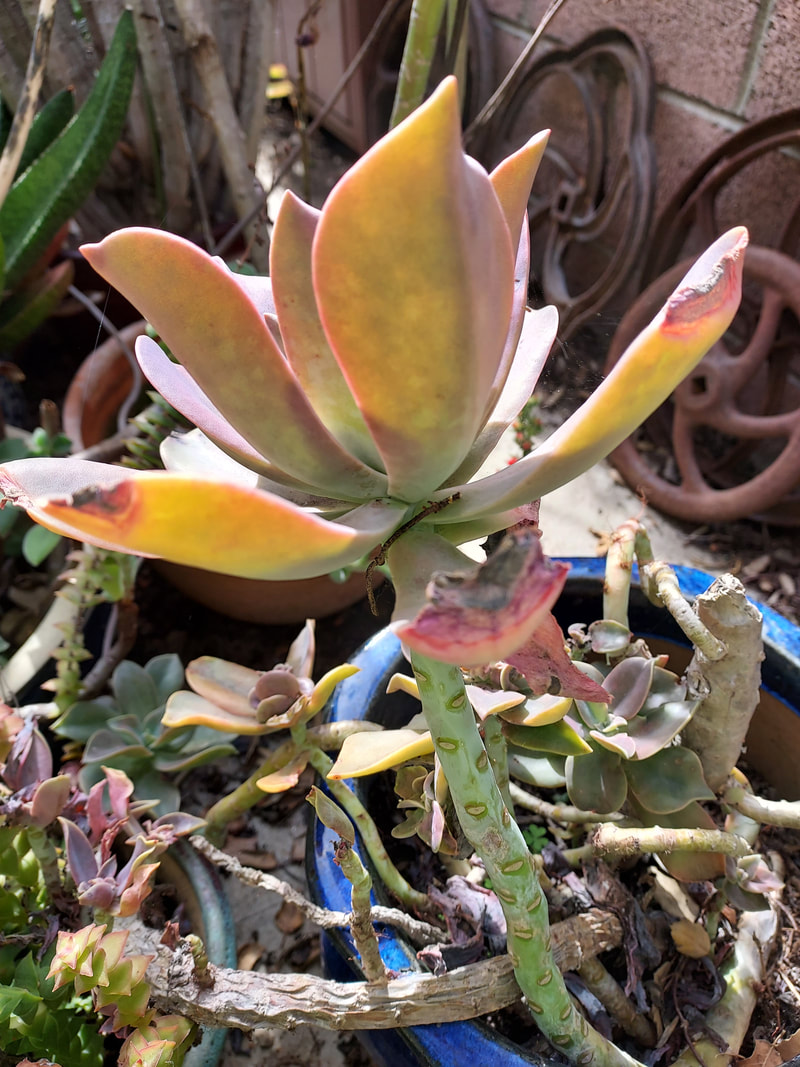 Note the "lines" of nodes and front undesireably crumply-looking "leaf". 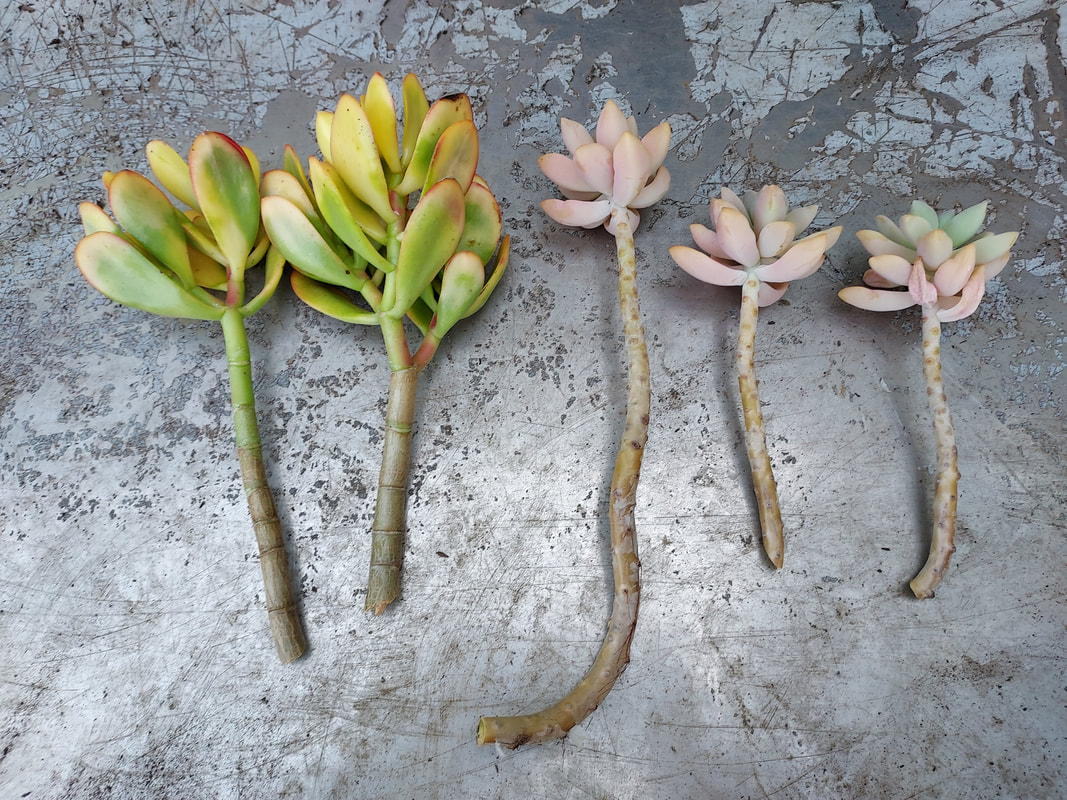 Make initial cuts of long stems to make the mother plant more attractive. 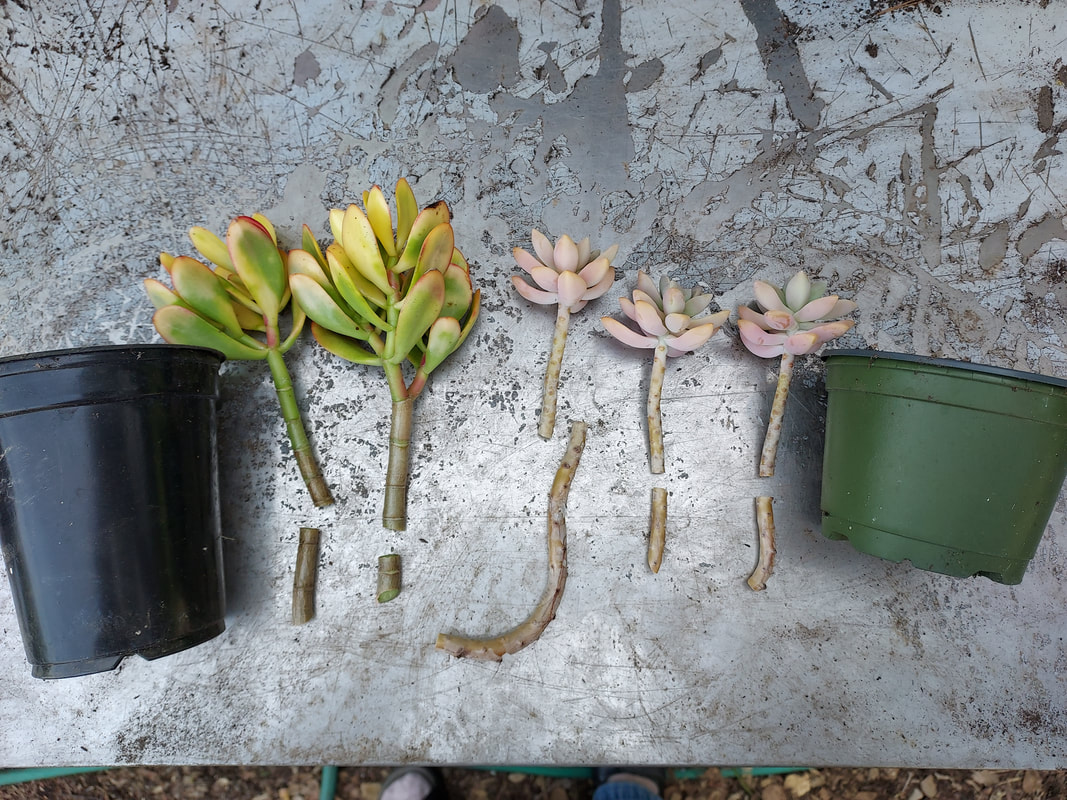 Trim the cuttings so they have at least several nodes on the stem, and match the pot to be at least an inch deeper than the stem to enable lots of new roots at the base of the cut stem. 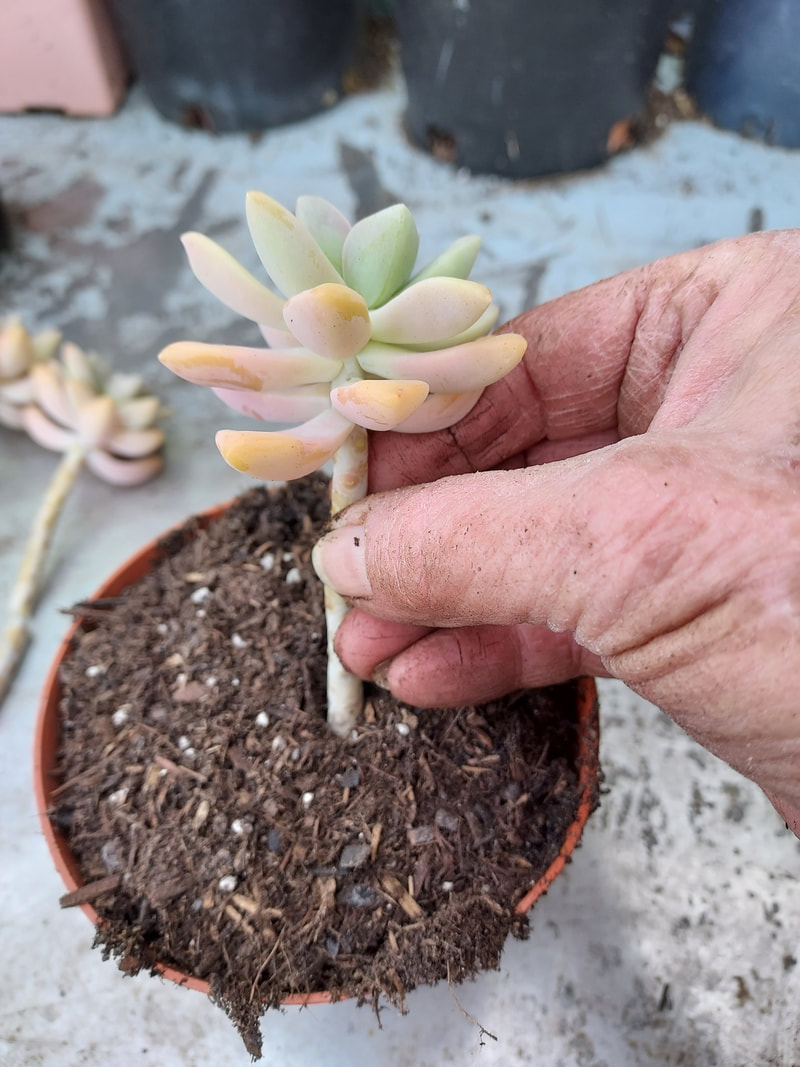 Place the stem at the center of the potting-mix-filled pot. 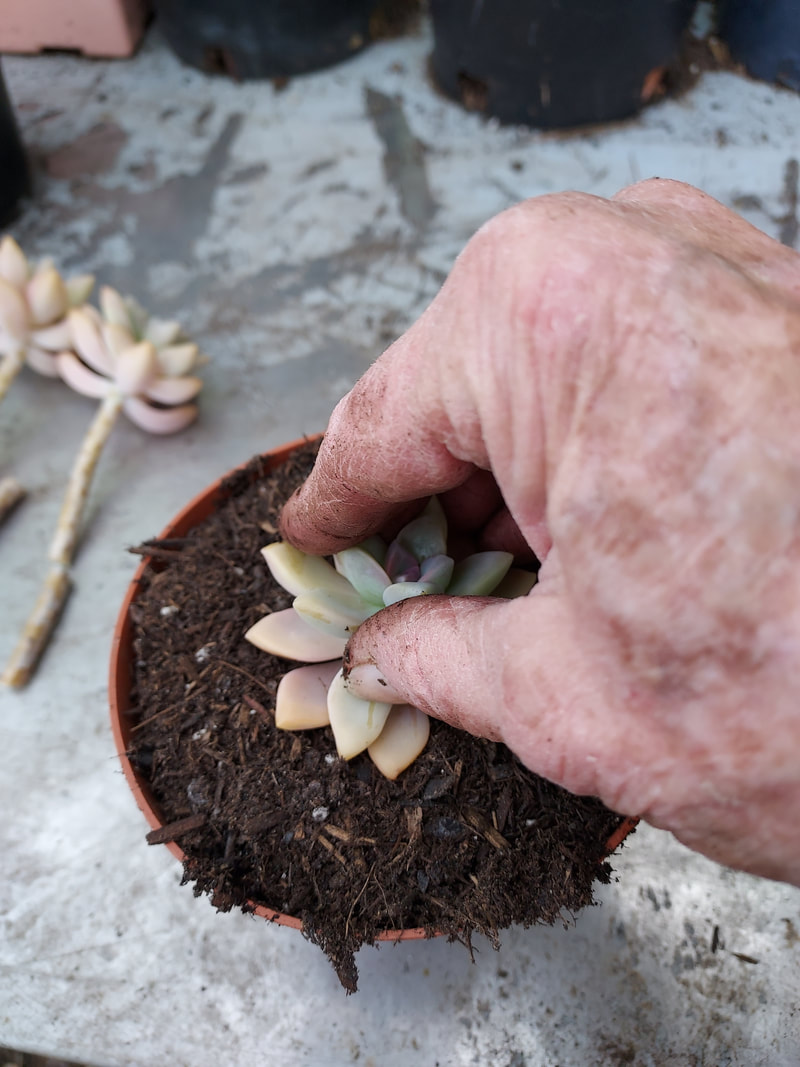 Push stem all the way down into the potting mix.  With your index finger and thumb, compress potting mix in several places around the edge of the pot. 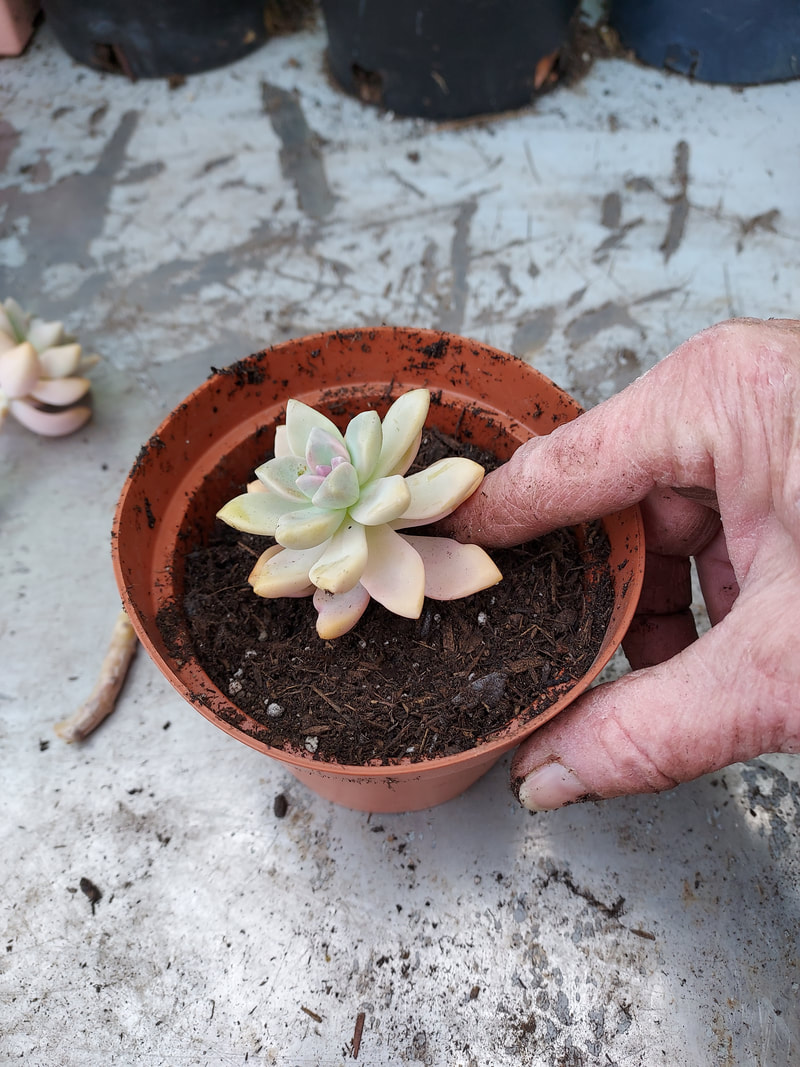 With your single index finger, compress the potting soil in several places right next to the stem. 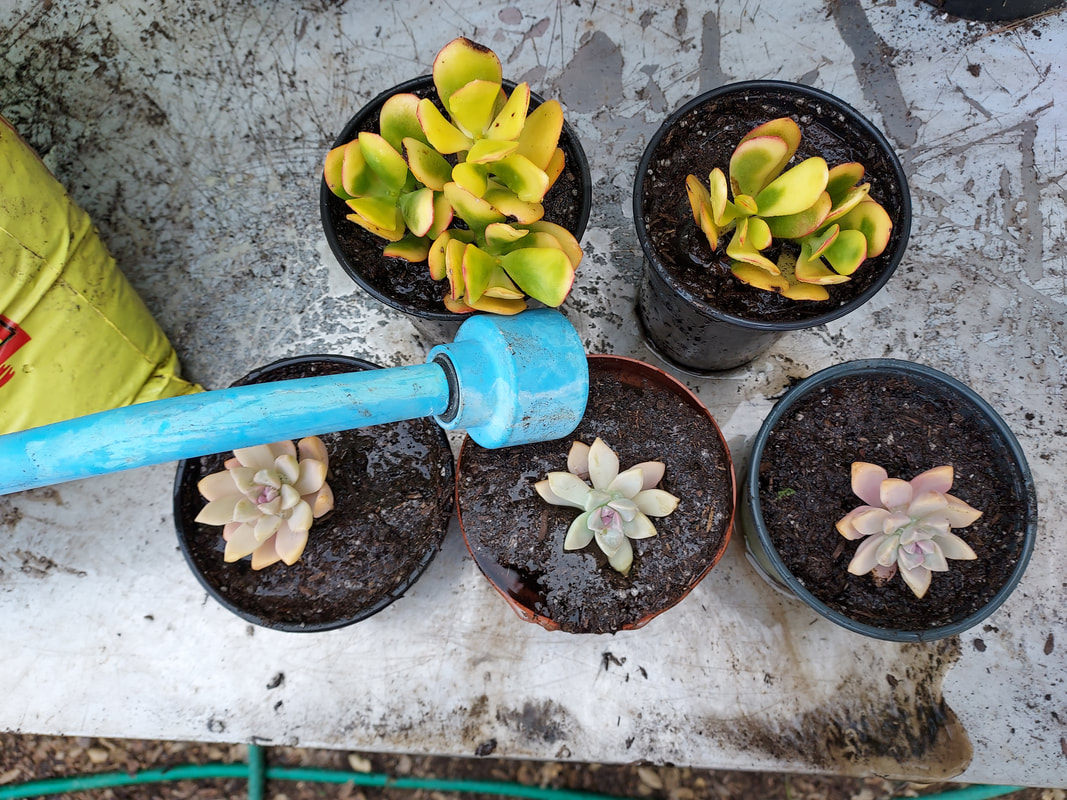 Add a bit more potting mix if necessary, but leave half an inch of space for watering. Fill containers and let drain three times to assure that all of the potting mix is thoroughly moistened and snug up against the plant stem. 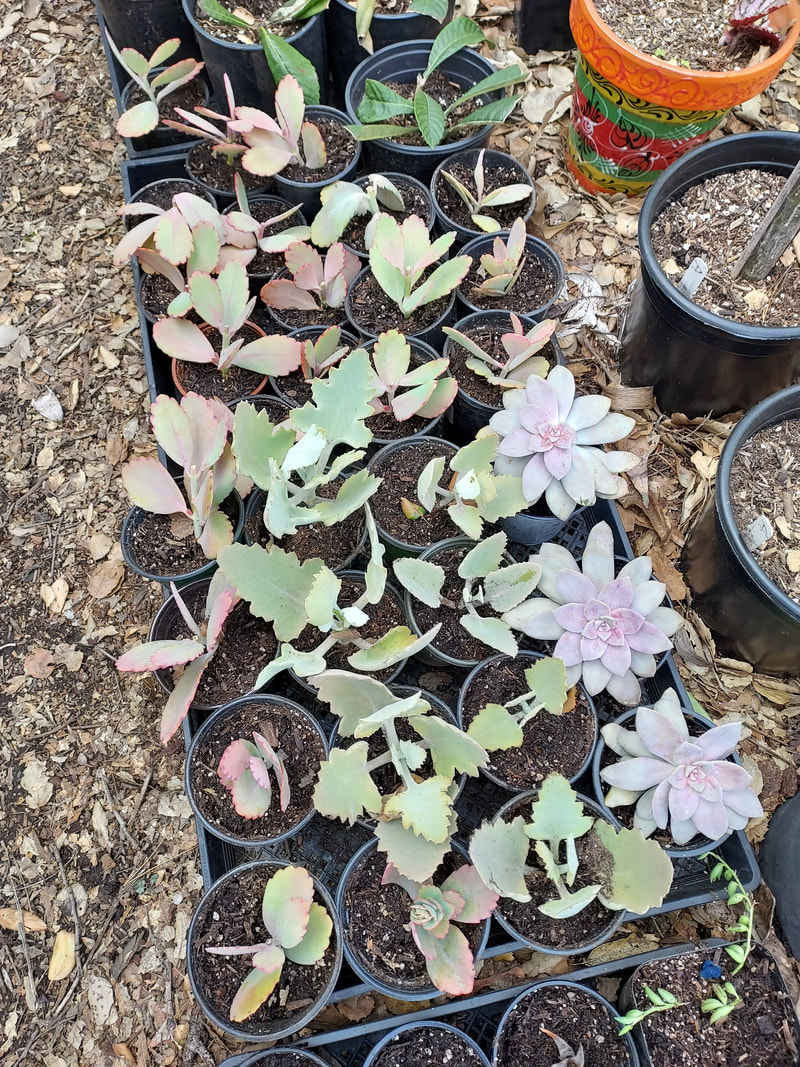 After a month in a brightly-lit (but no direct sun) location, move containers to a location with some direct sun to encourage more root and topgrowth as the weather warms. 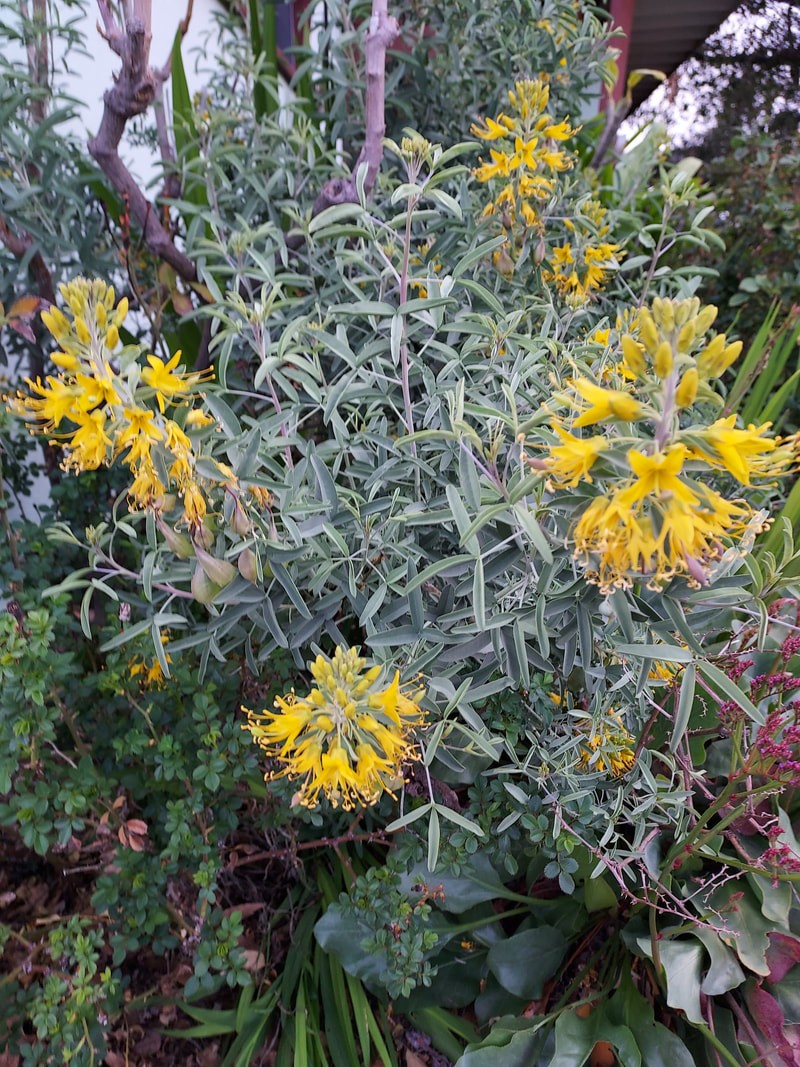 Bladderpod blooming. 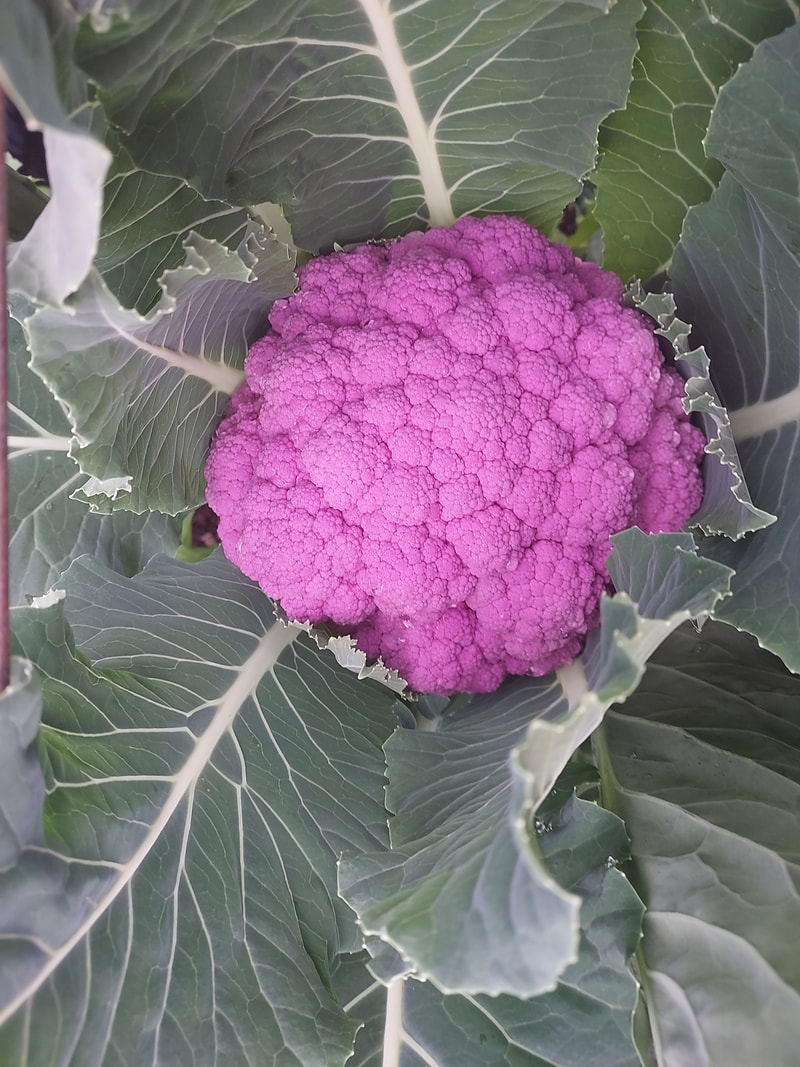 Gloriously purple cauliflower. 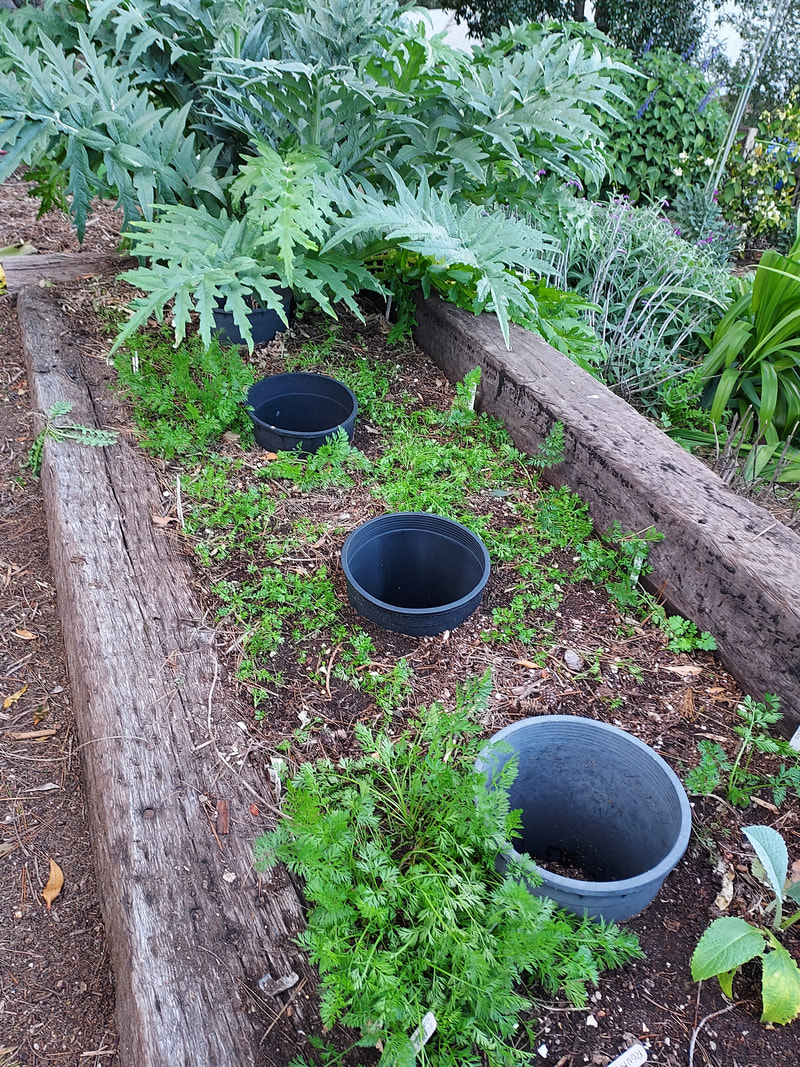 Eight varieties of carrots for taste-testing, and artichokes at both ends of the bed. 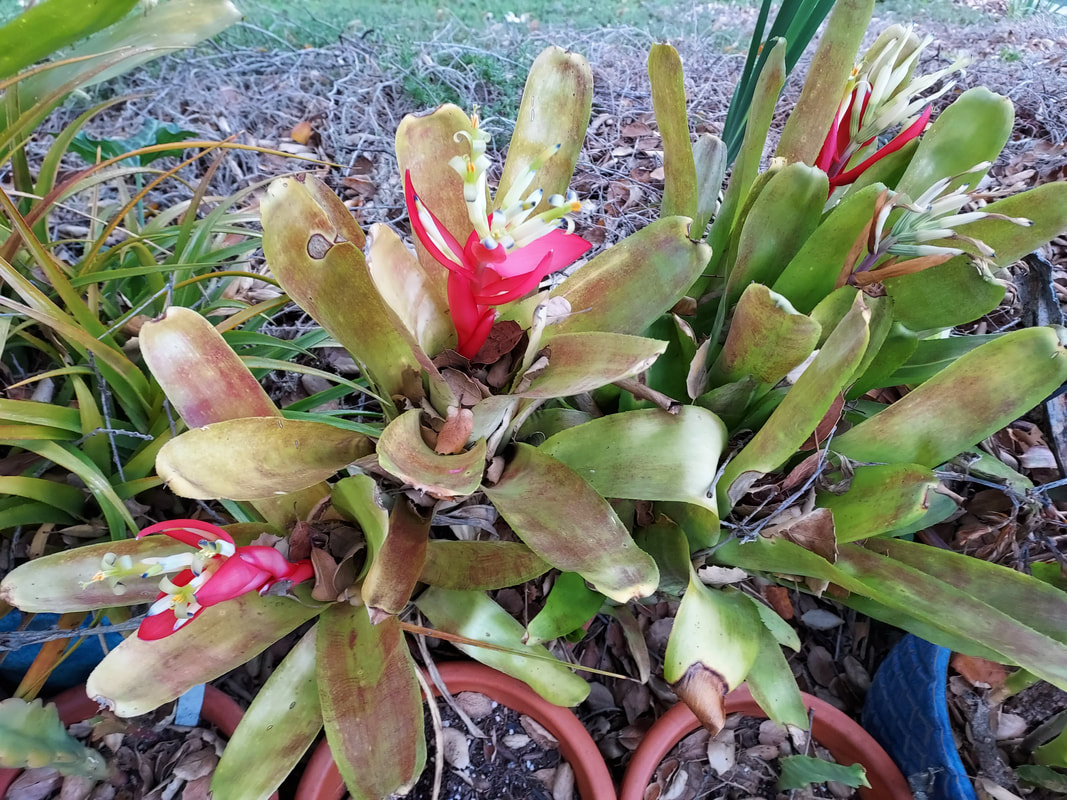 Bromeliad blooming. 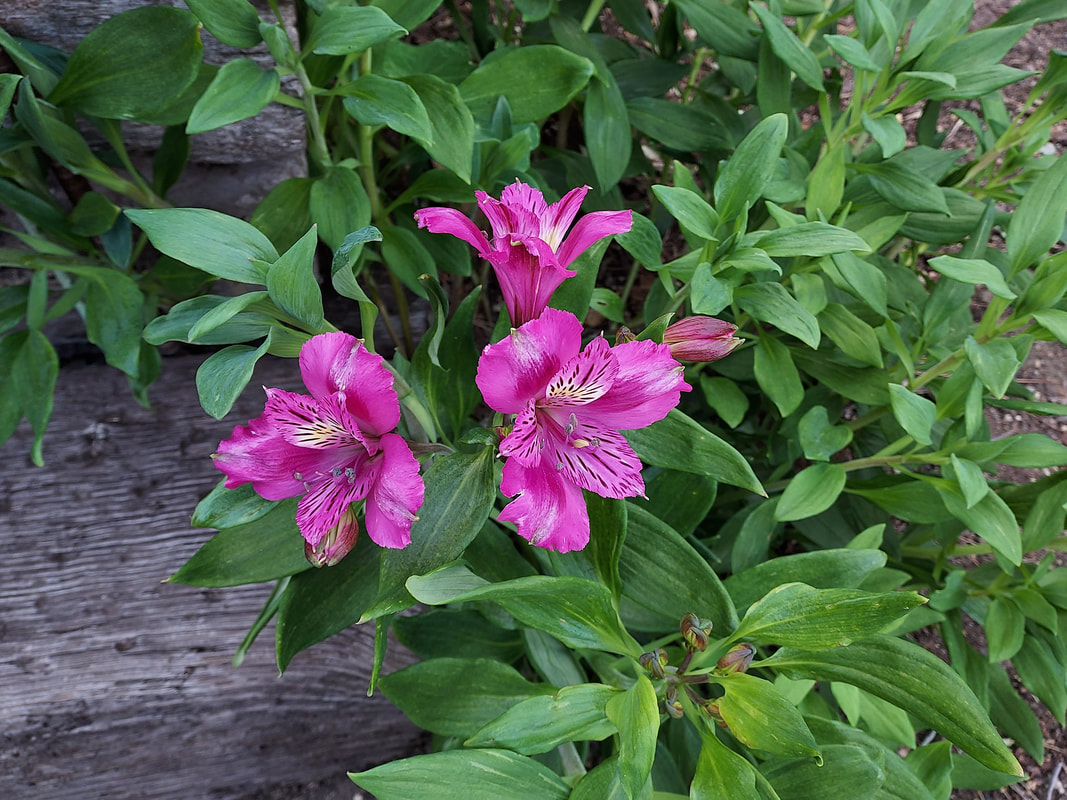 First alstroemeria bloom. | I always hesitate to assure a gardener that a particular plant is easy to grow or propagate because invariably someone will have difficulty with the process and consequently determine that he or she has a black thumb. Which is the last thing I want to result from my encouragement. I prefer to use the phrase “thrives on neglect” in the hopes that the person will take heart and actually attempt to grow the plant or try the technique. Succulents started from cuttings are a great example. And now through summer and fall is their time. I’ve spent the last week trimming leggy succulent stems and pulling up baby offshoots to pot up in containers for sharing with gardening friends. Here’s the process that I hope you’ll pursue.
For tips on propagating begonias and other plants, see Propagating Begonias From Cuttings - 10/29/16 For more monthly tips for this time of year, see February For more blog topics listed by season, go to Homepage |
|
7 Comments
ELF
2/16/2023 03:41:45 pm
Great info! I'm impressed that you don't worry about adding perlite or other drainage aids but still have such great plants. I think I have to be better at the "neglect" aspect, lol. Thanks for the tips (and for the link to the begonia propagation post). 6/5/2024 09:09:29 am
Thank you for such a well written article. You have a lot of writing talent
Charles Anthony
6/20/2024 11:23:21 am
https://jacketware.com/product-category/vest-collection/ Leave a Reply. |
Categories |
 RSS Feed