
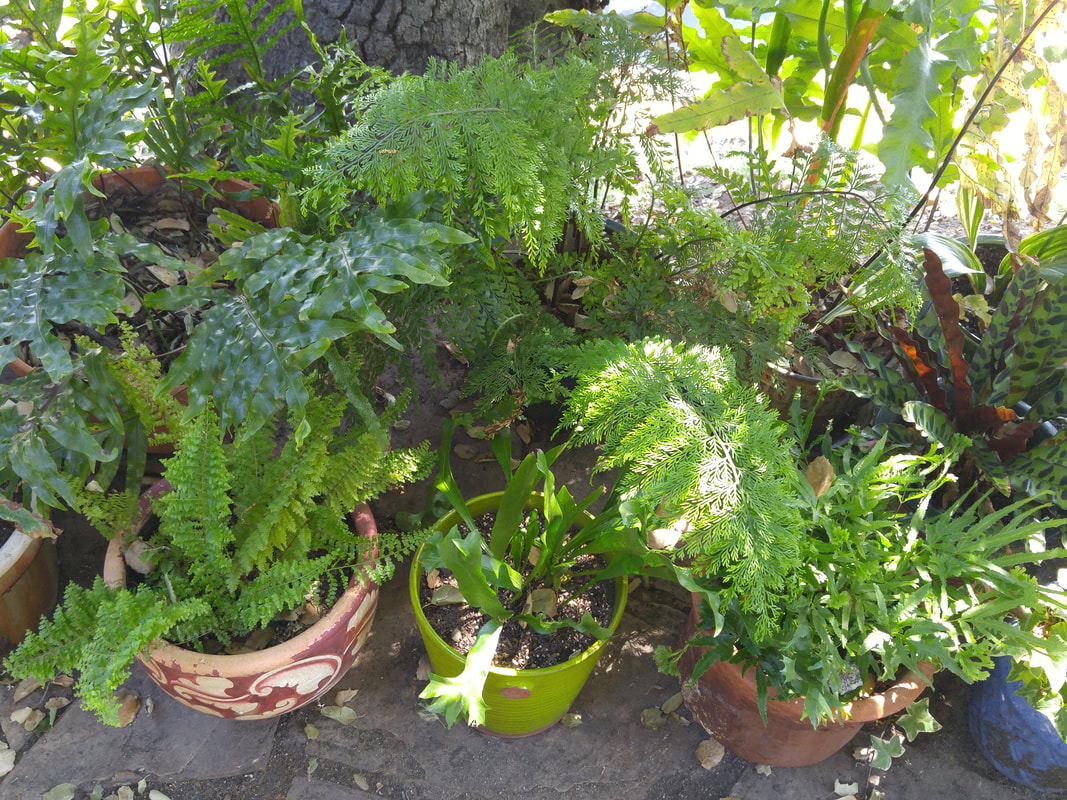
 My fern collection loves the filtered light under the oak tree. 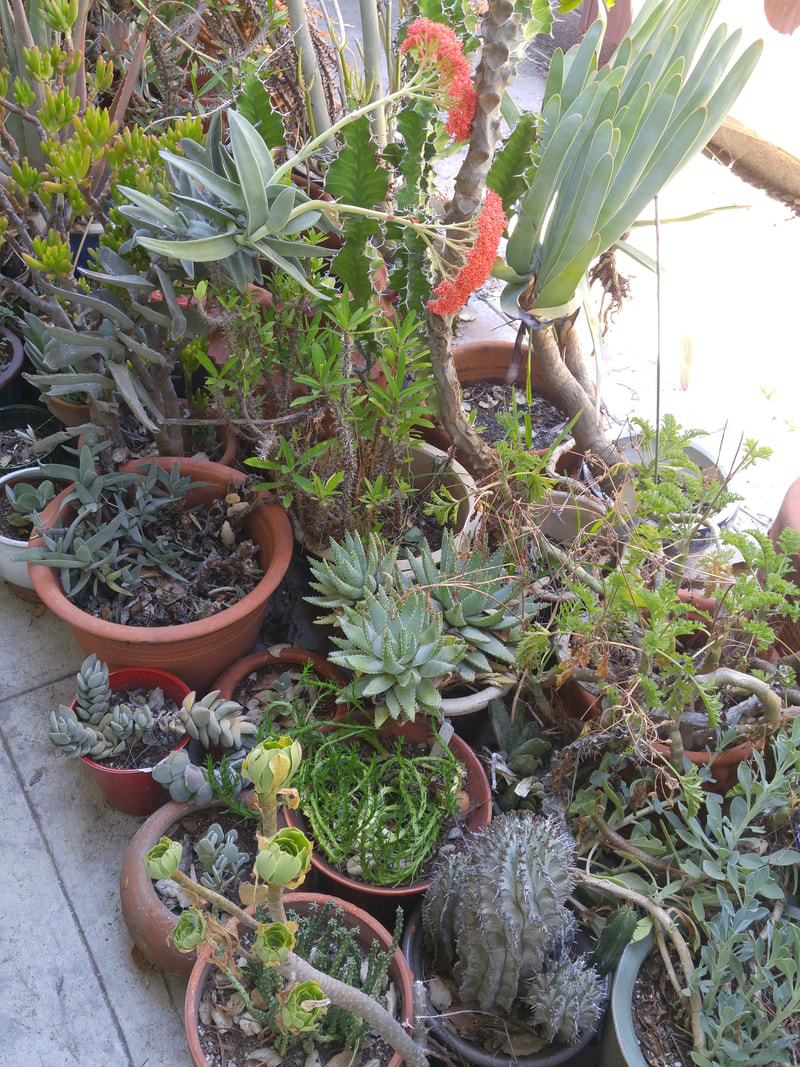 After 5 years, these succulent pots need to be repotted. 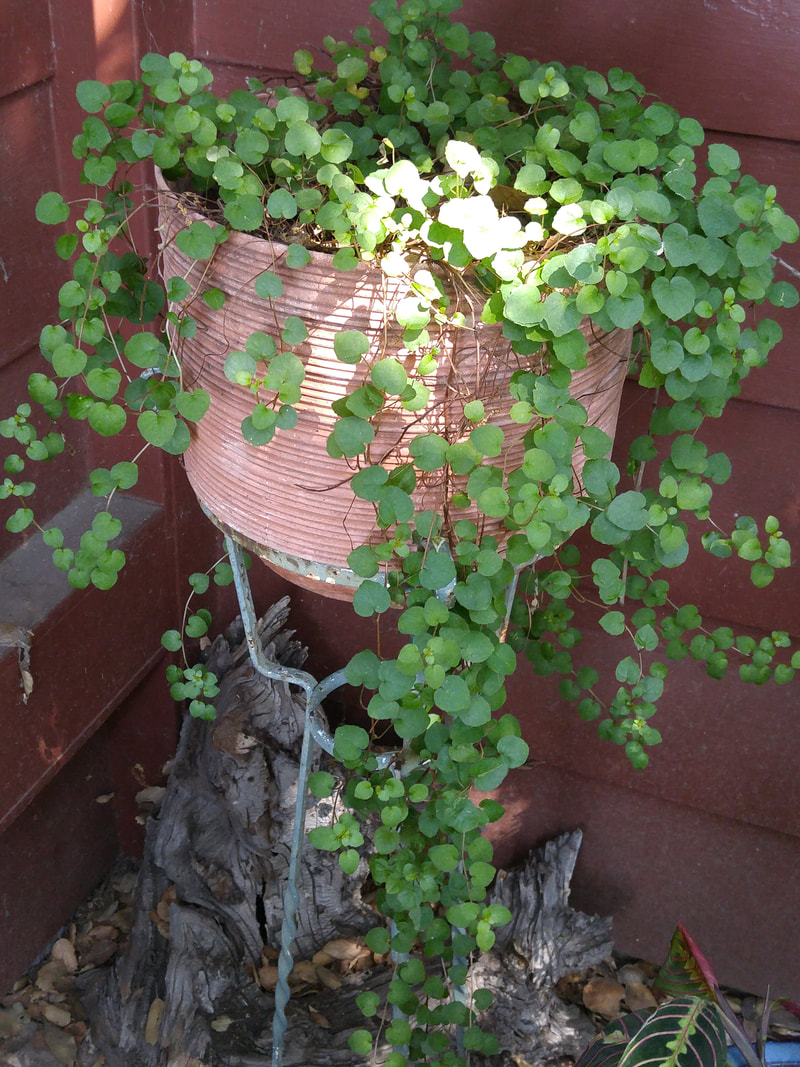 Draping plants love tall plant stands. 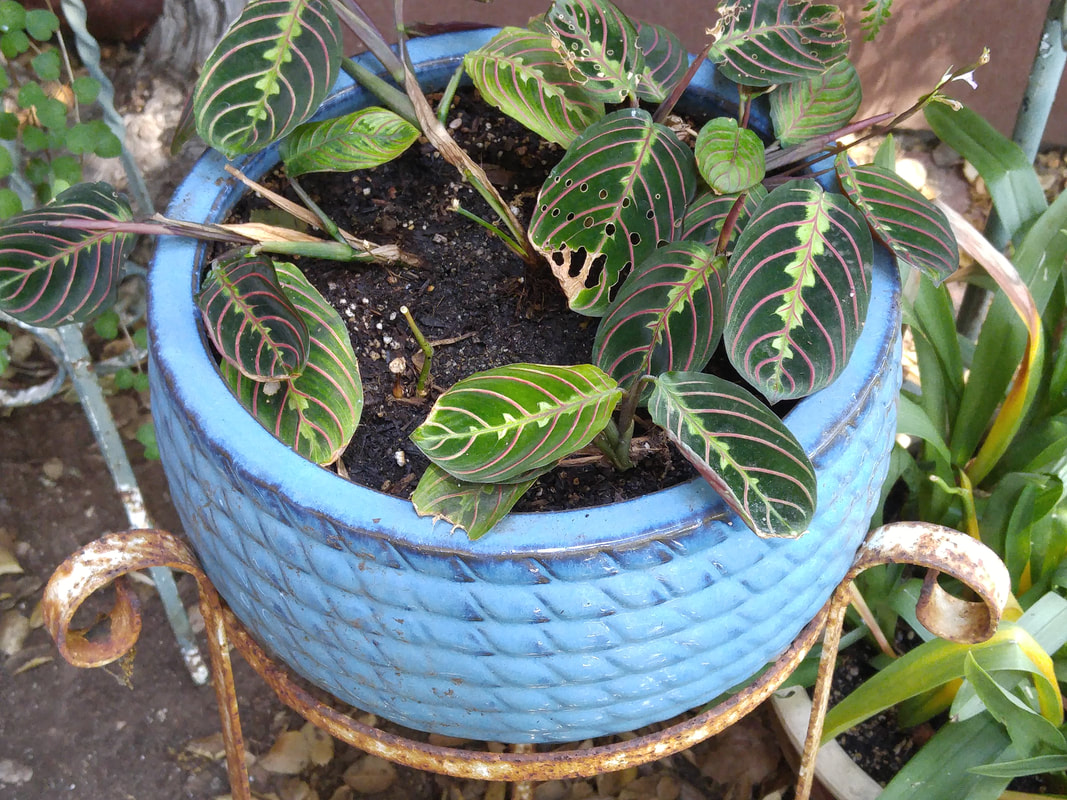 Maranta's striking foliage is offset by baby-blue pot. 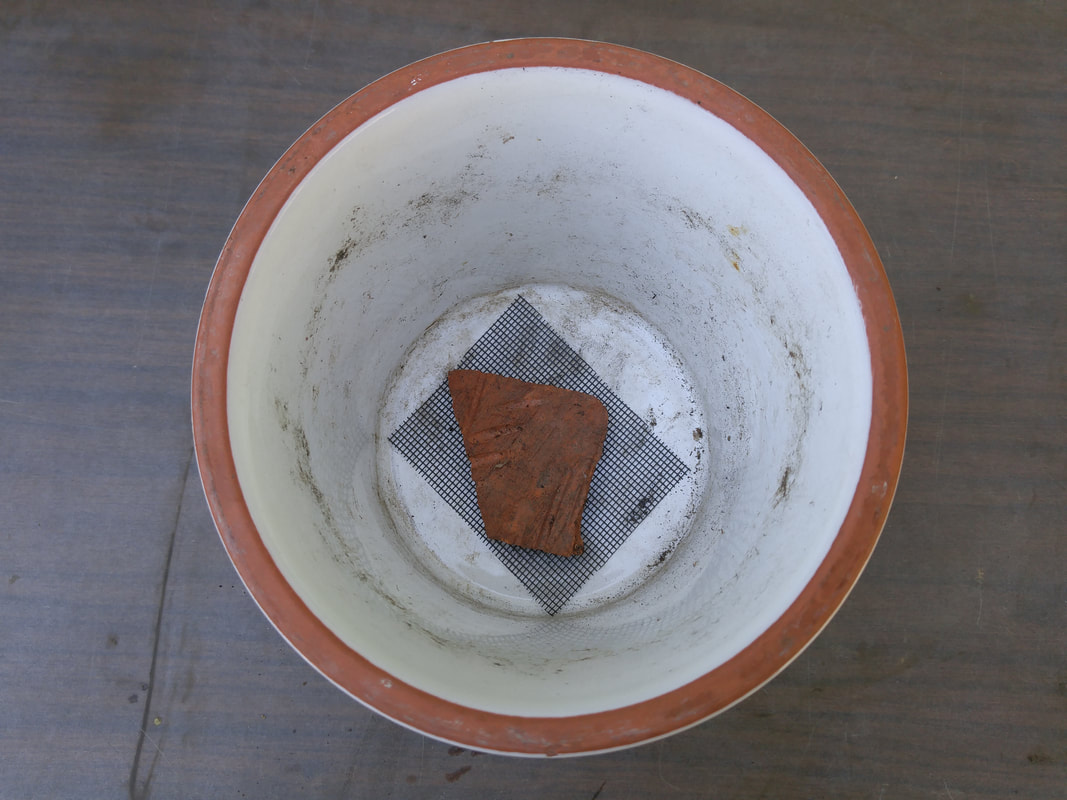 Plastic window screening is directly over the drainage hole. The broken pot shard is on top, providing an air gap to keep the potting mix away from direct access to the drainage hole. 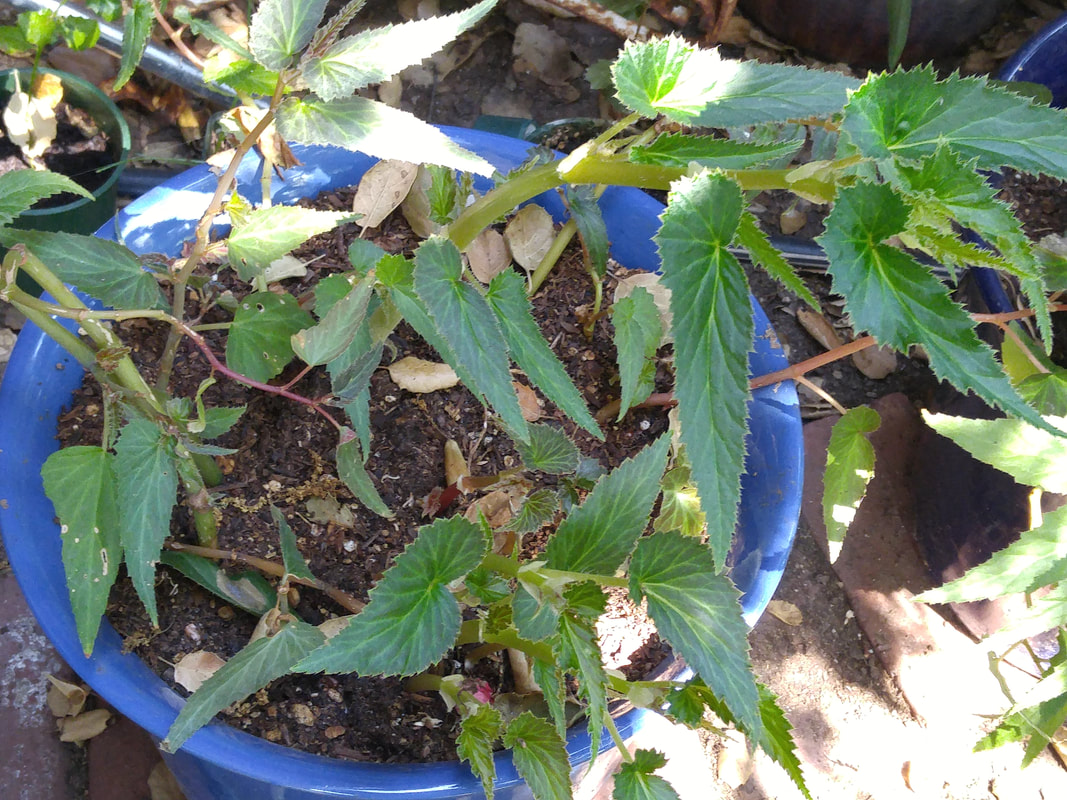 Trimming long tendrils and rooting them alongside the mother begonia plant will enable a fuller bloomset. 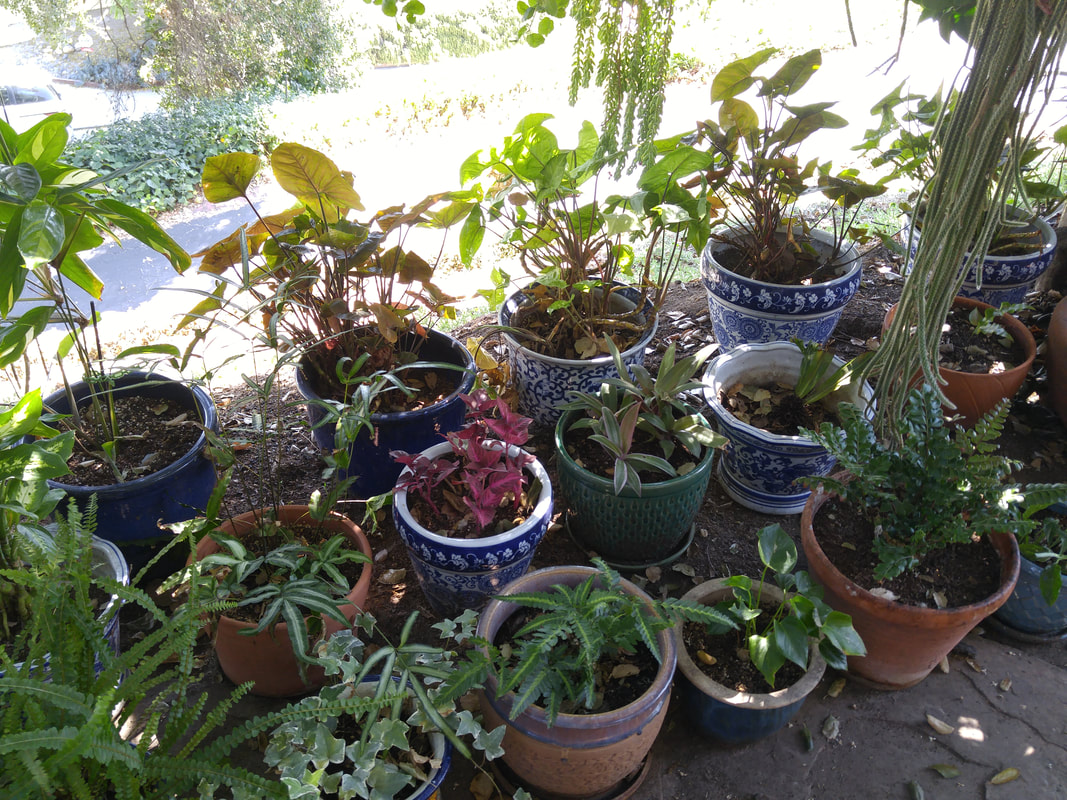 Newly repotted plants under the oak tree get only a bit of direct sun in the late afternoon. 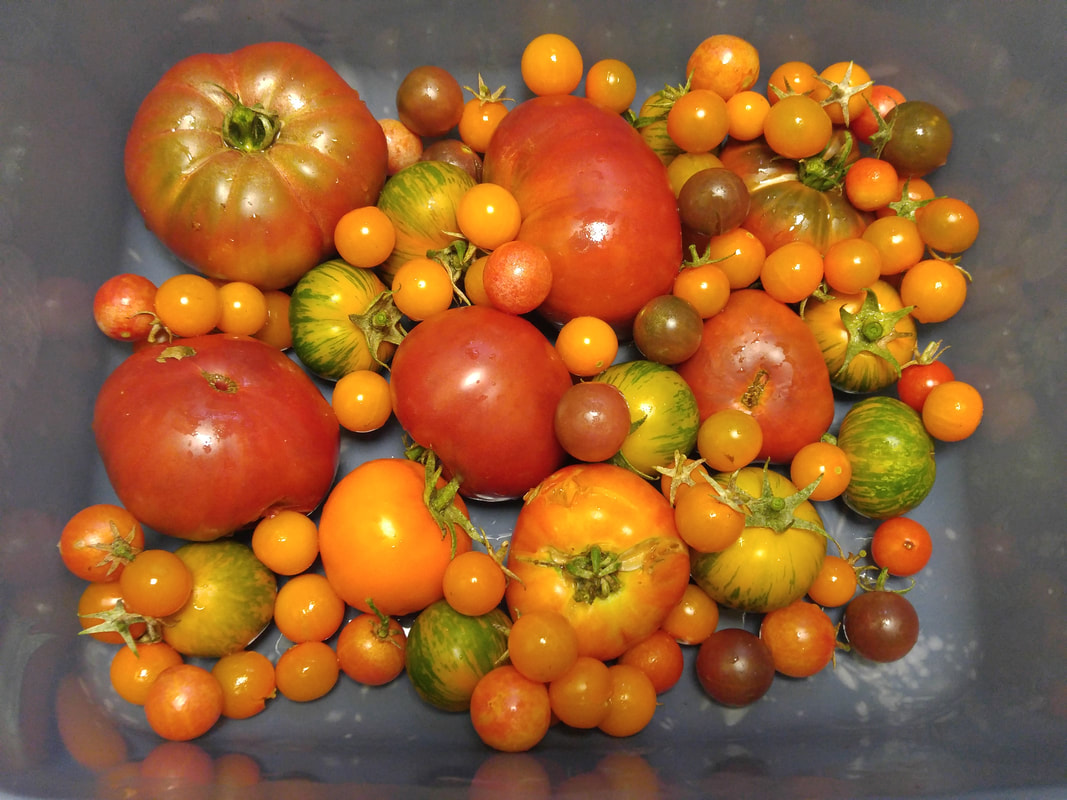 Tomato tally up to 612. However, 377 of them were Sungold and Chocolate Cherry, and Isis Candy. 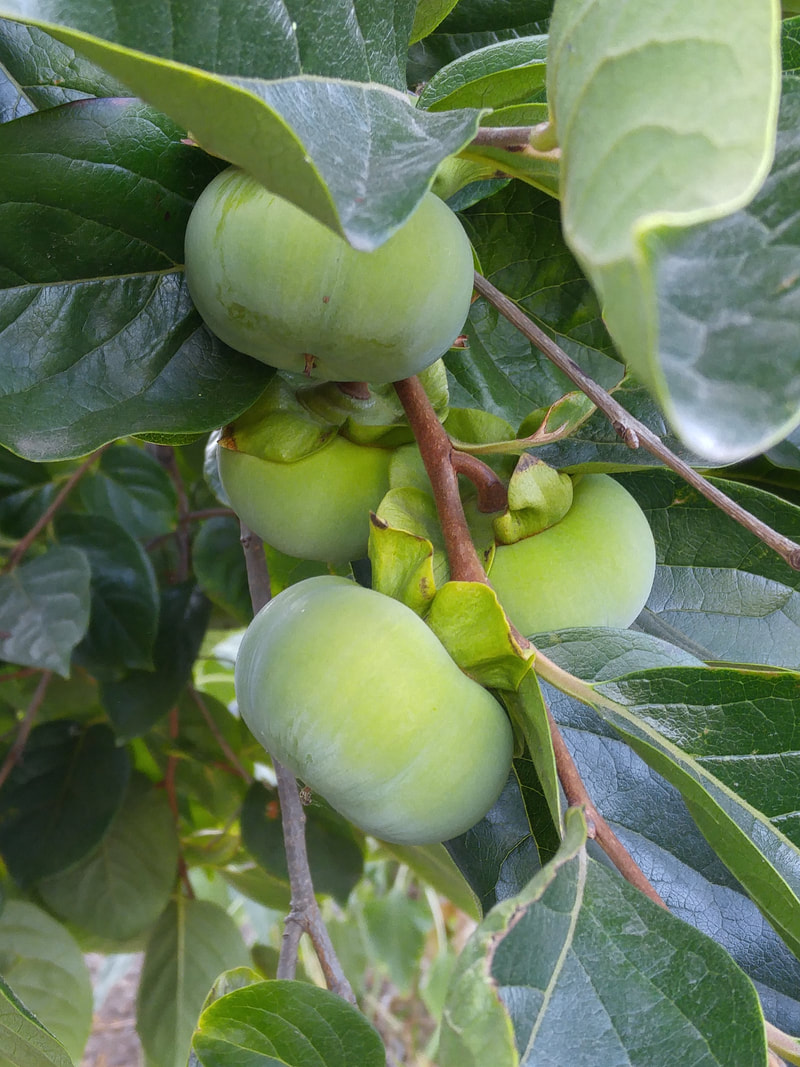 Persimmons enlarging. 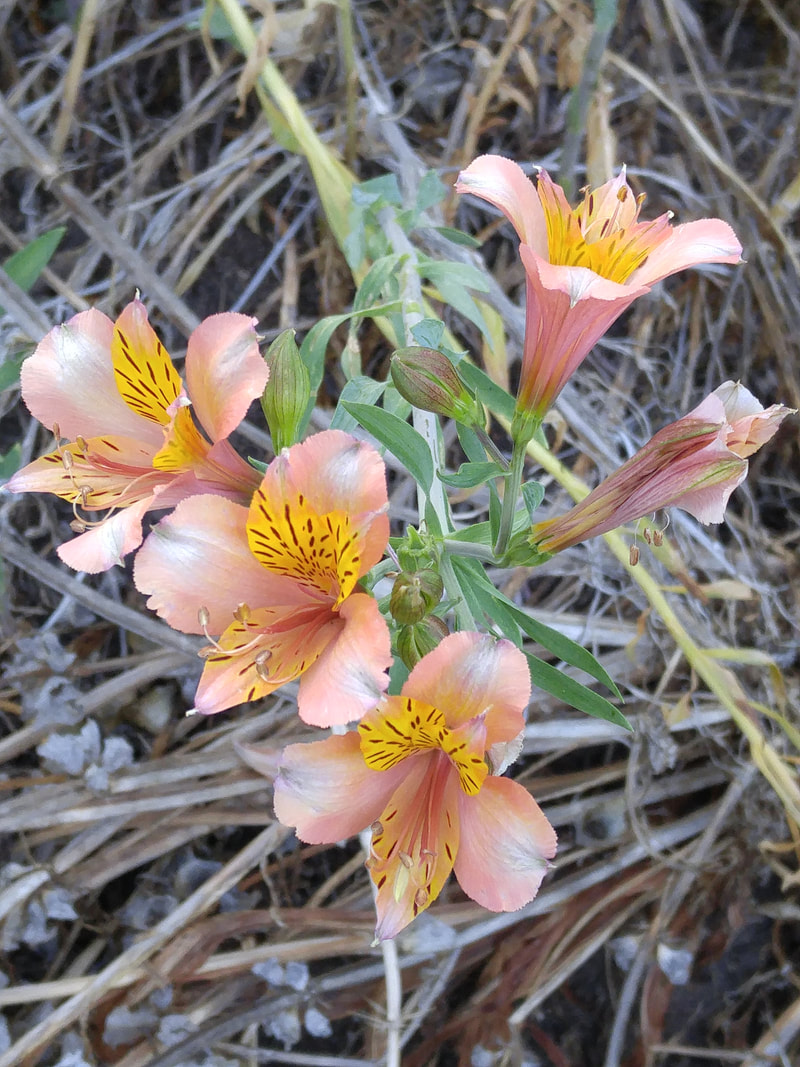 Third Harmonic alstroemeria continue to bloom. They were the first ones to show color way back in early Spring, and they're still going, although not quite as vigorously. 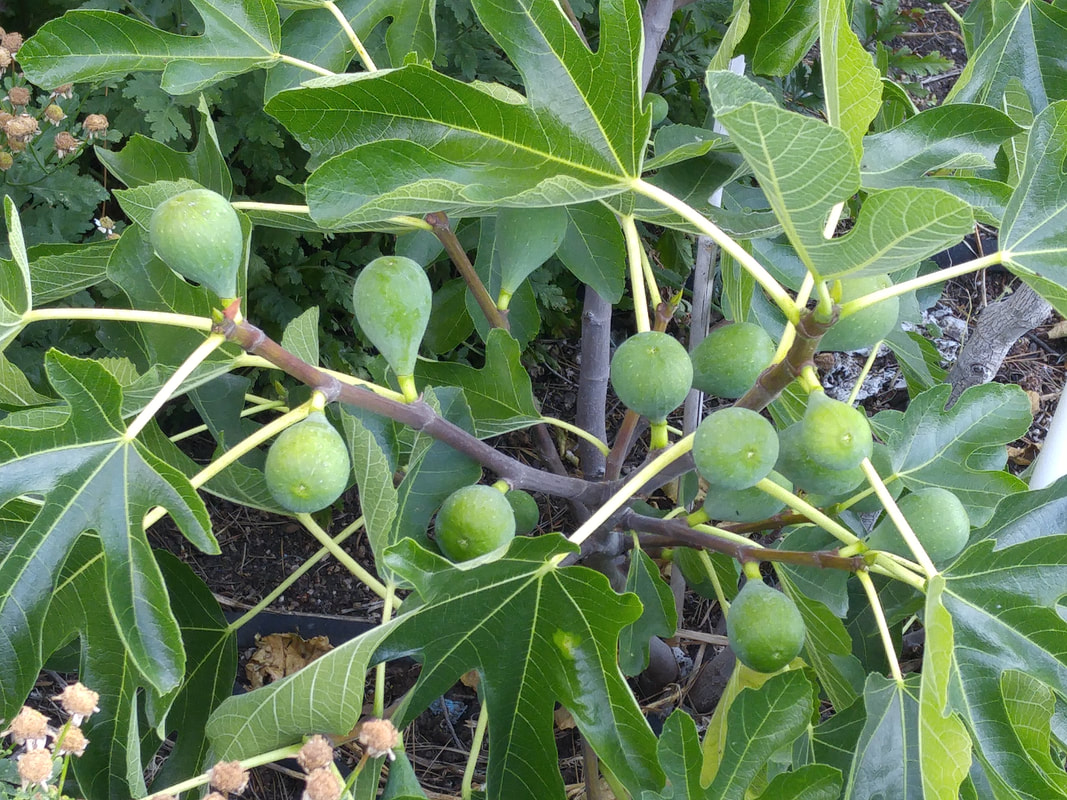 Conadria fig is full of fruit. 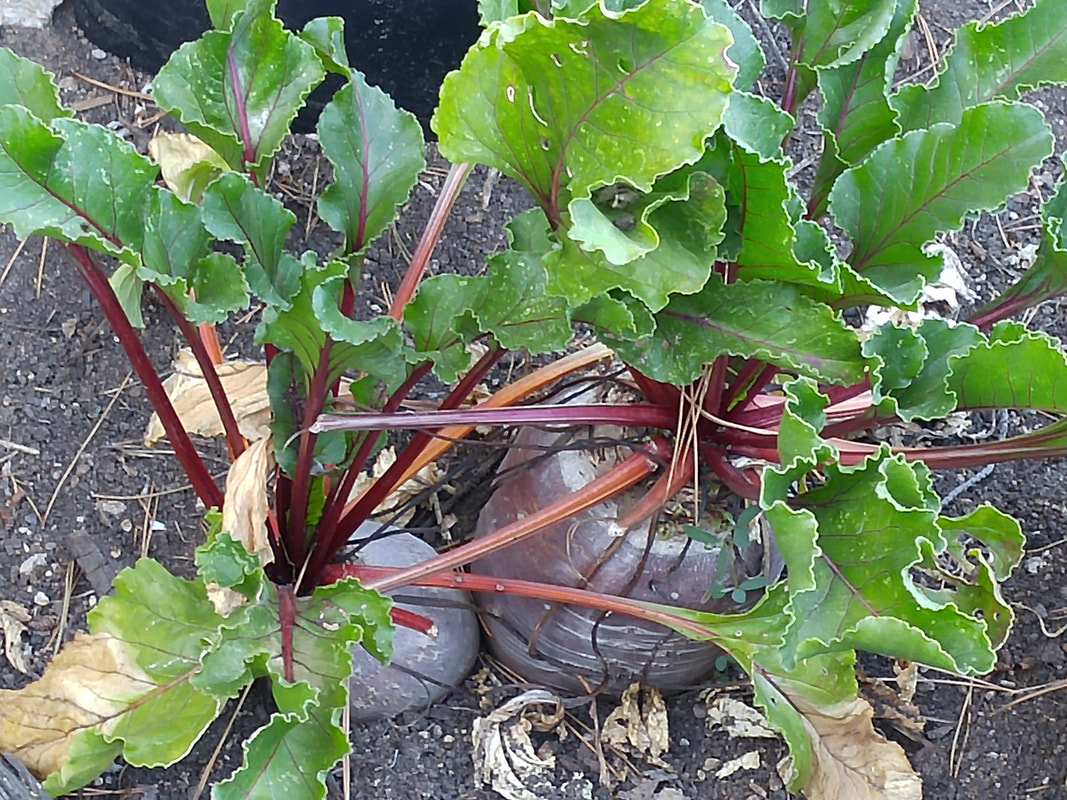 A couple of forgotten beets. The larger one is 5" tall. We'll see whether it's gone completely woody..... 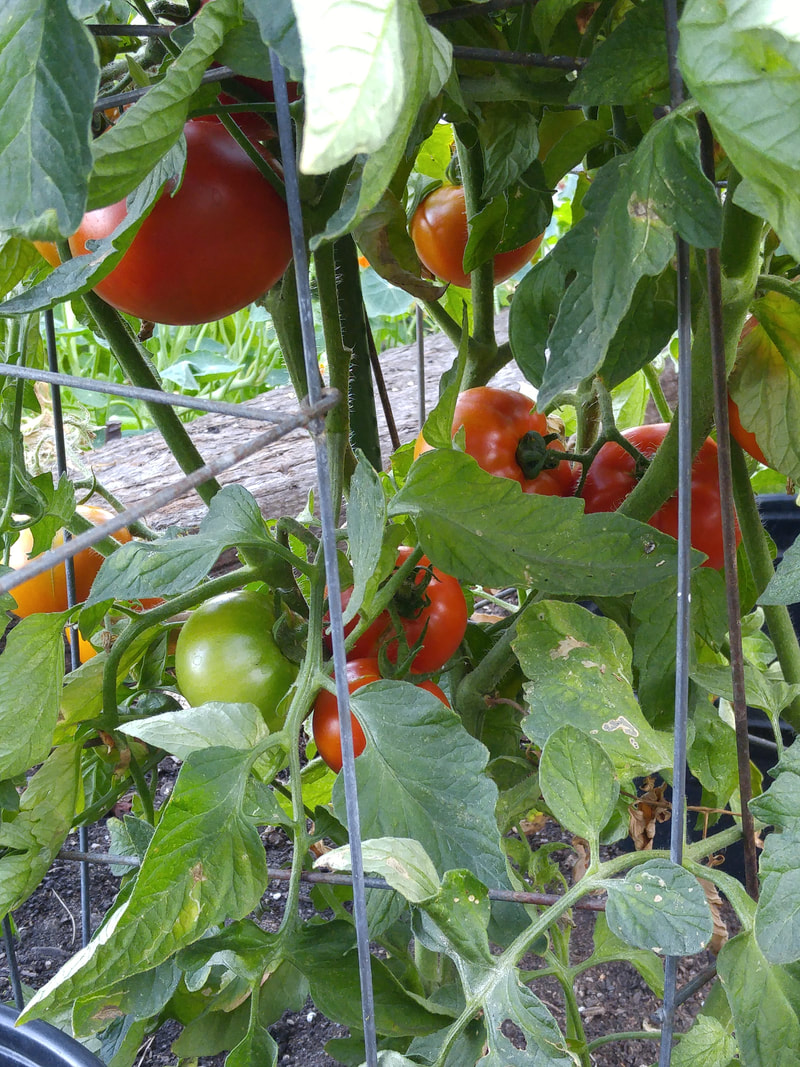 Almost ready Celebrity tomatoes from the first planting in late March. 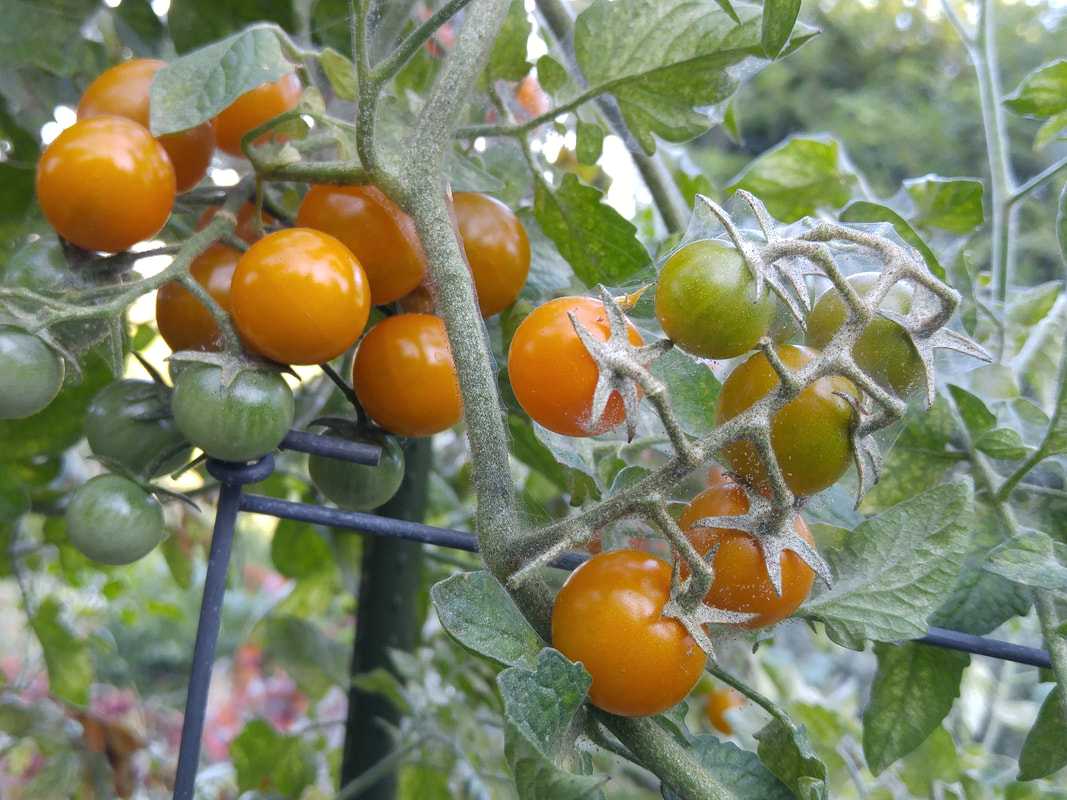 The champion producer, Sungold. So far, 302 fruits since June 27. It's a good thing they're so yummy! | It’s just too hot in the garden for me, except for an hour or so after the sun surmounts the back hill so I can work in bright light but no blasting sun. Then I can spend time harvesting and watering the tomatoes and squash, and the fruit trees once every two weeks. During the day, I have to find other gardeny things to do. In the early to mid-morning, when the shade from my oak tree makes my front patio comfortable, I repot up shade-lovers like ferns and begonias and orchids. At the same time, my extended house roof overhang on the southwest side provides shade for repotting my succulents. When to Repot There comes a point, perhaps years after you’ve first brought home a plant and settled it into its new container home and it’s thrived, when it doesn’t look so happy and you’ve observed that perhaps not much of the original potting mix remains in the pot. Or, you may have collected so many small pots of plants that you never got around to settling them into their new homes, and they’re beginning to look neglected. In my case, these conditions move me into thinking “I’ve got to get them repotted” but then the activity doesn’t happen. Until it’s too hot for me to find the excuse to do something in the garden. Like now. Choosing a Container: Material, Color and Pattern, Size Clay (glazed or not?) or plastic? I prefer unglazed terra cotta, either glazed or not, because I know the pot will “breathe” and foster a healthy root system. I always use the same potting mix so all plantings will dry out at the same rate and I don’t have to guess so much who needs watering when. I try to aesthetically match the plant to the pot’s color, glaze and pattern – taking into consideration the particular shade of green, form and texture of the foliage, and any bloom color. I choose larger size pots according to how quickly the plant will develop. Deeper is better than wider to accommodate enlarging root systems and lessen evaporation from the soil surface. At minimum, the pot should be at least 3 or 4 inches wider and deeper than the plant’s rootball. Covering the Drainage Hole Keeping the potting mix inside the pot while allowing irrigation water to drain can be accomplished using two separate materials. Plastic window screening cut into 3-inch squares will do both functions. Also placing a piece of broken pottery shard pointing down on top of the screening will form a bit of an air gap on top of the screening that will keep the bulk of the potting soil in place above it and also augment the draining of irrigation water. Never fill the bottom of the pot with more pottery shards or packing “peanuts” or anything else because this lessens the amount of potting mix for roots to develop. Why create a smaller pot and disadvantage the plant? Potting “Mix” or Potting “Soil”? For containers, soilless potting “mix” is what you want to use. Potting “soil” has actual “dirt” in it, which makes it too dense for containers since it won’t drain properly and roots will literally drown. But “mix” and “soil” as marketing terms on packages continue to be confusingly interchangeable, so read the package's description and experiment with several until you find the ones your plants seem to prefer, especially with your particular irrigating habits. I used to like SuperSoil, but over the last several years, the texture has changed to be too similar to shredded bark more suitable as mulch. Three brands I prefer now are E.B. Stone Organics, Dr. Earth, and LGM All Purpose Potting Soil. Transplanting Into Containers
|
|
2 Comments
Yvonne
8/16/2019 10:09:38 am
Hi, Suzie -- Just have fun and play with your plants. My guidelines should help you understand what they need, and so gradually you'll "grow" your green thumb! Leave a Reply. |
Categories |
 RSS Feed