Gardening In LA
  • Home
  • About
  • Services
    • Garden Coaching
    • Speaking
    • Photography
    • Writing >
      • List of Articles
  • Blog
  • News
  • Monthly Tips
    • January
    • February
    • March
    • April
    • May
    • June
    • July
    • August
    • September
    • October
    • November
    • December
  • Events
    • Submit Your Garden Events
    • Botanical Gardens' and Other Organizations' Garden Events
  • Jobs
  • Web Links
  • Newsletter

NOW’S THE PERFECT TIME FOR SEEDING AND TRANSPLANTING

10/9/2018

2 Comments

 
Picture
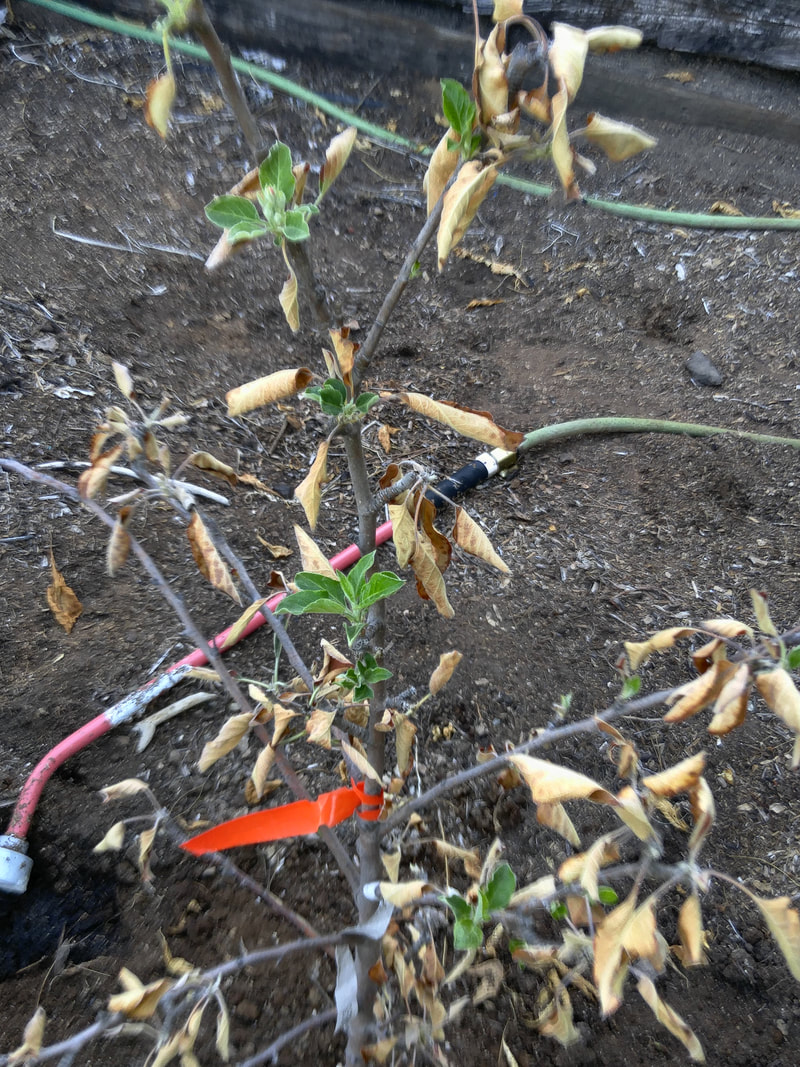
Finally, we can trim all that dead stuff, but do so gradually down the branch so you're sure to leave the inner green cambium survive to put out new leaves!
Picture
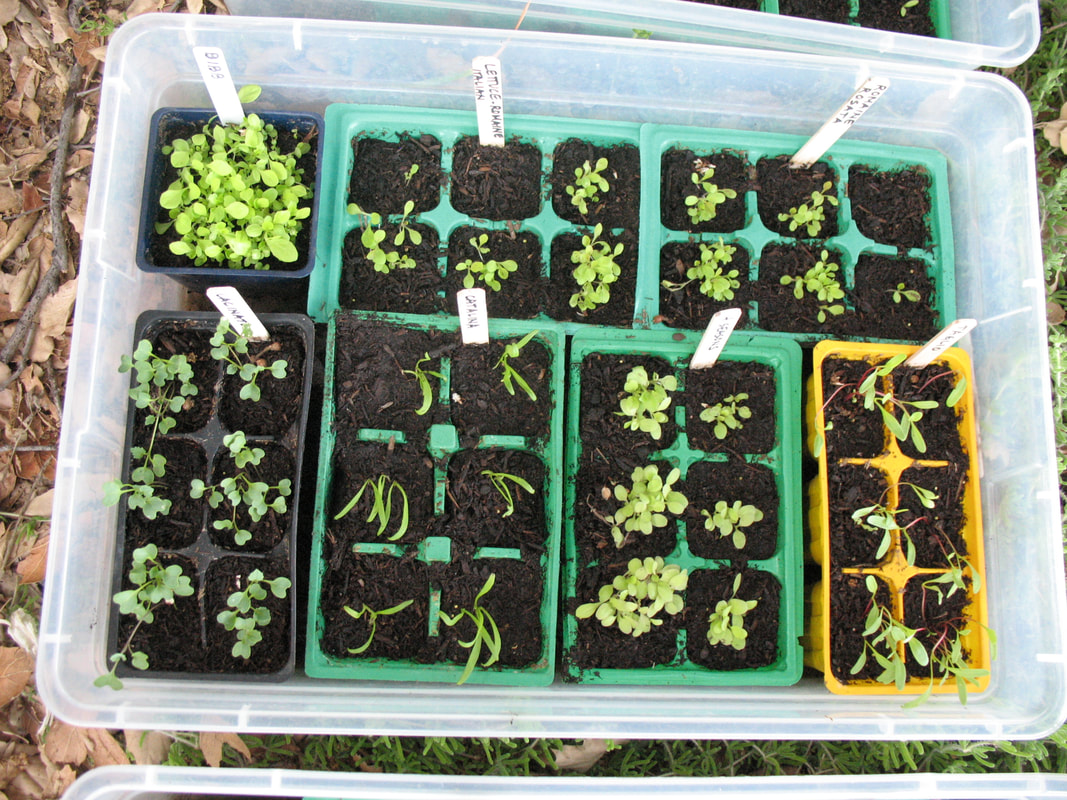
Starting seeds in 6-packs (2 seeds in each cell, trimmed to the one strongest, like for lettuce and spinach) and 4" containers (to be transplanted in little clumps for cut-and-come-again variations like parsley and cilantro. They're in a tray to hold the 1/4 inch of irrigation water that's drained and will be absorbed as the potting mix needs it within a couple of days.
Picture
An avocado planted in late June.
Picture
More sun allowed in September.
Picture
Now can absorb milder Fall sun in October.
Picture
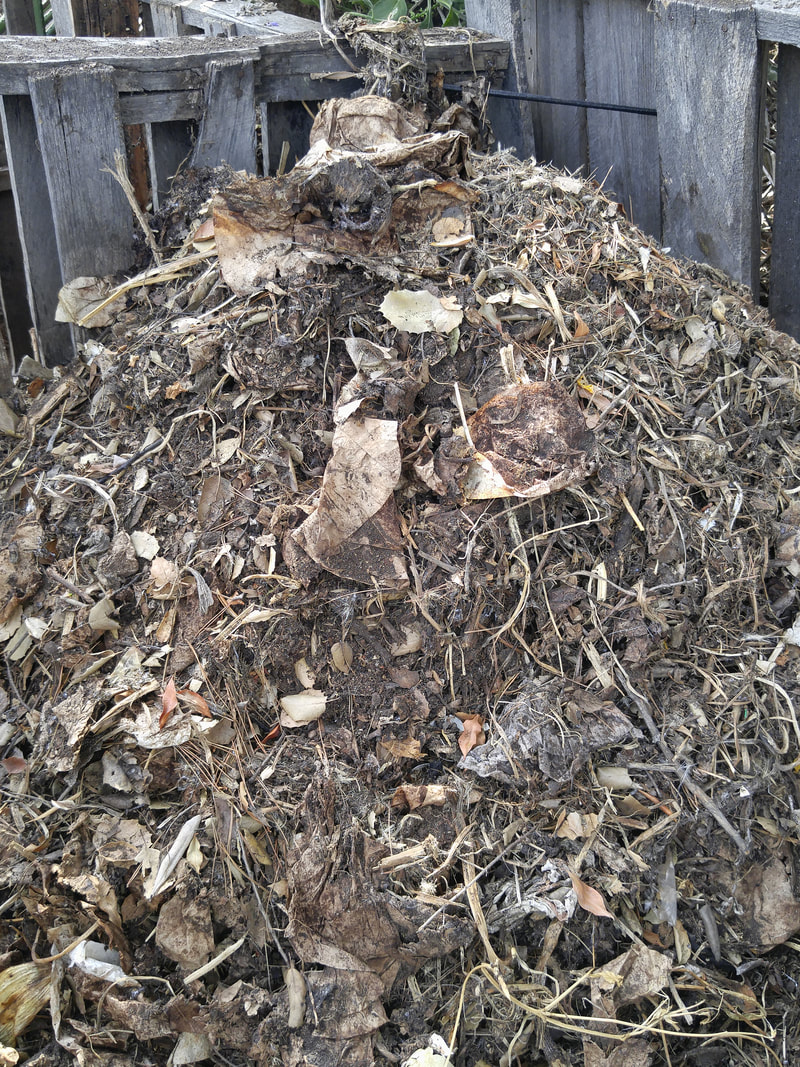
Dry stuff left from filtering out the "done" compost to spread onto beds with manure and coffee grounds in anticipation of planting seeds and seedlings -- after waiting 2 weeks for the amendments to heat up and cool down. If you don't wait before transplanting, you run the risk of literally burning the roots of the seedlings. This dry stuff will be the base of a new compost pile, alternating with layers of moist greenery and old potting mix.
Picture
Like other Fall-blooming bulbs, eucomis arise once the amount of daylight shifts and heat lessens.
Picture
A green eucomis, in the ground.
Picture
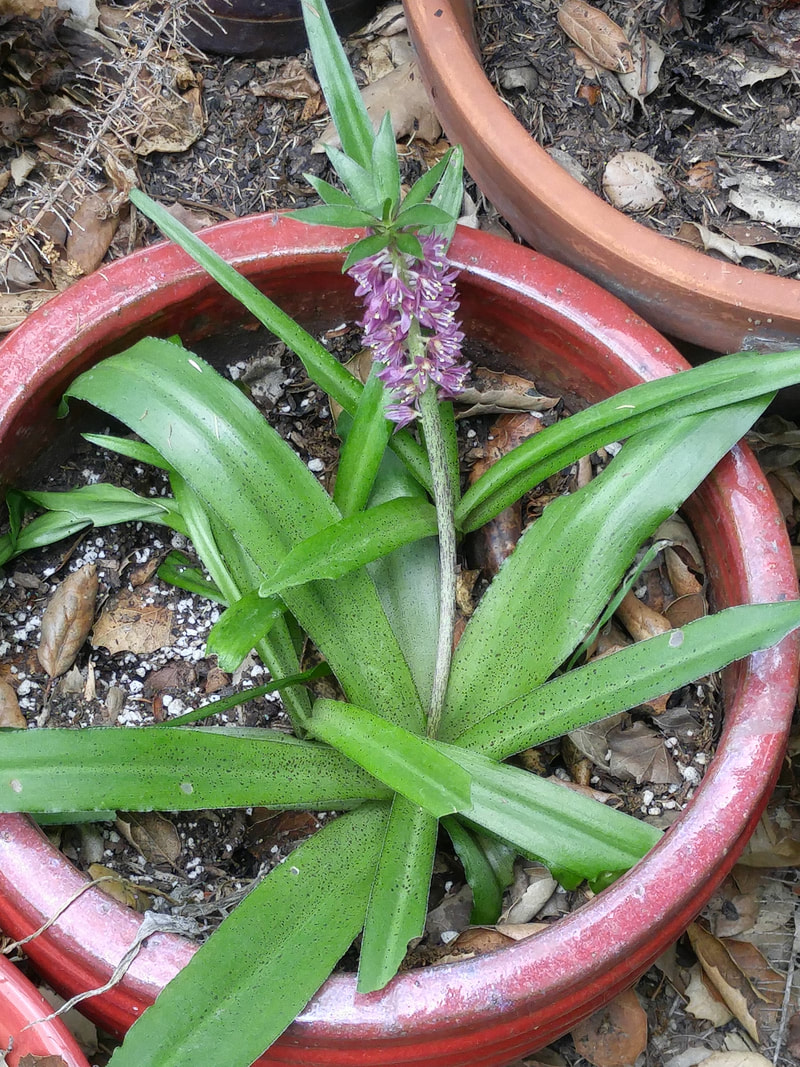
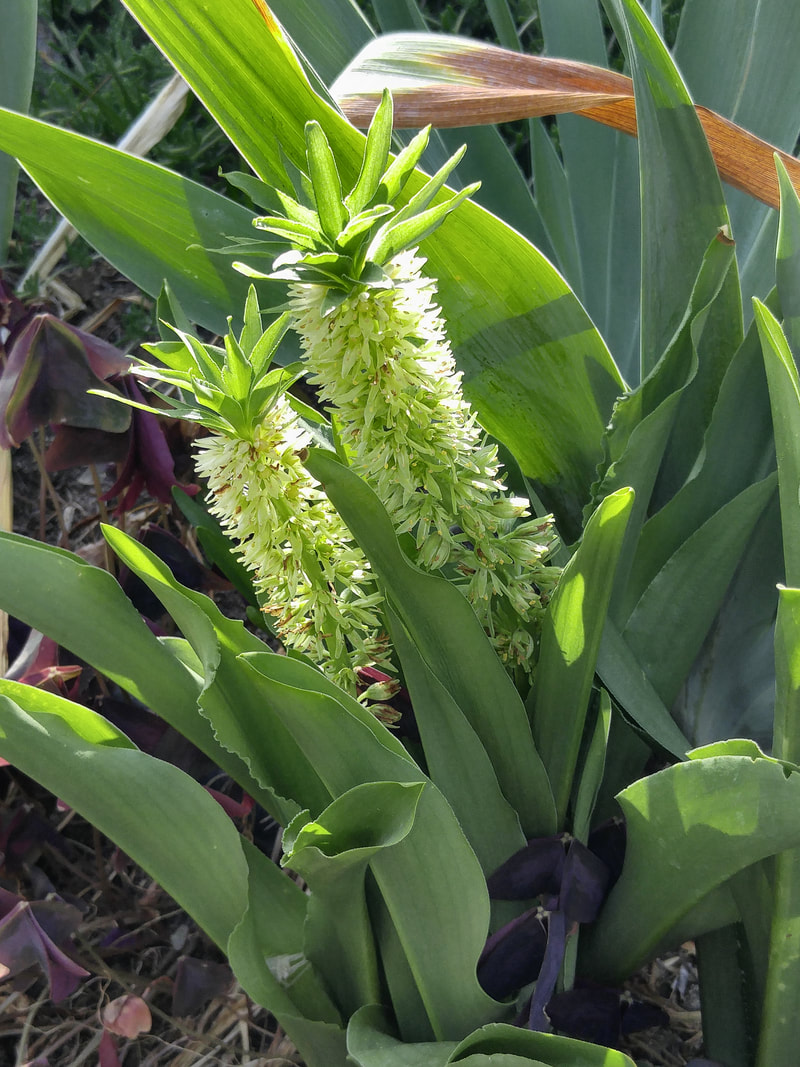
'Whitewater' acanthus - Bear's Breeches - leaves emerge, alaying my fears that it'd died in that awful heat!
Picture
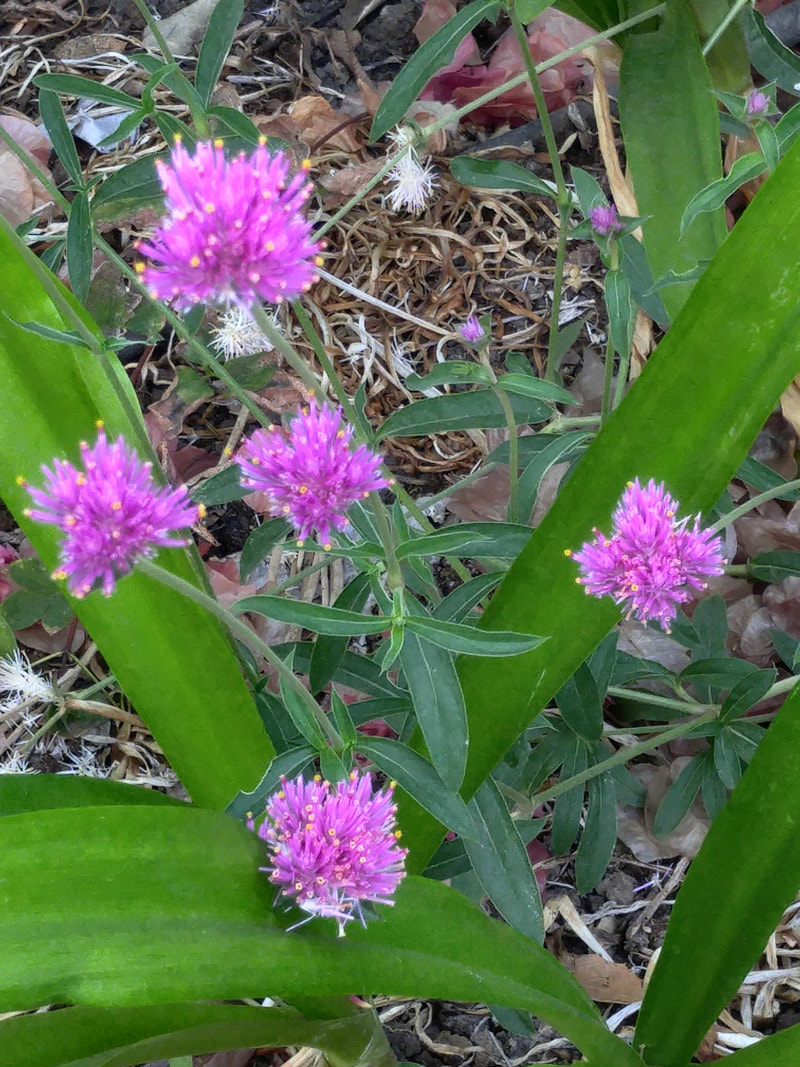
Gomphrena globosa 'Fireworks'
Picture
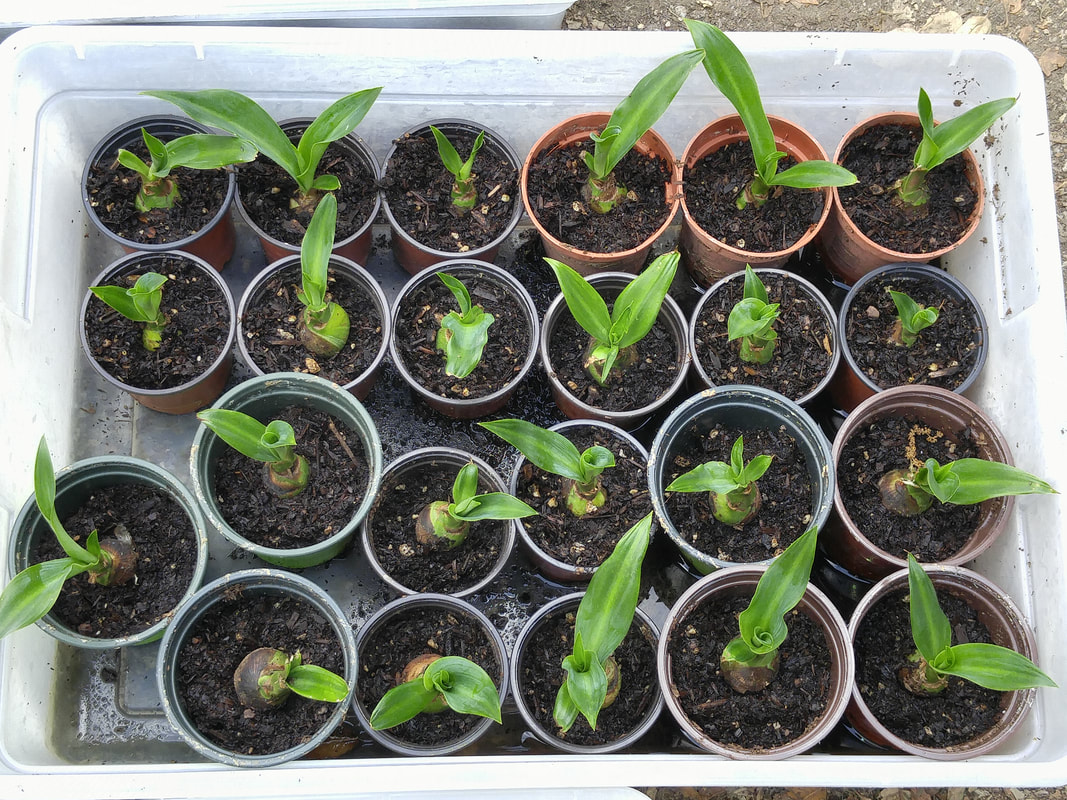
Furcrea "fruits" that had fallen from the flower stalk are potted up and rooting.
Picture
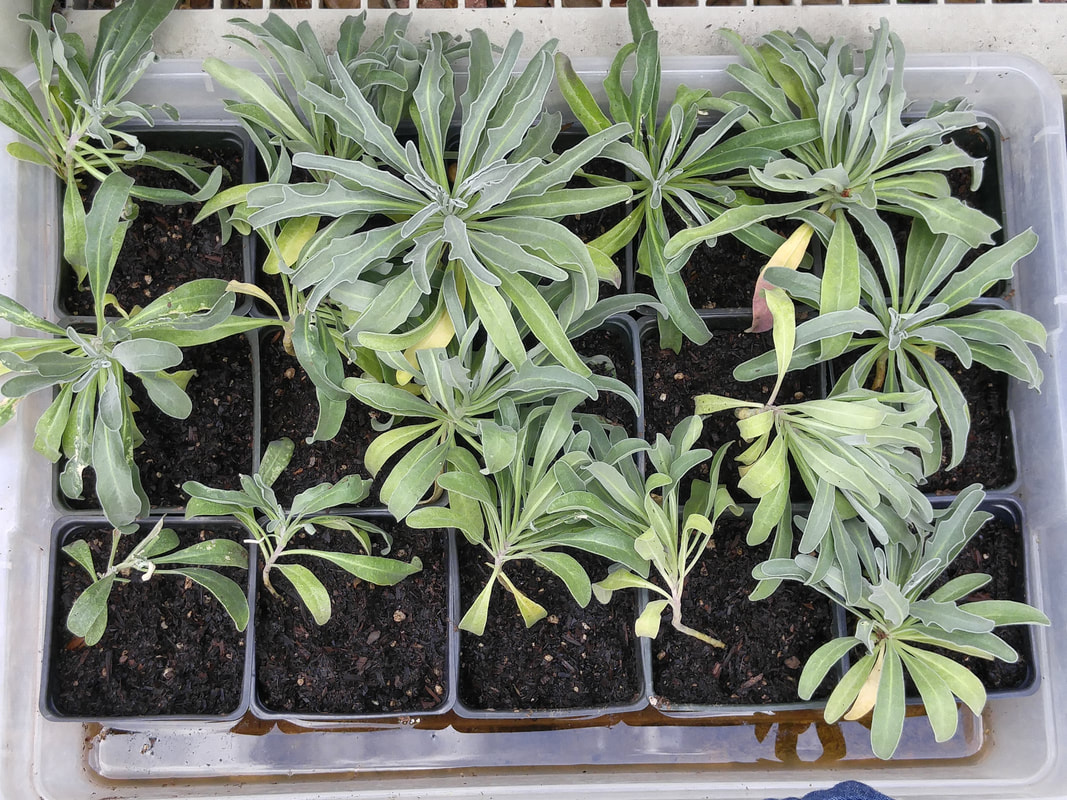
Stock that had germinated by a leaky faucet are potted up and thriving, despite their skimpy roots.
Picture
Tiny yellow bell-shaped flowers on asparagus ferns. Pile on the mature and compost to feed the roots so they'll put up lots of shoots in Spring.
Picture
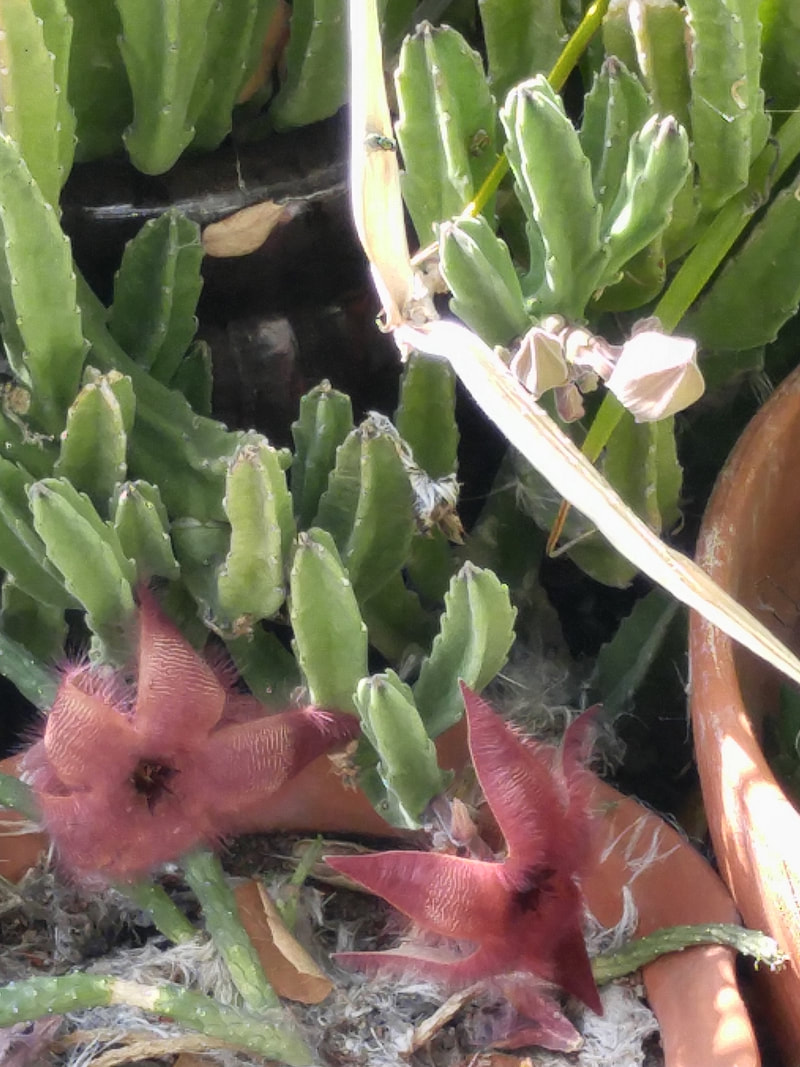
'Carrion Flower' attracts flies, bu are beautiful one-day bloomers. The long white seed pod has expelled its seed.
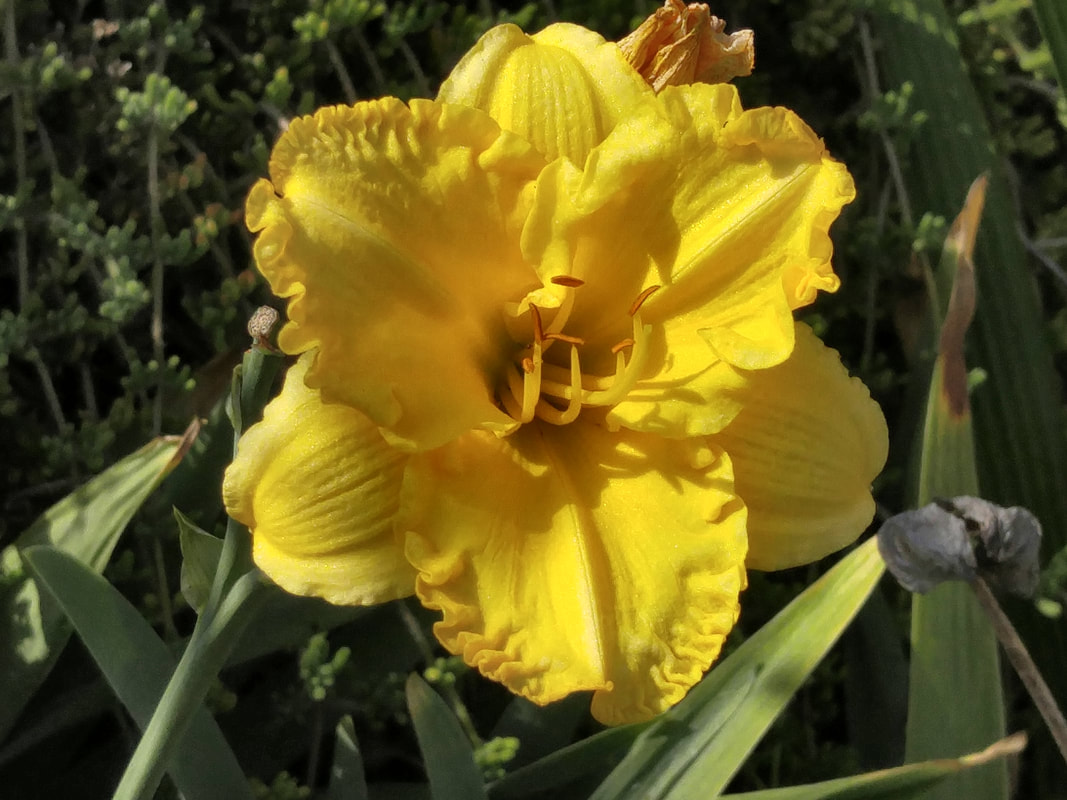
Picture
Reblooming daylily.
Picture
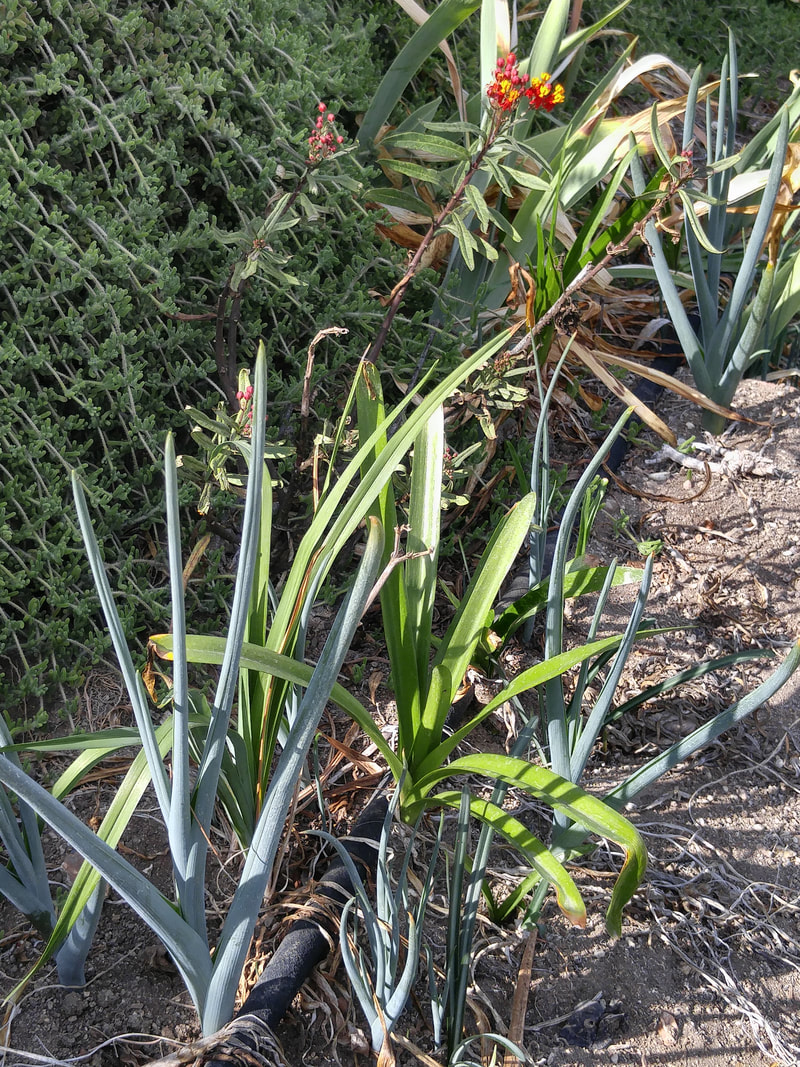
Lots of bulbs send up foliage now that the amount of daylight and heat has changed.
Picture
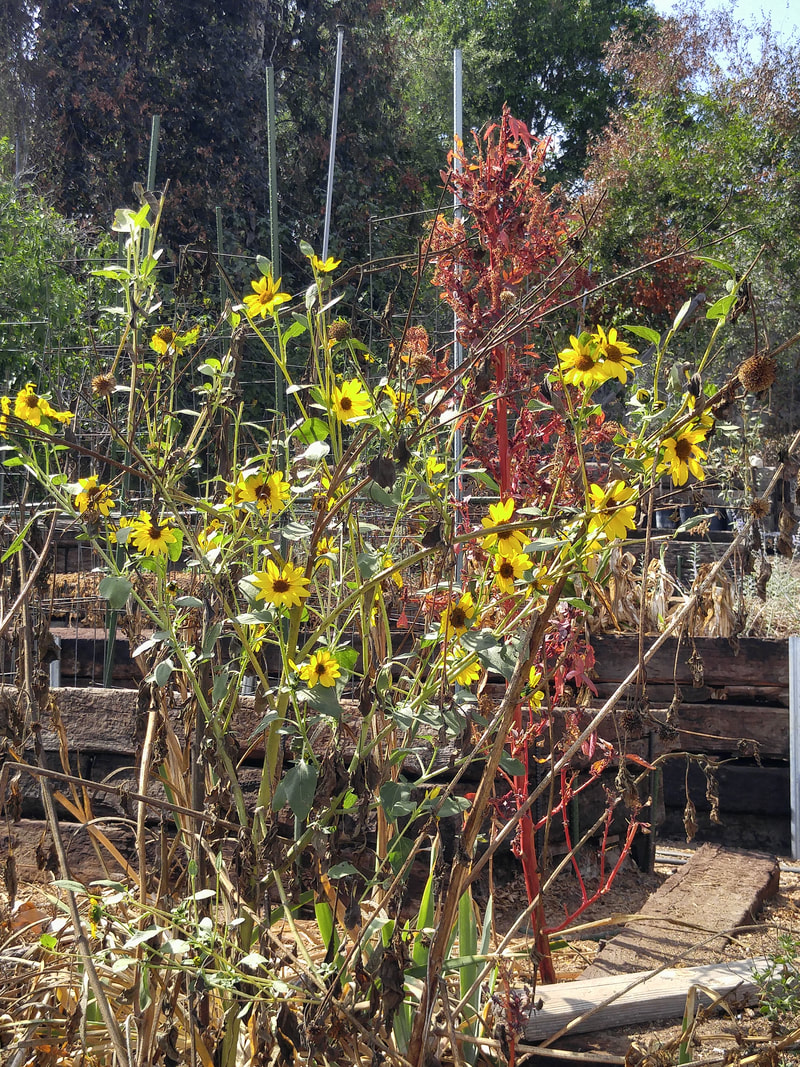
Still-blooming sunflowers and remnants of amaranth.
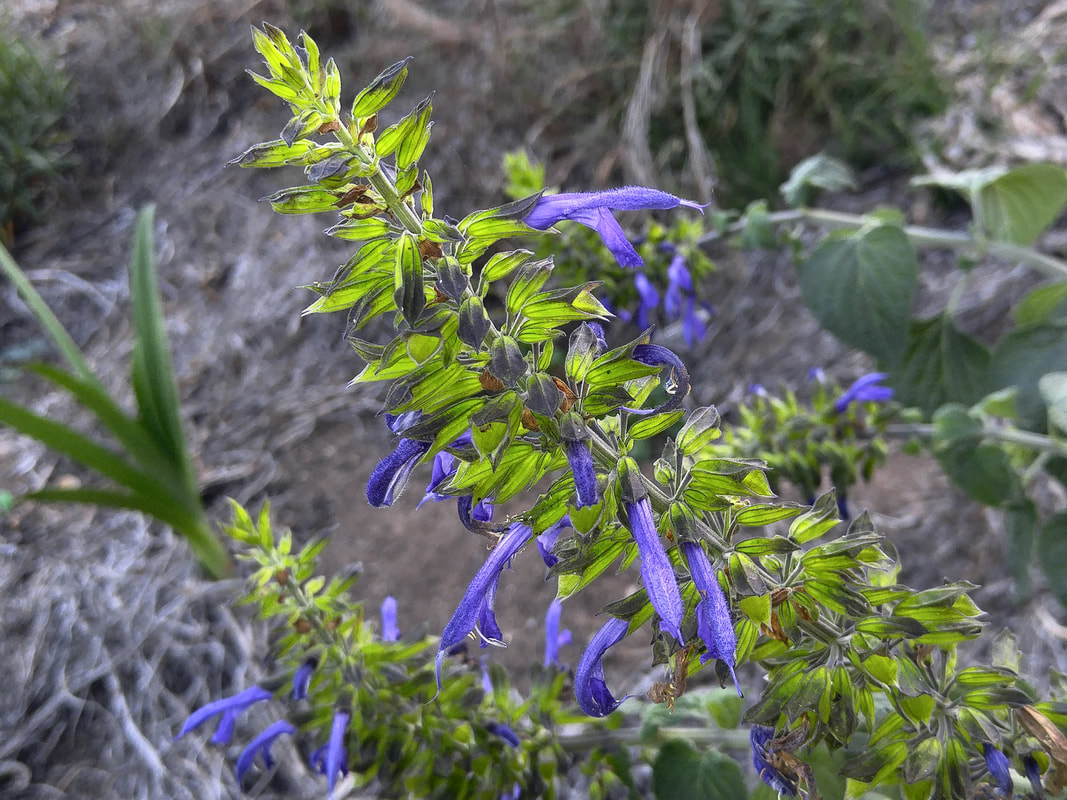
Picture
Salvia 'Limelight'
Picture
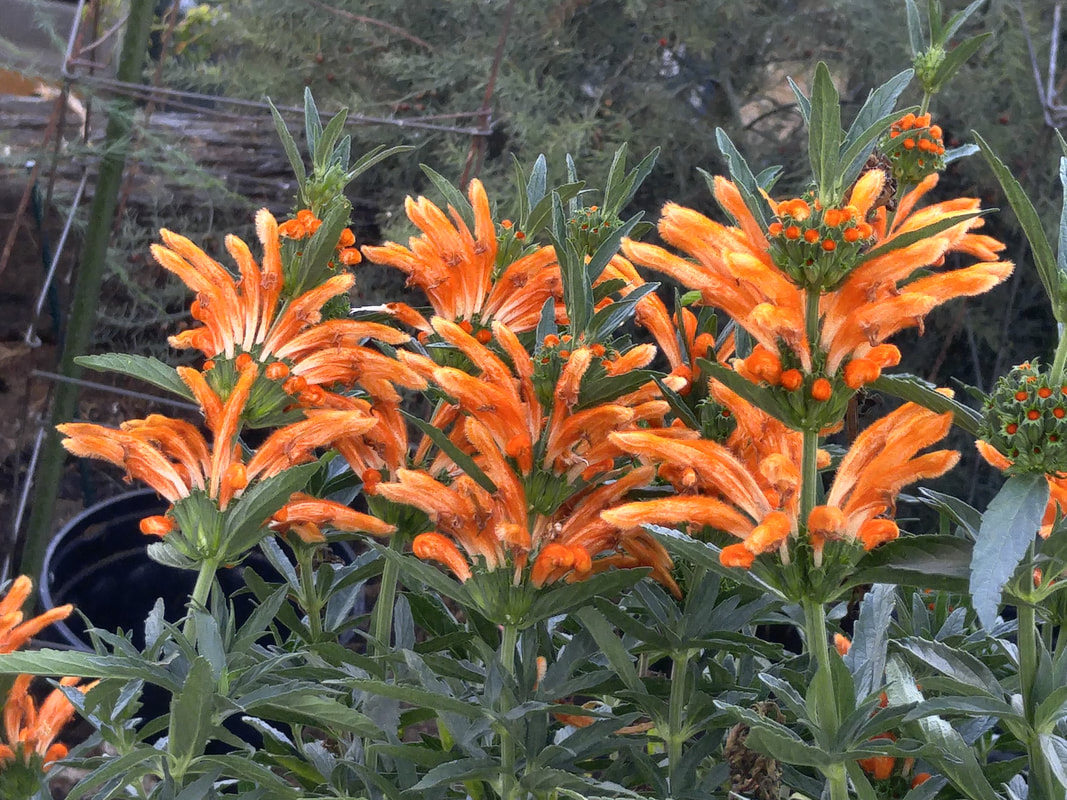
Leonitus leonurus - Lion's Tail, Lion's Mane. I prefer this bright orange cultivar over the more beige ones.
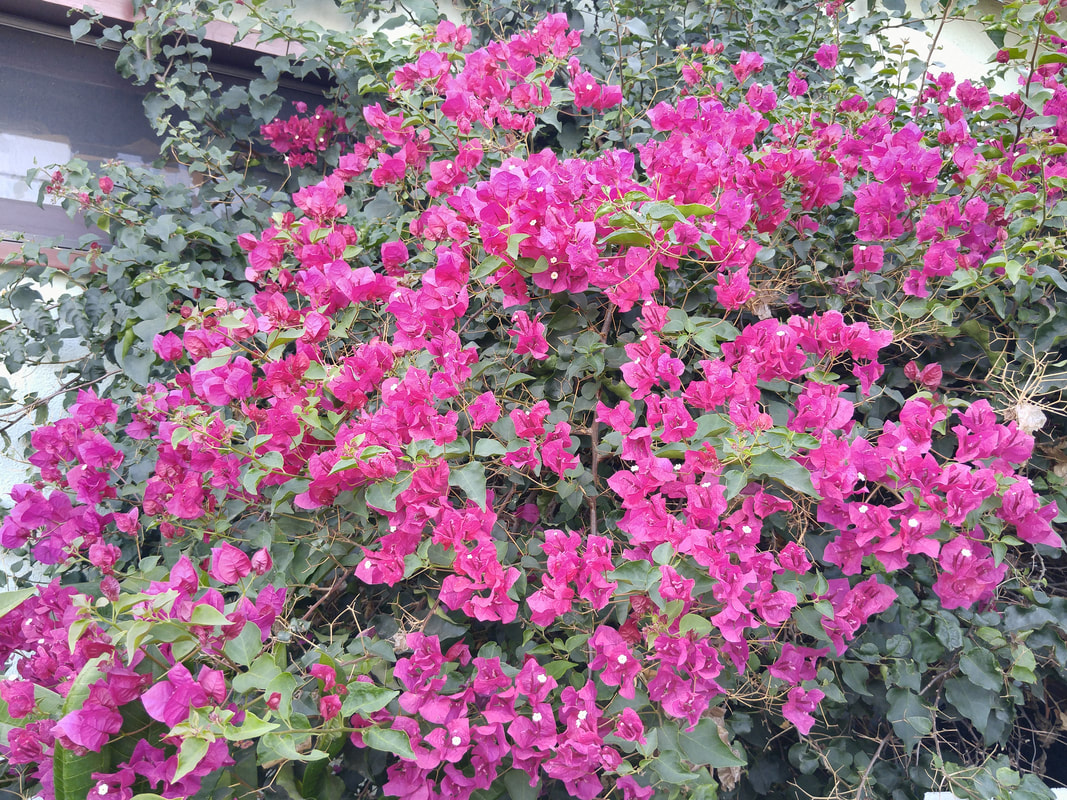
Picture
Love that bougainvillea!
     Our current Fallish weather, mid to upper 70s daytime temperatures, high-50s nighttime temperatures, and lots of scattered clouds during daytime are perfect for getting new plants started in our gardens, whether from seeds or transplants.  We can again enjoy being out in the garden, cleaning up after that torrid heat and starting our plantings for eating and enjoying color through Fall and Winter and Early Spring.
 
Trimming that burnt-up foliage
         Finally, it’s safe to prune back that dead stuff and encourage the new growth. 
   Trim back what’s obviously dead gradually, however, since some of the branches that have crispy foliage might be still green inside. 
    If the layer just under the outer bark – the cambium layer -- is green, this may potentially resprout, although perhaps not until Spring.  You want to cut the dead stuff away, but only just down to the top of the node so a new leaf may emerge later.
       If new sprouts are coming up from the base of the stem or trunk, like one of my cherries and a rose are doing, be sure to cut all of this away, way down into the soil as close to where it emerges from the stem or trunk as possible.  This growth is from the rootstock and won’t bear fruit or flowers that you want. So remove it as soon as you see that it’s regrowing.  You want the plant’s energy to go instead into the topgrowth, which is what will bear the fruit and flowers you bought it for.
 
Some Seeding Tips
  • Sow seeds of root vegetables – like beets, carrots, radishes, turnips, rutabagas – directly where they’ll mature.  They can be strewn in the entire bed or container about 1/2 inch apart.  Their taproots need to be able to extend straight down into the prepared bed.  As they mature, thin by pulling some of the crowded tiny plants for salads so the remaining roots can mature fully. If initially transplanted from elsewhere, especially 6-packs or 4” pots, their roots will be curly and have a difficult time maturing properly.
  • Sow seeds of vegetables that will be harvested using the “cut and come again” method – like lettuce, mesclun, parsley, cilantro – by scattering onto the prepared bed so each seed is about 1/4-inch apart.  Harvest by cutting just above the soil level, and repeating every month or so as the leaves regrow.
  • For vegetable seeds like bok choy, chard, lettuce, spinach and tatsoi that you want to transplant later into a growing bed so they’ll develop full heads, you can start them in seed trays, 6-packs or closely sown in a prepared bed specifically for later transplanting.
  • Edible peas and sweet peas can be sown together, either intermixed or on opposite sides of a trellis.  Despite the sweet pea pods being poisonous, they’re so distinctive that there’s no problem confusing them.  Edible pods are large, bright green, and smooth.  Sweet pea pods are more narrow, grayish, and hairy.  Edible pea pods you’ll want to harvest at a stage of immaturity.  Sweet pea pods you’ll want to allow to dry until thoroughly crispy for later sowing.
  • Repeat sowings of seeds every three weeks or so to assure good germination.  Later sowings will catch up with earlier ones.  Some years, my peas finally come up with the fourth sowing.  So keep trying – at some point, the seeds will finally respond to the ideal environment.
  • Flower seeds can be started either by scattering or in containers, and transplanted when they’re about 2 to 4 inches inches tall.
  • Wildflower seeds are best scattered over beds that have been weeded and moistened, but without any fertilizer added.  Sprinkle the seeded bed lightly with water after sowing and every 3 or 4 days for the next couple of weeks so the seedbed remains slightly moist so seeds can germinate. 
 
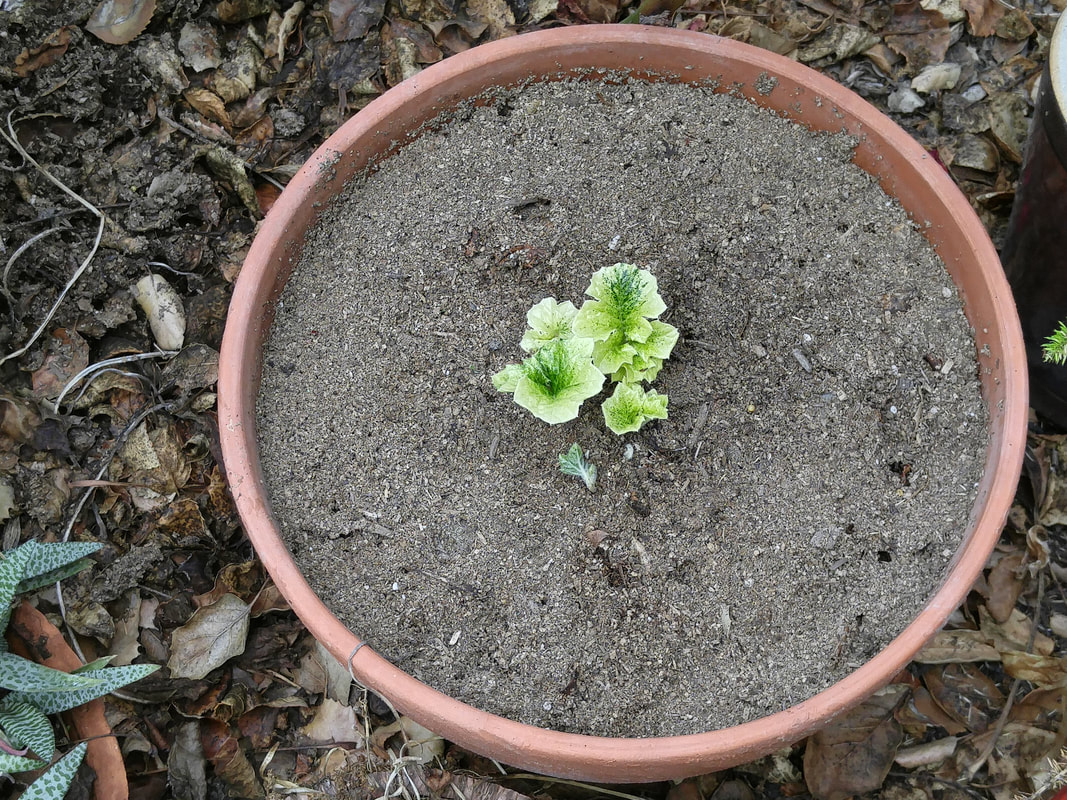
Some Transplanting Tips
  • Prepare growing beds by incorporating compost, manure, and coffee grounds – about 2 inches of each – into the soil at least 9 inches deep to provide nutrition for the full root profile.
  • Space transplants of vegetables like bok choy, chard, lettuce, spinach and tatsoi closely together.  You’ll need only about 3 or 4 inches between plants since you’ll repeatedly harvest only the outer leaves instead of letting the plants mature completely.  This way, you’ll have tender “gourmet” greens for maybe 6 months instead of a glut of overmature veggies only next Spring!
  • Bury cabbage family plants like broccoli, brussels sprouts, cabbage, and cauliflower up to their first leaves to help stabilize their heavy-to-be tops.  Their stems’ hard cuticles will keep the buried stems from rotting.
  • California Natives thrive in “native” soil that’s as unfertilized and uncomposted as possible. Loosen the soil in the hole a foot wide but only as deep as the rootball.  Fill the empty hole with water and let it drain.  Slip the plant into the hole, disturbing the rootball as little as possible, but with some scratching of the outer surface to loosen root tips and encourage them to extend out into the new soil.  Fill the hole with the original soil.  Water in the plant to fully saturate the rootball and loose soil so they’re in good contact.  Then don’t water for several weeks.  Hopefully Fall rains will take over, keeping the soil barely moist so roots will anchor themselves in their new home soil.
 
2 Comments
Diana Romero
10/23/2018 06:29:00 pm

I am just starting my seeds indoors for lettuce and carrots. I have three tomato plants that still have fruit on them. Should I let the tomatoes finish out their growth before I clean out the vegetable bed and prepare for the cold weather vegetables. ?

Reply
Yvonne Savio link
10/24/2018 12:43:28 pm

Hi, Diana -- First thing, get those carrots outdoors and into the prepared bed where they'll grow to maturity. Their long tap root (even if you're growing the stubby varieties like Romeo or ShortStuff) needs to be able to reach down straight, and so they don't transplant well. Since they take up to 3 weeks to germinate, get that bed prepared and transfer the carrot seeds in their potting mix. Regarding tomatoes and lettuce and other cool-season veggies, it's up to you. You can either let those tomatoes mature (which I don't find worth it relative to what I can buy at farmers markets) or remove them and prepare the bed for cool season. i prefer the latter since cool-season veggies thrive in the coolness, as opposed to the tomatoes struggling.

Reply


Leave a Reply.

    Archives

    March 2023
    February 2023
    January 2023
    December 2022
    November 2022
    October 2022
    September 2022
    August 2022
    July 2022
    June 2022
    May 2022
    April 2022
    March 2022
    February 2022
    January 2022
    December 2021
    November 2021
    October 2021
    September 2021
    August 2021
    July 2021
    June 2021
    May 2021
    April 2021
    March 2021
    February 2021
    January 2021
    December 2020
    November 2020
    October 2020
    September 2020
    August 2020
    July 2020
    June 2020
    May 2020
    April 2020
    March 2020
    February 2020
    January 2020
    December 2019
    November 2019
    October 2019
    September 2019
    August 2019
    July 2019
    June 2019
    May 2019
    April 2019
    March 2019
    February 2019
    January 2019
    December 2018
    November 2018
    October 2018
    September 2018
    August 2018
    July 2018
    June 2018
    May 2018
    April 2018
    March 2018
    February 2018
    January 2018
    December 2017
    November 2017
    October 2017
    September 2017
    August 2017
    July 2017
    June 2017
    May 2017
    April 2017
    March 2017
    February 2017
    January 2017
    December 2016
    November 2016
    October 2016
    September 2016
    August 2016
    July 2016
    June 2016
    May 2016
    April 2016
    March 2016
    February 2016
    January 2016
    December 2015
    November 2015
    October 2015
    September 2015
    August 2015
    July 2015

    Categories

    All

    RSS Feed

© 2015 Yvonne Savio. All Rights Reserved.                                                                                                                                                         Web Design by StudioMAH.