
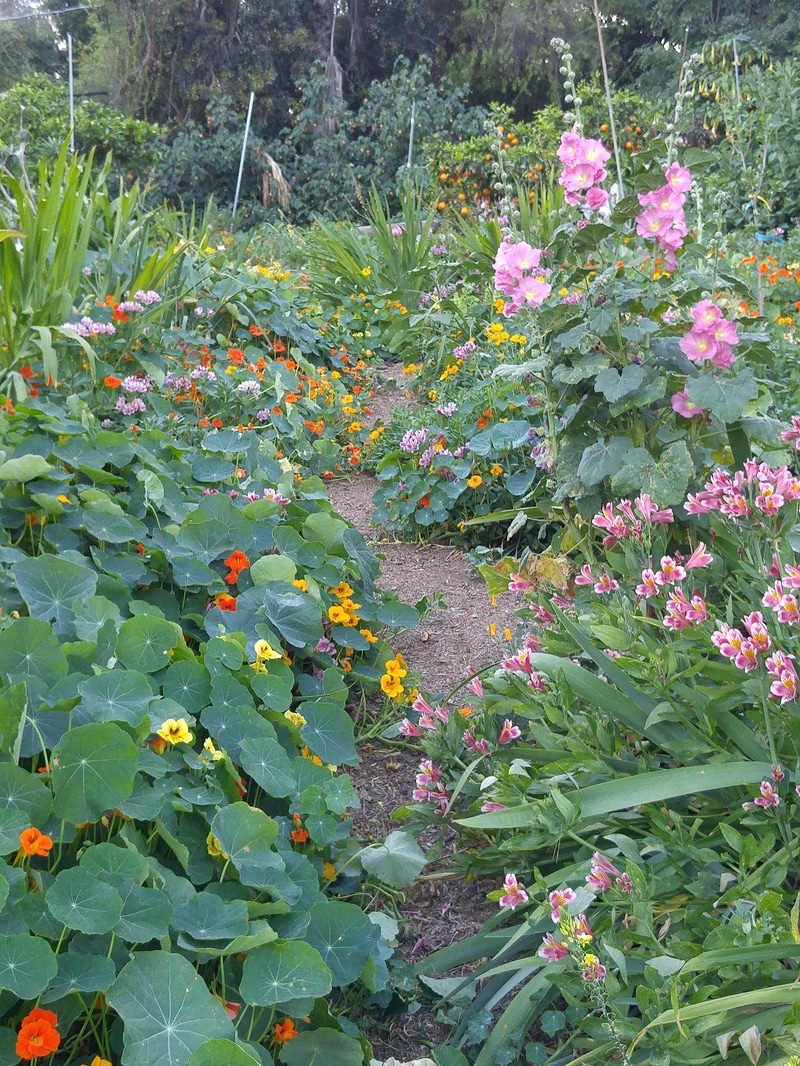
 Pathway up my hillside garden 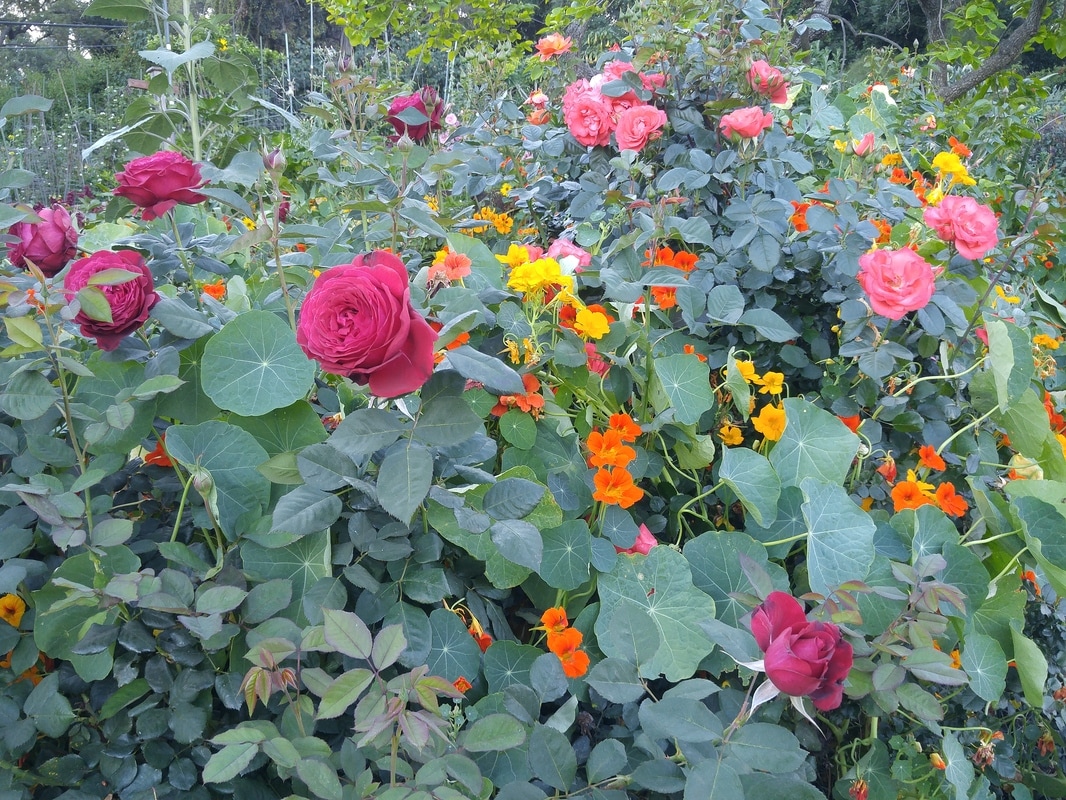 Reddish purple 'Mary Lou Heard' rose memorializing the Westminster gardener who provided the first 6-packs and 4" containers of perennials that got many of us populating our gardens. 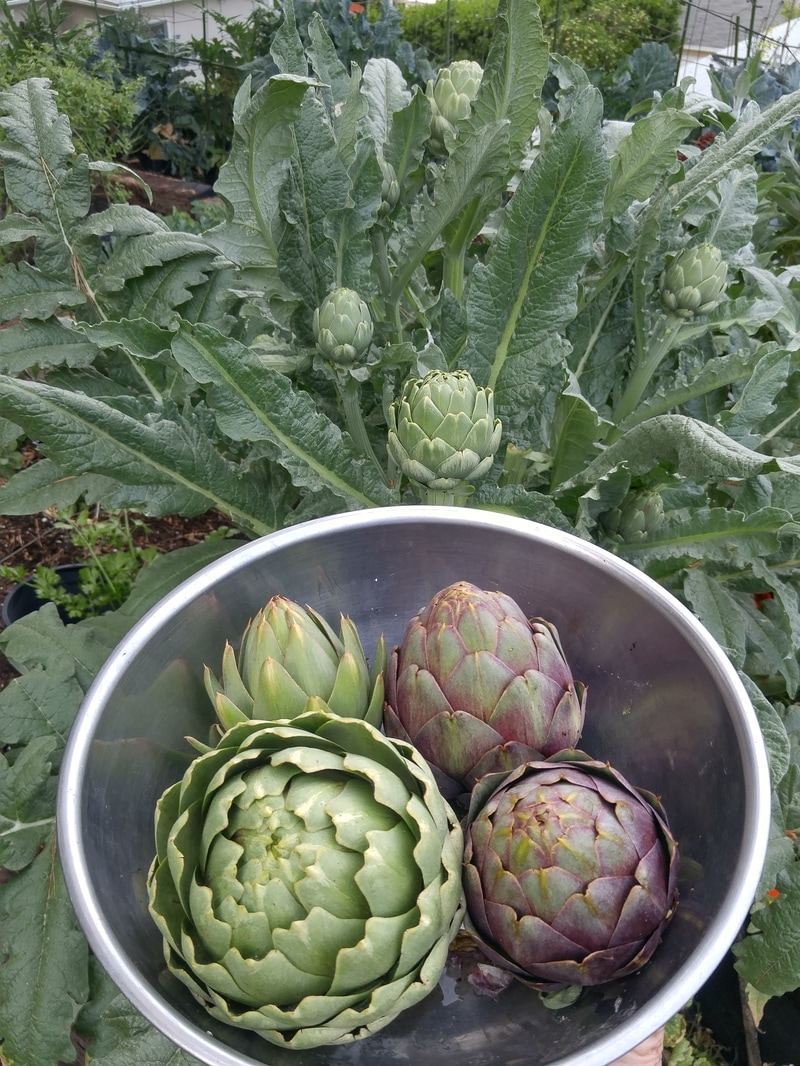 Four varieties of artichokes. The first single fruit is the largest, then each successive sideshoot's fruits are smaller. 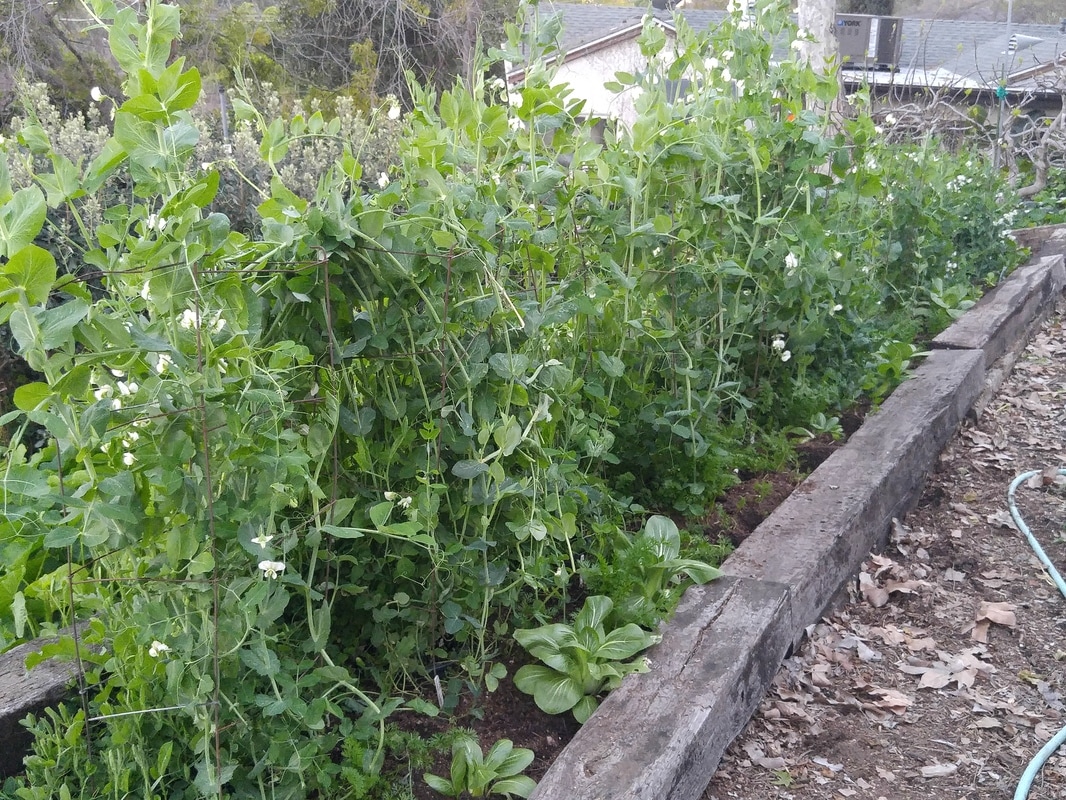 Yummy peas 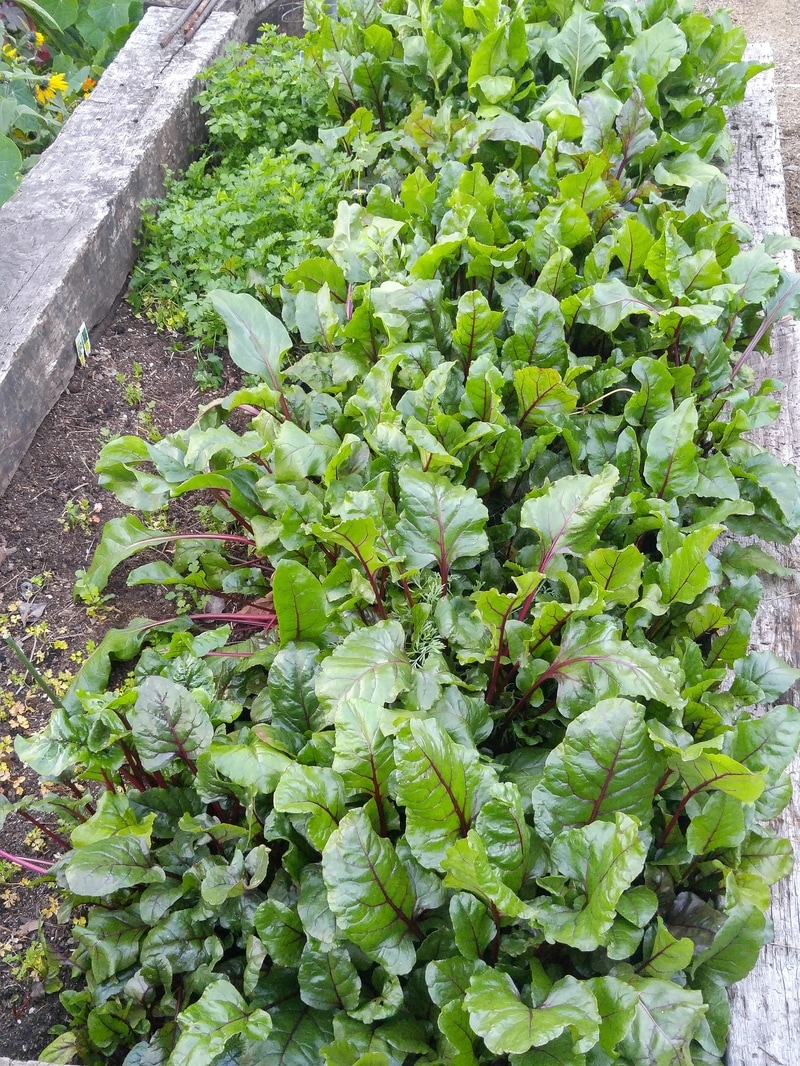 Bed full of beets 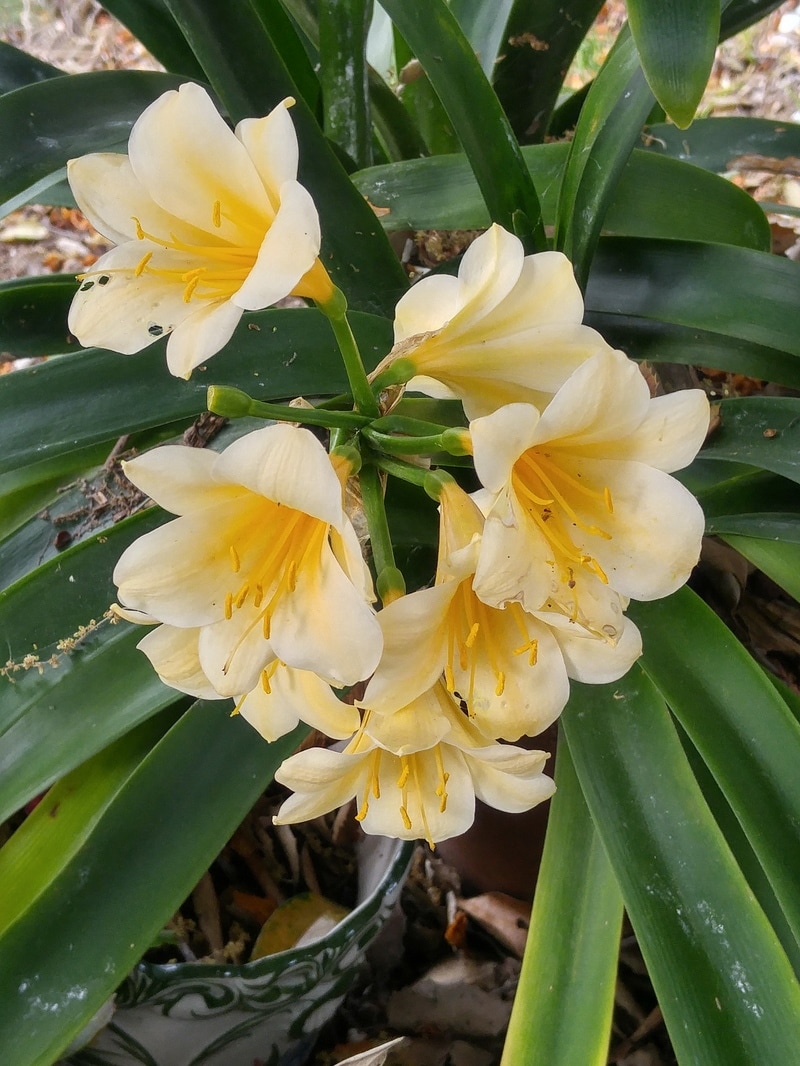 Yellow clivia 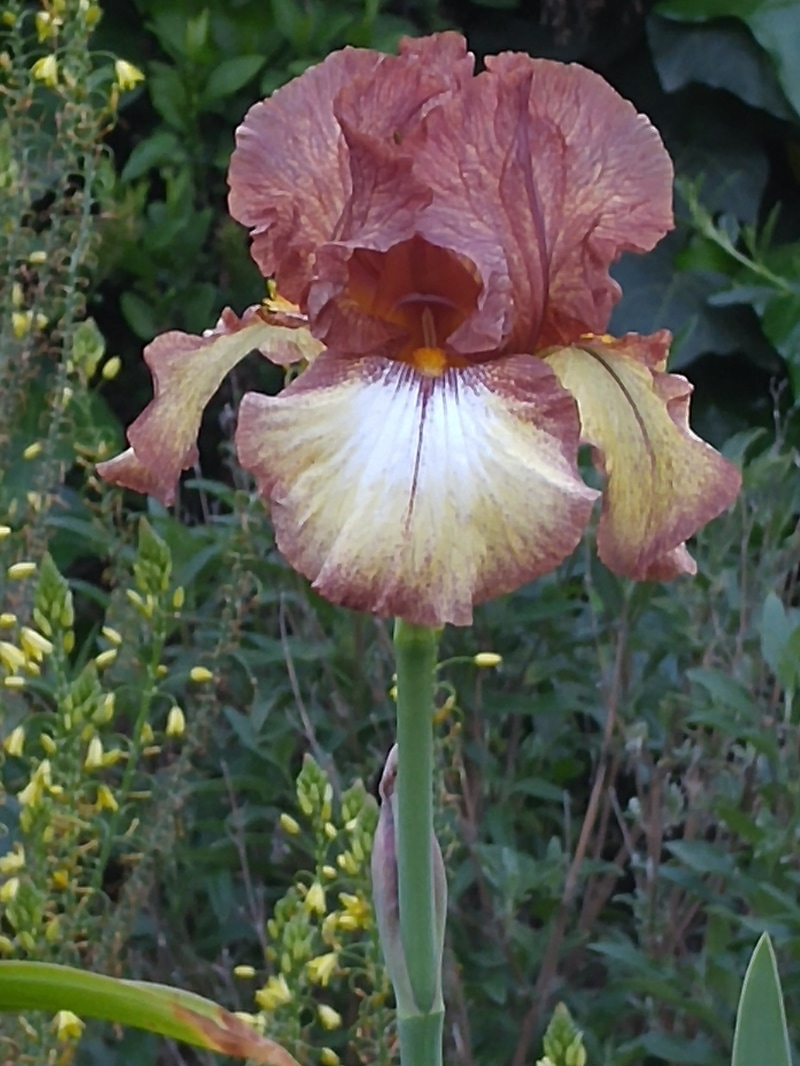 First bearded iris 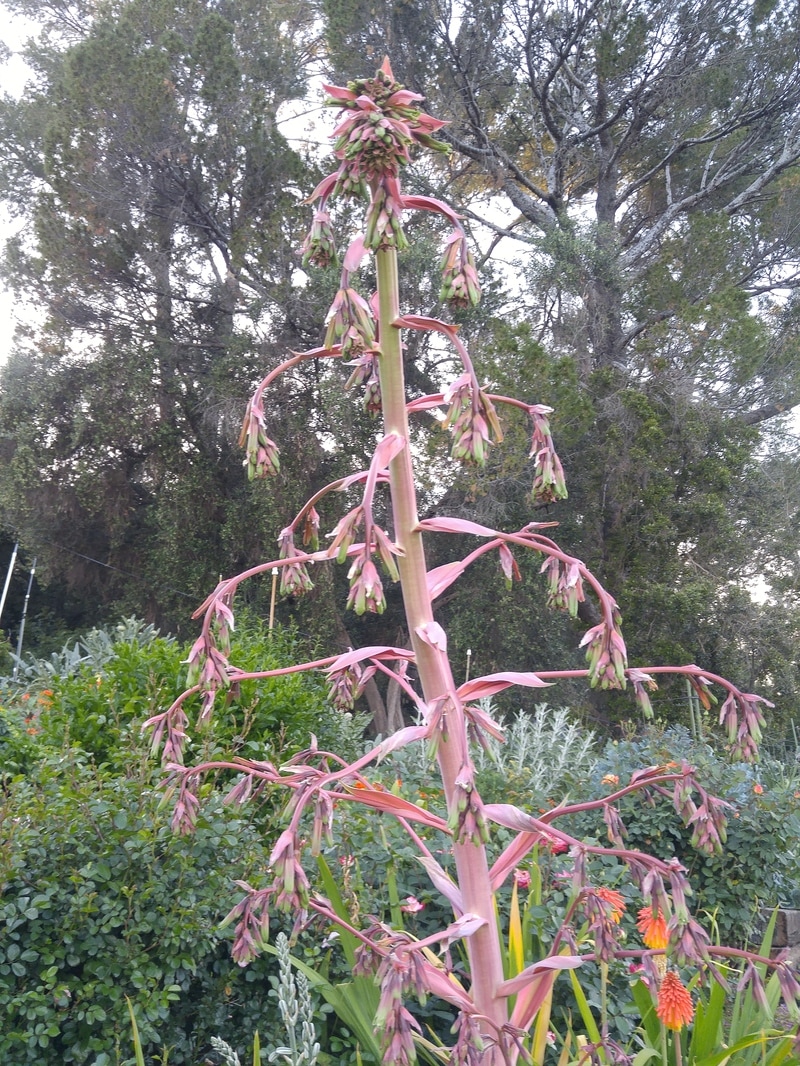 The monster succulent 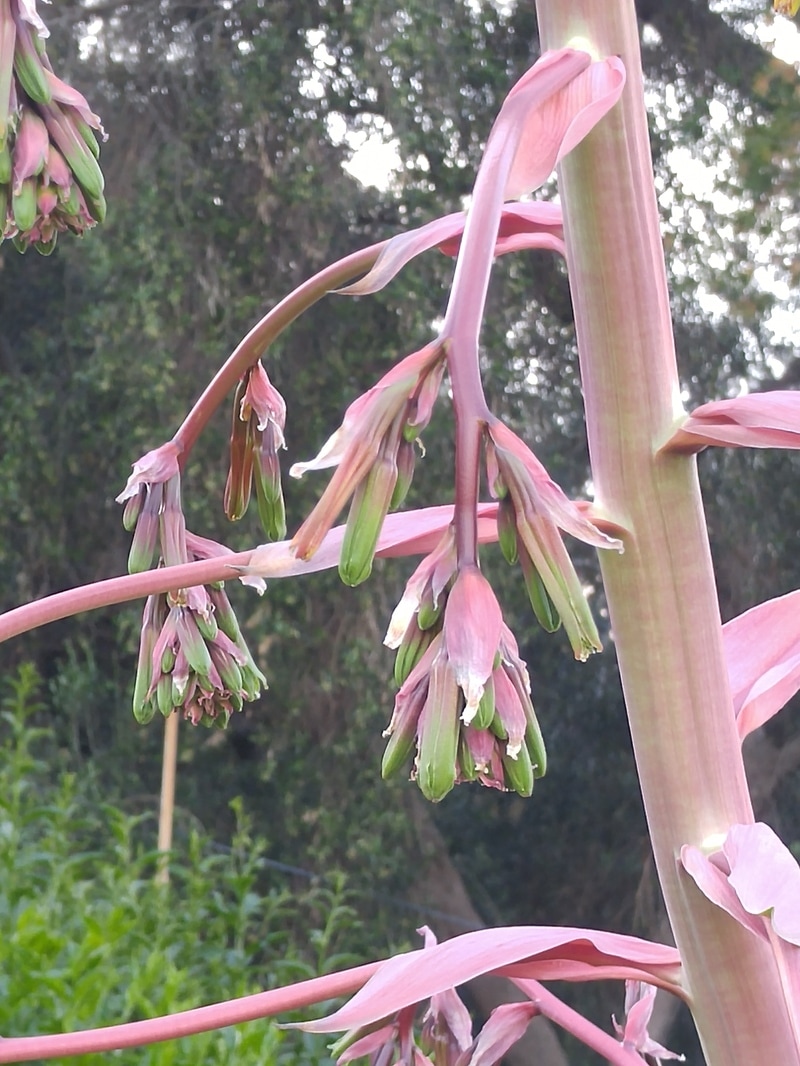 ...and a closeup 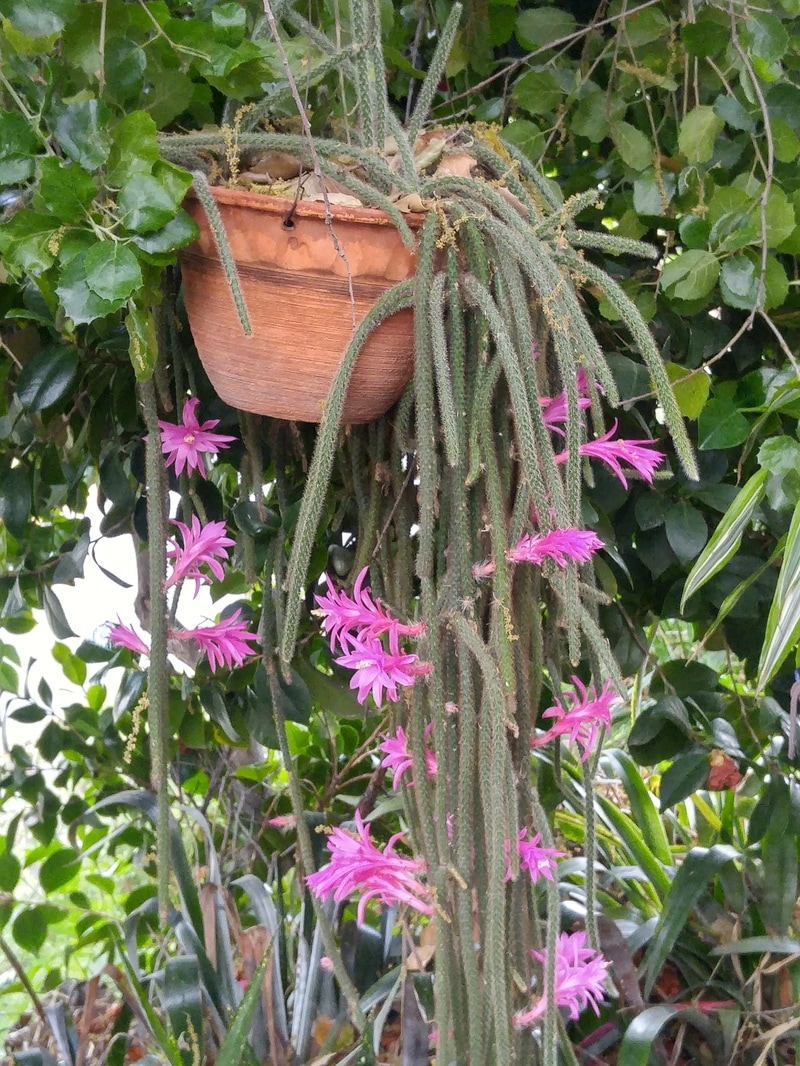 Rat-tail cactus in bloom 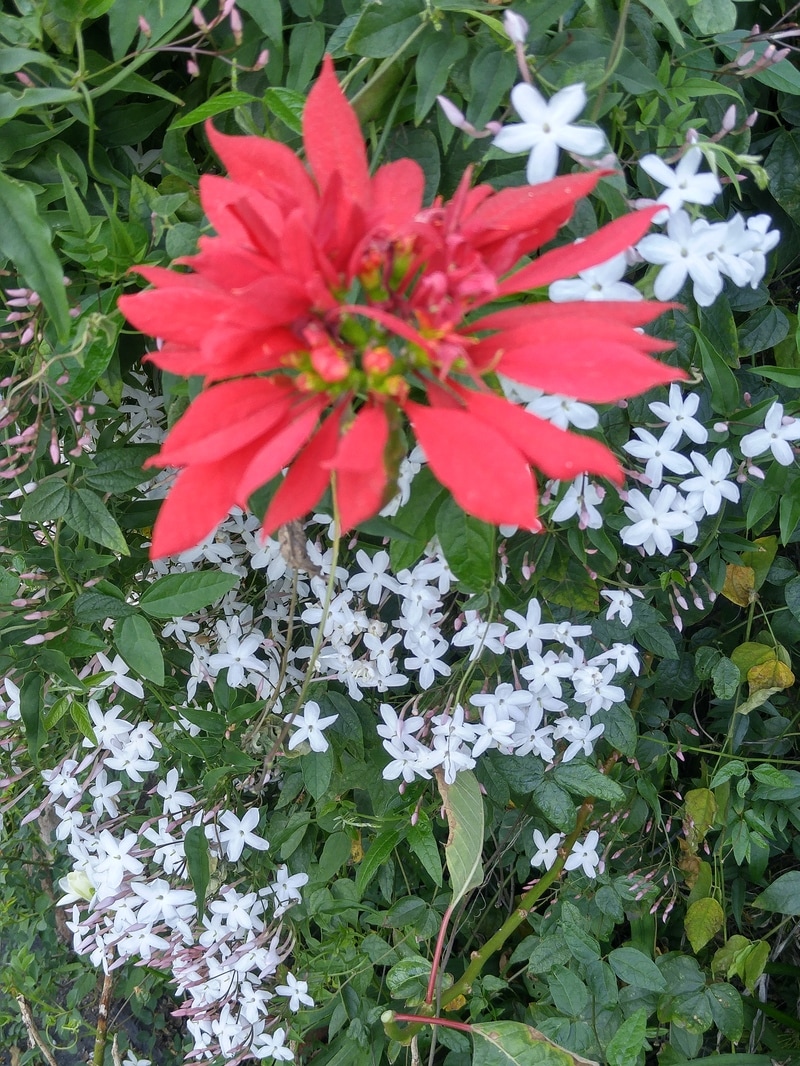 Species poinsettia - now is their "normal" blooming time and form | All that winter rain has become blooming and eating wonders in our gardens. Aside from the assorted greens – bok choy, broccoli, chard, kales, and lettuces -- that we’ve been enjoying all winter, now there are artichokes and peas and beets to center our meals and munchies. And the blooms! Nasturtiums and the first bearded irises and roses and a monster 8-foot-tall succulent. Yay for Spring! Artichokes Five different varieties of artichokes have given us a real taste-test treat. So far, one seems dry , whereas another has more flavor, and a third has more flesh. All provide a great excuse to enjoy mayonnaise, although I’ve been “needing” less because the flesh is tastier. Peas My husband prefers the peas he must shell, eating only the little internal nibblets. I grow several varieties – Burpeanna Early, Cascadia, Frosty, Little Marvel, Sabre, and Wando. I prefer the sugar snap type, eating the entire pod. I depend on Sugar Snap and Super Sugar Snap, planting two cages worth. I also grow an additional cage of the dwarf versions - Sugar Daddy and Sugar Ann. But the fruits from the taller plants I’ve found to be more succulent and plentiful, although the plants are more gangly and therefore need a second story of my cages. Perfect Transplant Weather Our daytime temperatures of high 70s and nighttime temperatures of high 50s continue to be perfect weather for transplanting. I just planted several new bearded irises and echiums and mimulus (the more drought-tolerant ones). My technique is this: 1. Transplant in the late afternoon, when the sun is low in the sky. This timing will enable the plant to recuperate overnight from the transplanting procedure before being subjected to direct sun the next day. 2. Dig a hole a foot wide and a foot deep. 3. If transplants have roots growing in potting mix, massage and “tickle” the root ball to release most of it into the hole. 4. Mix this mix with the soil dug from the hole. This will provide a “half-way house” of native soil and potting mix for the roots to grow in as they adapt to their new home. 5. As you hold the transplant in the air, the roots now dangling down, rip off any straggling roots that are longer than the main concentrated clump that’s about 3 or 4 inches in size. 6. Scoop out about half of the mixed soil from the hole. 7. With one hand, hold the transplant in the hole so the root clump hangs straight down in the hole. 8. With the other hand, scoop the mixed soil around the root clump so that the transition point from roots to stem is about one inch below the remaining soil. 9. Rearrange mixed soil and native soil to form a berm or “donut” around the transplant so the watering hole is about 1 inch deep and 6 inches out from the plant stem. 10. With fingertips, press mixed soil in the hole around the root clump. 11. Fill “donut” with water three times to assure that it’s fully moistened the entire extended root zone area. 12. If the plant is tender, provide a piece of cardboard or fencing to shade it from the mid-to-late-afternoon direct sun for a week or so. 13. In 2 days, fill the “donut” again. 14. In another 4 days, fill again. 15. From then, water as necessary depending on your soil and the weather. |
|
0 Comments
Leave a Reply. |
Categories |
 RSS Feed